How to Make a Balloon Arch
If you have an important celebration coming up and want to show off with the decorations, a balloon arch can be an excellent way to surprise your guests. Not only will you be able to use the colors you want, but you will also save some money.
5-Minute Crafts has compiled the steps to follow to make this craft easily at home.
What you’ll need
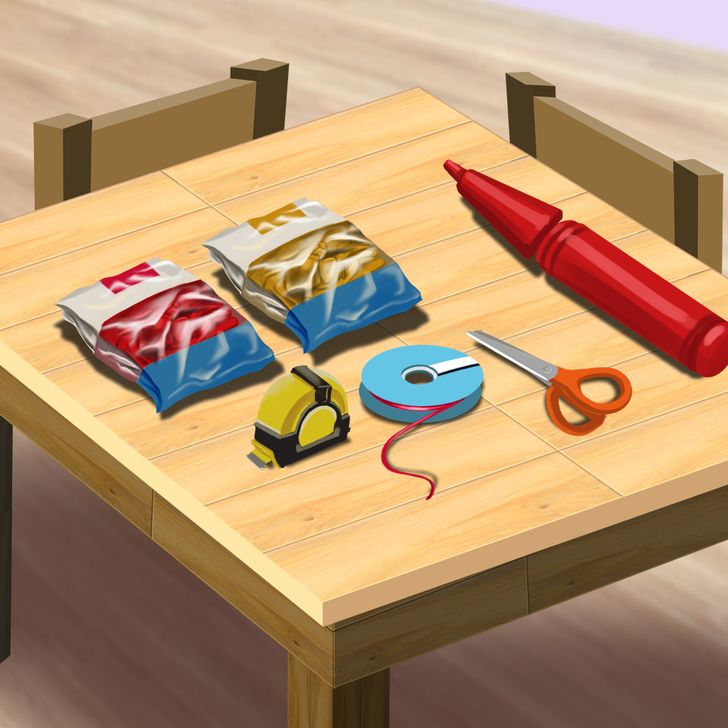
To make an arch, you will need:
- 120 balloons (2 different colors)
- Measuring tape or a ruler
- 2 chairs
- Decorative tape or transparent thread
- An inflator
- Scissors
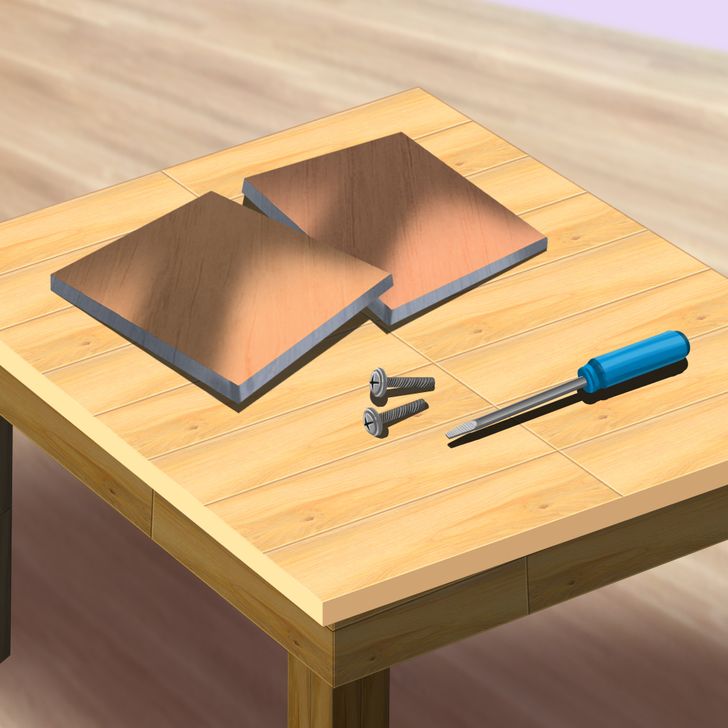
To make the base:
- 2 square pieces of wood
- 2 medium screws
- A screwdriver
Step 1
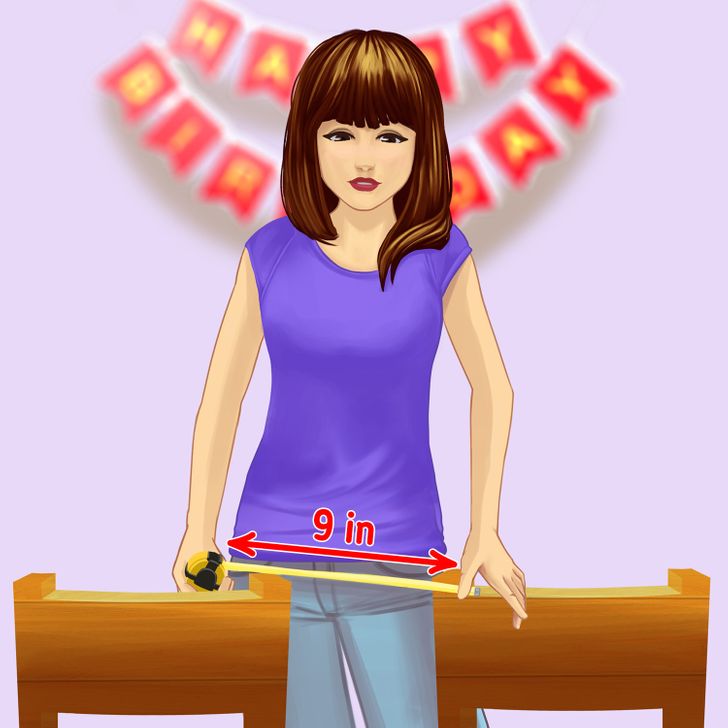
- Place the chairs with the backs side by side, 9 inches apart. This will help you calibrate the balloons to 9 inches.
Step 2
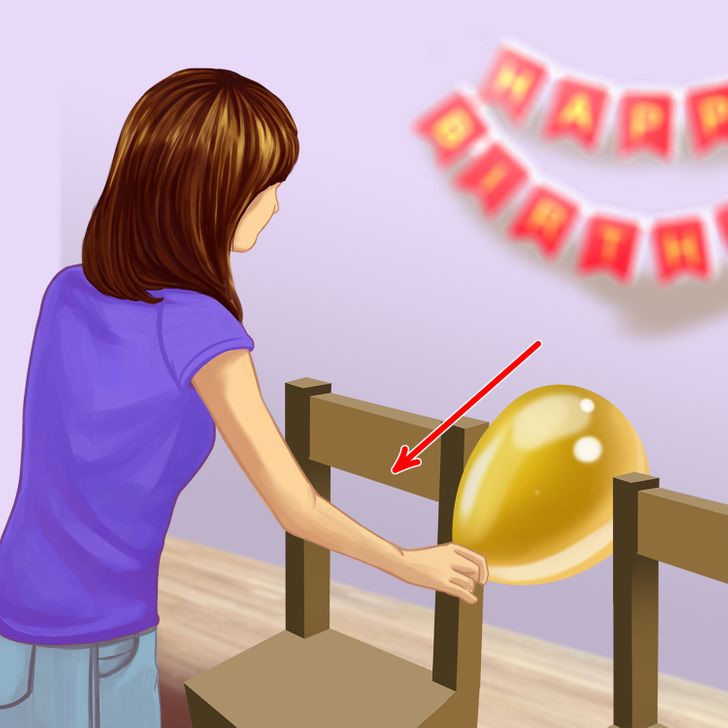
- Blow up a couple of balloons of the same color and pass them in between the chair backs. Deflate them or add a little more air if necessary.
- The goal is for each balloon to pass between the gap just the right amount.
Step 3
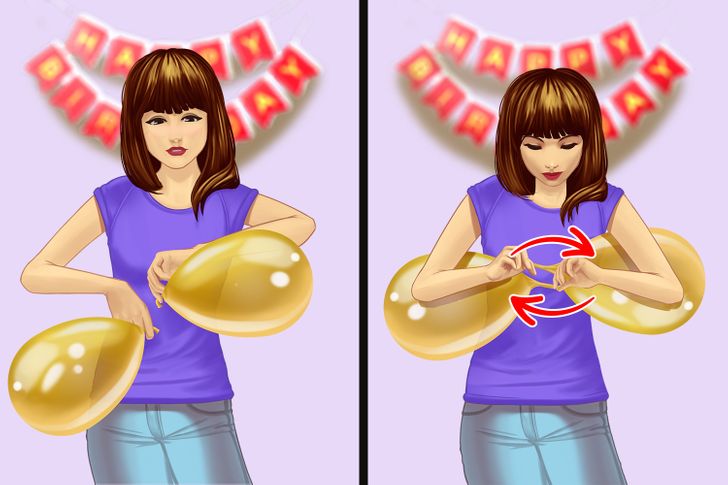
- Once both balloons are calibrated and of the same size, place them under your arms, pressing them against you. Stretch and cross both ends before twisting them twice to join them together.
- Then tie the ends in a single knot. Repeat these steps with 2 balloons of different colors.
Step 4

- Join the 2 sets of balloons, joining their respective knots in the center and giving a couple of turns.
- You will get a set of 4 balloons with alternating colors.
Step 5

- Repeat the above steps until all the balloons have been completed, which will total 30 sets.
Step 6
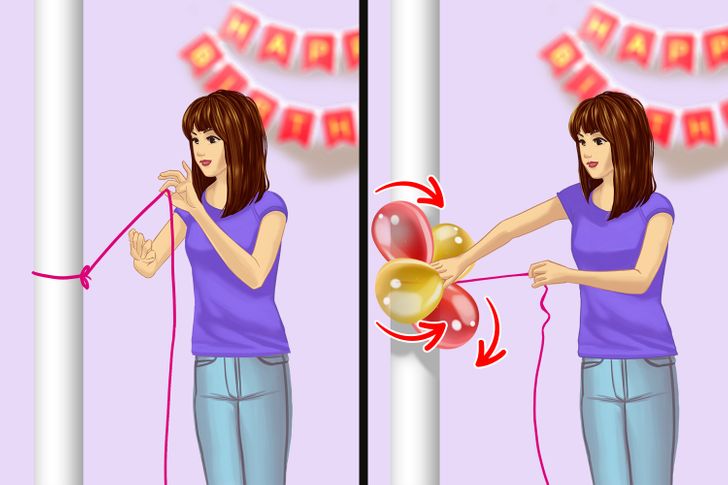
- Tie the end of the decorative ribbon or transparent thread to a fixed place. Be sure to leave a piece long enough to be able to untie it later.
- Stretch the ribbon with one hand and place one of the balloon sets on it with the other hand. Press the knots firmly and tie the 4 balloons, going through one at a time.
Step 7
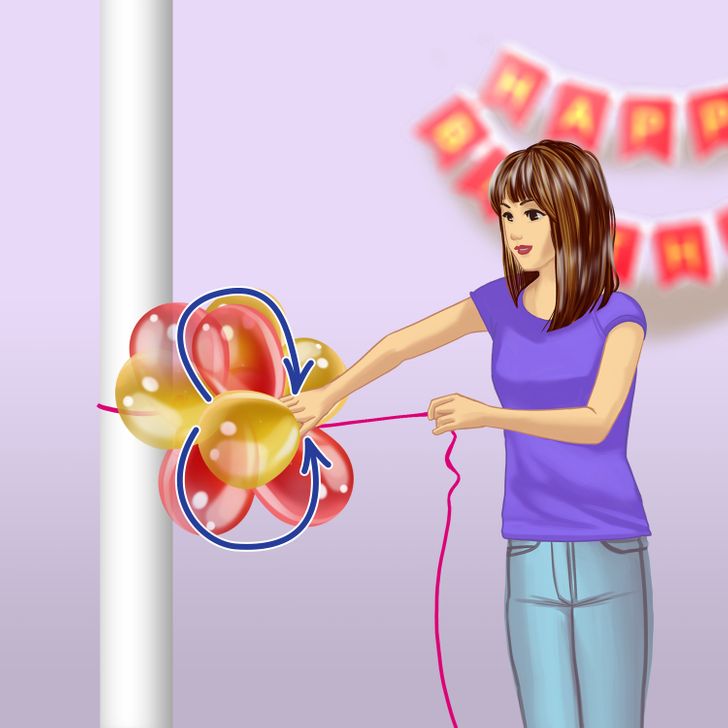
- Place another set of balloons on the ribbon, rotating the colors so that they form a spiral.
- Press while holding the knots against the ribbon and wrap a couple of balloons as if you were forming an 8.
Step 8
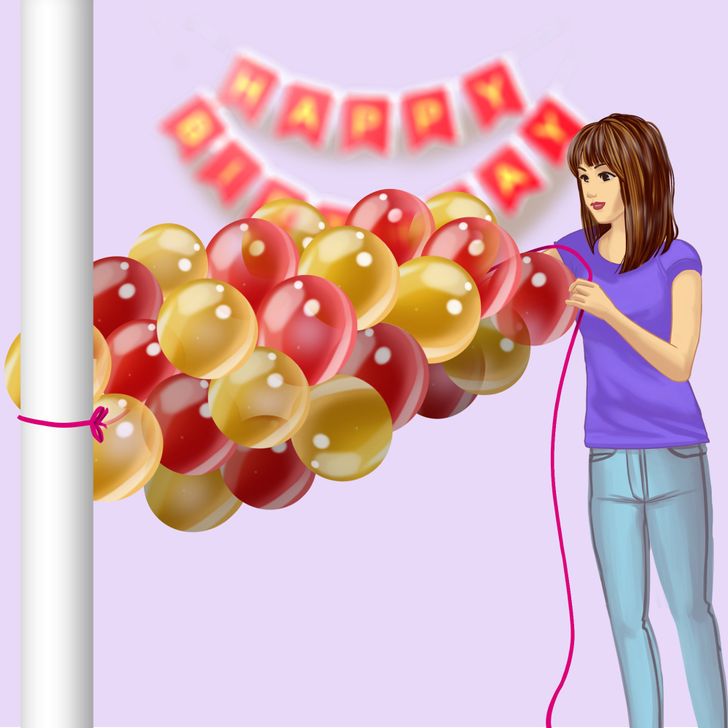
- Repeat the above steps with the rest of the balloons. Make sure that when positioning them, you exert adequate pressure so as not to leave empty spaces between them and to ensure the column can bend when forming the arch.
Step 9
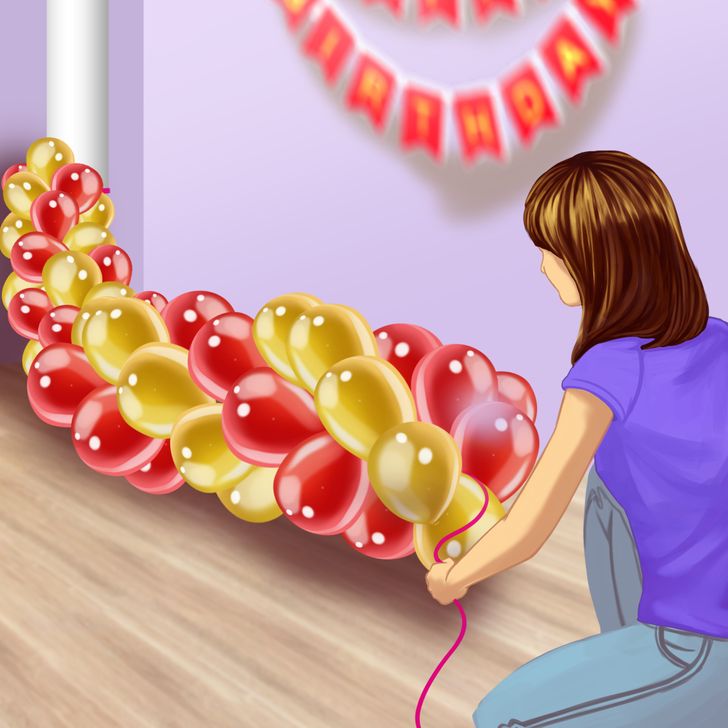
- Once you’ve placed down the last set, wrap the ribbon around each balloon. If you wish, you can tie a knot to give it more firmness.
- Leave a piece of ribbon long enough so that you can tie a bow later. Cut with scissors.
Step 10
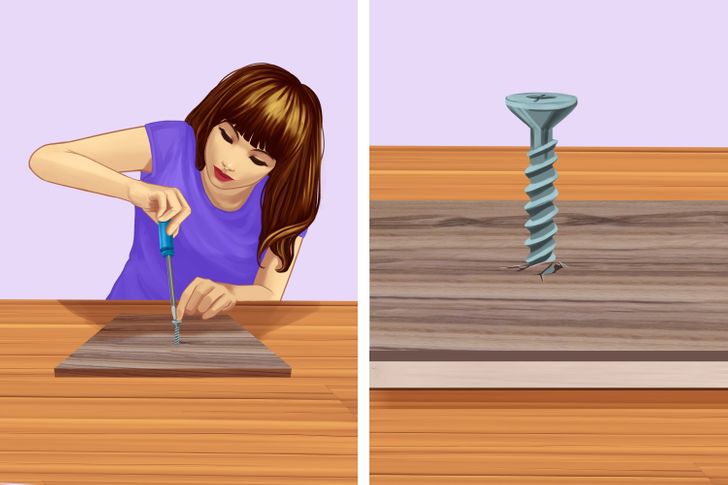
- Place the screws in the center of each piece of wood. Make sure they are as tight as possible, but leave one end slightly outward.
Step 11
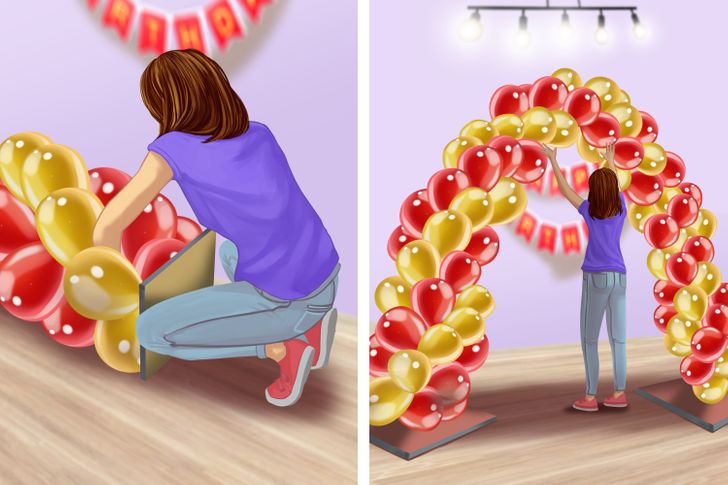
- Tie each end of the balloon column to the pieces of wood and lift the arch by pushing it up.
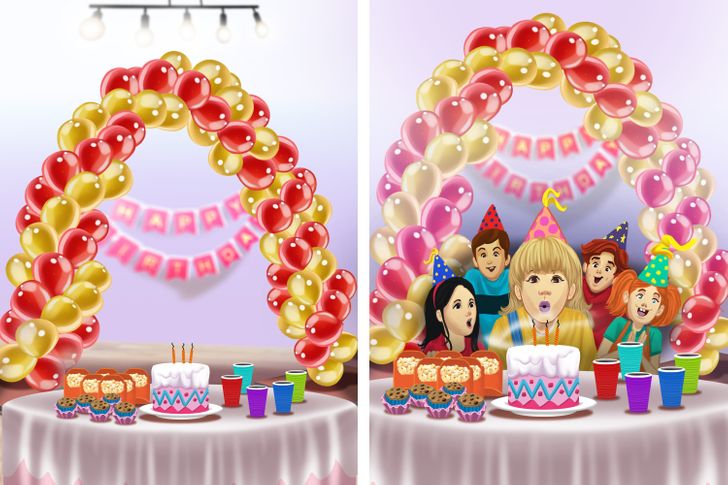
- With this last step, your balloon arch is ready to use to decorate your party.
- If you want to make sure it has more stability, you can lean it against a wall or tie it with a piece of transparent thread.
If you enjoy crafting, take a look at these creative DIY projects for dolls
Share This Article