How to Bake the Perfect Cookie
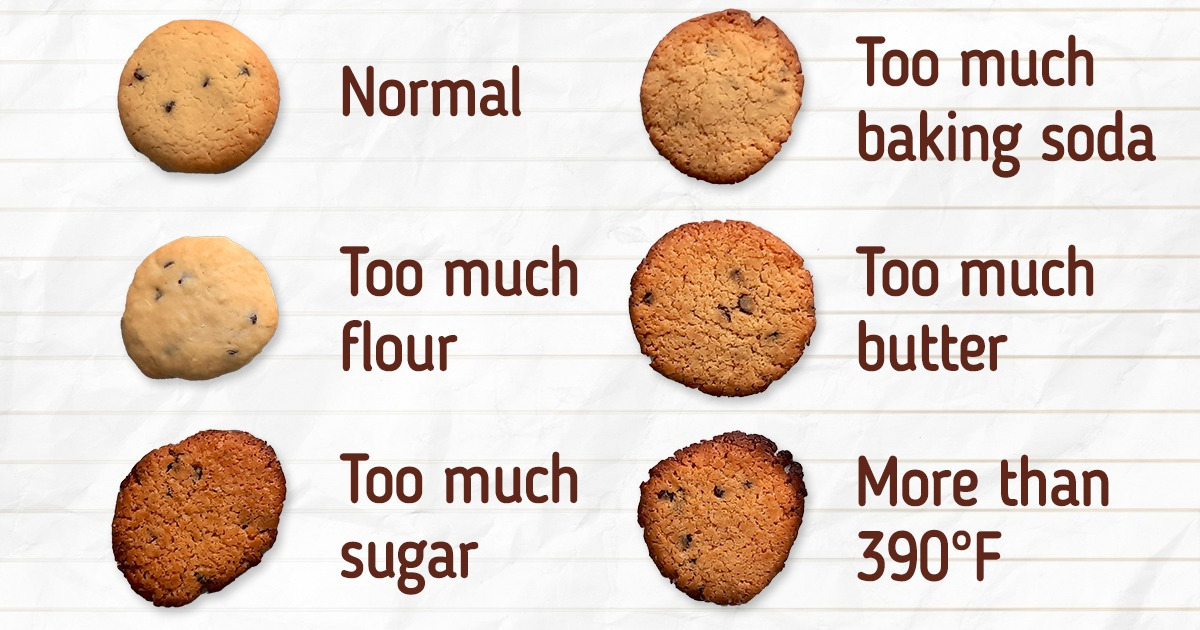
If you approach baking from a scientific point of view, you can find simple explanations for common mistakes. Moreover, by understanding the problem, you can easily determine the conditions under which the cookie will always be perfect. And you can also use this knowledge when cooking other foods.
At 5-Minute Crafts, we decided to find out what processes and chemical reactions take place in your kitchen when you’re baking an ordinary cookie.

Let’s take the recipe for chocolate chip cookies. You can replace chocolate with dried cranberries if you’d like.
Ingredients:
- 2 tablespoons of butter at room temperature
- 1/4 cup of brown sugar
- 1 egg yolk
- 1/2 teaspoon of vanilla
- 1/3 cup of all-purpose flour
- 1/4 teaspoon of baking soda
- 1/4 cup of semi-sweet chocolate chips
The baking process:
- Preheat oven to 350°F. Line a baking pan with parchment.
- Stir the butter with sugar in a bowl until creamy. Stir in the egg yolk and vanilla until combined. Stir in the flour and baking soda. Then stir in the chocolate chips.
- Form cookies out of the batter and put them on the baking pan apart from each other. Bake for about 10 minutes. Take out the pan and let the cookies cool just slightly, for about 2 minutes.
Common mistakes and how to avoid them
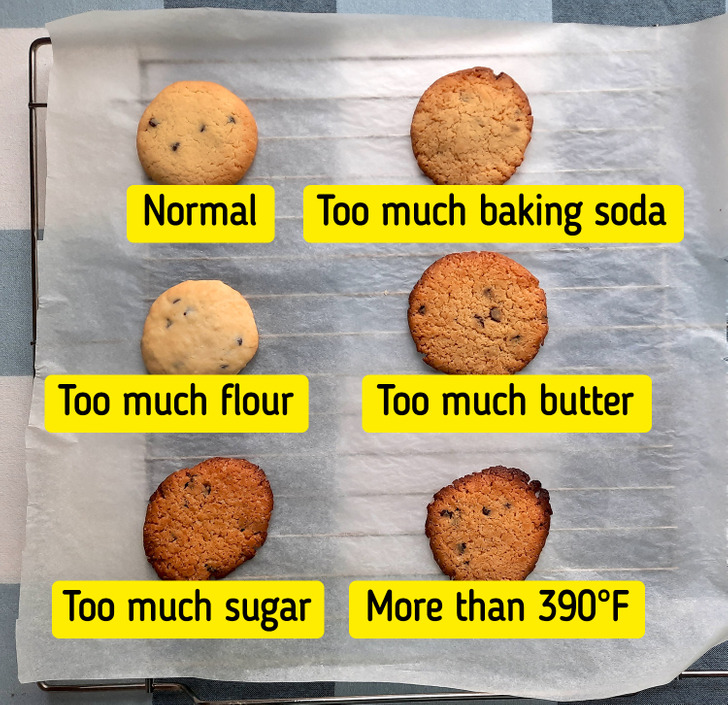
Mistake 1: You used butter taken right out of the refrigerator or, conversely, it stayed on the table for a long time and became soft.
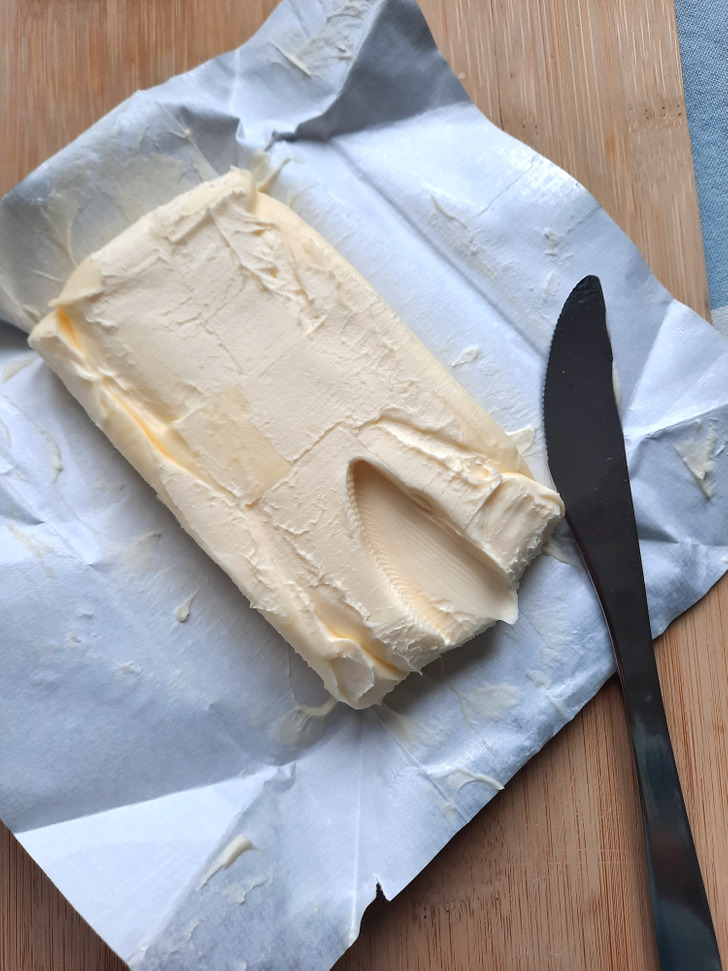
Most recipes recommend using room temperature butter. It has the right consistency to retain air trapped inside when beating. Later, the air under the influence of high temperatures begins to expand, making the baked good fluffy.
Room temperature is about 65°F. If you press room temperature butter, your finger will make an indent. Your finger will slide on cold butter, and sink in butter that is too warm. It is important to do the following:
- If you use butter that’s too warm, the cookies will overspread on the baking sheet.
- If you use cold butter, while trying to achieve the desired plasticity of the dough, you will most likely add too little flour and grind the sugar poorly. As a result, the cookies will also overspread and burn.
✅ Tip: It is enough to take the butter out of the refrigerator and leave it on the table for about an hour. If you don’t want to wait, pour 2 cups of water into a bowl, put it in the microwave, and heat for 2 minutes. Then take the bowl out of the microwave and put the butter on the plate in the microwave. Close the door, don’t turn it on, and wait 10 minutes. This will be enough for the radiant heat to soften the butter.
Mistake 2: You added too much flour to the dough.
This might happen if you use butter that’s too soft or warm, and in an attempt to make the dough less sticky and more elastic, you added too much flour. As a result, the cookies will be hard and dry with a hard crust. To avoid this situation, follow the instructions in the recipe.
Mistake 3: You replaced white sugar with brown sugar or vice versa but didn’t take their specific features into account.
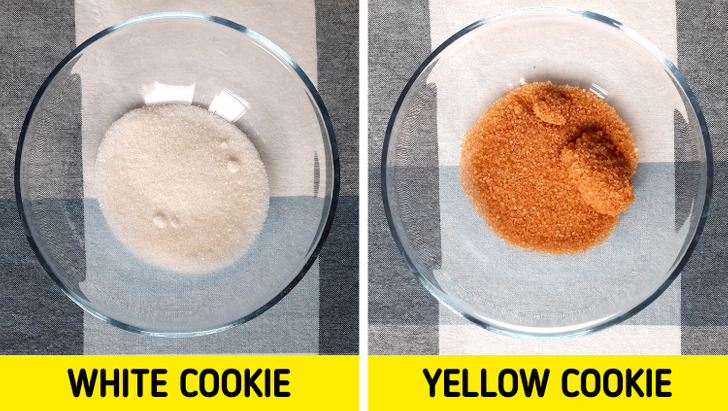
In our recipe, it’s recommended to use brown sugar, but it can be replaced with white sugar. It’s worth knowing their differences:
- Brown sugar gives cookies a richer flavor and a yellowish-golden hue, which can cause you to accidentally undercook it, thinking that a dark crust is a sign of readiness. It’s great for recipes that include baking soda, helping it produce carbon dioxide. The cookie will have a porous and moist base due to the molasses that brown sugar contains. This cookie is unlikely to rise much, but it will spread a little.
- Cookies with white sugar will be more brittle and milky white with a golden hue, possibly rising a little in the oven. But after you take it out, the color may darken as a result of the caramelization process.
✅ Tip: Be sure to mix sugar with butter until the mass is as smooth as possible and sugar crystals are almost invisible in it. During baking, be guided by the recommended time, then remove the cookies from the oven and let them cool for 10-15 minutes — they will darken slightly and harden on the inside.
Mistake 4: You added too much baking soda or baking powder.
Baking soda, when exposed to heat, begins to release carbon dioxide, due to which, the dough becomes porous and expands. This happens faster than the crust bakes, resulting in small cracks on the surface of the cookies.
Baking powder consists of soda (sodium bicarbonate) and citric acid (or another product that acts as an acidity regulator). Therefore, it can replace baking soda in the recipe.
But in both cases, you should adhere to the recommended dosage: if you add too much baking powder, cookies will be covered with large cracks.
✅ Tip: Baking soda needs an acid to not give the dough an unpleasant taste. This acid can be vinegar or lemon juice.
Mistake 5: You didn’t put the dough into the fridge.
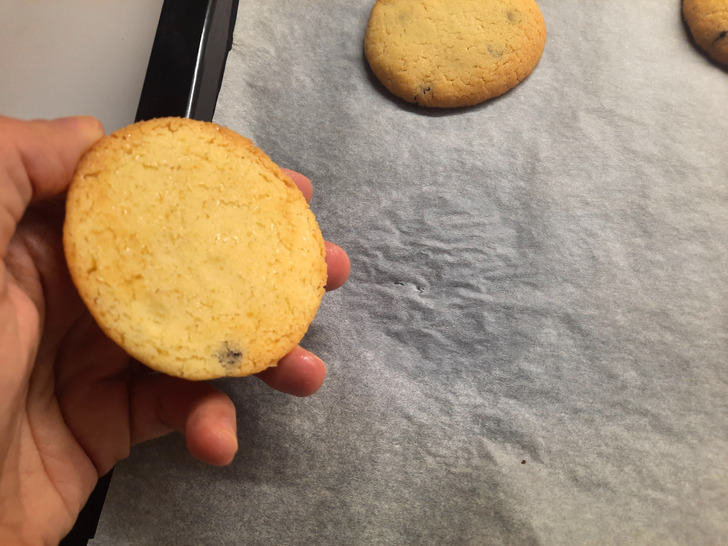
It’s enough to put the finished dough into the fridge for 30 minutes. Thanks to this, it will be saturated with moisture. As a result, the cookie will brown better, spread less, and develop a richer chewy texture.
✅ Tip: Before putting it into the fridge, wrap the dough in cling film or put it into a container and close the lid.
Mistake 6: You used regular chocolate.
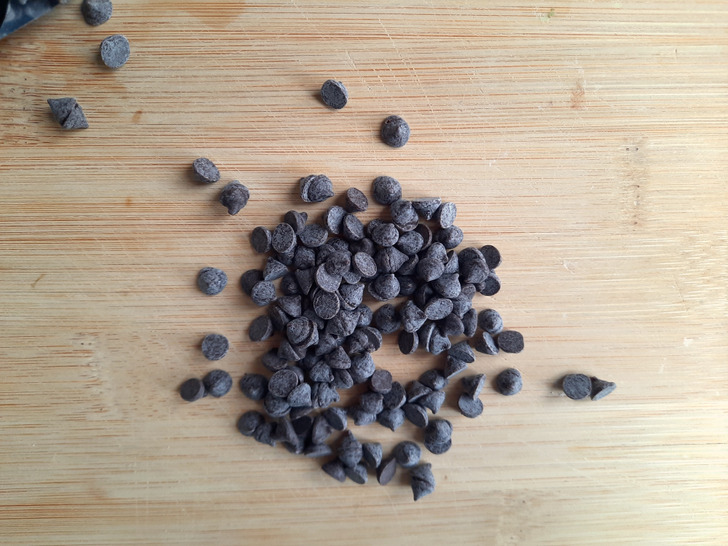
It’s best to use heat-resistant chocolate: it doesn’t melt and retains its texture even at high temperatures. Ordinary chocolate begins to melt and spread at a temperature of 93°F.
✅ Tip: Heat-resistant chocolate drops (as shown in the photo above) are perfect for baking. But you can replace them with pieces of good bittersweet chocolate (which contains about 60% cocoa).
Mistake 7: You baked the cookie for too long or didn’t follow temperature recommendations.
The longer you keep the cookie in the oven, the drier it will be inside. It is also important to monitor the temperature: focus on 350°F. This will give the butter enough time to melt and cause the cookie to spread out a little. Too high temperatures can cause the cookies to come out dry or even burn. Temperatures that are too low won’t start the Maillard reaction and the caramelization process.
✅ Tip: If your oven isn’t a new model, with sensors that don’t correctly reflect the temperature inside, it’s good to have an oven thermometer. Wrong temperatures can ruin the cookies. For the same reason, you shouldn’t open the door and check out what’s happening in there. It’s enough just to follow the time indicated in the recipe. If you use a convection oven, reduce the recommended temperature by about 25°F and shorten the baking time slightly.
❗Attention: The recommendations given above are universal, but the final result may be affected by the current condition of your oven, atmospheric pressure, the quality of local foods, and many other factors. We recommend you try to repeat our experiment at home to figure out your own formula for the perfect cookie.