How to Make a Meringue on a Stick
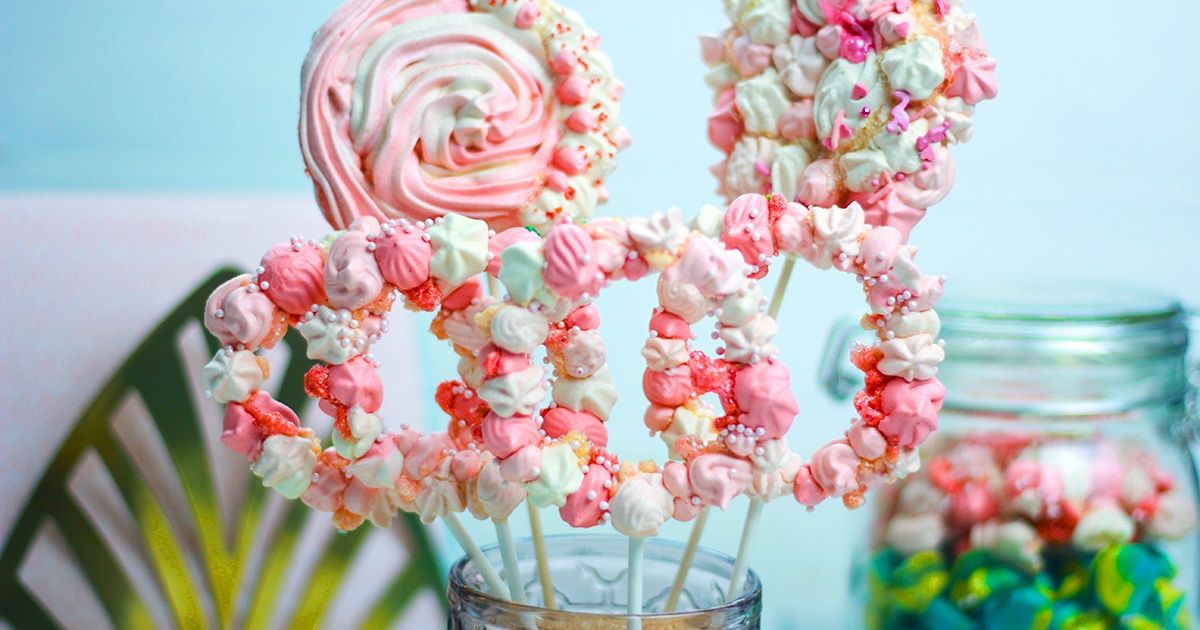
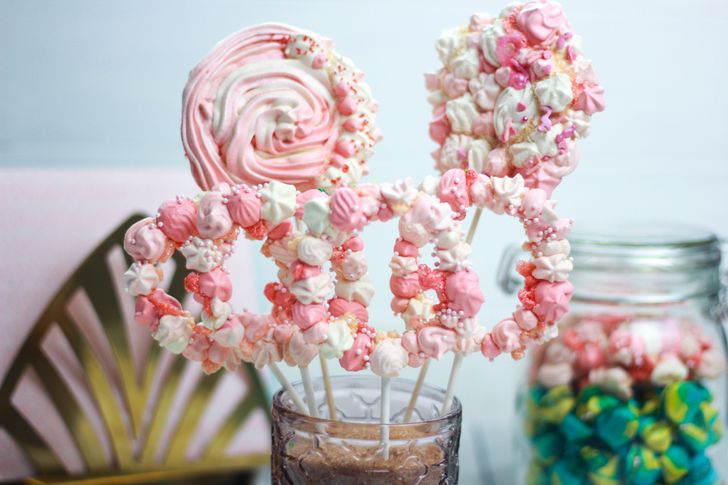
Meringue is a tasty and easy-to-cook dessert that leaves space for creativity and fantasy. For example, a meringue on a stick can become a nice present for both adults and kids, whether it’s for a special occasion or simply no occasion at all.
We at 5-Minute Crafts were inspired by the idea of edible presents and would like to show you what we managed to create.
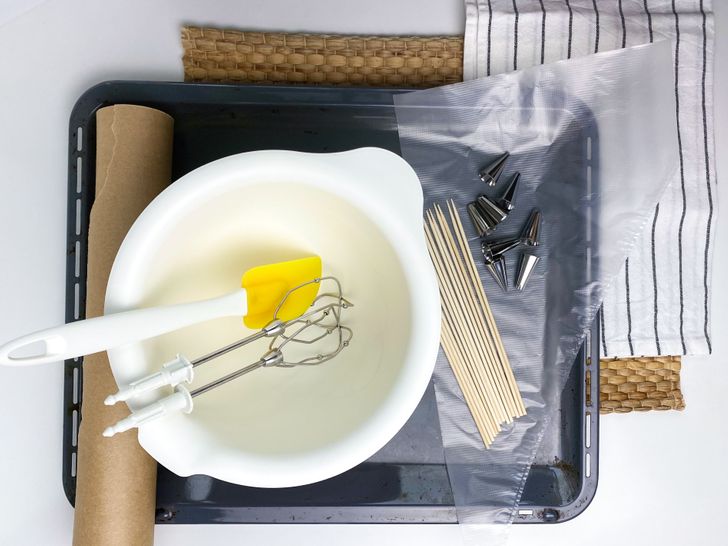
Kitchen utensils
-
A bowl for whisking
-
A mixer
-
A pastry bag and different nozzles
-
A baking sheet
-
Baking paper
-
Wooden or bamboo sticks
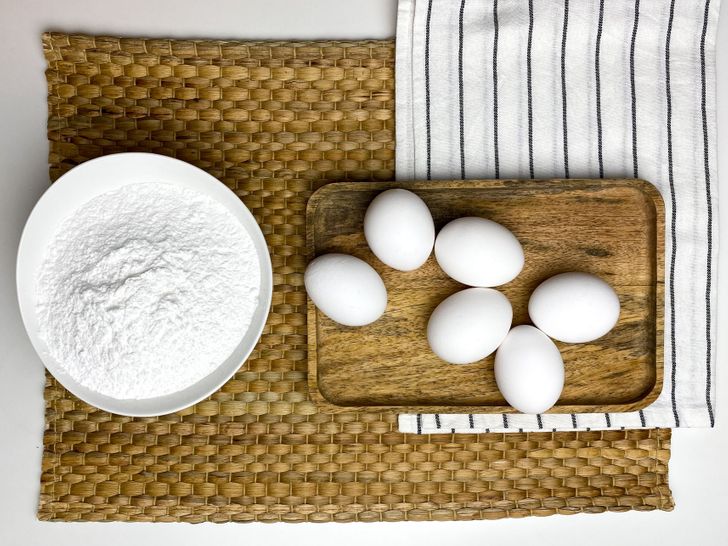
Ingredients
-
6 egg whites
-
1.5 cups of powdered sugar
-
food coloring (gel or dry) and confectionery dressing (optional)
How to do it
-
Get a bowl for whisking. It’s recommended to use glass or metal bowls, but in extreme cases, you can opt for a plastic one.
-
Cleanse the bowl to get rid of any dirt or wetness.
-
Fill the bowl with boiling water and lemon juice to degrease it.
-
Get the eggs out of the fridge in advance to let them warm up to room temperature. It will help you get a more stable, voluminous foam.
-
Make sure you use the freshest eggs.
-
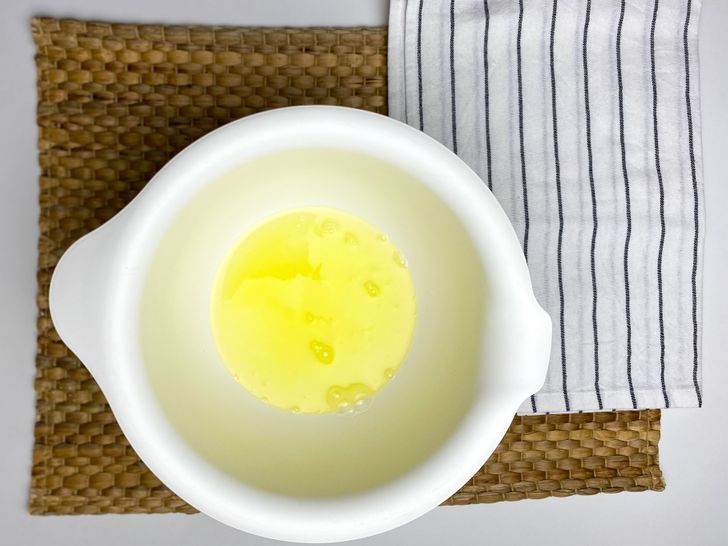
Separate the whites from the yolks.
-
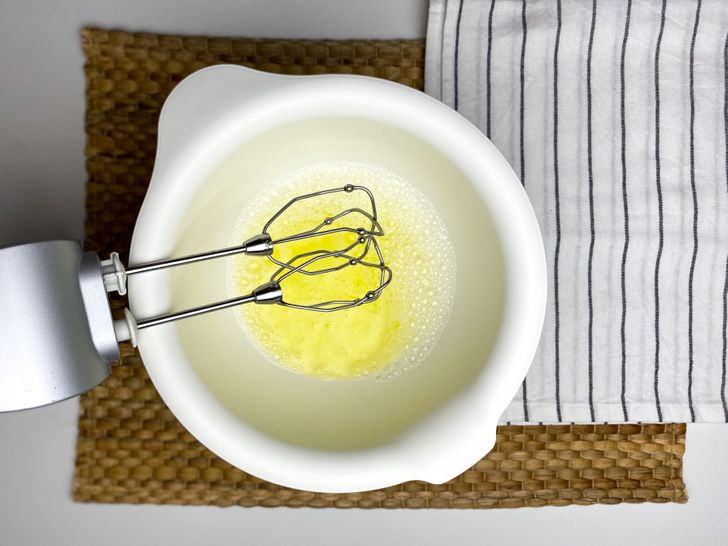
Place the egg whites in a mixing bowl.
-
Start to whisk them with the mixer at a slow speed — it will help the whites gradually get saturated with oxygen.
-
Slowly increase the speed. It isn’t recommended to decrease the speed once you reach the maximum.
-
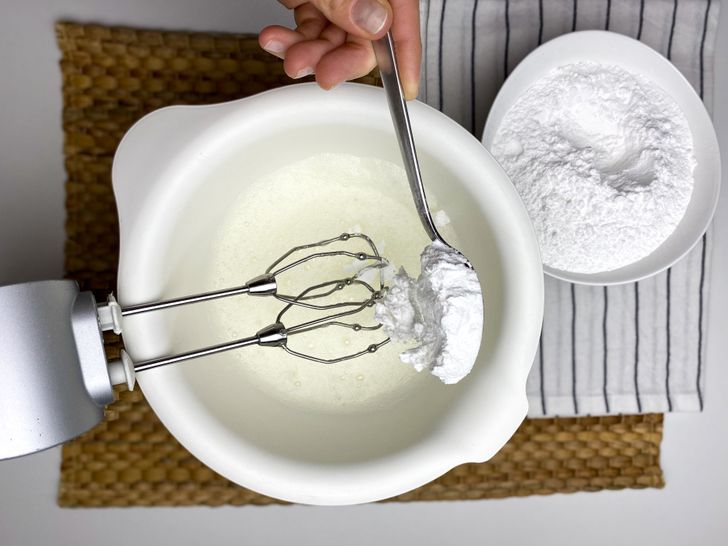
You can start adding the powdered sugar to the whites once they change their color into white and start to form foam. Add the powdered sugar, bit by bit, not stopping the whisking process.
-
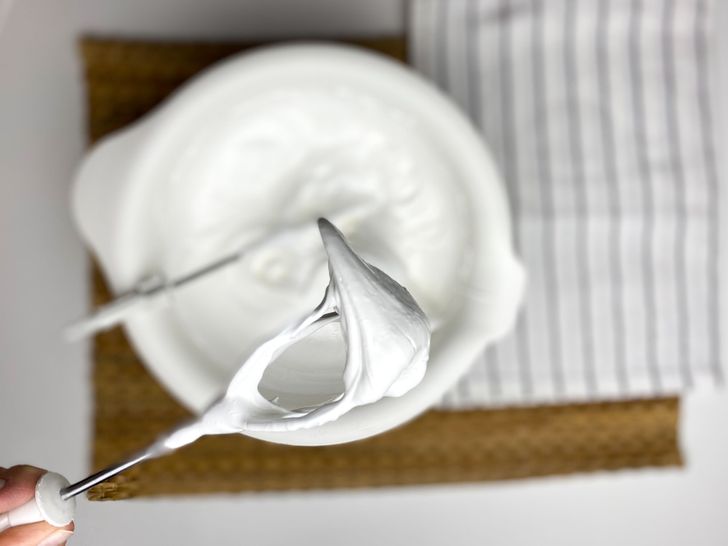
Continue whisking until the moment you start to get solid peaks from the mixture (the way it’s shown in the photo).
-
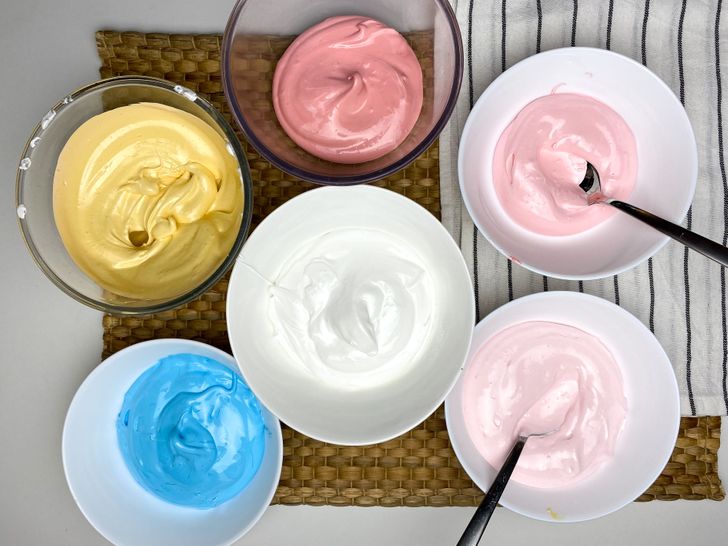
Divide the mixture into several parts depending on how many colors you’re going to use.
-
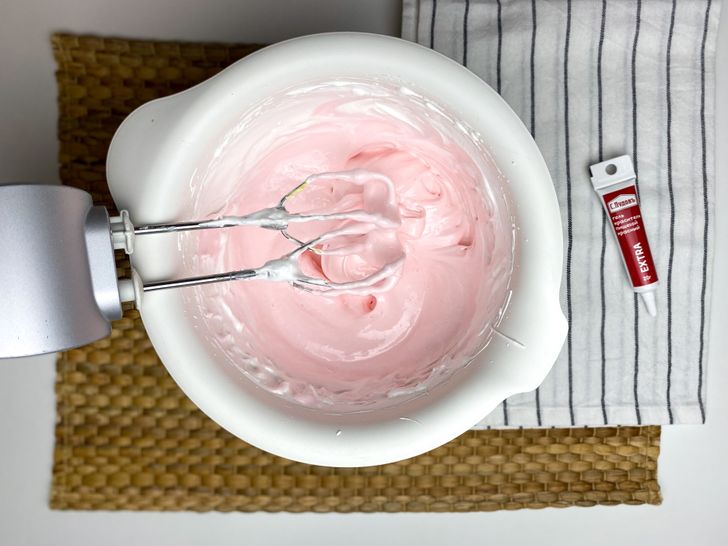
Add food coloring to each portion and mix well.
-
Regulate the shade of your future meringue by the amount of colorant you use. For example, we did 3 shades of pink by adding different amounts of the same colorant. Start with one drop, mix it, and check the result. If you’re using a dry colorant, start with several grains.
-
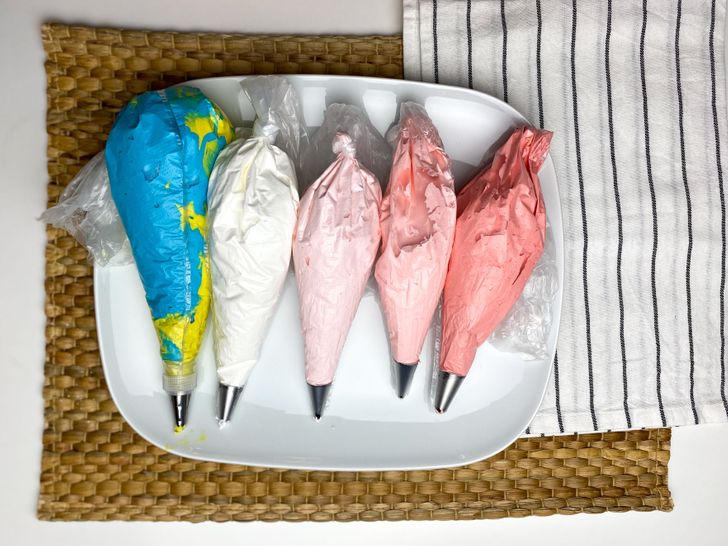
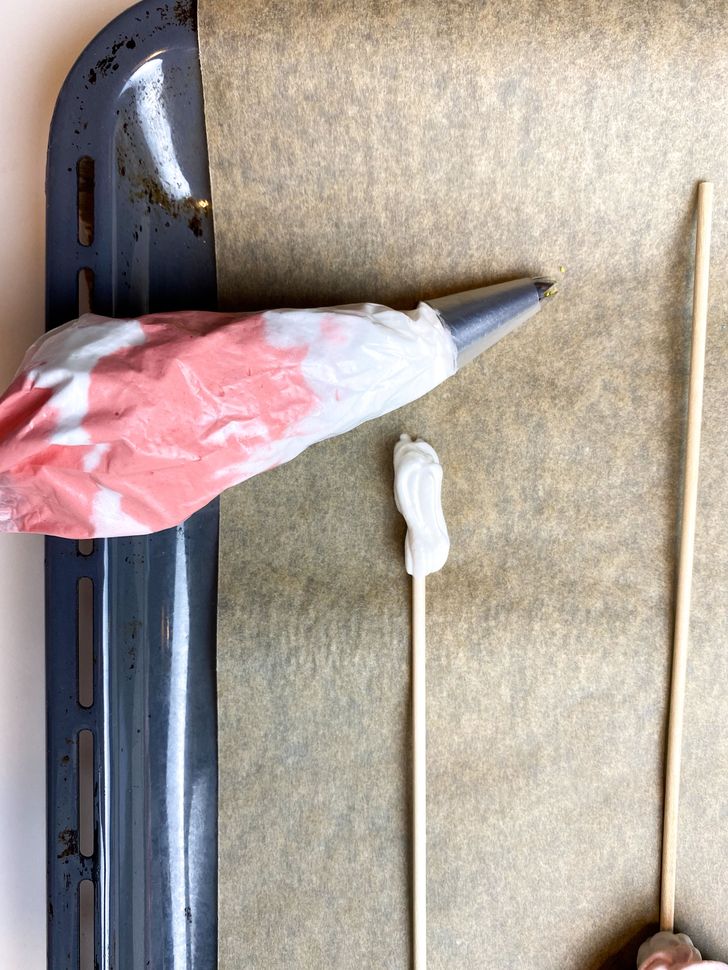
Place the mixtures for the meringue in pastry bags. It’s best to use disposable transparent bags. For convenience, place the bag in a glass or mug and put the whipped foam into the bag with the help of a spoon.
-
In order to make the meringue bi-colored or tri-colored, place the mixtures of different colors into the bag. Try to arrange it so that they alternate each other, or position them next to each other.
-
Use nozzles of different shapes.
-
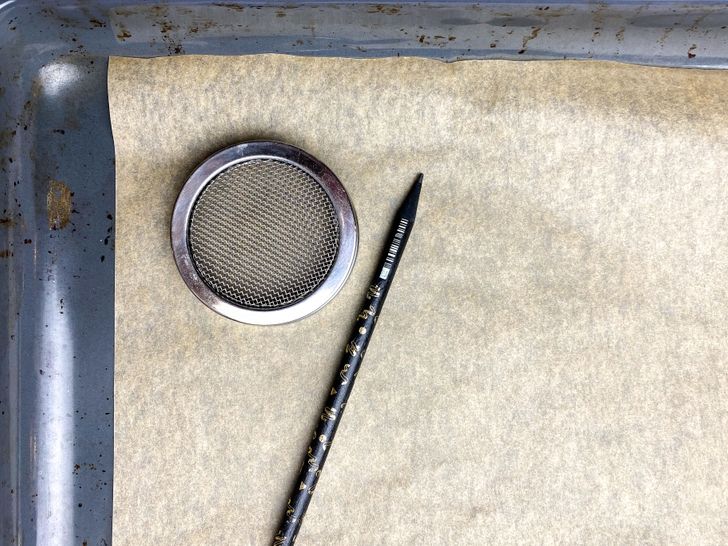
Take a baking sheet and cover it with baking paper.
-
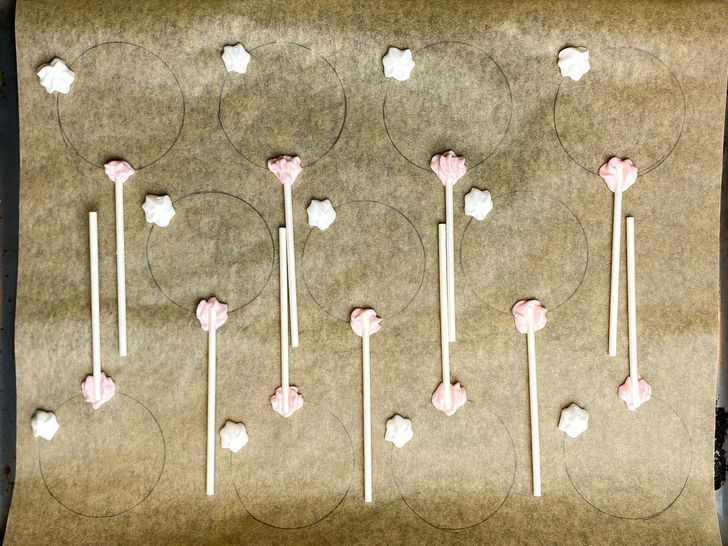
If you want to give a certain shape to the future meringue, draw this shape with a soft pencil on the paper. After that, turn the paper over so that the lines are not imprinted on the dessert.
-
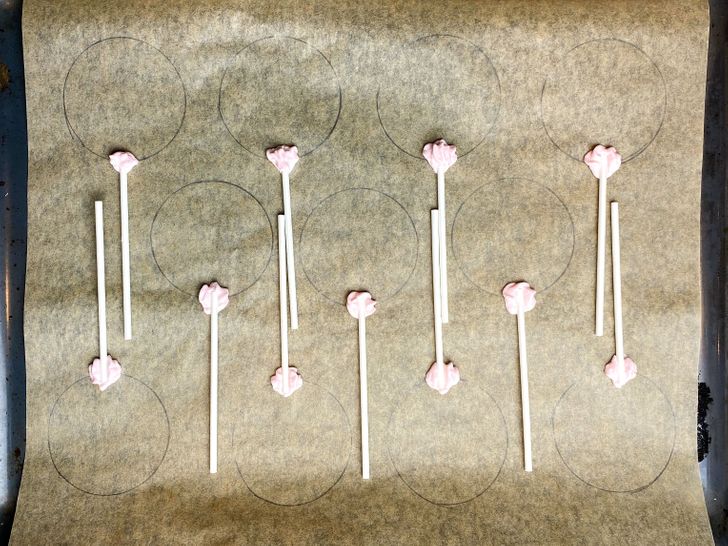
Mark the location of the sticks to which the meringue will be attached.
-
Squeeze a small amount of meringue on the bottom of the drawn circle and place the sticks over it. Don’t press the sticks so that they don’t go through the meringue mixture or touch the paper.
-
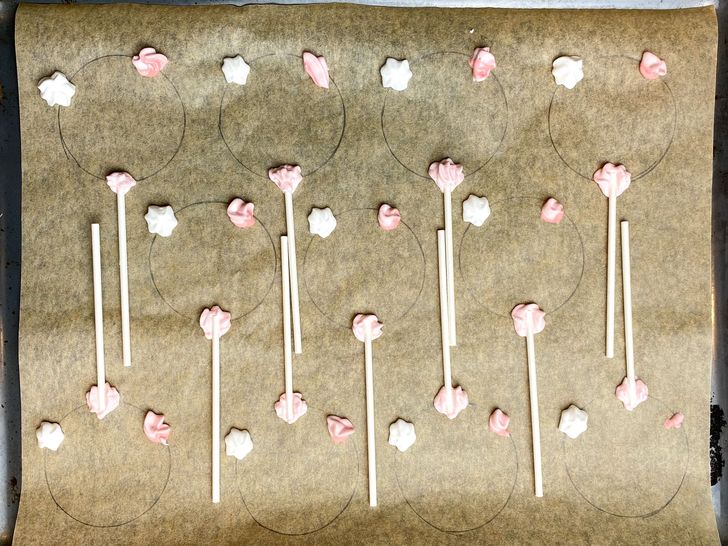
If you are going to make meringues of the same shape, it’s convenient to shape them simultaneously so that the pattern repeats.
-
Alternate the meringue colors.
-
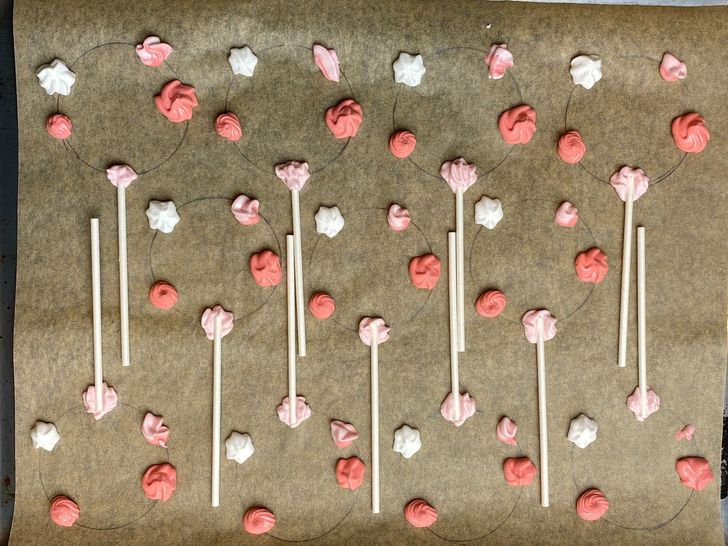
Change the shapes of the nozzles you use.
-
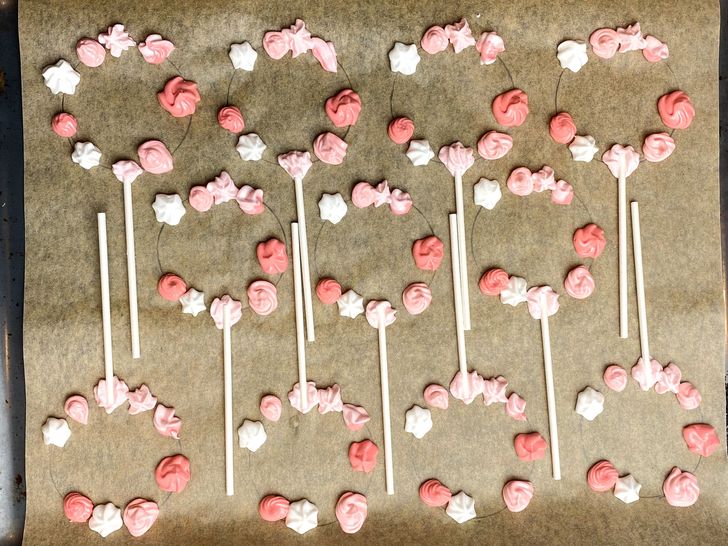
The shape of the small meringues that will eventually make up the entire composition can be changed.
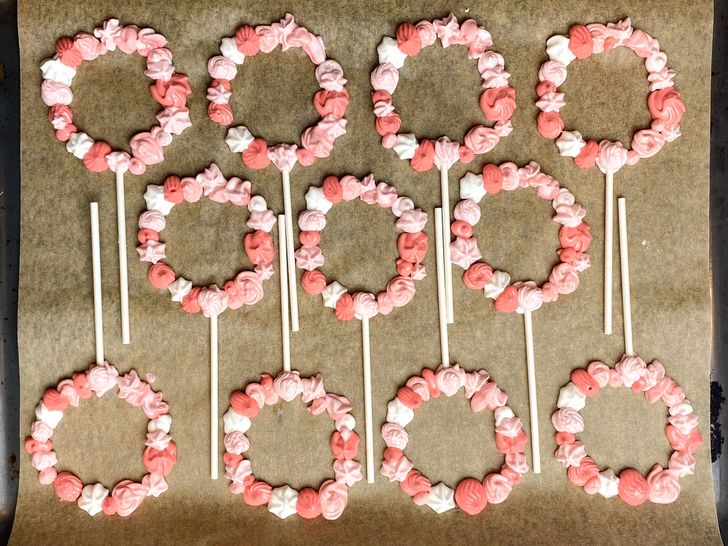
-
Make sure there are no gaps between the parts of the mixture.
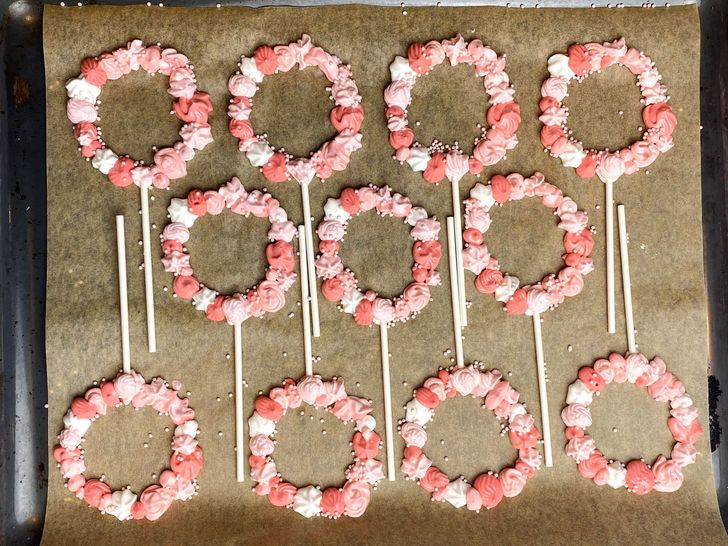
-
Add the confectionery dressing at this point.
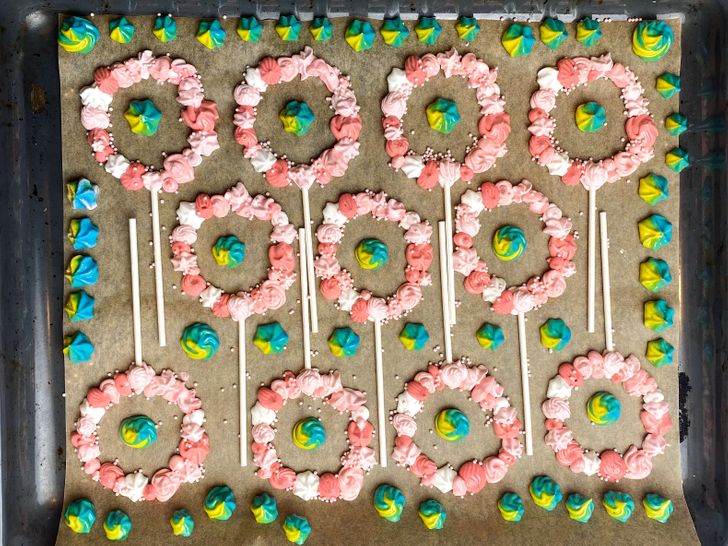
-
In order to save time, form small meringues on sticks next to the large ones.
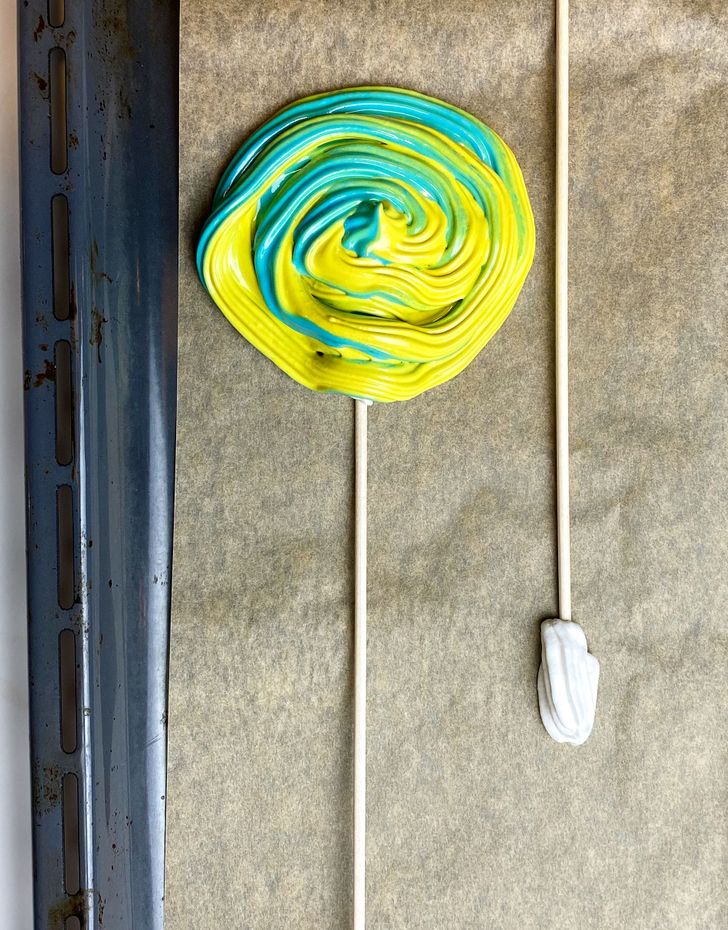
-
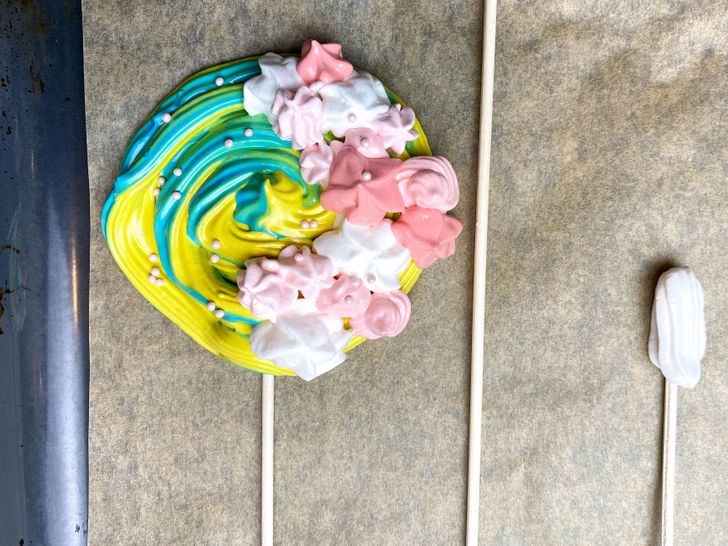
Meringue on sticks can be of different shapes. For example, a round treat will look more interesting if it’s bi-colored.
-
Add decorative details or just use confectionery dressing.
-
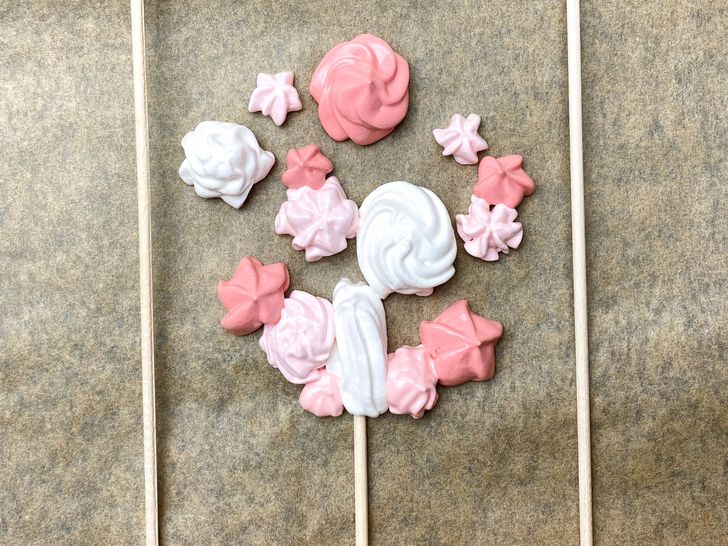
When designing something, always try to start with big details.
-
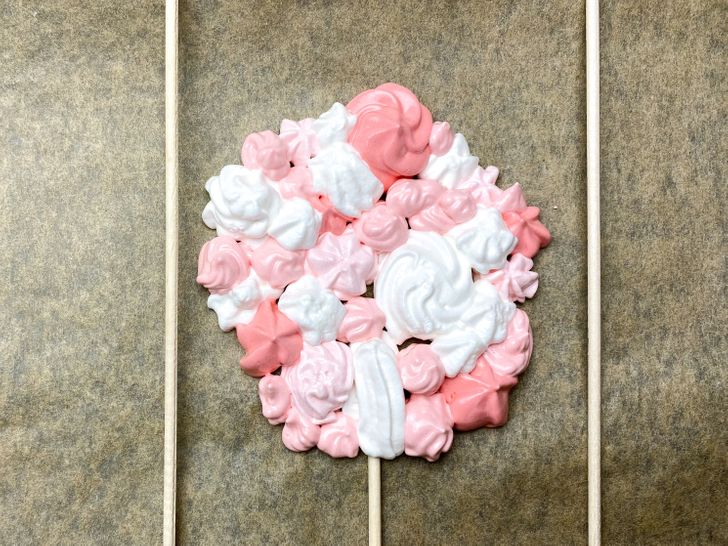
Only after can you complement the design with smaller details.
-
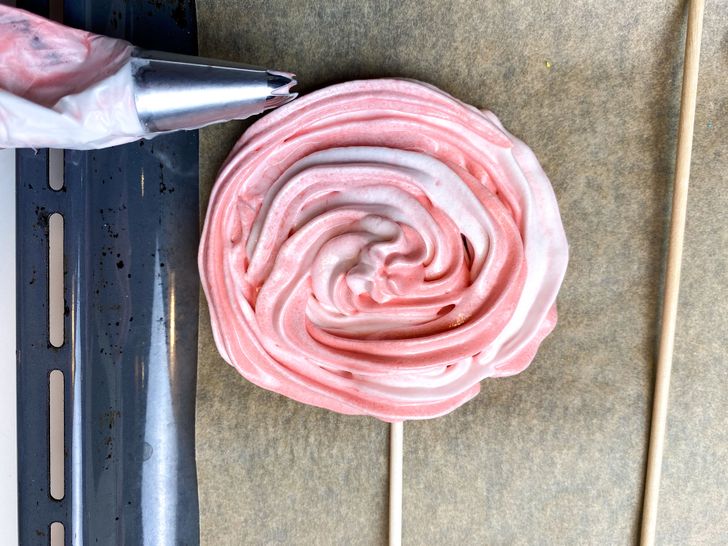
Try making a tri-colored meringue. For this, we mixed white and 2 shades of pink in one pastry bag.
-
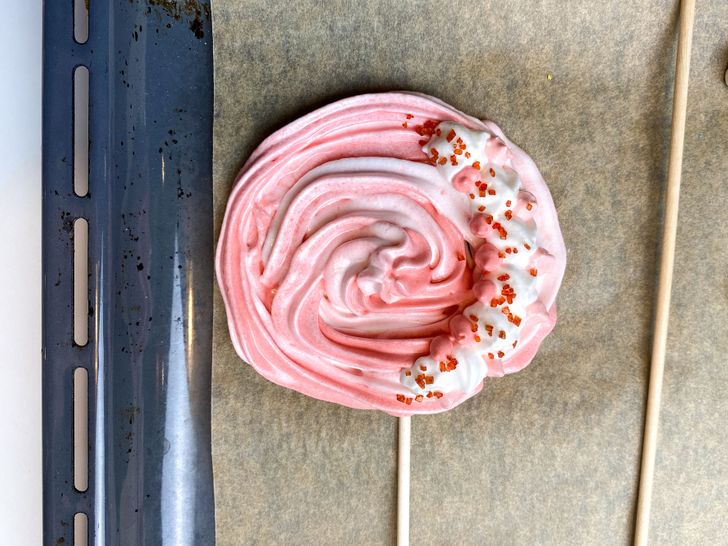
Here’s what we got.
-
When adding details, keep in mind that meringue shouldn’t be too thick because it will increase in size when baked in the oven.
-
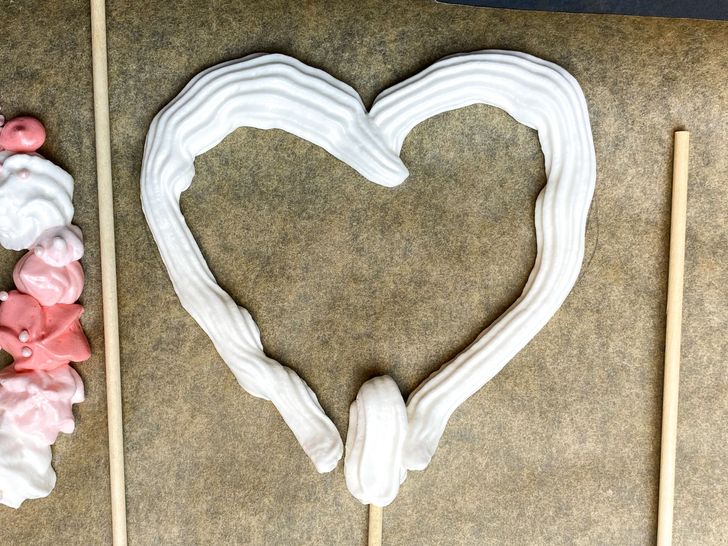
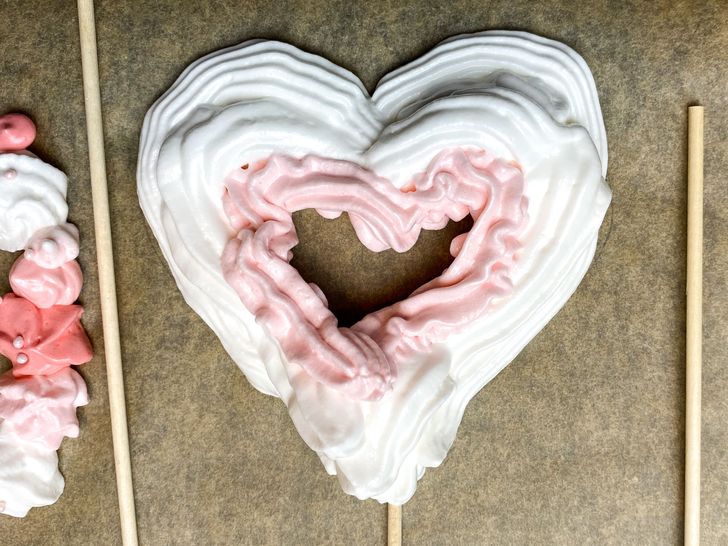
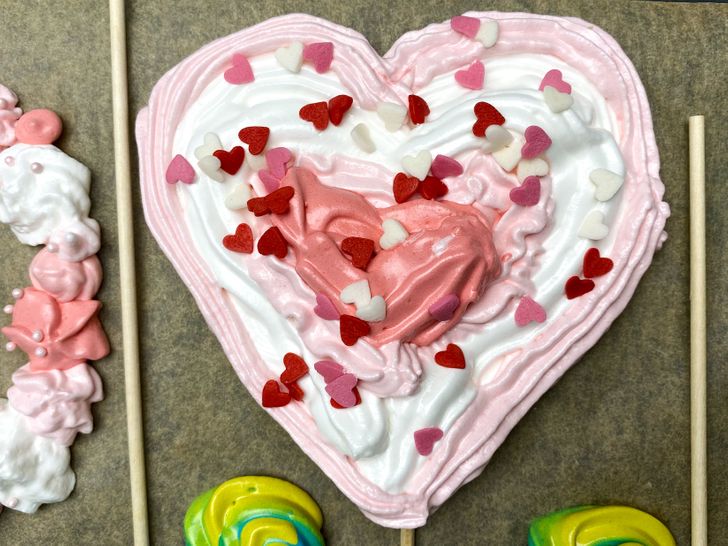
You can make a heart-shaped meringue for Valentine’s Day.
-
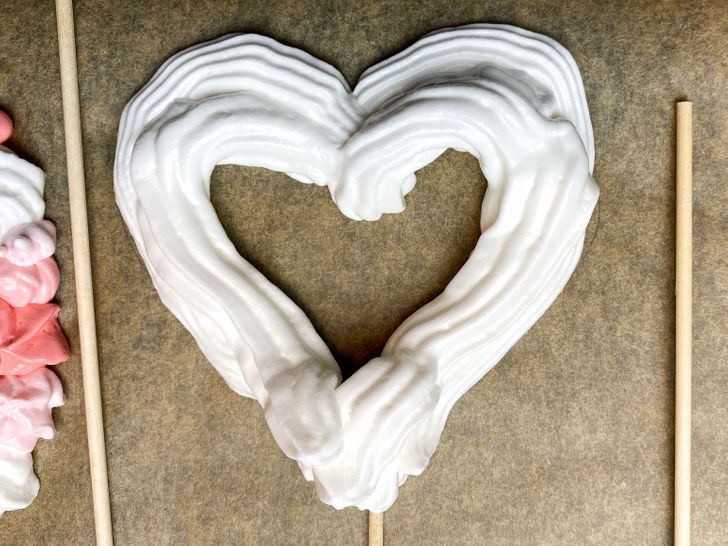
We made a mistake here — we laid one layer over the other.
-
Choose nozzles with deep slots — it will help the meringue look more spectacular.
-
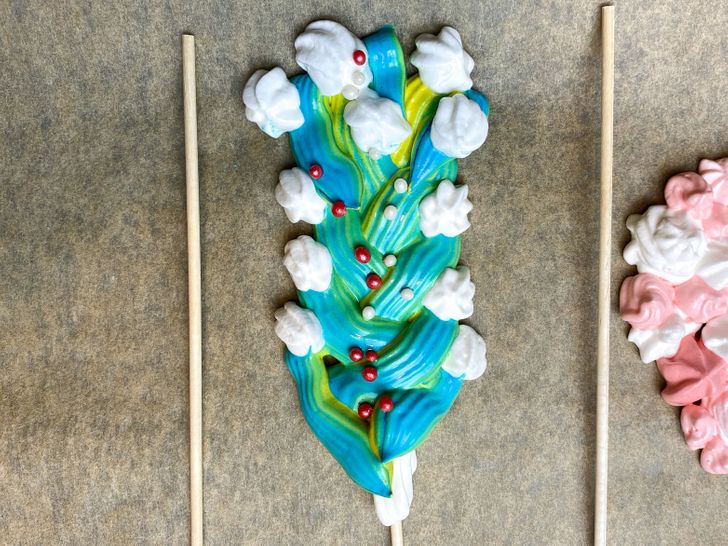
Confectionery sprinkles can help hide imperfect lines.
-
Use a nozzle with a flat slot to create a braid-shaped meringue.
-
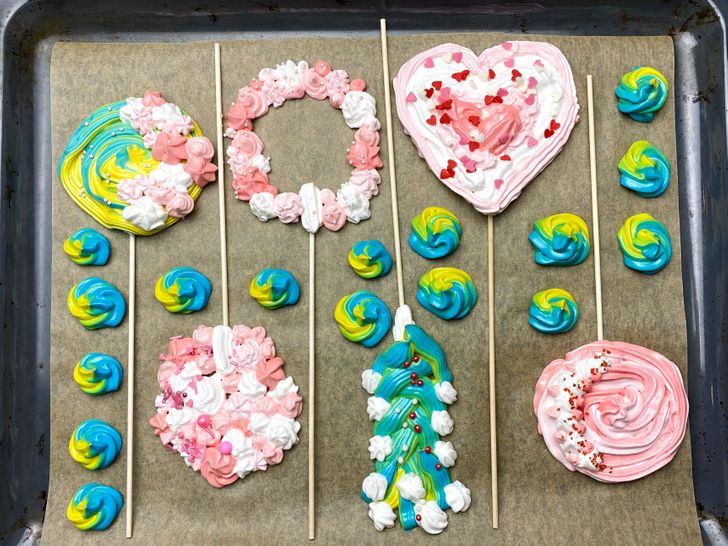
Place the meringues of different shapes in a chess-like order to save space on the baking sheet.
-
Bake the dessert in a pre-heated oven of 230°F for 1 hour.
-
It’s forbidden to open the oven door while the desserts are baking.
-
Meringue can be served right after baking.
-
It’s recommended to store meringue in a closed container in a dry place.
-
Satin ribbons tied to a stick will complement the look.