How to Make a Princess Cake
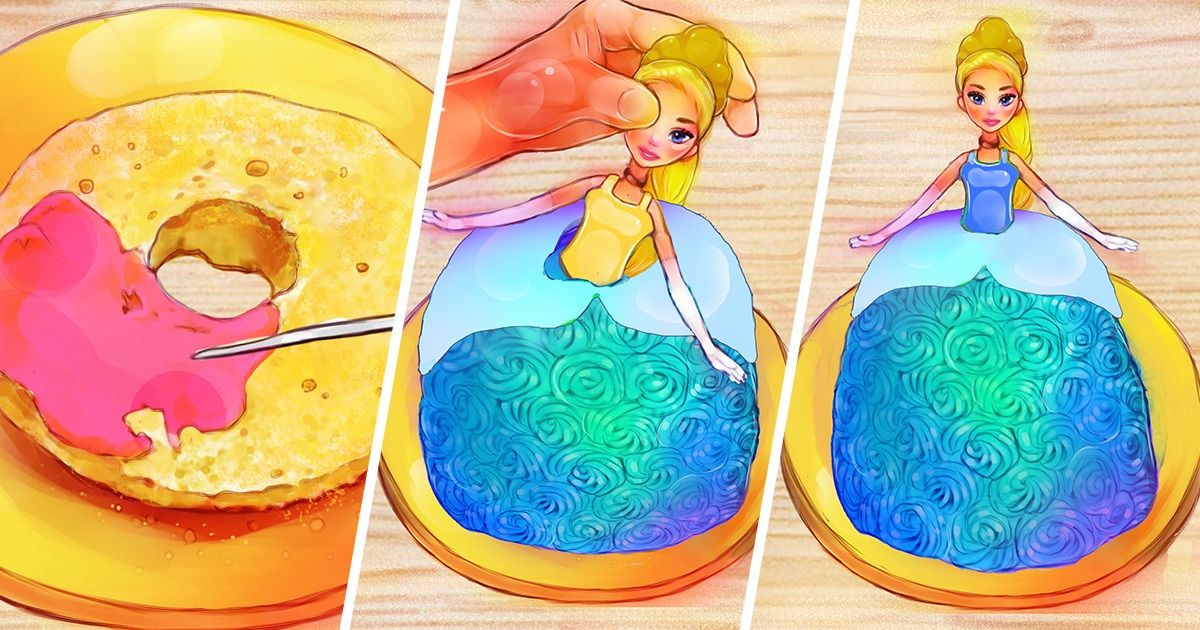
A princess cake can be the perfect gift to surprise your child with on their birthday. And if you think that it’s something super hard to make, or that it’s beyond your culinary skills, you’re definitely wrong. It’s actually fairly easy. And while it’s true that this type of cake usually looks expensive when it’s made by professionals, the same can also be said when you invest some of your time and have the right supplies to obtain amazing results.
5-Minute Crafts has prepared a simple guide so you can do it with utensils you probably already have in your kitchen.
What you’ll need
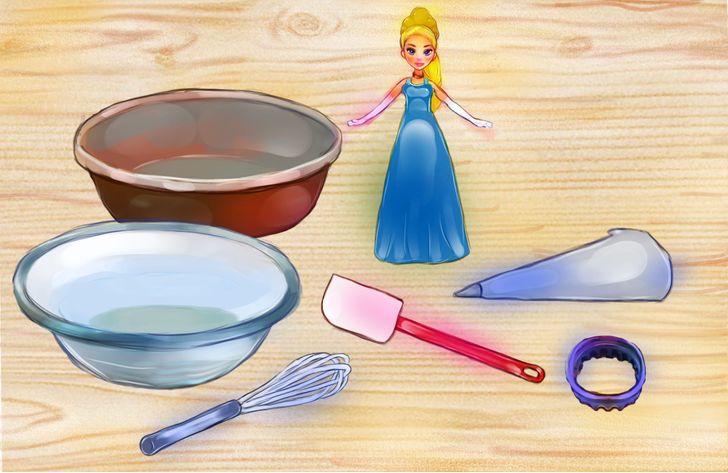
Equipment:
- A large cake pan
- A glass bowl with a heat resistant oval base
- A spatula
- A cake piping bag or a clean plastic bag
- Any Disney princess or a similar doll
- A hand or electric mixer
- A tumbler or circular cookie cutter
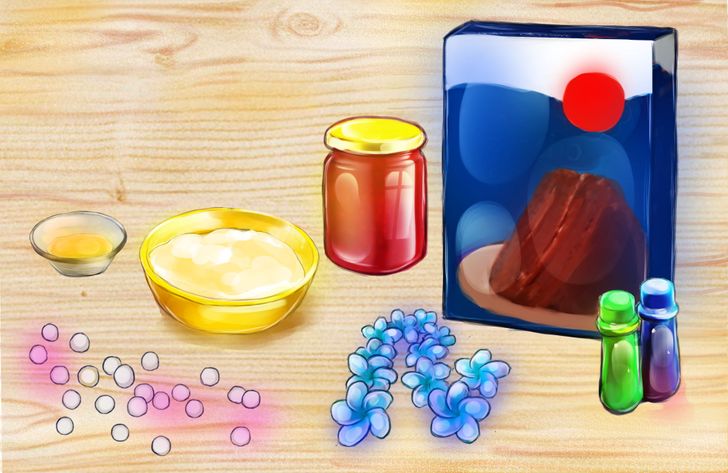
Ingredients (may vary according to your preferences):
- Baking mix for 2 sponge cakes that are about 18 cm in diameter (approx. 2 boxes)
- 2 tablespoons of butter
- Marmalade or creamy-textured filling
- Edible coloring
- Whipped cream or something similar
- Edible flowers, petals, and decorations
Step 1
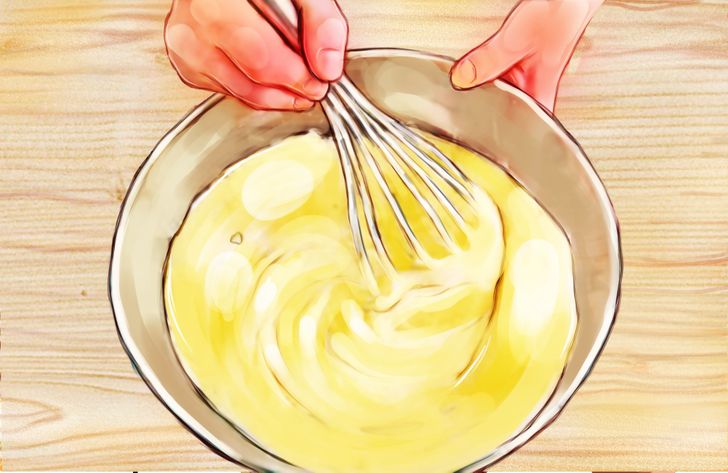
- Beat the cake mix for your cake according to the instructions on the box or in the recipe.
- Remember that you have to bake 2 cakes that, when put together, should be at least 6 inches tall. This should be enough to cover the doll’s legs. They should also be about 6 inches in diameter. If you use a smaller cake pan, bake 2 cakes instead of one.
Step 2
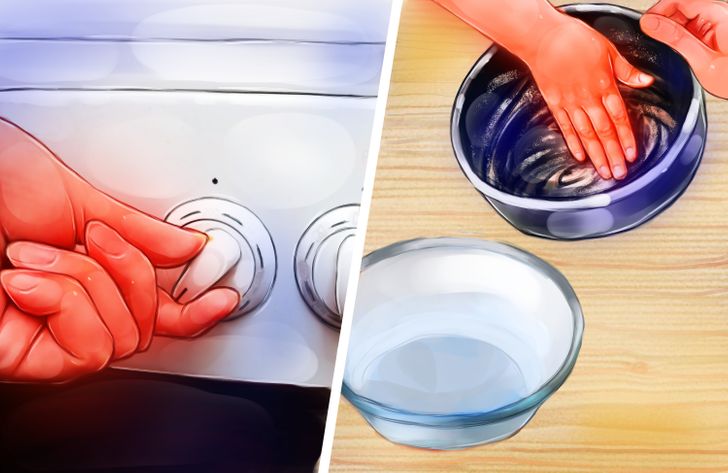
- Preheat the oven to 365ºF (180ºC) and butter the inside of the cake pan and the glass bowl. This will prevent the cakes from sticking.
Step 3
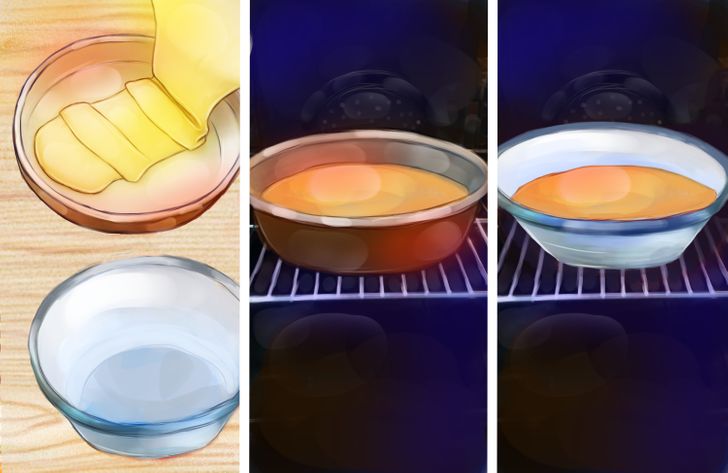
- Pour the mixture into the round cake pan until it’s covered halfway only. Pour the mixture into the glass bowl as well. Then bake it for 25 to 30 minutes. Once that’s done, bake the mixture in the glass bowl separately for 45 to 50 minutes.
- Let both cakes cool for 10 minutes before removing them from the pan. Then let them stand for at least 1 hour before slicing.
Step 4
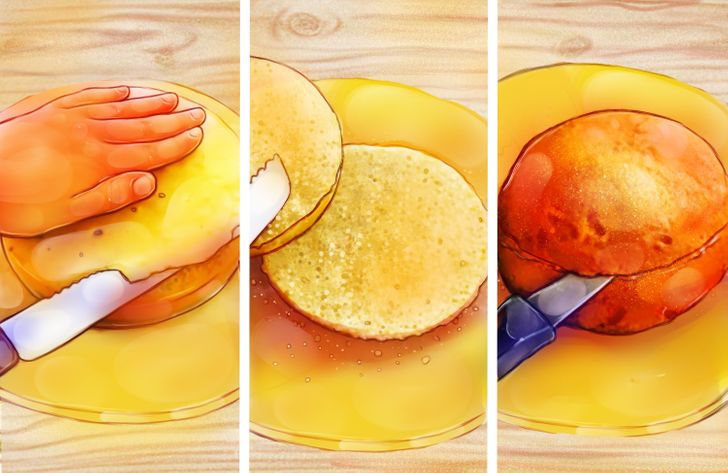
- Use a bread knife to slice and then remove the top part of the cake that you baked in the baking dish to make sure it’s flat on both sides. Then slice it again so that you get 2 thick layers of sponge cake.
- Repeat the previous step with the wider part of the cake that you baked in the glass bowl. Again, the goal is to make sure that it’s flat on both sides. Then cut it in half, lengthwise, to obtain 2 thick layers.
Step 5
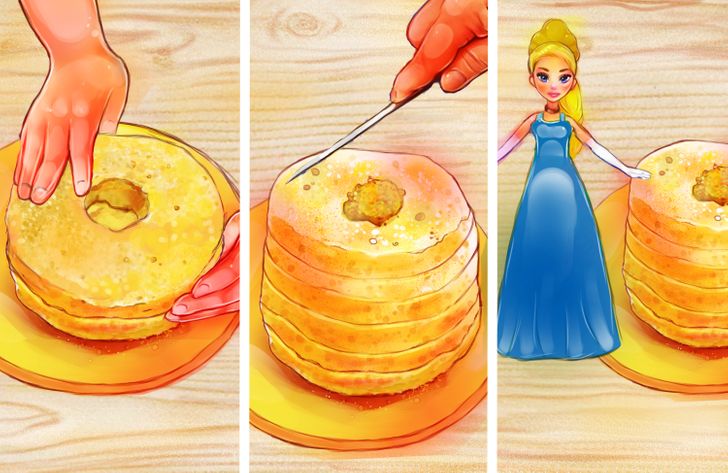
- Put all the sponge cakes on top of each other to form a sort of tower. Make sure they have the same diameter, as this is supposed to be the skirt of the dress. At the same time, these should reach the height of the hip of the doll. Place the tower next to the doll to measure it if that’s the case. If not, this is the right moment to make any adjustments, such as cutting the cake with a knife to make it just the right size.
Step 6
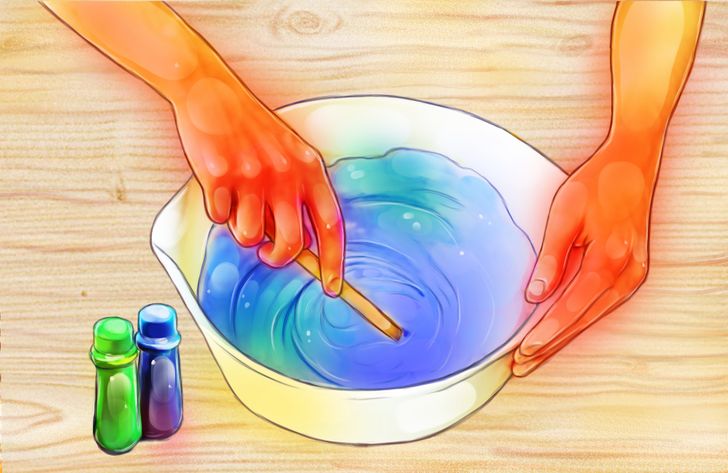
- Prepare the frosting or glaze with which you’ll decorate the dress. Add the edible coloring according to the colors you’d like it to have. You can choose any color you want.
Step 7
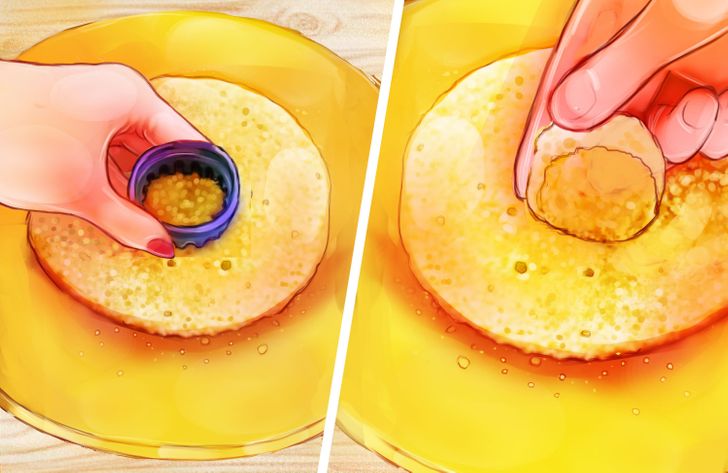
- Use a glass or a cookie cutter to make a hole in the center of each layer of the sponge cake.
- Remember that the item you make the hole with should be large enough to fit the doll’s legs and hips.
Step 8
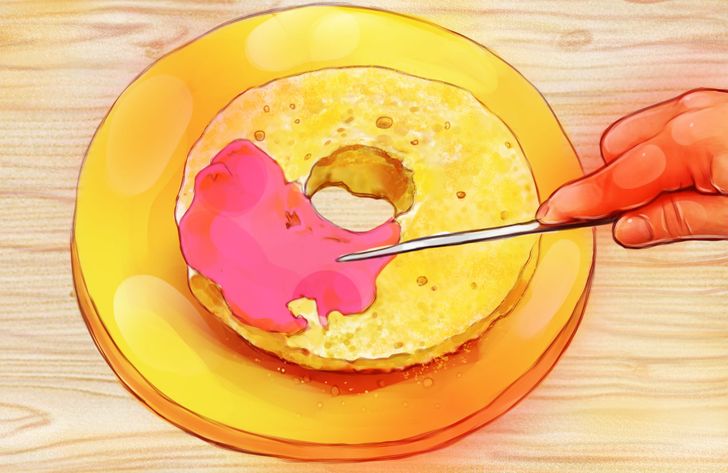
- Fill the cake layers with jam or any other ingredient that is creamy but not too watery. This will prevent the cake from becoming mushy with time. This is especially important since the cake is actually fairly tall, so it could fall apart depending on how much frosting you’ll be using.
- Don’t forget to place the cake on a base that you can easily move from one place to the other in case you want to. For instance, store it in the fridge or move it to the table.
Step 9
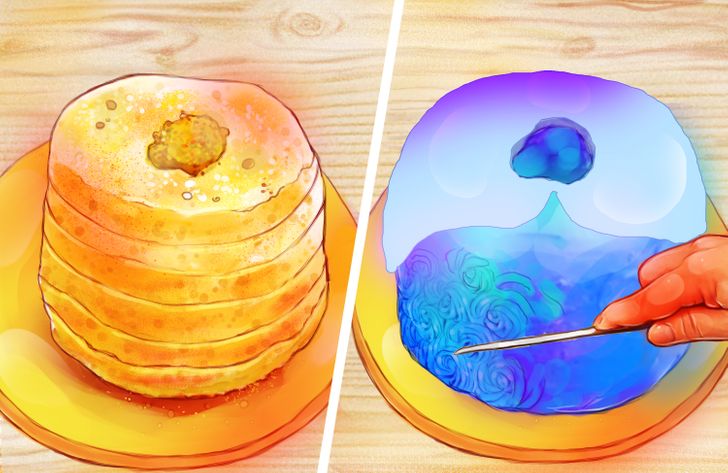
- Assemble the cake layers, which will form the skirt of the dress, then add the cream with the help of a spatula.
- In this step, you can create different patterns for the dress. Use a spoon or any other utensil to create a design that you like. Remember that you can experiment with different tools in the kitchen, so don’t be afraid to get creative.
Step 10
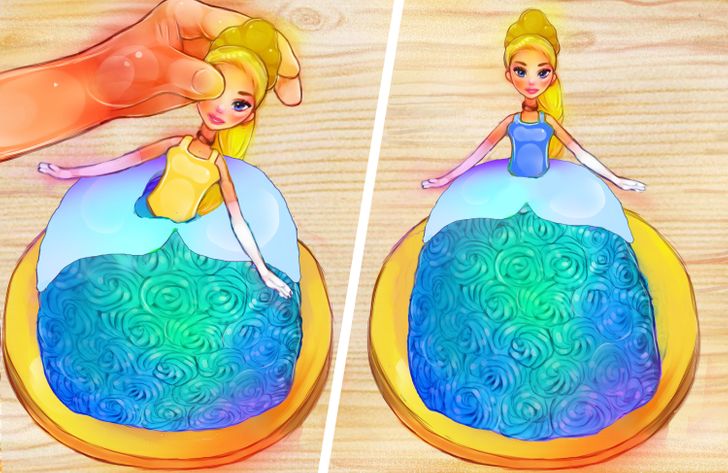
- Place the doll inside the cake. We recommend removing all clothes from the doll so that they don’t get dirty or stained. That way, you can just wash the doll later and it can still be used as a toy if you wish. You will also be able to create the top part of the dress with the cake piping bag, thus combining the tones of the coloring you’ve used.
- You can make your own cake piping bag by cutting the bottom corner of a plastic bag.
Step 11
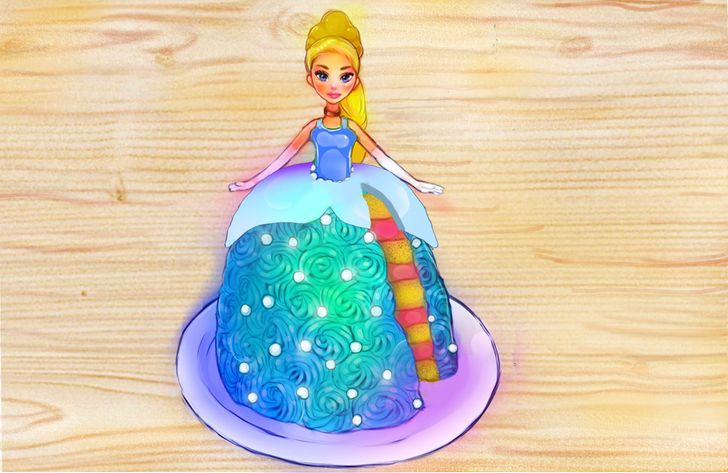
- Put on the flowers, petals, and edible decorations you bought to decorate the dress.
Step 12
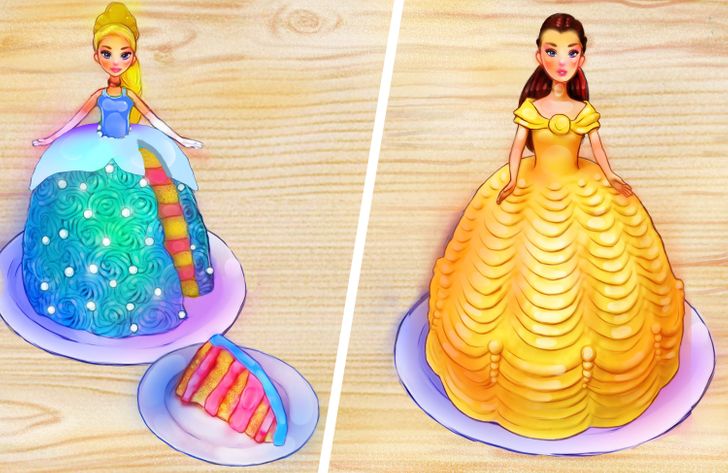
- Surprise whoever you want with your princess cake. If you want it to stay fresh, place it in the refrigerator until you can cut it.
- Remember to cut it carefully to avoid damaging the doll’s legs.
- Change the color of the dress and edible decorations according to the doll you have. This way, you can make the princess of your choice.
Check out these additional rainbow cake decorating ideas
Share This Article