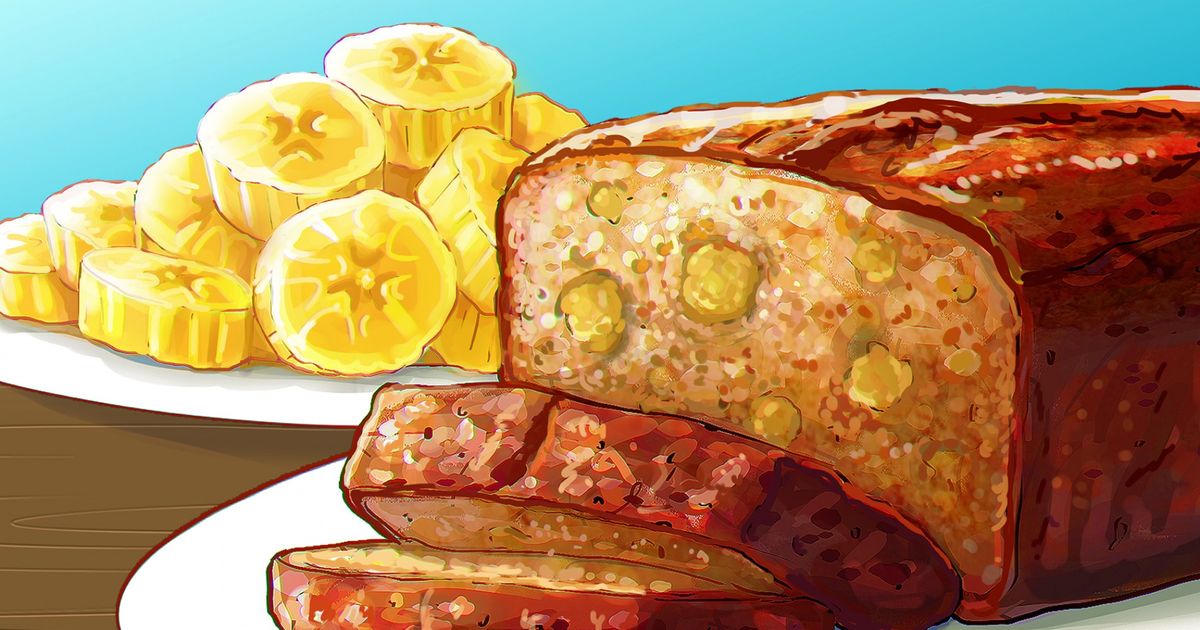
How to Make Banana Bread

Banana bread is a delicious snack and a great option to eat at any time of the day. It takes about 1.5 hours to make from scratch, and 5-Minute Crafts will show you how.
Ingredients
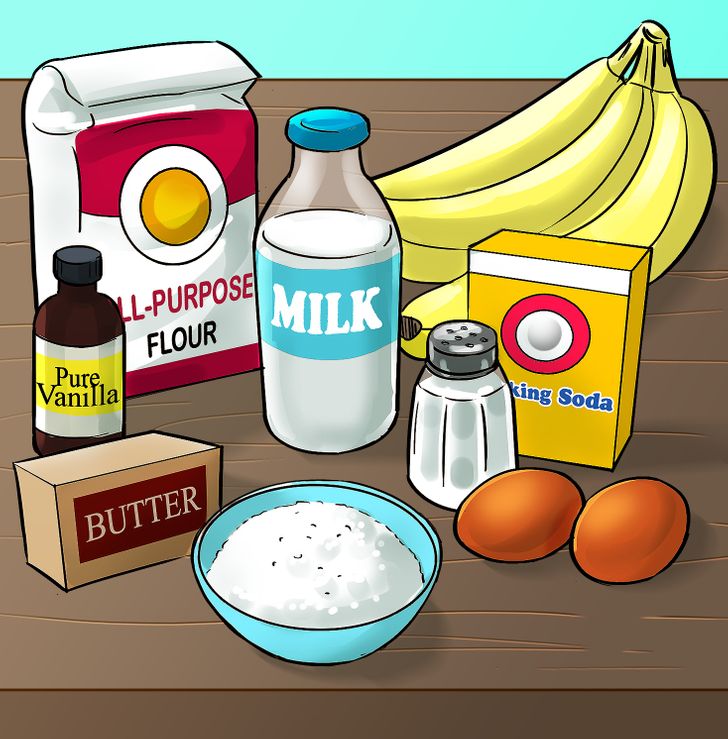
To make a loaf of bread, you’ll need:
- 1 stick of unsalted butter — the butter should be softened to room temperature. You can replace butter with margarine.
- 1 cup of granulated sugar — you can use either white or brown sugar. The texture of the bread will be denser and moister with brown sugar.
- 2 cups of all-purpose flour —you can replace half of the all-purpose flour with a whole-grain flour of your choice.
- 2 large eggs
- 1/4 cup of milk — you can use buttermilk, kefir, or almond milk instead.
- 3 ripe bananas — you should choose bananas with freckles on their skin. The riper the bananas are, the stronger banana flavor you’ll get.
- 1 teaspoon of baking soda
- 1/4 of salt
- 1 teaspoon of vanilla extract
- 1/2 cup of chopped nuts or chocolate chips (optional)
Equipment
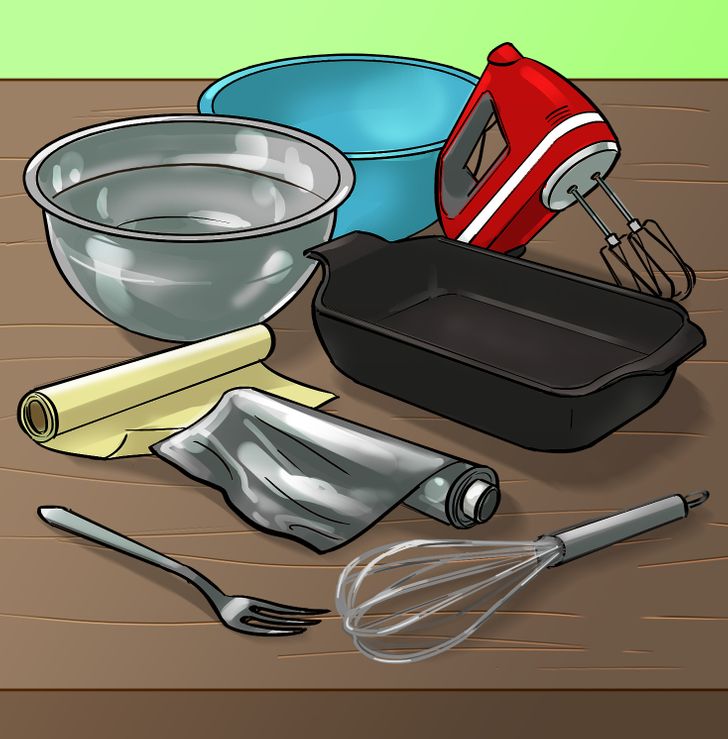
You’ll need:
- 2 deep bowls
- A baking pan
- An electric hand mixer or a whisk
- A fork
- Some parchment paper and aluminum foil
Step 1: Preheat the oven to 350°F and prepare the baking pan.
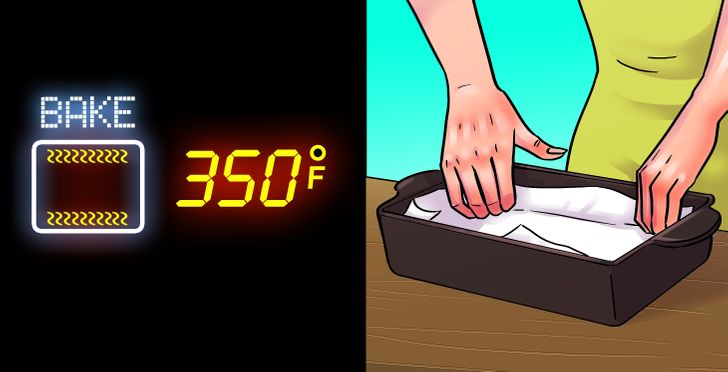
- Put the rack to the lower third position of the oven.
- Cover the baking pan with parchment paper and let the excess paper hang to the sides.
- If you use nuts, let them sit in the oven for 10 minutes while it’s preheating.
Step 2: Mix the butter and sugar together.
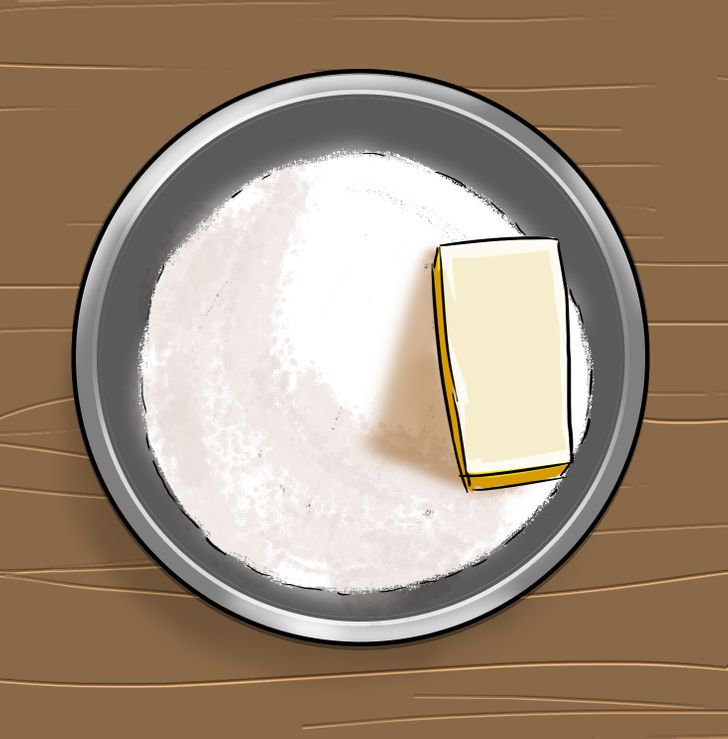
- You can use a whisk or a hand mixer.
- Your goal is to get a smooth and creamy texture.
Step 3: Add eggs to the mix.
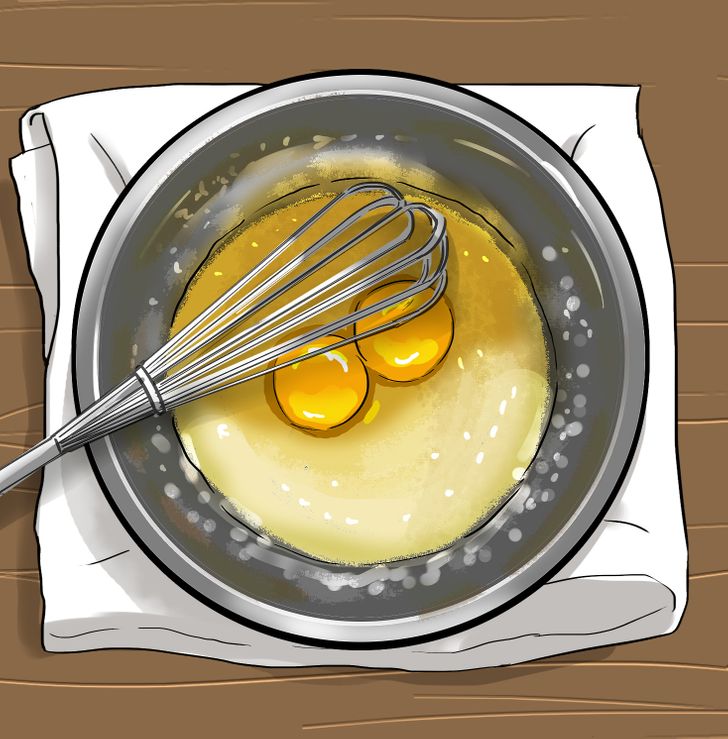
- Add eggs one at a time, whisking well after each addition.
- Keep on whisking until all the ingredients are combined.
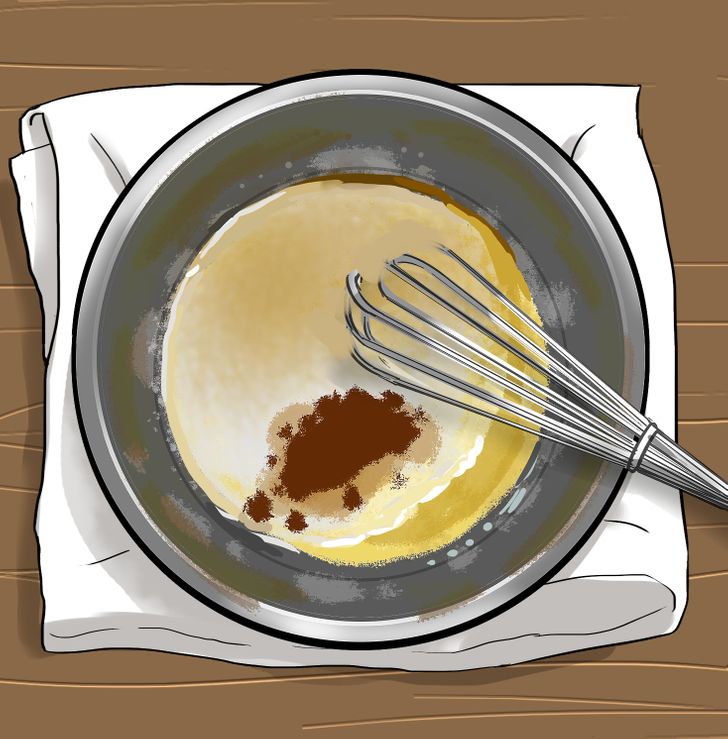
Step 4: Add milk and vanilla extract and whisk until the texture is smooth.
Step 5: Mash the bananas.
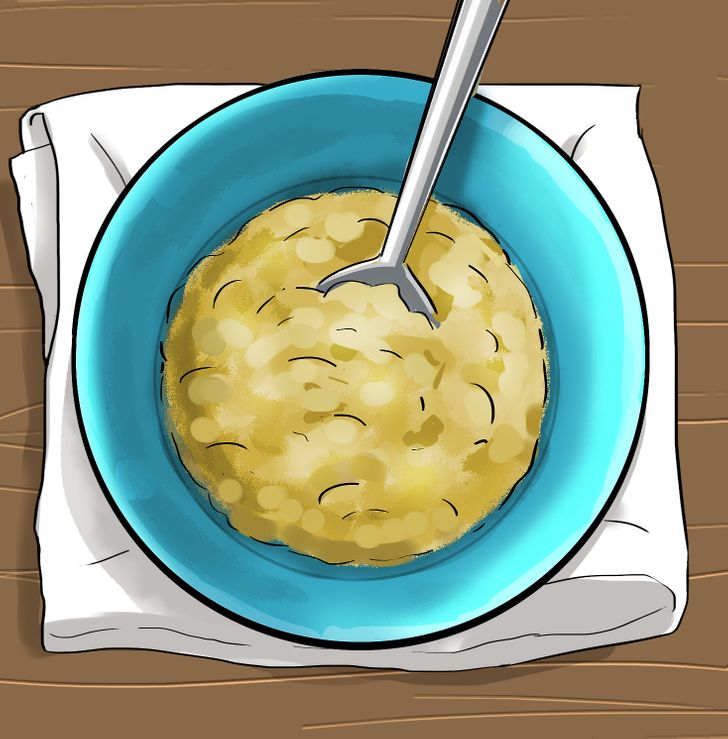
- Take a separate bowl, peel the bananas, and put them in it.
- The texture of the bananas can be as chunky or as smooth as you want.
- If you want to keep the banana pieces in your bread, mash them with a fork to get a more chunky texture.
- Use a hand mixer for a smoother texture.
Step 6: Add mashed bananas to the mix.
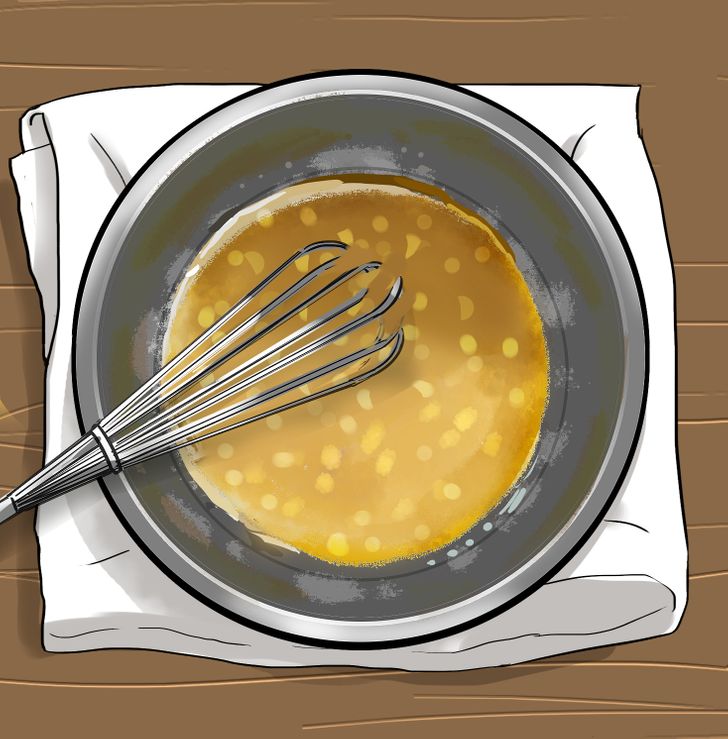
Step 7: Add flour, salt, and baking soda to the mix.
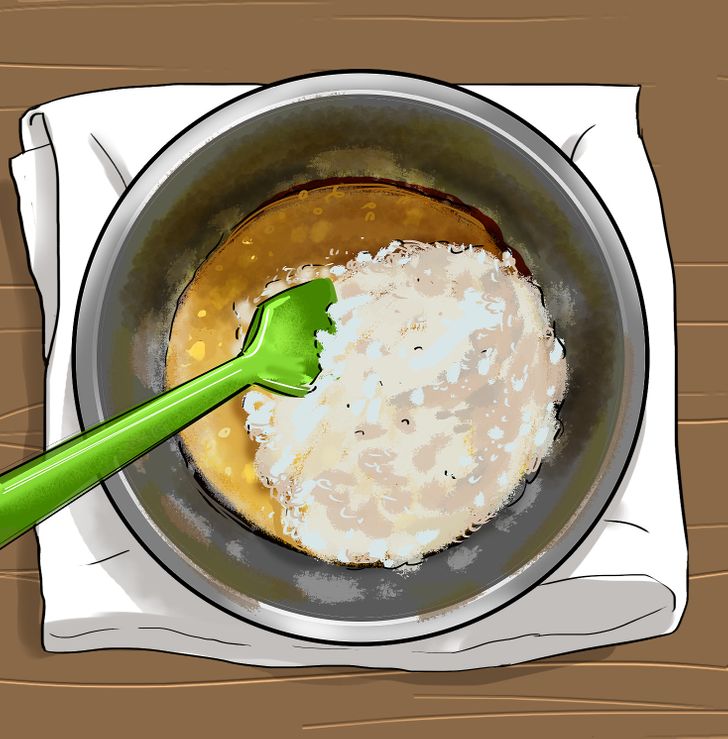
- Gently stir until all the ingredients are well-mixed together.
- You can also use a hand mixer at a lower speed, but make sure you don’t overmix.
- Add nuts or chocolate (optional).
Step 8: Put the batter into the baking pan.
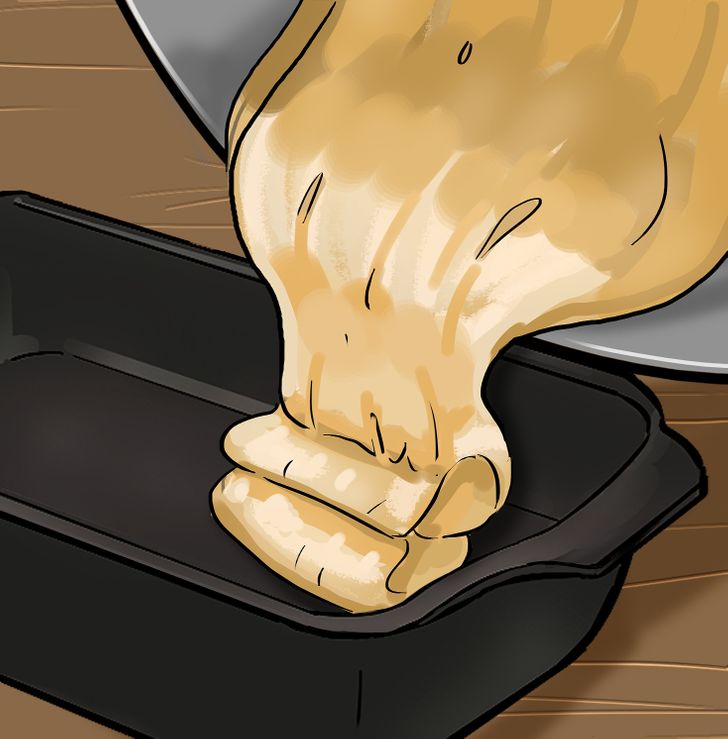
- Make sure that the top of the poured batter is smooth.
Step 9: Put the baking pan in the oven and bake for about 60 minutes.
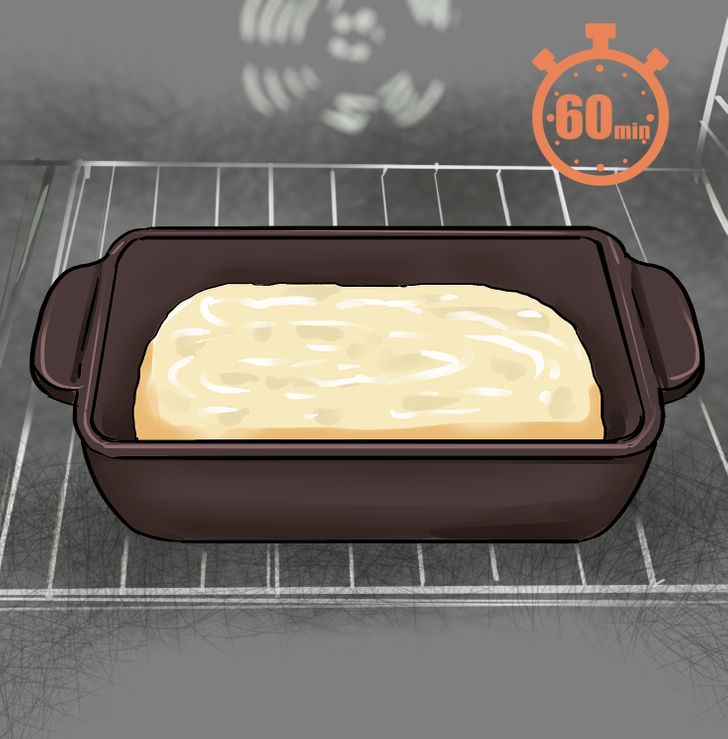
- If you don’t want the bread’s top and sides to get too brown, cover them with aluminum foil after 30 minutes of baking.
- Cooking times may vary depending on the bananas you’re using.
Step 10: When the bread is ready, turn off the oven and let it sit in it for another 10 minutes.
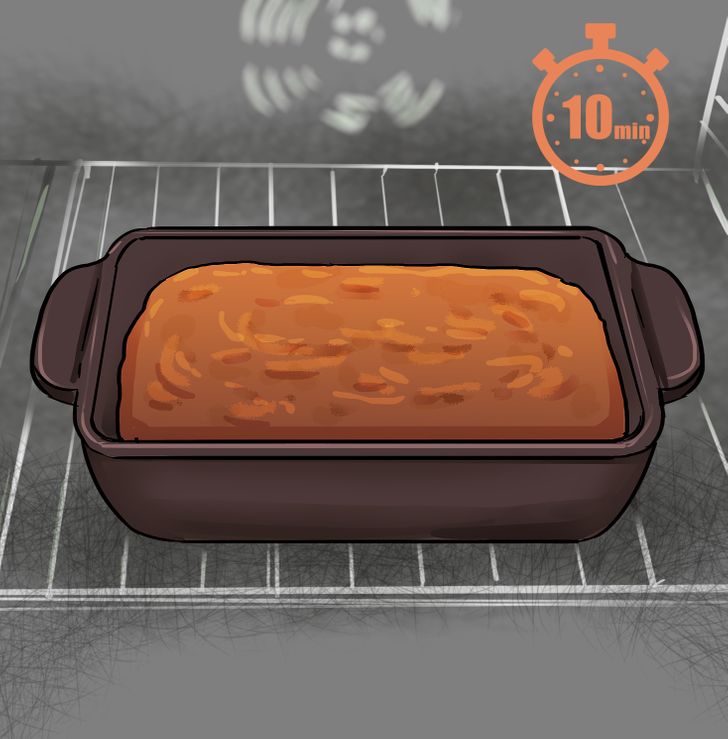
- To check the readiness of the bread, insert a toothpick in the center of the loaf. If it comes out clean, the bread is ready. The top of the cake should be dark brown.
- This will help the bread to steadily cool down, making it easier to remove it from the pan.
Step 11: Take the bread out of the oven and let it cool down completely.
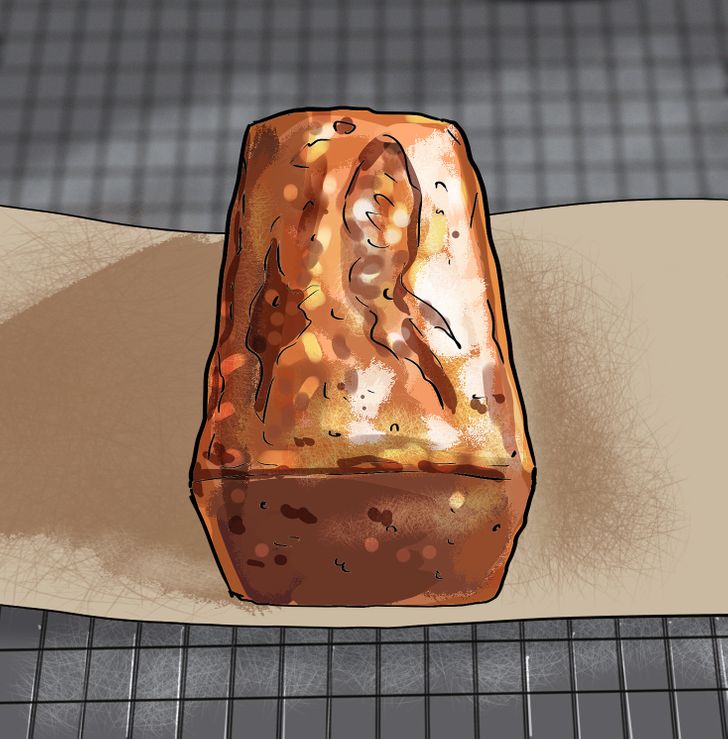
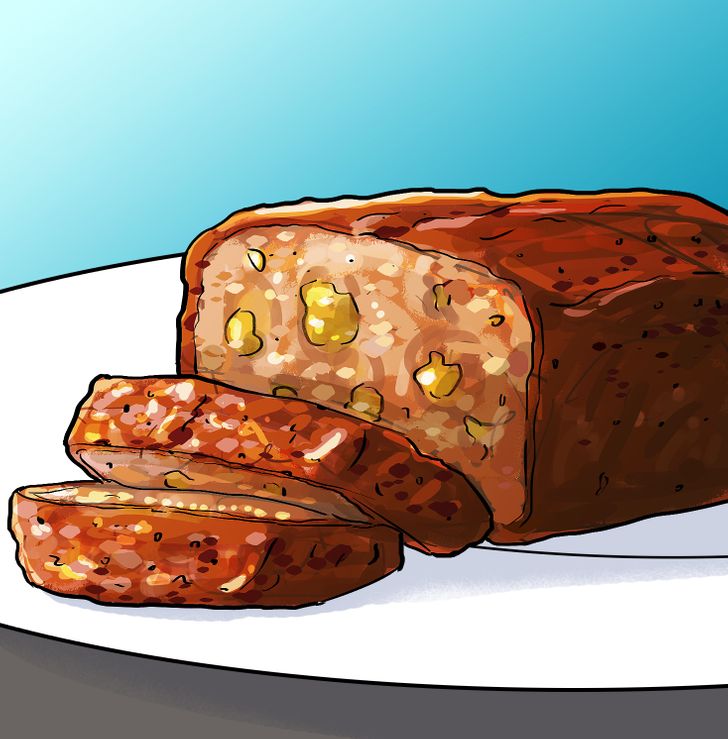
Step 12: Slice the bread and enjoy your meal!
Note: Store your banana bread right to preserve it for longer.
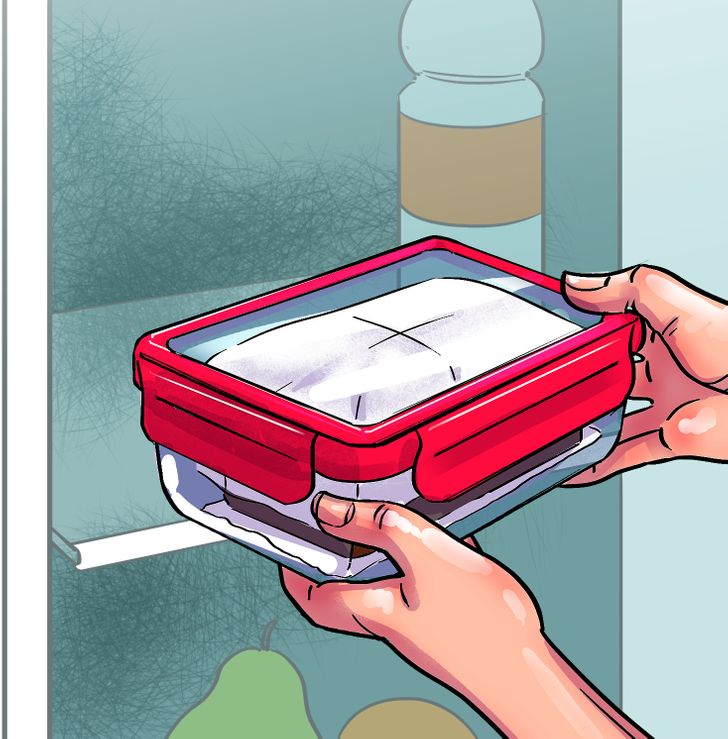
If you’re going to eat it in a couple of days:
- Completely cool the bread to avoid producing moisture.
- Put a paper towel at the bottom of an airtight container, put the bread on top, and cover it with another paper towel.
- Tightly seal the container and store the bread for up to 4 days.
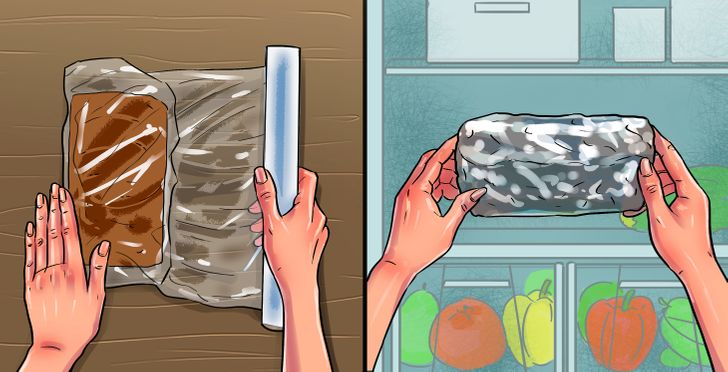
If you want to preserve it for even longer:
- Completely cool the bread to avoid producing moisture.
- Wrap the bread or its slices in plastic wrap.
- Then wrap the bread in aluminum foil or put it in an airtight bag.
- Store it in the freezer for 2-4 months.
Check out more amazing food hacks and yummy recipes
Share This Article