How to Make Homemade Cheese
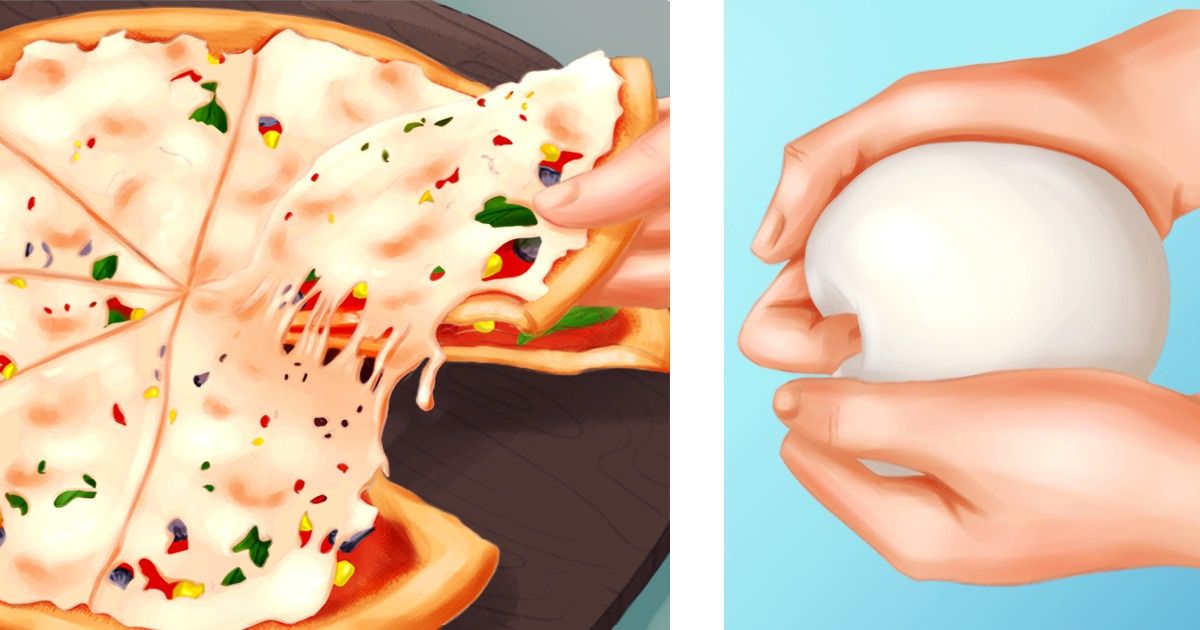
Cheese is really versatile, you can add it to salads, pasta, pizza, deep-fried snacks, and the list goes on and on. 5-Minute Crafts has listed a simple recipe so you can make your own homemade cheese that’s free of the chemicals that are usually added to store-bought brands.
- 3 liters of full cream milk
- 1/2 cup of vinegar
- 1 tbsp of salt
Step 1
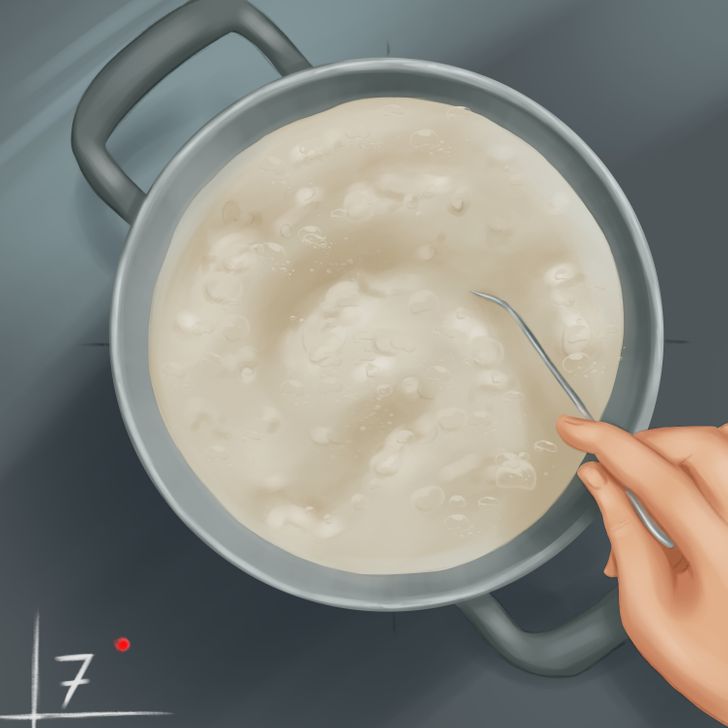
Pour 3 liters of full cream milk into a pot. Heat the milk and stir well until the milk is lukewarm (around 113ºF).
Step 2
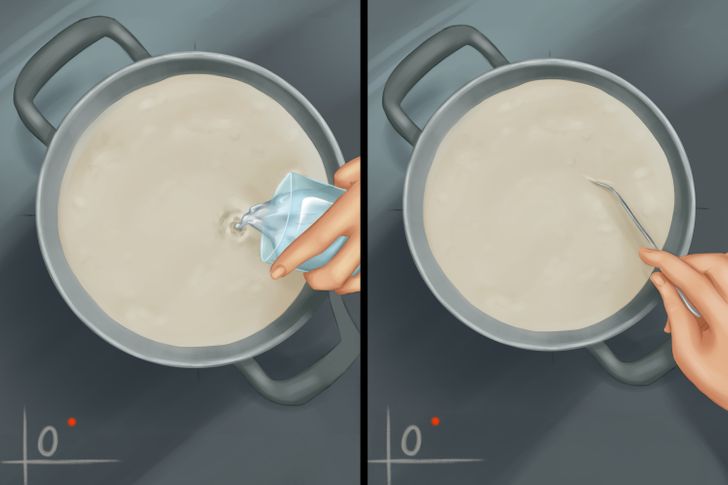
Once it’s lukewarm, turn off the flame and add 1/2 cup of vinegar. Stir for exactly 25 seconds. Don’t over stir or the curd formed could break.
Cover the pot with a lid and let the milk rest for 20 minutes or until it forms a curd that completely separates itself from the whey (the liquid that will remain after the milk has been curdled).
Step 3
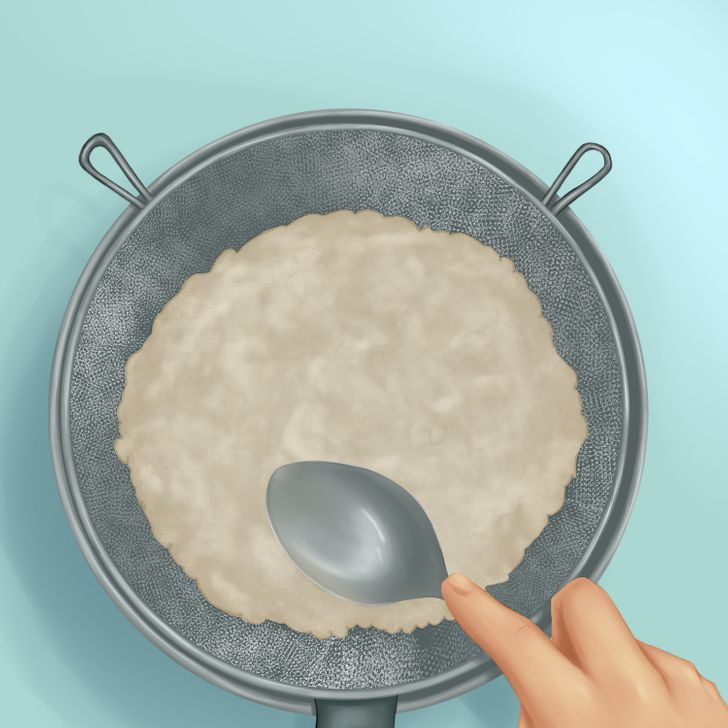
With the help of a colander, drain the curds. Squeeze gently as well with the help of a spoon.
Step 4
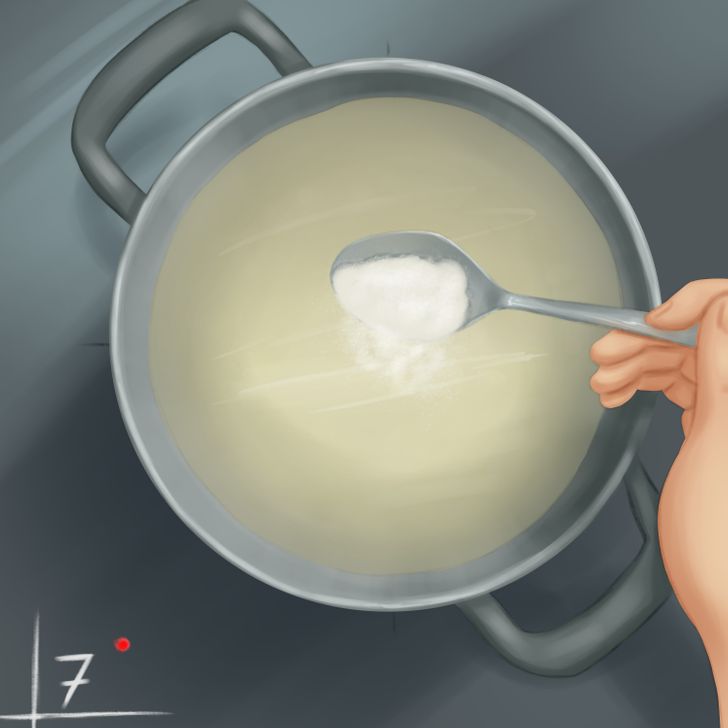
Add 1 tbsp of salt to the whey water and stir well. Heat the water well but don’t let it boil. The water should be at around 176ºF.
Step 5
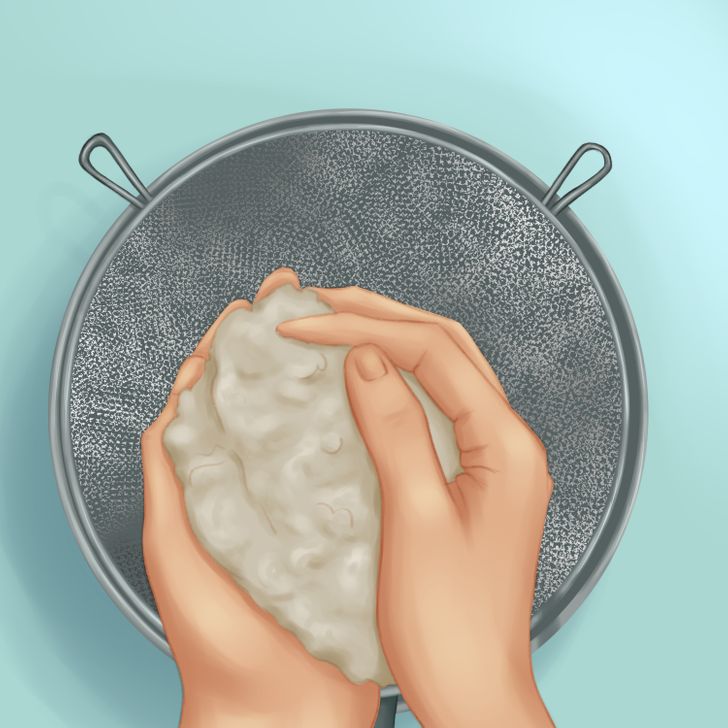
Once the water is at the right temperature, turn off the flame and squeeze the curds until they achieve a cheesy texture.
Step 6
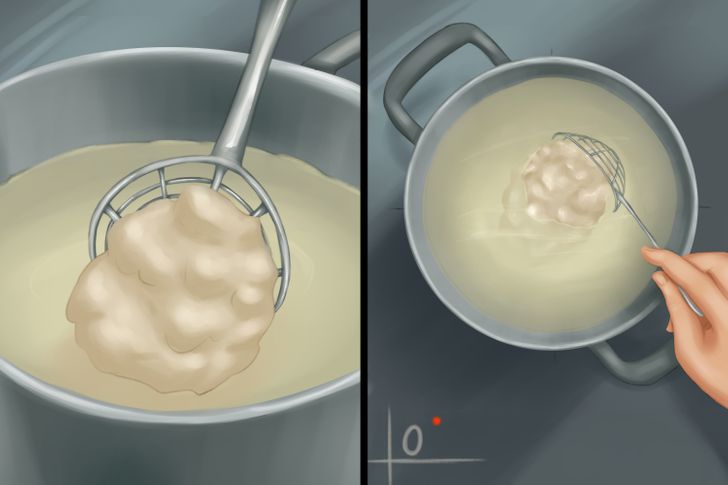
Dip and stir the curds in hot water 5 times. This is the whey water we’ve used before.
Step 7
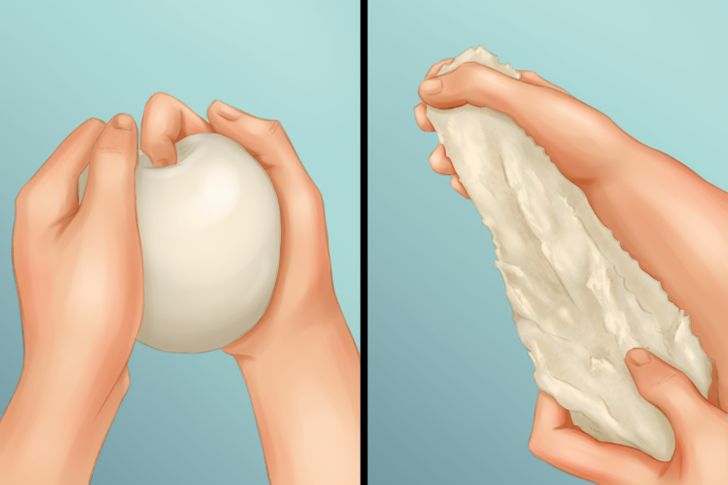
After stirring and dipping, squeeze the curds gently to remove excess water. You can also lightly stretch them.
Repeat the stir and dip process again 5 times followed by squeezing and stretching. Keep doing it until the curds turn cheesy and smooth.
Note: Do not overstretch or the cheese could turn rubbery.
Step 8
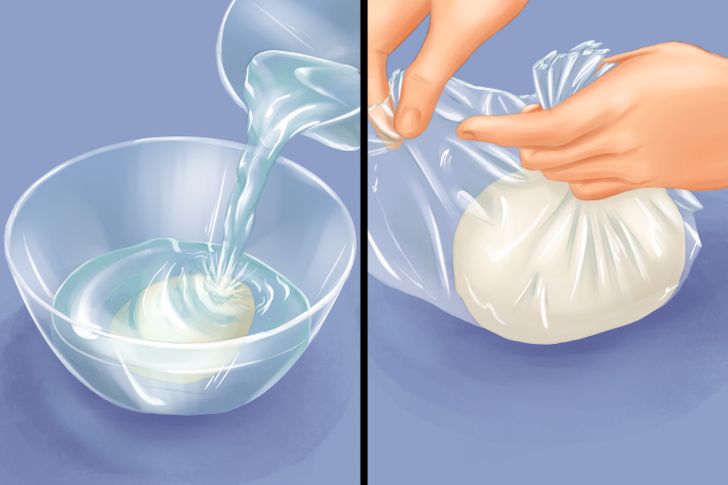
Put the cheese in a bowl and pour ice-cold water onto it. Let it rest for 2 minutes. This will help the cheese set completely. Once the 2 minutes have passed, wrap the cheese in cling wrap and refrigerate it for 2 hours.
Final result

Your cheese is now ready to eat. You can use it for up to 1 week if you keep it in the fridge.