How to Make Red Velvet Cake
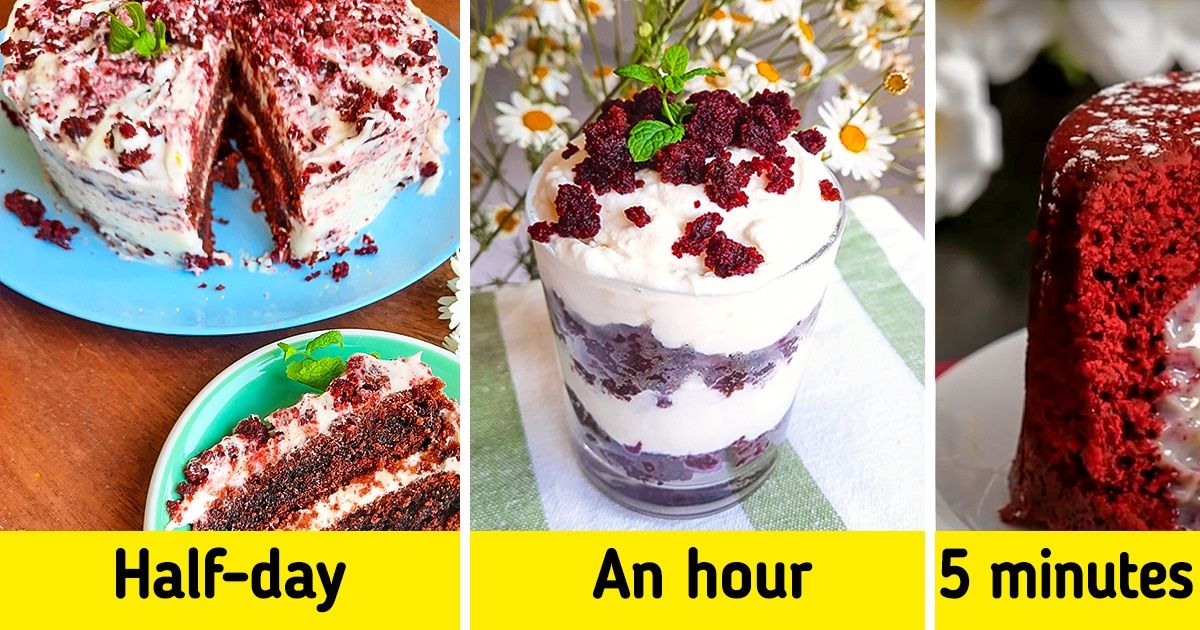
There are still many debates about the name of this dessert. According to one of the most common theories, it’s all about the red sponge. In the past, the sponge’s unique color came from the reaction between cocoa powder, acidic vinegar, and buttermilk. Today, cocoa powder is made using a different technology, so food coloring must be added to the dough, otherwise, the sponge won’t be red.
5-Minute Crafts would like to show you how to make red velvet cake from modern ingredients with a few different recipes. One of them will save you time, and another will help you make a low-calorie dessert.
Red velvet cake
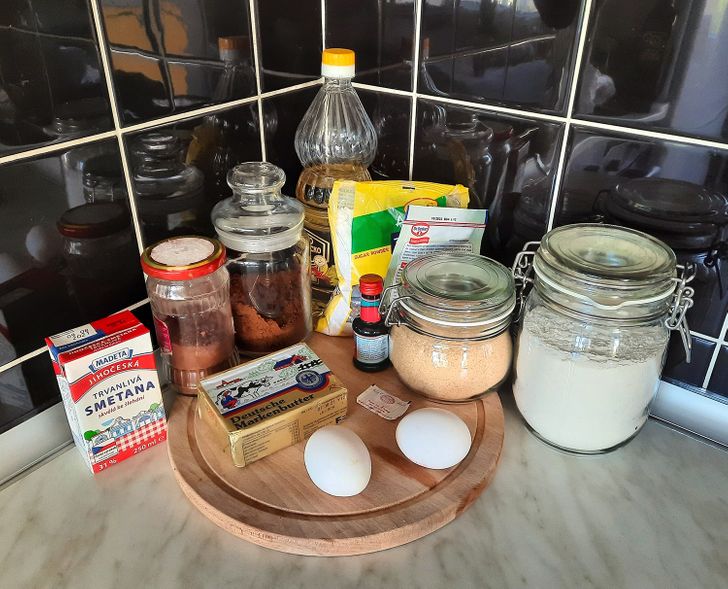
You’ll need:
- 8.8 ounces of plain flour
- 1/2 teaspoon of fine salt
- 1 1/4 teaspoons of bicarbonate soda
- 1.4 ounces of cocoa powder (unsweetened)
- 8 ounces of vegetable oil (flavorless)
- 10.5 ounces of golden granulated sugar
- 2 eggs
- 2 tablespoons of red food coloring
- 1/2 tablespoon of vanilla extract
- 3.4 ounces of freshly brewed coffee, cooled
- 8 ounces of buttermilk
- 1/2 tablespoon of white wine vinegar
- 6 ounces of unsalted butter
- 14 ounces of icing
- 10.5 ounces of full-fat cream cheese
Tip: If you don’t have buttermilk, you can replace it by mixing 1 tablespoon of lemon juice and a cup of milk, or 3/4 cup of sour cream and 1/4 cup of milk. However, the resulting cake will be higher in calories and fat.
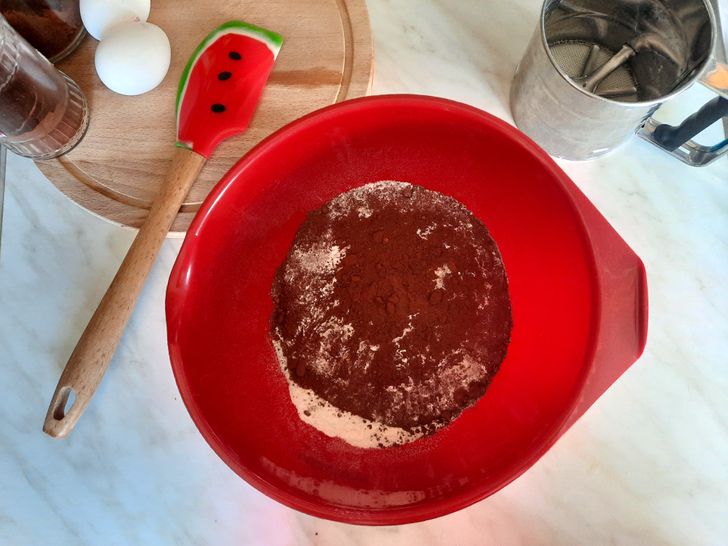
Step 1. Turn on the oven and preheat it up to 350°F. During this time, pour flour into a bowl through a sieve and add salt, baking soda, and cocoa powder.
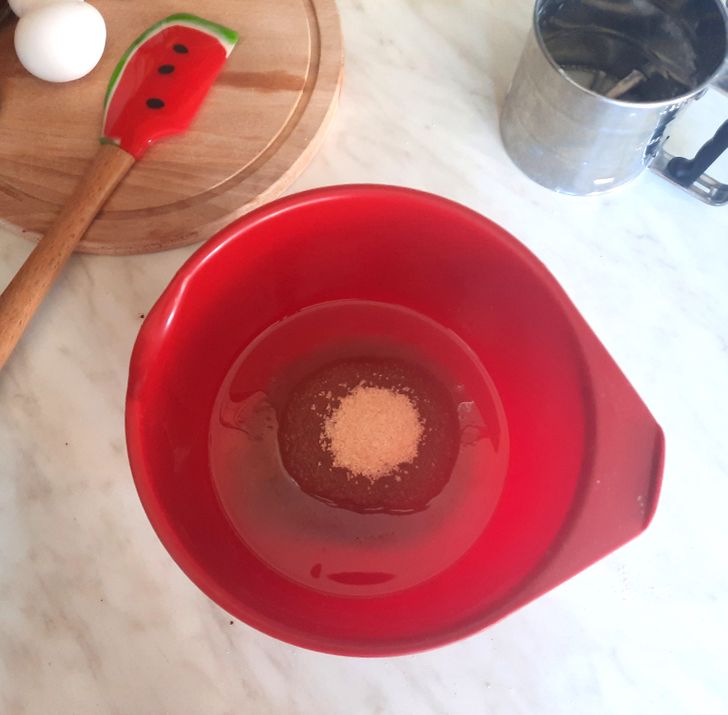
Step 2. Pour vegetable oil into another deep bowl and add sugar. Beat gently for a few minutes until the mixture becomes lighter in color. Then add the eggs to the mass and beat them one at a time. Add food coloring and vanilla extract. Stir with a mixer. Add 1/3 flour mass from the previous step and stir again until smooth.
Tip: Food coloring from different brands may differ in composition and color options. If necessary, add more coloring than is required in the recipe. To make sure the sponge is deep red after baking, the egg-oil mass should be bright scarlet.
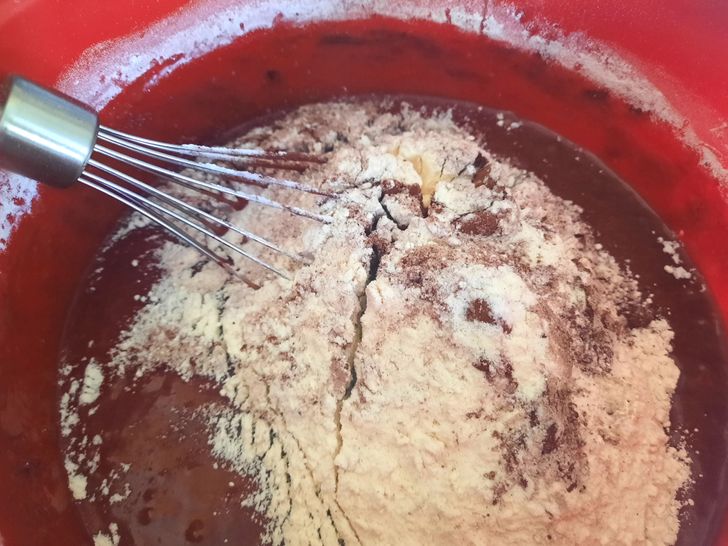
Step 3. Mix some coffee and buttermilk in a separate bowl. Add half of this mass to the bowl with the egg-flour mixture. Whisk well, then add half of the remaining flour mixture.
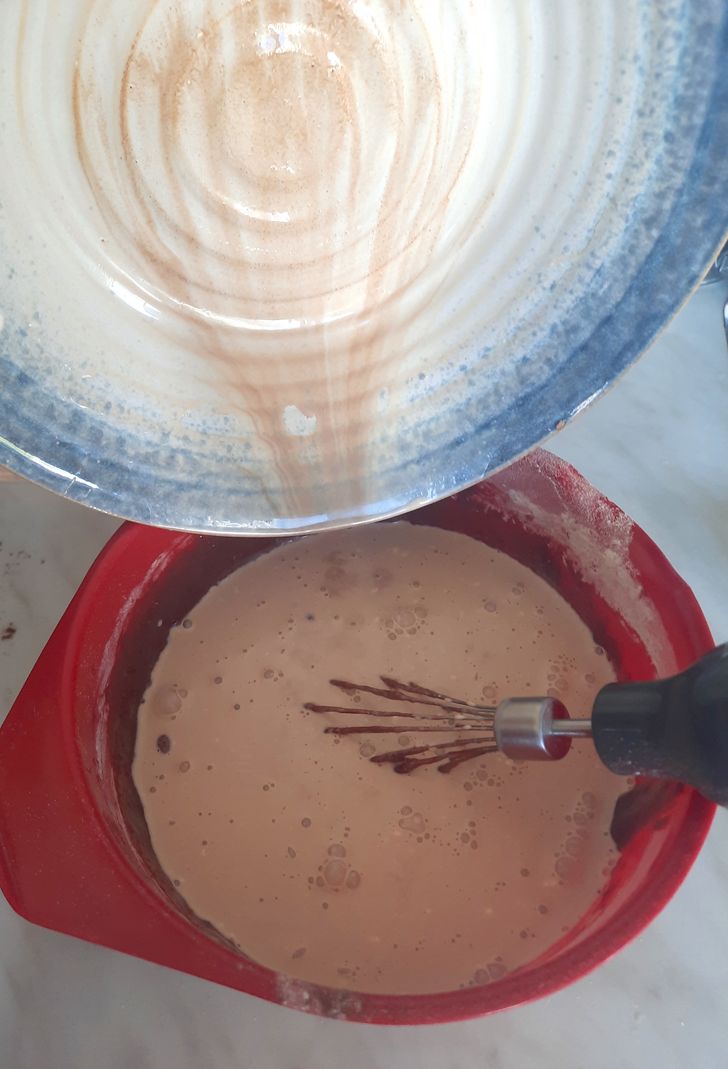
Step 4. Add vinegar to the remaining coffee-buttermilk mixture, mix it well, then pour it into the bowl with dough and add the remaining flour. Stir it again until smooth.
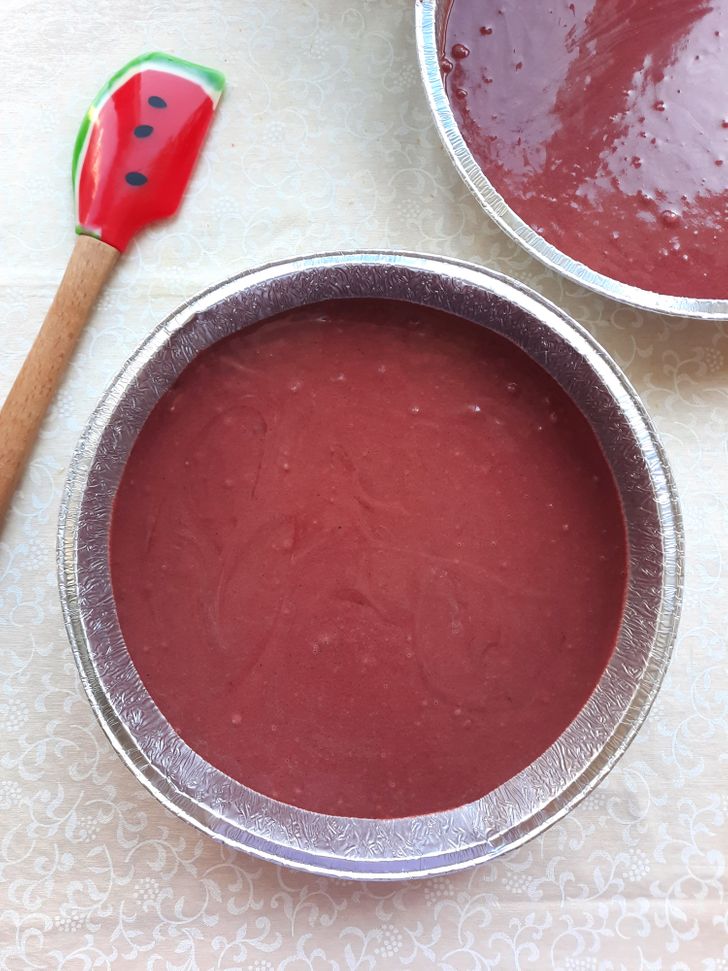
Step 5. Put baking paper on the bottom of the baking mold and grease the walls with butter. Pour in the dough but wait a couple of minutes so that it’s evenly distributed in the mold. Bake for 35 to 40 minutes. You can check whether the cake is ready by piercing the dough with a toothpick: it should come out of the sponge dry.
You can bake one sponge at a time or use ready-made aluminum molds that allow you to bake 2-3 sponges at once.
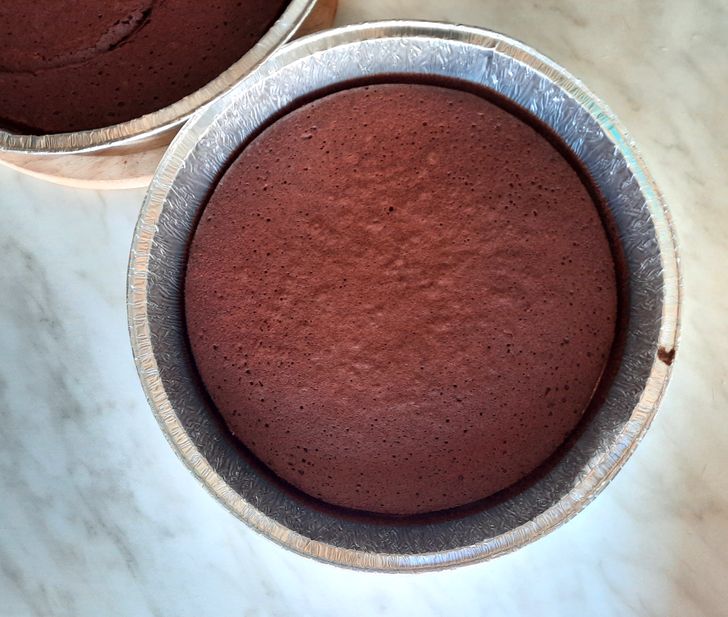
Remove the ready-made sponge from the oven and let it cool at room temperature for 10 minutes. Then take it out of the mold and place it to cool on a wire rack.
Tip: If the top is bulging, carefully cut it off with a bread knife and chop it to use for decoration later. To make the sponge slightly moist and juicy inside, leave it in the fridge for 6 hours (or overnight).
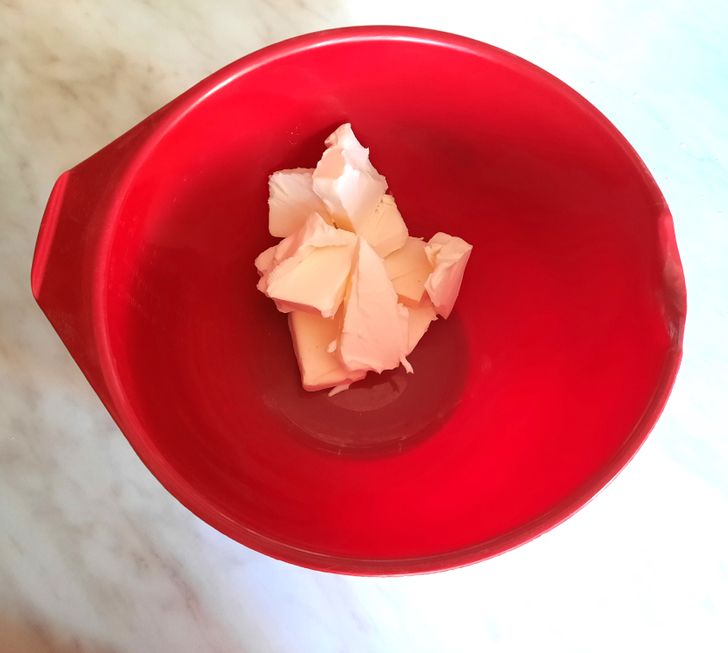
Step 6. Now it’s time to take care of the cream. Cut the butter at room temperature into cubes, place it in a bowl, and beat well until it becomes lighter in color.
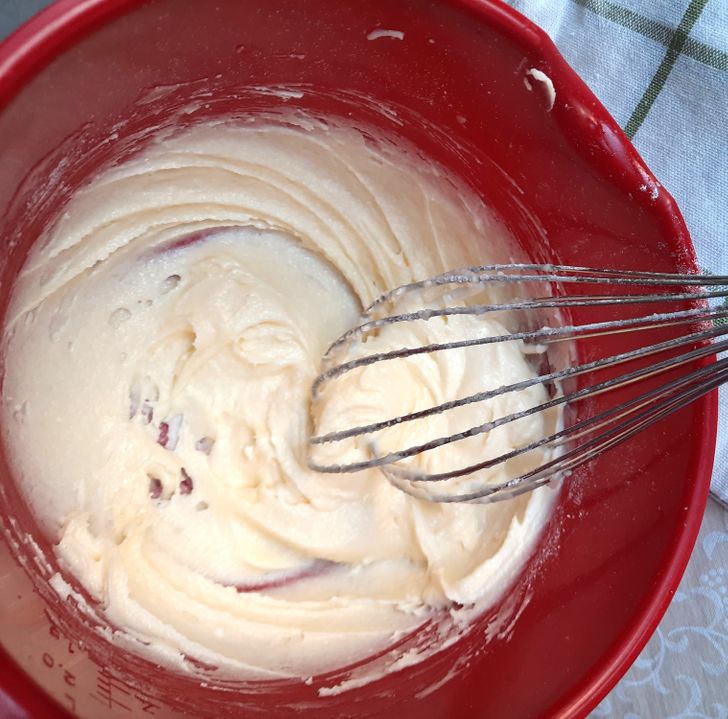
Step 7. Divide the sugar icing into 3 parts and gradually add it to the butter without ceasing to beat. This will allow you to get the buttercream icing.
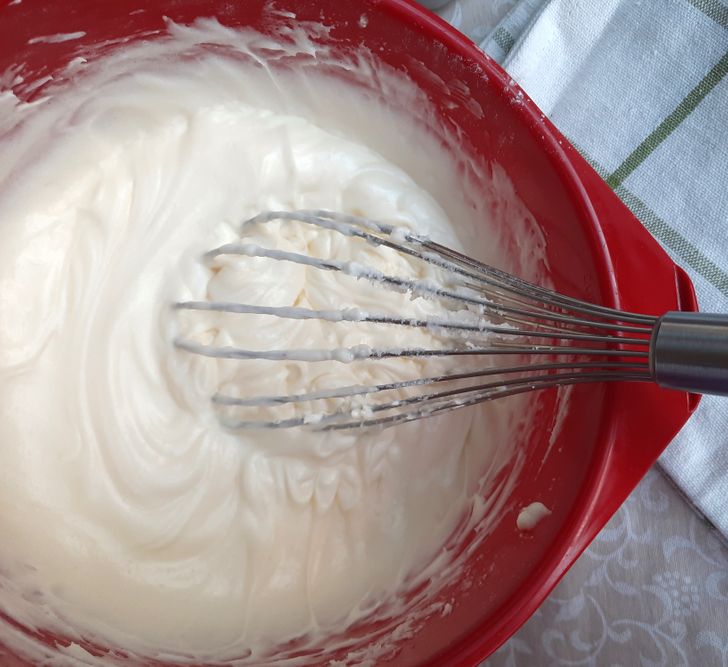
Step 8. Take the cream cheese and drain any excess liquid off it. Now add it, in parts, to the buttercream without ceasing to beat until the mass becomes thick and smooth. Then refrigerate it for 30 minutes.
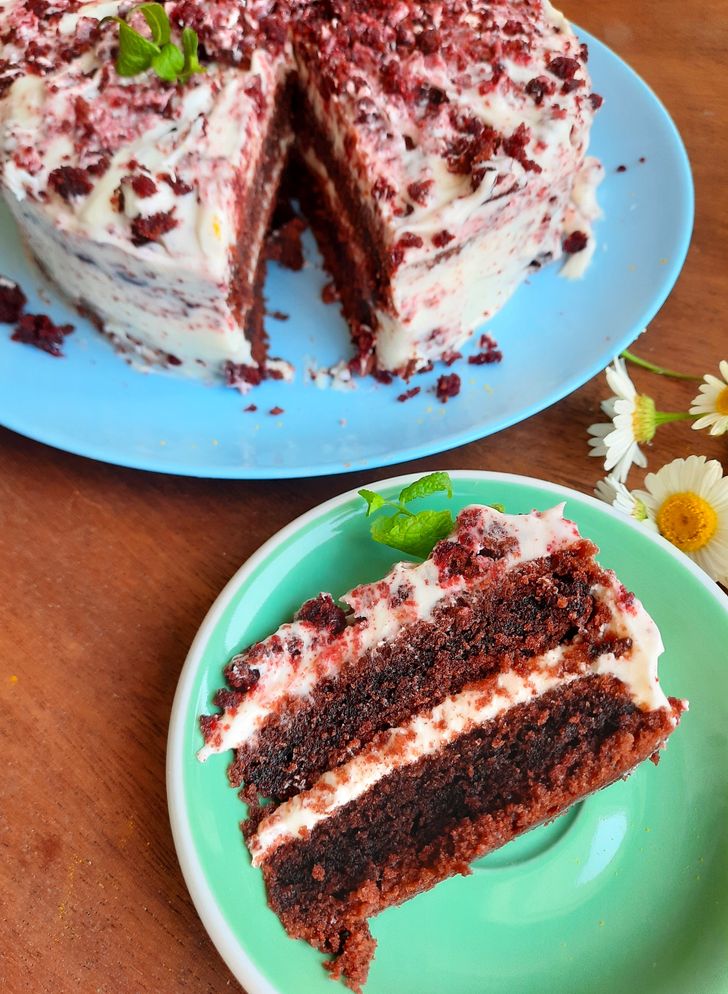
How to assemble a cake:
Take a cake plate. Put 1 tablespoon of the icing in its center. Place the first sponge on top. Gently spread the icing on it, moving from the middle to the edges. Then place down the second sponge and cover it with the icing in the same way. Next, cover the sides of the cake with the icing and sprinkle the top with sponge crumbs, if desired. Place the cake in the fridge for a few hours to soak.
Red velvet cake in a glass
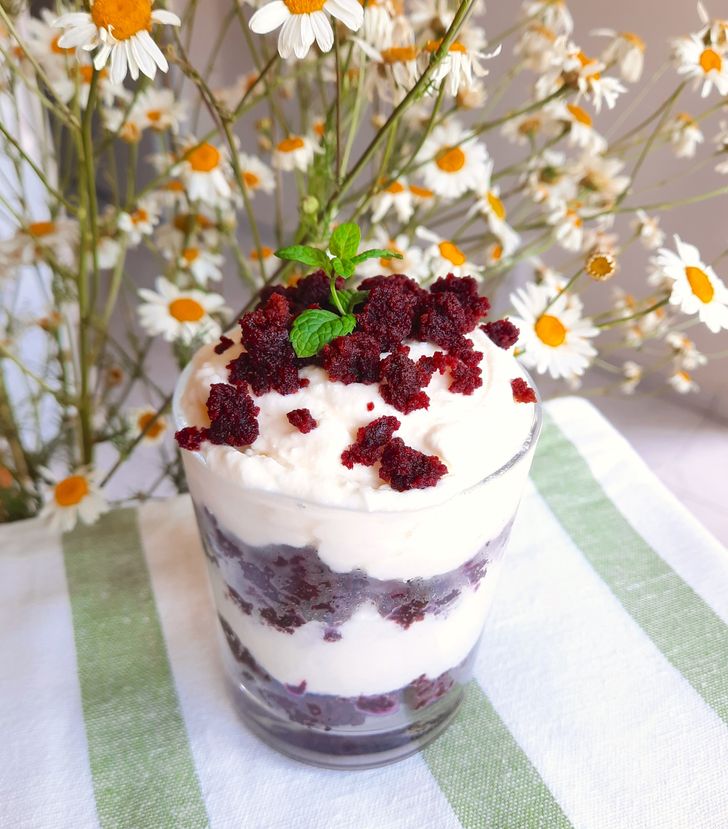
This way, you can serve the cake, which is made in line with the recipe above, in portions. Turn the sponge into crumbs by grating it or crumbling it with your hands. Then take a glass and pour the crumbs into it so that they fill 1/4 of the container. Add a thick layer of icing on top, then another layer of sponge crumbs and another layer of icing. Refrigerate for 30 to 40 minutes. Garnish the top with sponge crumbs and mint leaves before serving.
How you can diversify the recipe:
- Use boiled beetroot purée to replace food coloring (the amount can be the same or slightly bigger, just focus on the color of the dough). The sponges will become crimson, but the composition of the cake will be overall more natural.
- Soak ready-made sponges with a mixture of milk and cocoa or freshly brewed coffee to make them juicier and to add additional flavors.
- To make the icing slightly sweeter, mix cream cheese with thick sour cream or dairy cream (instead of butter), then gradually add sugar icing. This way, the icing will be less greasy, lighter, and tastier.
- Make a chocolate sponge with orange peel, colored with food coloring or beetroot, and use regular buttercream for the filling.
A quick recipe for red velvet cake
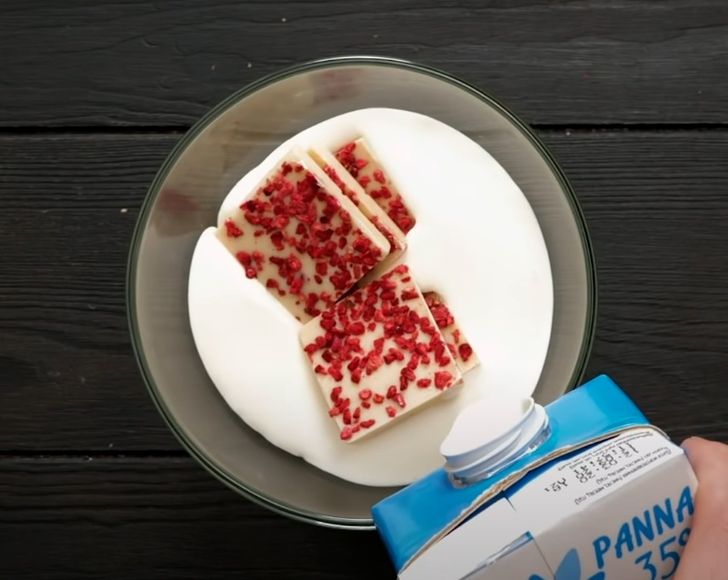
Step 1. Take a white chocolate bar and break it into small pieces. Put them in a bowl and pour in 3.4 ounces of dairy cream (at least 30% fat). Place the bowl in a water bath to melt the chocolate.
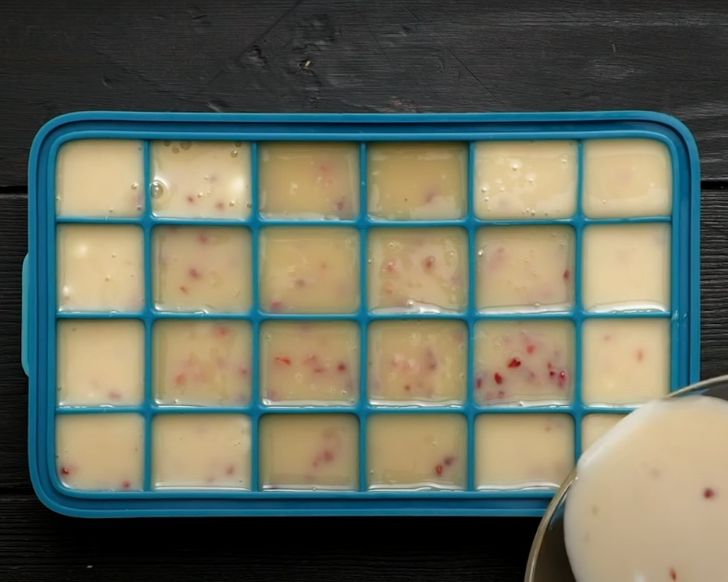
Step 2. Stir the hot chocolate-cream mixture well and pour it into ice cube trays. Place them in the freezer for an hour to harden.
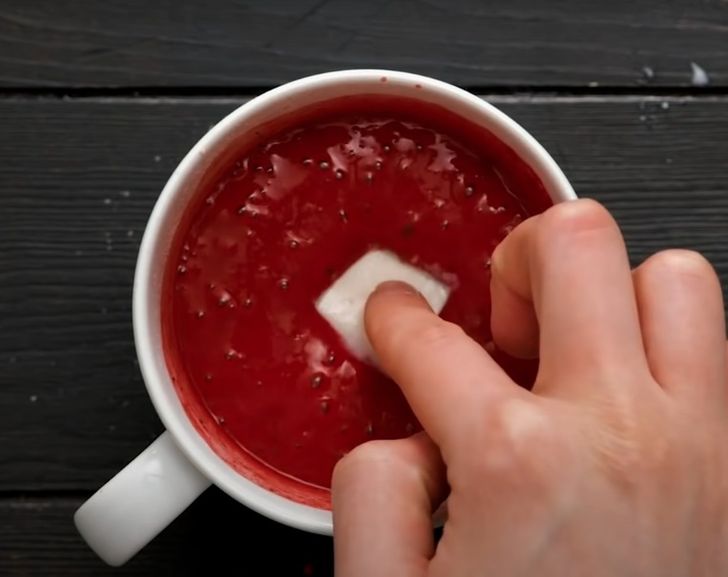
Step 3. Mix the ready-made red velvet concoction and milk in a mug, according to the instructions written on the package. Stir well to ensure the mixture is thick and smooth.
Step 4. Put one frozen cube of the chocolate-cream mass in the center. Then put the mug in the microwave for 5 minutes.
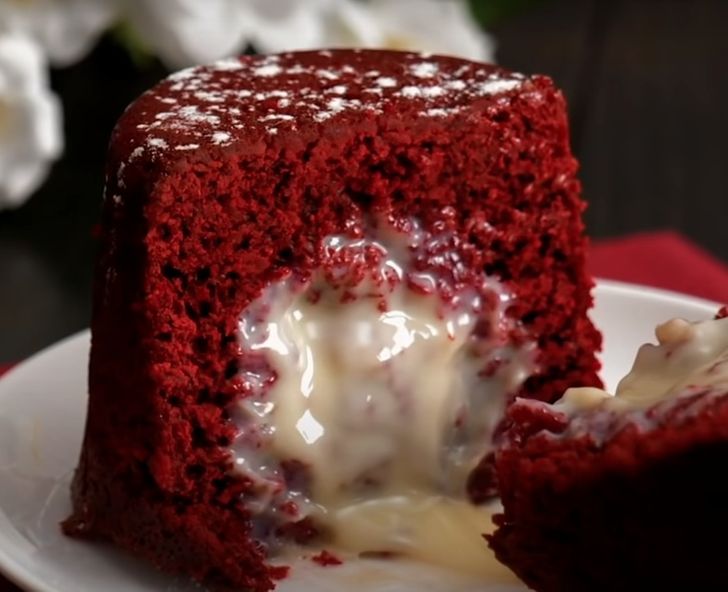
Next, place the mug on a plate, turning it upside down, and tap its bottom slightly with a spoon so that the dessert falls onto the plate. Sprinkle the cake with sugar icing on top. It’s done! Serve it hot.
Tip: You can make cubes of cream and chocolate in advance and keep them in the freezer. This way, you can make red velvet cake in 5 minutes at any time.
