How to Use and Clean a Cast Iron Pan
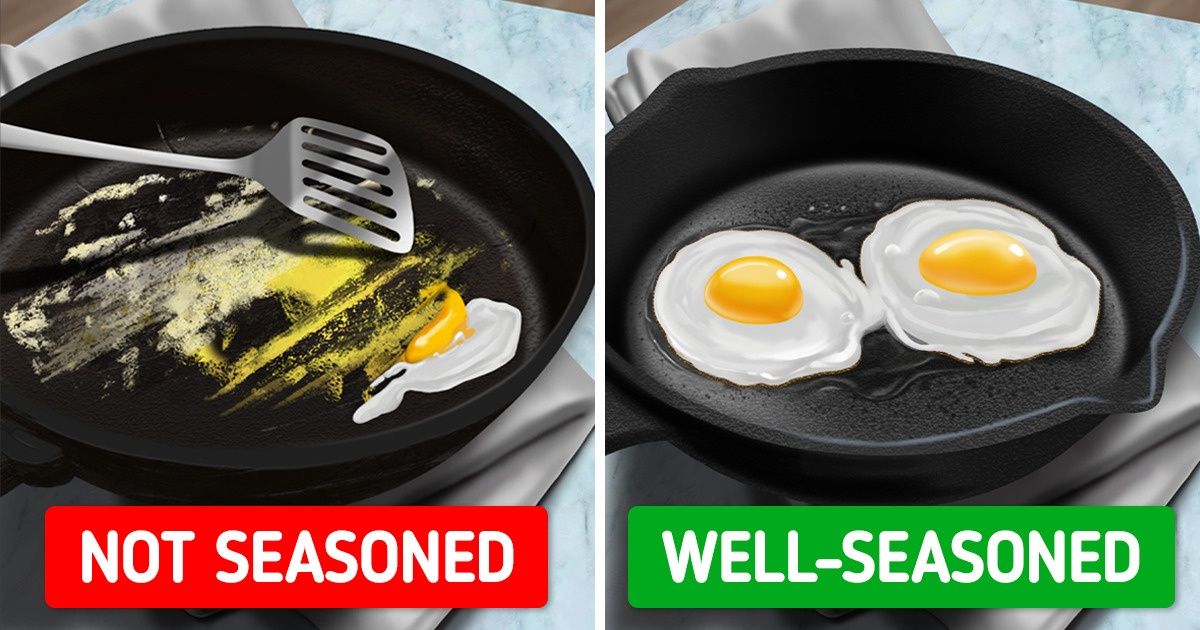
The main advantage of cast iron is that once it’s hot, it stays hot which makes it ideal to roast vegetables and sear steaks. And while they require more attention than your regular stainless-steel cookware, they’re also not too hard to maintain. Part of the care cast iron needs is seasoning. This will help it to be non-stick and will protect it from rust. On the upside, if you use it and maintain it well, it’s a piece of cookware that can last for generations.
5-Minute Crafts tells you everything you need to know about cast iron pans.
A. Choosing the right skillet
It’s hard to really tell what the perfect cast iron pan should look like. Overall, most of those that are on the market perform well. That being said, you might want to consider the following things when buying a new one.
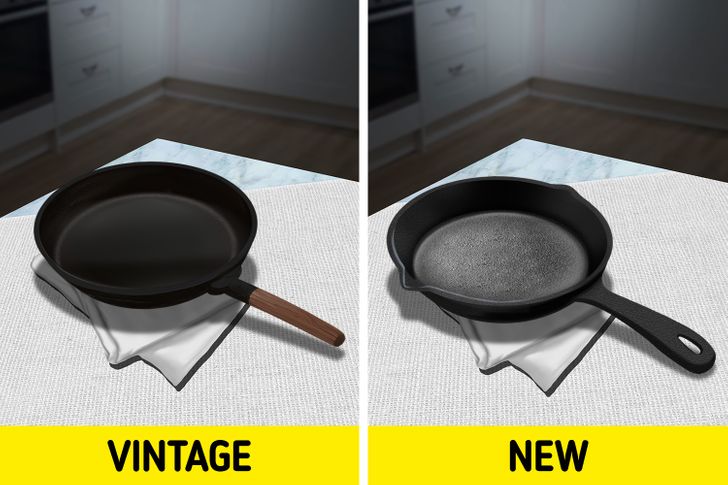
- Vintage pans: Because vintage cast iron was produced with a different technique, it tends to have a satiny smooth finish. The downside is that it’s harder to find and you might have to invest some time to restore it. On the other hand, its modern counterpart often has a rougher, more pebbly surface which will never be as non-stick as a smooth one (see sections B and C). When seasoned well this shouldn’t be too problematic, but if you have access to a vintage one you might want to take this into account.
- Price: Some of the best pans are the cheapest ones according to experts. If you’re paying for a pricy one, you might want to check to see what makes it more expensive. Many times, price increases come from them having a finishing that’s much smoother, similar to that of vintage pans.
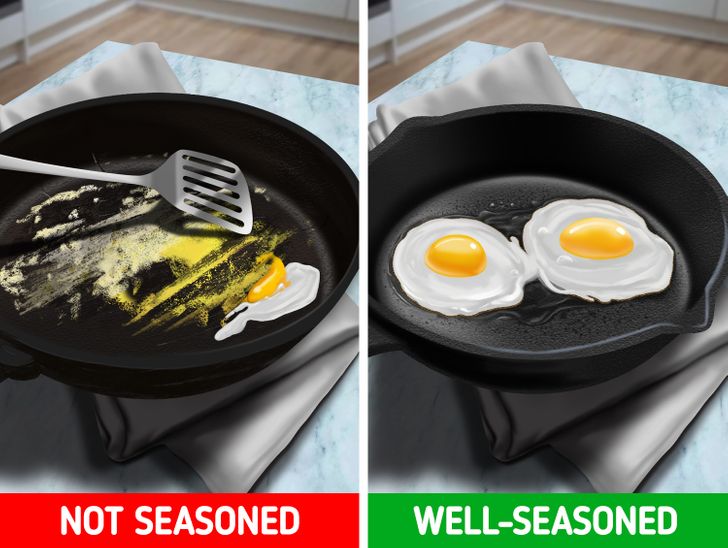
- Pre-seasoned: Some pans are sold already pre-seasoned. These will have a black, slick-looking surface compared to the bullet-gray dull finish of the not seasoned ones. While that might save you some time, even the best new cast iron will need an initial seasoning to prevent food from sticking to it.
- Weight: Cast iron is heavy in general, but there are some pans that are heavier than others. Overall lighter-weight pans heat faster, while heavier ones will take longer to reach the same temperature, but will retain heat better.
B. Seasoning a new pan
As mentioned earlier, your new cast iron skillet can and, in fact, will almost always come with some degree of pre-seasoning on it. Still, you’ll probably have to lay down a few more layers on top of that to make sure it’s good and prevent food from sticking to it.
1. Scrub and wash the pan.
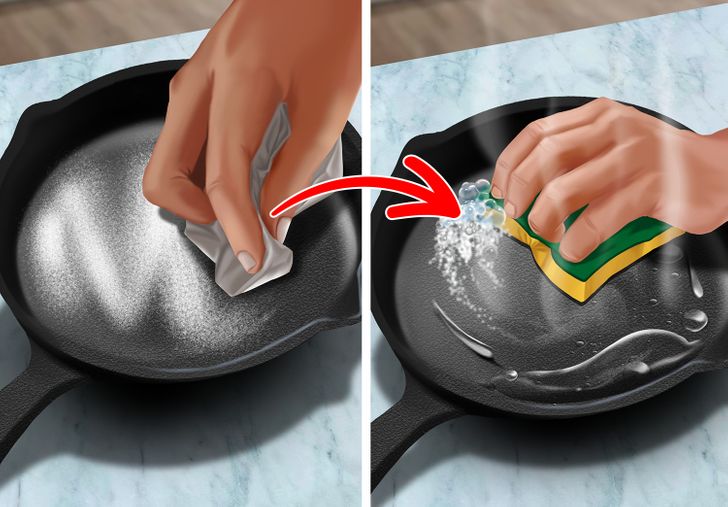
Pour a half cup of kosher salt into it and rub it with a paper towel to scour out any dust and impurities. Then wash it with hot, soapy water and dry.
- Tip: Even after drying it with a towel the pan might still be moist, which is why it’s always a good idea to put the pan on a stovetop flame for a minute or 2 after washing it for it to dry properly.
2. Rub it with oil.
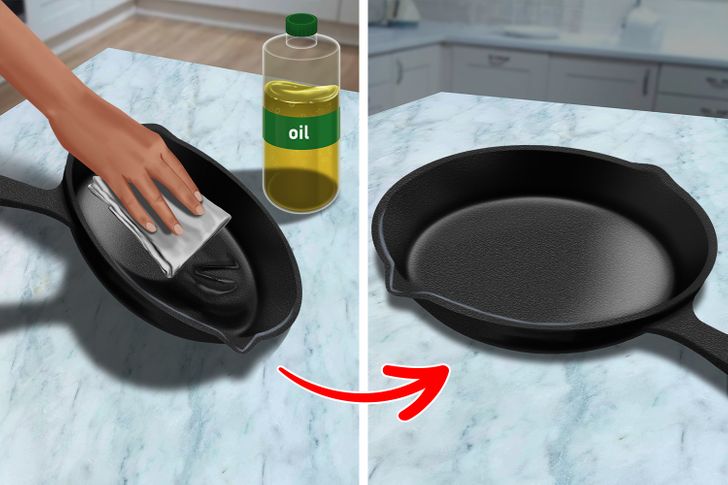
Rub the pan all over, inside and out—including the handle— with a paper towel soaked in cooking oil. Be careful not to leave a lot of oil behind. Even a small amount of excess oil on the pan can pool during seasoning, forming little hardened droplets on your cooking surface, or turn sticky if left unused for a few days.
- Tip: Vegetable, canola, and corn oil work well for this process.
3. Heat it in the oven and repeat.
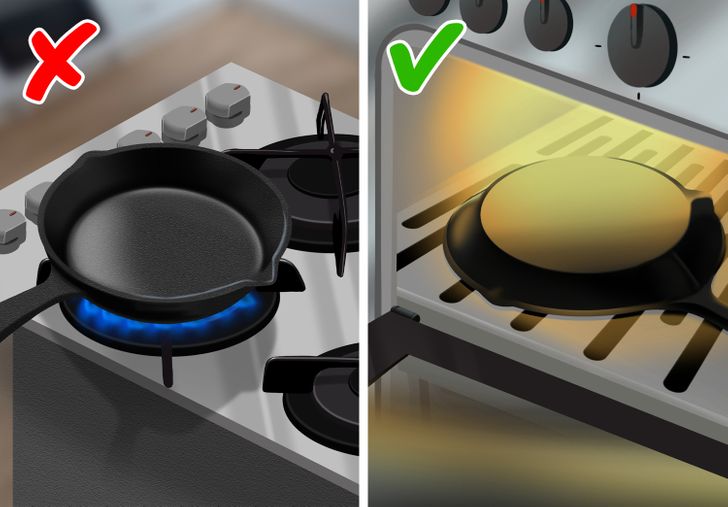
Place it in a 450°F oven for 30 minutes until its surface is distinctly blacker than when you started. The pan will smoke, that’s normal. Repeat steps 2 and 3, 3-4 times until your pan is nearly pitch black. Pull it out of the oven, place it on the stovetop to cool, and then it’s ready.
Tips:
- An oven will heat the pan more evenly than the stovetop will, leading to a better initial layer of seasoning.
- Turn the pan upside down and put a baking sheet or piece of foil underneath. It’s just added insurance against any excess oil that decides to run and pool.
- Cast iron cookware requires ongoing maintenance to build up a great seasoning which we will cover in the next section. That being said, the best way to season your pan after this first time is to simply use it.
C. Cleaning your pan properly
Because the quality of cast iron cookware is dependent on how well-seasoned it is, it’s important to know how to clean it to prevent accidentally removing any layer(s) of seasoning. If that happens, you’ll have to start from section B again.
⚠️ You should clean your cast iron immediately after using it. Always avoid tough abrasives such as metal scrubby scouring pads and cleaners like Comet or Bar Keepers Friend.
1. Wash the cast iron well.
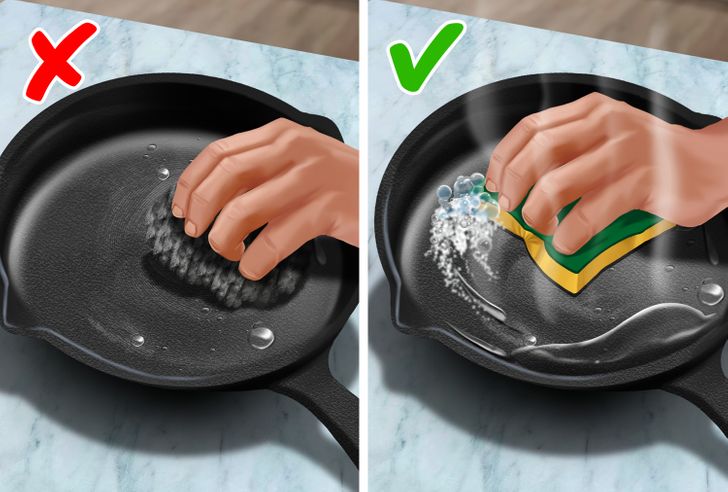
Wash your pan with warm soapy water. In this case it’s better to use a non-scratch sponge. Only if there are burnt-on bits should you use the scratcher that is on the back of common sponges.
- Tip: If the pan’s still dirty after using the scratcher, you can pour salt into it and set it over high heat. Then rub the charred gunk out using paper towels. Salt acts as an abrasive but it’s safe for the seasoning. Rinse it out and wash the pan with warm soapy water before moving on to the next step.
2. Dry thoroughly.
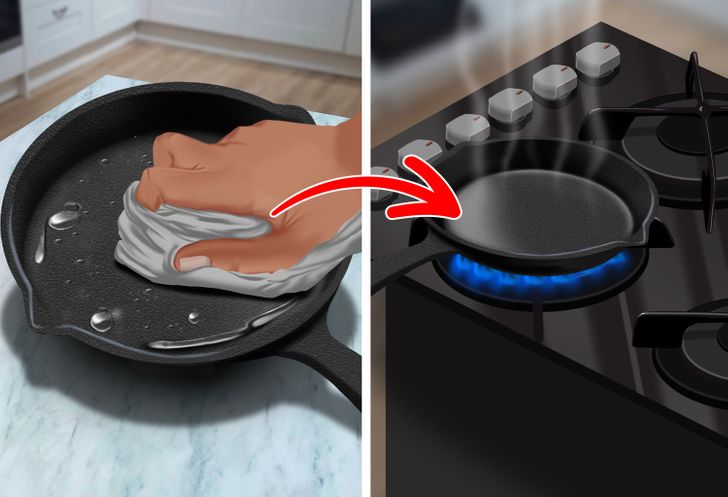
3. Oil lightly and heat the pan.
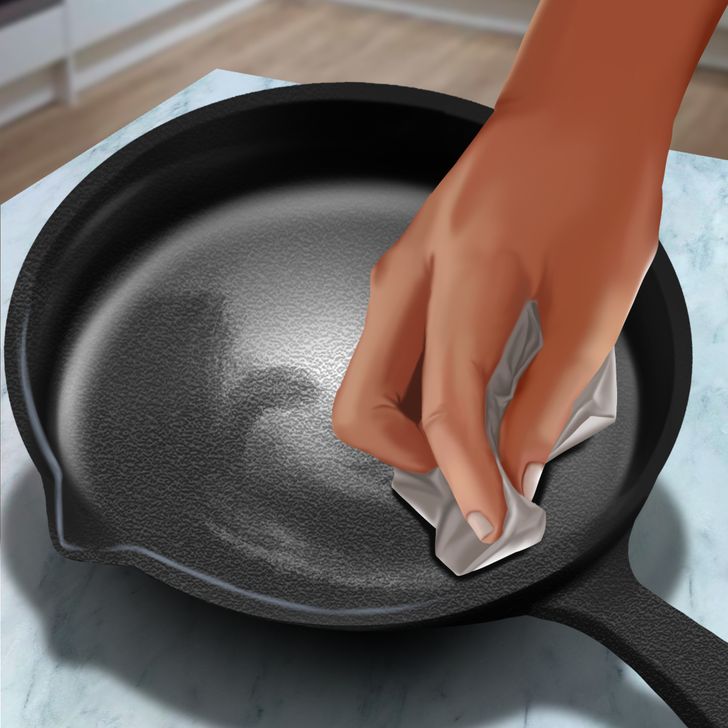
Rub the pan all over, very lightly with oil. Make sure you buff away any visible greasiness. The cast iron should look as if you didn’t oil it at all. Put the pan back over a burner set to high heat, and leave it for a couple of minutes until the pan is heated all over and lightly smoking.
- Tip: Unsaturated cooking fat such as canola, vegetable, or corn oil works best for this step.