3 Ways to Curl Your Hair Without Using Heat
If you want to curl your hair without exposing it to high temperatures, there are different tools and products that will help you achieve this. The use of electrical appliances, such as straighteners or curling irons, can dry out the hair and change the structure of its proteins, so it’s advisable to take a break from them from time to time.
5-Minute Crafts has compiled 3 ways to achieve this look without resorting to these tools.
Method 1: curling with straws
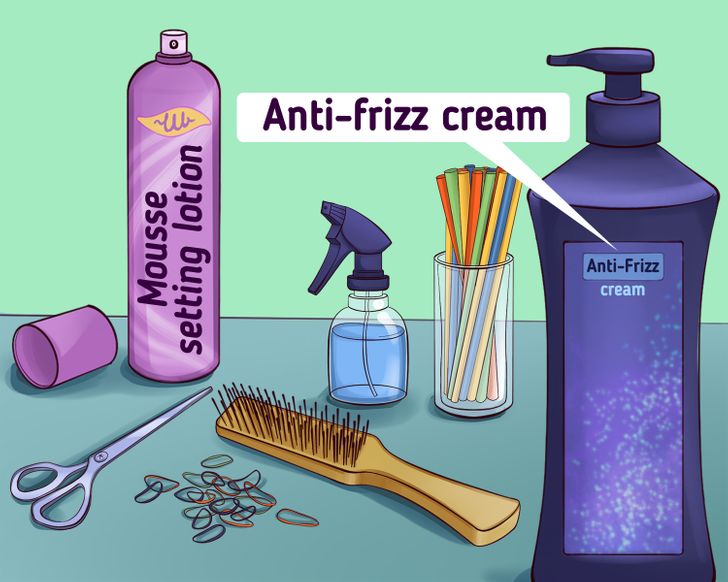
What you’ll need:
- 25 straws (or as many as you need, depending on your hair)
- 25 rubber bands
- A styling brush
- Anti-frizz cream
- An aerosol spray with water
- Scissors
- Mousse setting lotion (optional)
Step 1. Wet and detangle your hair.
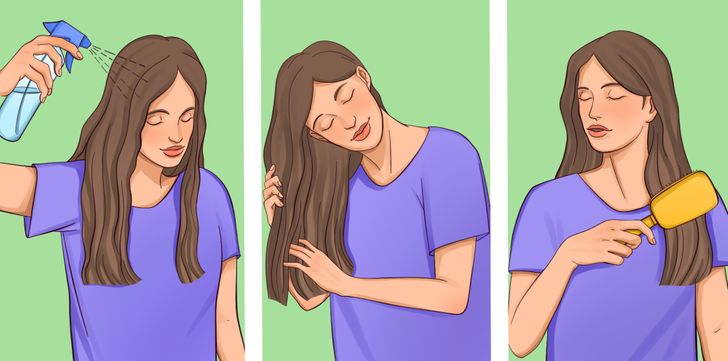
- Don’t get it too wet or damp since it will take a long time to dry. Before styling, apply an anti-frizz cream and then a mousse setting lotion to help your curls last longer and achieve more definition.
- Be sure to do this trick in the morning as your hair should dry naturally and without heat during the day.
Step 2. Wrap a strand of your hair around the straw.
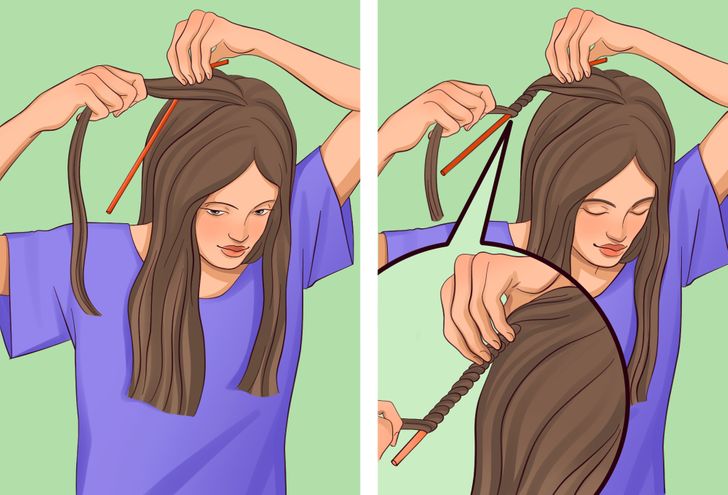
- Take a strand of hair and place the straw at the back, as close to the root as possible.
- Twist the strand completely around the straw in the opposite direction. Be sure to tighten each twist very well.
Step 3. Fold the straw in half and tie it with a rubber band.
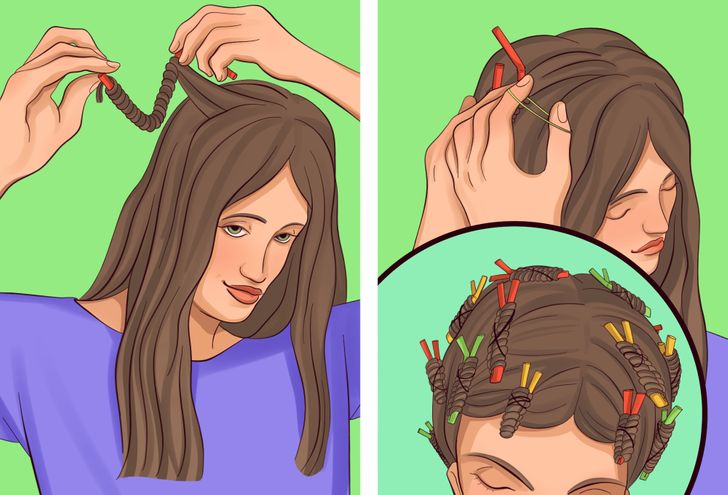
- When securing the straw with the hair tie, make sure not to let go of the end of the strand and that it’s also secured. Repeat the above steps with other strands until your hair is complete.
- Cut the straws for the strands that are shorter. Do this once you’ve rolled all the hair in it — this way, you’ll avoid making a mistake regarding the length you need.
Step 4. Let the hair dry all day and remove the straws.
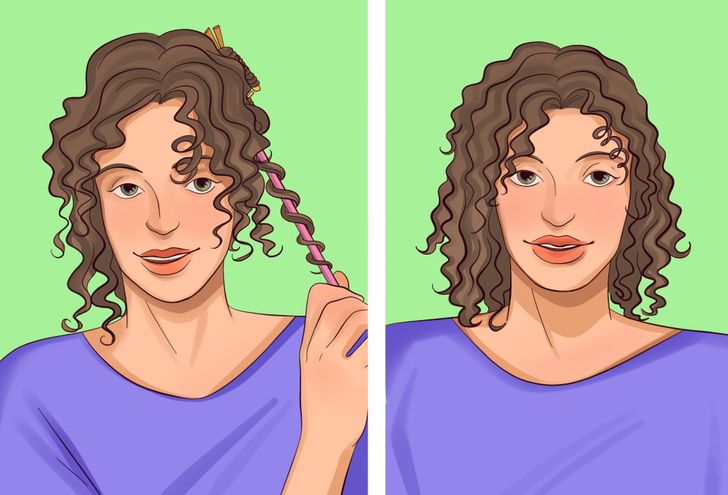
- You can also let it dry overnight and remove the straws the next morning, although it might be a little uncomfortable.
Step 5. Separate your hair and form smaller curls.
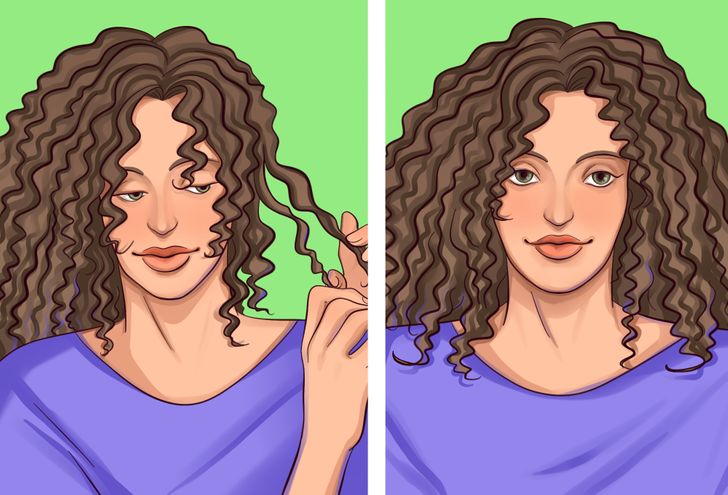
- Take each curl from the root and separate it into smaller strands. This will give your hair more volume.
- If desired, apply mousse setting lotion again to finish.
Method 2: curling with flexible tubes
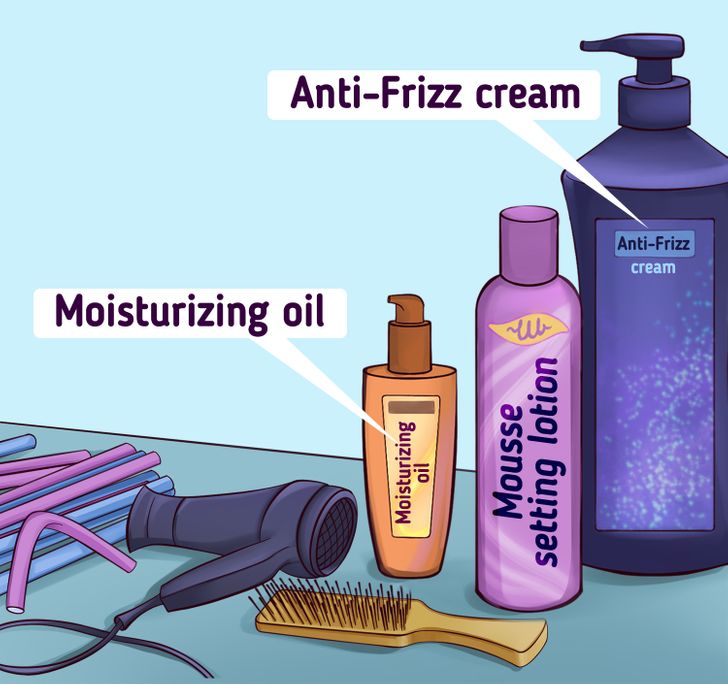
What you’ll need:
- 25 straws (or as many as you need, depending on your hair)
- Anti-frizz cream
- Mousse setting lotion
- A styling brush
- Moisturizing oil (optional)
- A hair dryer (optional)
Step 1. Take a lock of hair and apply the anti-frizz cream and the mousse setting lotion.
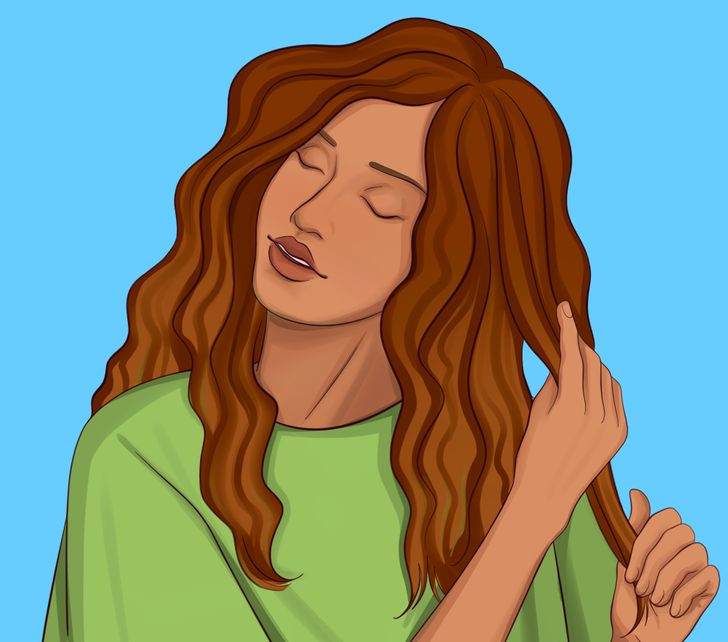
- Be sure to use products that are sufficiently moisturizing and that hold the curls, as you should not apply water to dampen the hair.
Step 2. Untangle the strand of hair and roll it into the flexible tube.
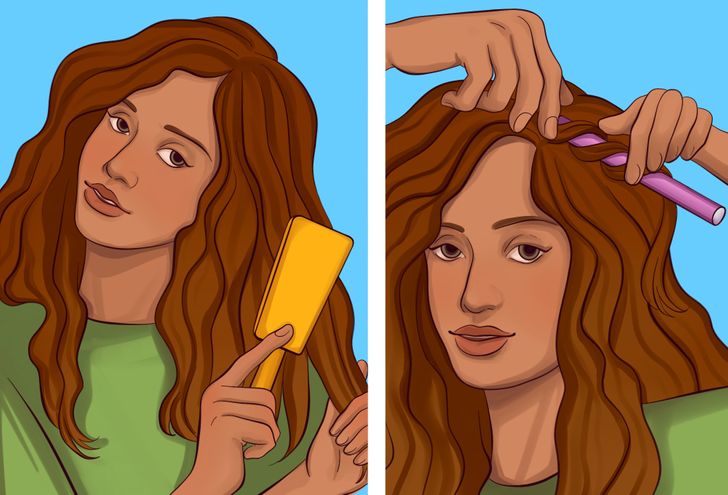
- Completely remove the knots to get more defined curls.
- Place the flexible tube as close to the root and behind the strand as possible, and wrap the hair backward, making sure it’s tight.
Step 3. Bend the tube at the top and then the bottom.
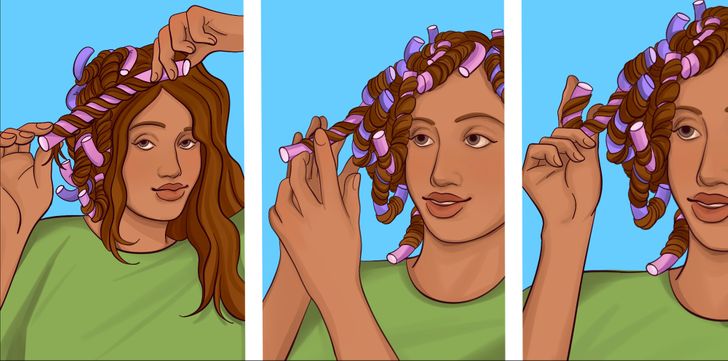
- Before bending the lower end, you can apply a little more mousse on the wrapped lock so that it’s completely fixed to the tube.
Step 4. Insert the rest of the tubes until all the hair is complete.
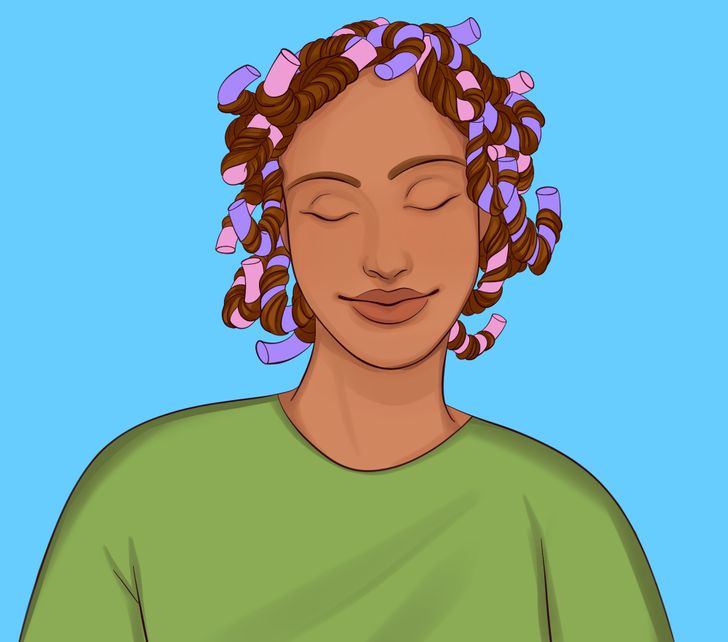
- Let your hair dry naturally or use a blow dryer if you don’t have enough time. If you opt for the latter, remember to apply a heat-protecting spray on the hair beforehand to prevent it from dehydrating.
Step 5. Remove the tubes and separate the curls until the desired look is achieved.
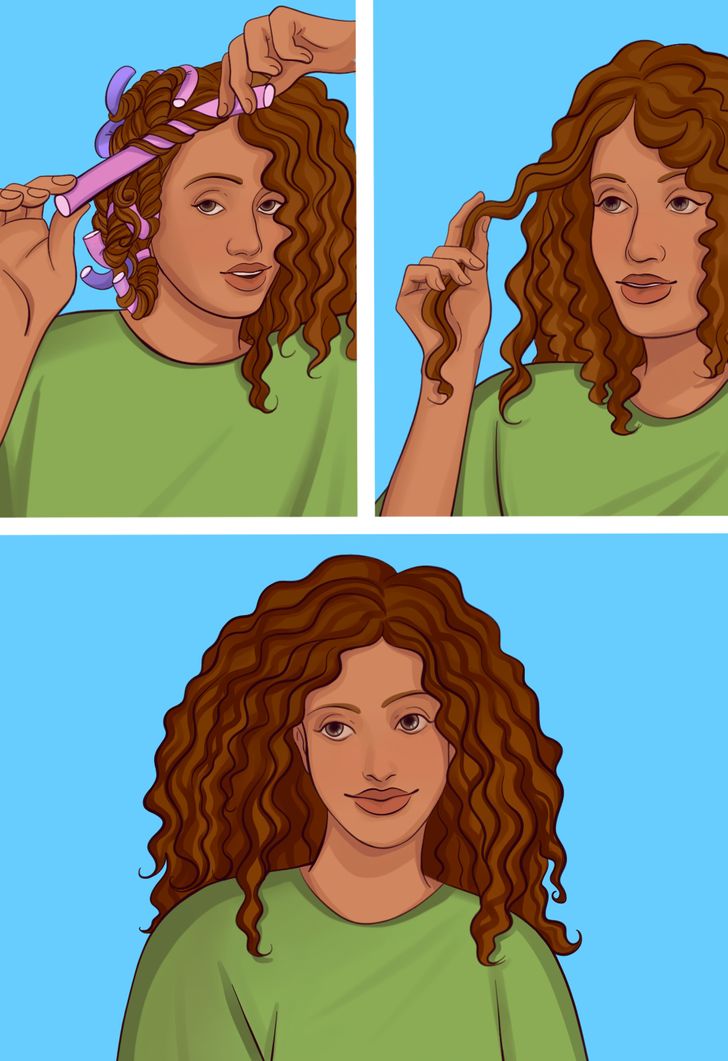
- Once your hair is completely dry, unwind the strands from each tube in the opposite direction.
- Apply oil before separating the curls for extra hydration and definition.
Method 3: curling with socks
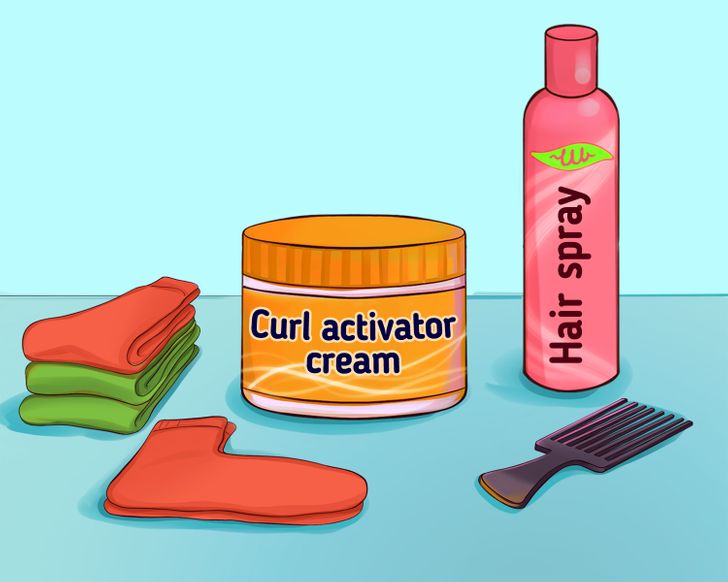
What you’ll need:
- An afro pick
- 4 pairs of medium-thick socks (or as many as you need, depending on your hair)
- Curl defining cream
- Hair spray
Step 1. Untangle your hair, part it, and apply the curl cream.
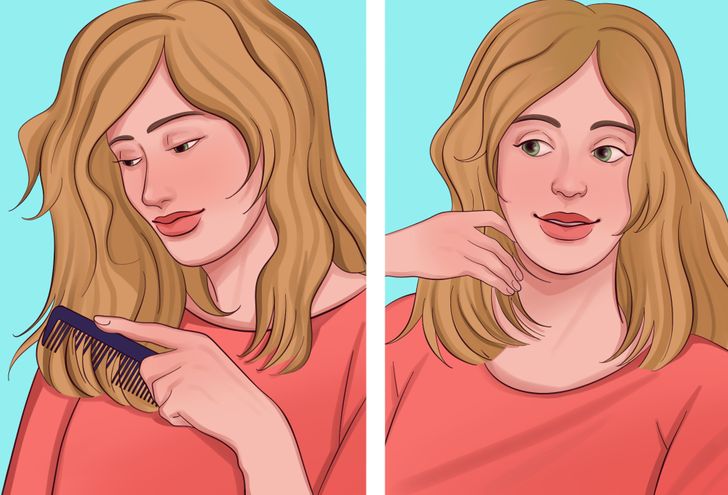
- It’s recommended to have your hair clean and dry before performing this step.
- Do this trick just before going to bed or early in the morning, as your hair should remain wrapped in the socks for at least 8 hours.
Step 2. Take a lock of hair and wrap it around the sock.
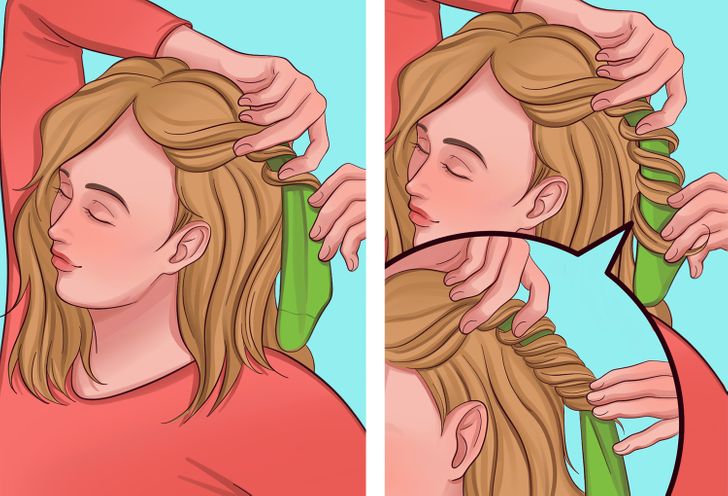
- To make the process easier, we recommend that you tie off the half of your hair that you are not yet working with.
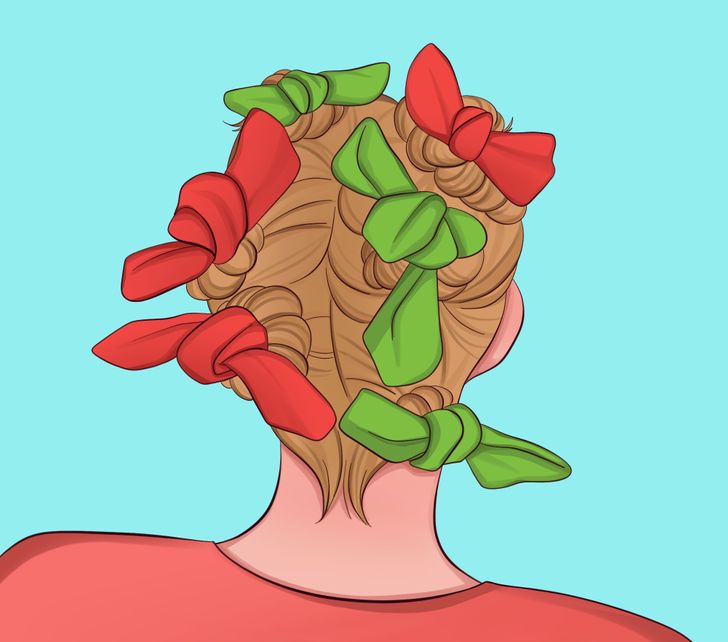
- Place the top of the sock as close as possible to the root of the strand, leaving a piece unused. Then twist the strand of hair and roll it along with the fabric. Once finished, it should look like how it’s shown in the last image.
- If you want the curls to be looser and longer, take larger strands of hair.
Step 3. Tie the sock until the hair is secured.
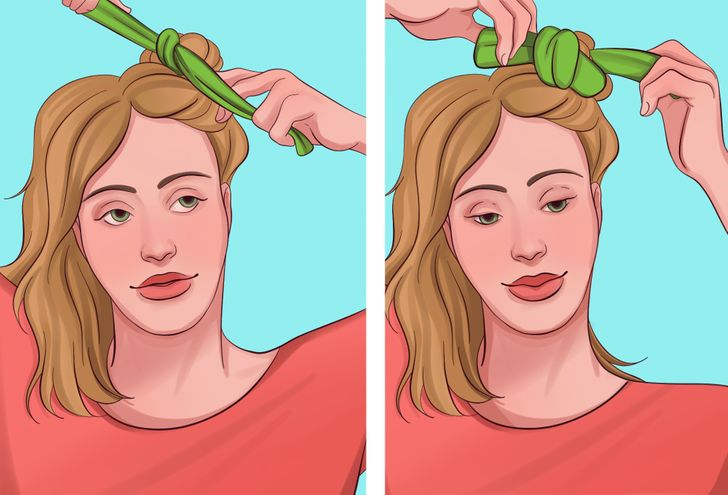
- Take each end of the sock, holding the end of the hair so that it doesn’t come loose, and tie it in half by tying 2 or more knots.
Step 4. Repeat the process with each strand until all the strands are complete.
- It’s possible that some of the ends of the hair may slip out of the sock when tying it. If this happens, untie it, apply a little cream to fix it to the rest of the strand, and tie it again.
- Remember to wait at least 8 hours to remove the socks.
Step 5. Remove the socks and separate the hair.
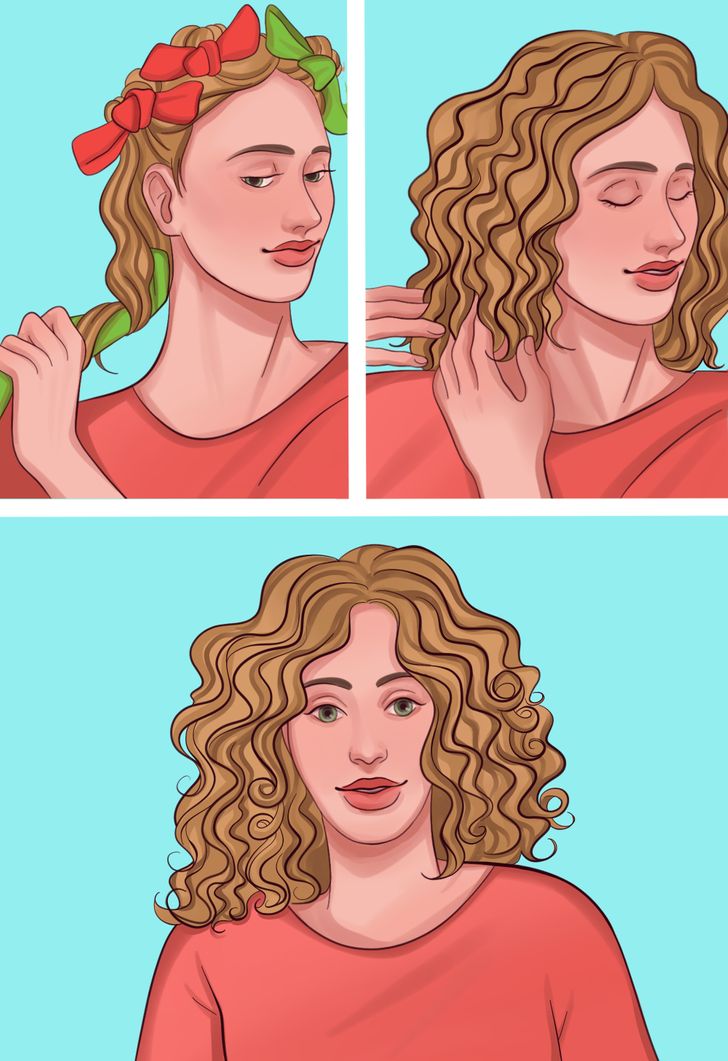
- Unwind the hair from the sock, starting at the top.
- Separate the strands carefully until the desired look is achieved and apply hairspray to get curls with more definition.
Bonus: Try using a strainer to dry your hair.
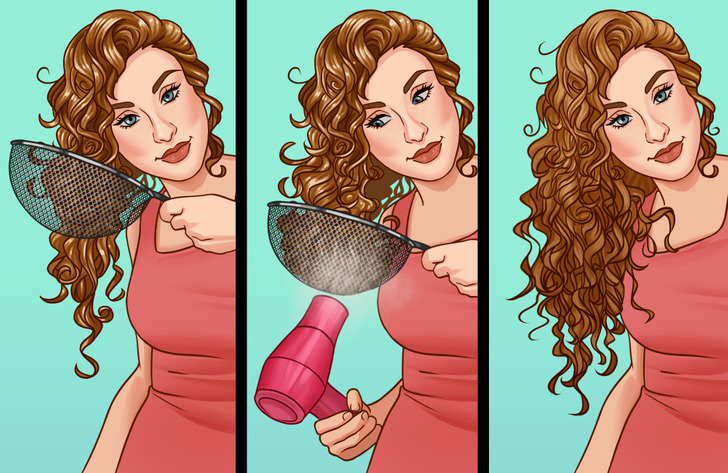
It may help you to dry your hair faster and get frizz-free curl definition without losing volume. It’s better to use a big strainer (a smaller one might also do the trick) but avoid a deep one.
- Your hair must be wet. Put a section of wet curls in the strainer cup and lift it up toward your scalp.
- Next, get a blow dryer (without a diffuser). You can use colder air so as not to damage your hair with heat. Point the blow dryer at the hair that’s in the strainer and turn it on.
- When you finish with this section of curls, turn off the hair dryer, move to the next section, cup it, and repeat the previous step. Then move to the next section of curls and repeat until all of your hair becomes dry.
Please note: This article was updated in August 2022 to correct source material and factual inaccuracies.
Check the video for nice hairstyles you can try
Share This Article