A Complete Guide to Manicures
There are various manicure types you can choose from to pick the best one for your nails. We, at 5-Minute Crafts, reviewed 6 well-known manicure types commonly found in nail salons and figured out whether they’re harmful for your nails.
1. Basic manicure
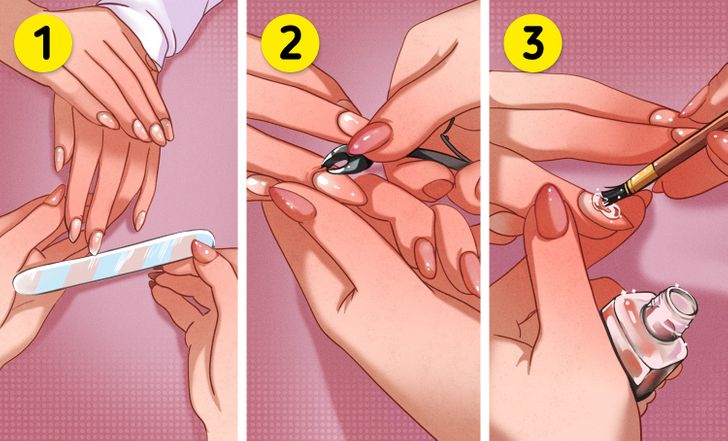
A basic or classic manicure includes filing and shaping the nails, treating the cuticles, painting on a base coat or nail polish, and applying hand cream. You can combine this manicure type with a paraffin bath, a hot stone massage, exfoliation, and other spa treatments—this is a basic hygienic procedure to keep your nails in good condition.
- Lifetime: It can last up to 7 days.
- Removal: You can remove it with nail polish remover.
2. Gel manicure
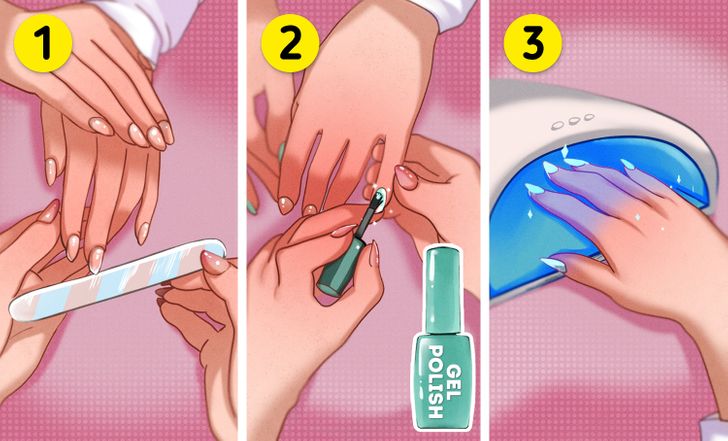
After a gel polish is applied in 2 layers, along with a top coat at the end, it doesn’t dry out on its own like regular polish. But, it hardens and sets on nails under a UV light that a UV nail lamp generates. Gel polish doesn’t affect nail health if done and removed by a professional technician. Sometimes some problems may arise if you try to remove it yourself.
- Lifetime: It can last around 2 to 3 weeks without damage.
- Removal: You can take it off at a nail salon. A manicure technician removes the upper layer with a file, then removes the polish with nail polish remover.
3. Shellac manicure
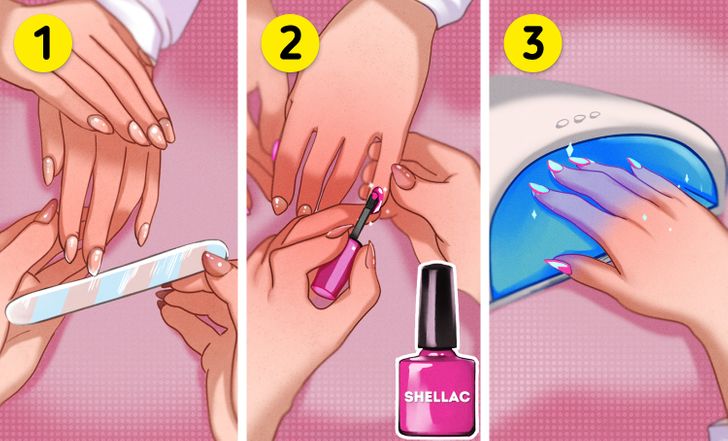
Shellac manicure is a brand name that belongs to Creative Nail Design (CND). It’s a hybrid of gel and regular nail polish. Gel polish and Shellac are often confused due to the same application process: 2 layers, a top coat, and UV curing. Shellac is different from gel polish — it’s slightly thinner and combines the properties of regular and gel polishes. It’s durable, wear-resistant, and has the same color and gloss as regular nail polish. If you remove the product incorrectly, you may damage your nails.
- Lifetime: It can last up to 2 to 3 weeks without becoming damaged.
- Removal: It’s not required to file off the upper layer. When a remover is applied, Shellac breaks into tiny pieces and is released from the nail, allowing a seamless, more gentle removal. It can be done at home, but it’s better to leave it to a professional technician.
4. Extension manicure
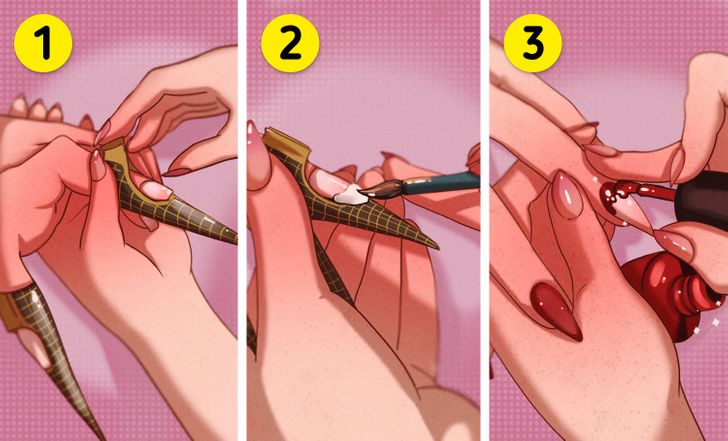
This is a basic manicure combined with nail extensions or strengthening, using gel or acrylic components. Acrylic uses a liquid and powder mix that creates a hard, protective layer on natural nails or nail extensions. The mixture hardens upon its exposure to air. After that, it looks like a transparent layer on which you can apply regular nail polish, gel polish, or Shellac. It’s also possible to extend nails using a gel that is like gel polish.
Acrylic and gel extension formulas don’t affect the health of your nails if removed correctly. But problems may arise if you try to remove them yourself.
- Lifetime: It can last 2 to 3 weeks.
- Removal: It’s better to remove them in a nail salon by a manicure technician that cuts the length down first, then removes the color. After that, they remove the acrylic or gel layer with acetone.
5. Dip powder manicure
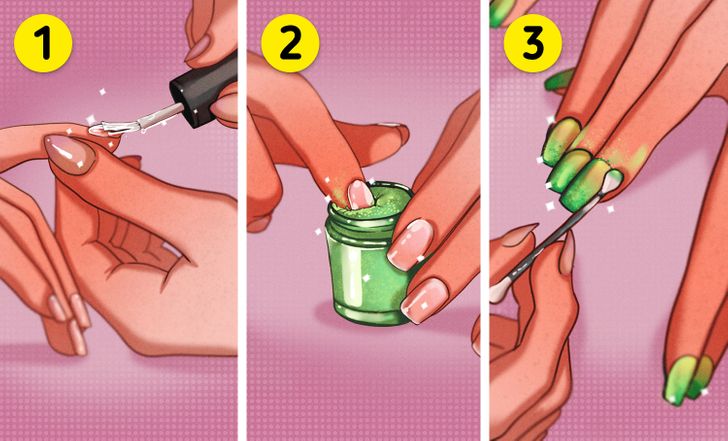
It’s a basic manicure where a special pigmented powder is applied that doesn’t require UV curing. After the regular manicure procedure, a base coat and special sealant are applied to the nails. Then, they’re dipped into a container with pigmented powder of the selected color. The powder adheres to the bond — then the excess powder is removed from the areas adjacent to the nails. The pigmented powder can weaken your nails because of the complex removal process, especially if you’re doing it yourself.
- Lifetime: It can last up to 3 weeks.
- Removal: In a salon, the pigmented powder is removed the same way as acrylic, gel polish, and Shellac. Since it adheres to the surface of the nails, you need to soak it off with acetone for longer.
6. French manicure
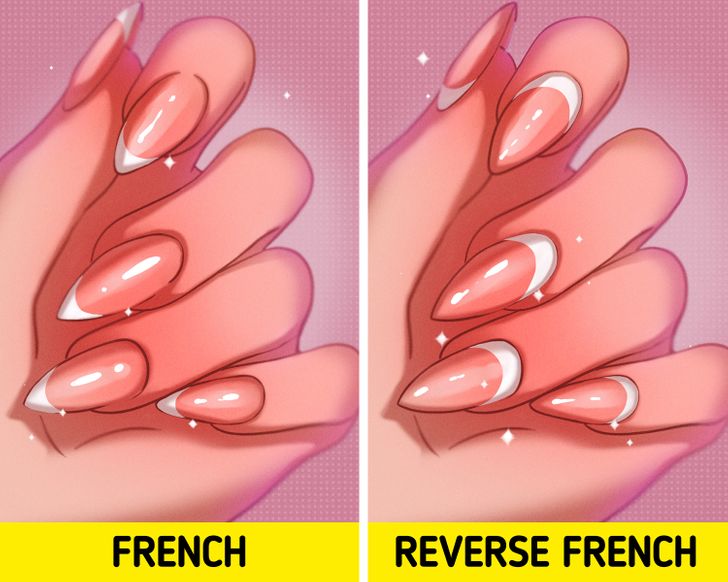
This is a basic manicure with a unique design on the nails: the surface of the nails is polished in pink or beige, and the tips are painted white. The color, whether regular nail polish, gel polish, or Shellac, can be different. The lifespan of the coating, the method of its removal, and if it’ll damage the nails or not all depend on your choice of manicure. In addition to the classic French manicure, there is another version known as the reverse French manicure, based on the lower parts of the nails being polished white instead of the tips.
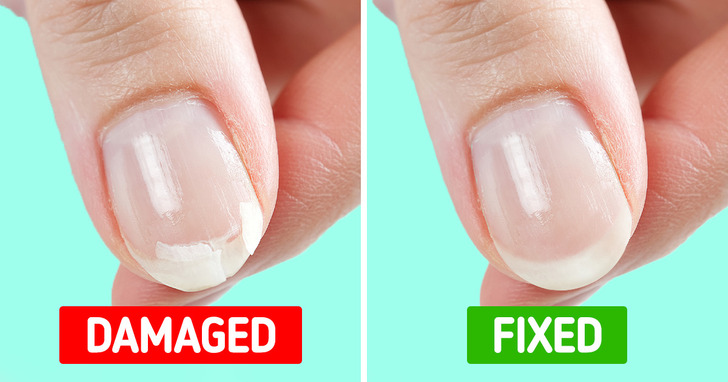
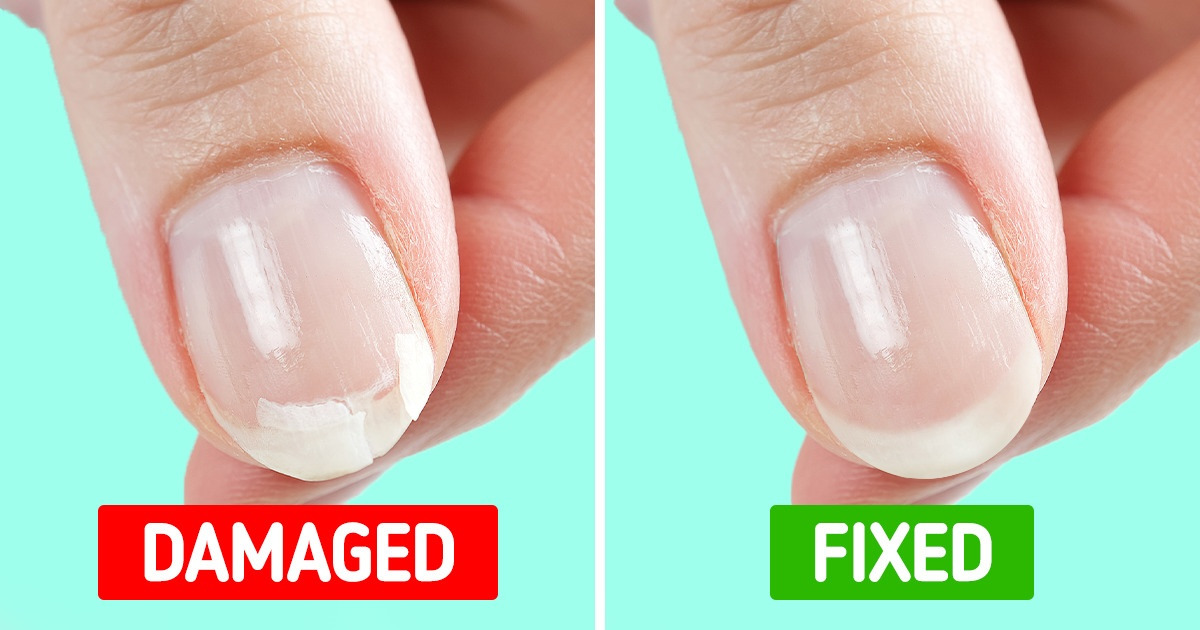
Bonus: Tips for fixing your broken nail with household items
You’ll need: a nail buffer, fingernail glue, a tea bag, a nail clippers, a toothpick, coffee filter material (optional), tweezers (optional), and a file (optional).
- Wash your nail with warm water and dry off.
- Cut a small piece out of the tea bag. Place it on your nail to see if it’s the right size.
- Apply a small amount of glue over the broken nail area. Then, place the tea bag on it. Gently and carefully press it until it dries flat, soaked up by the glue, and is attached.
- Remove the excess using some clippers. If you want, apply more glue to your nail and spread it using a toothpick. If there’s glue stuck on your skin, it’ll come off after a hot shower.
- Using your buffer or a file, smooth the surface when everything is dry. Note that the tea bag and glue will protect the broken parts. You are now ready to carry on with your regular manicure.
