How to Apply Eyeliner By Yourself: 9 Tips
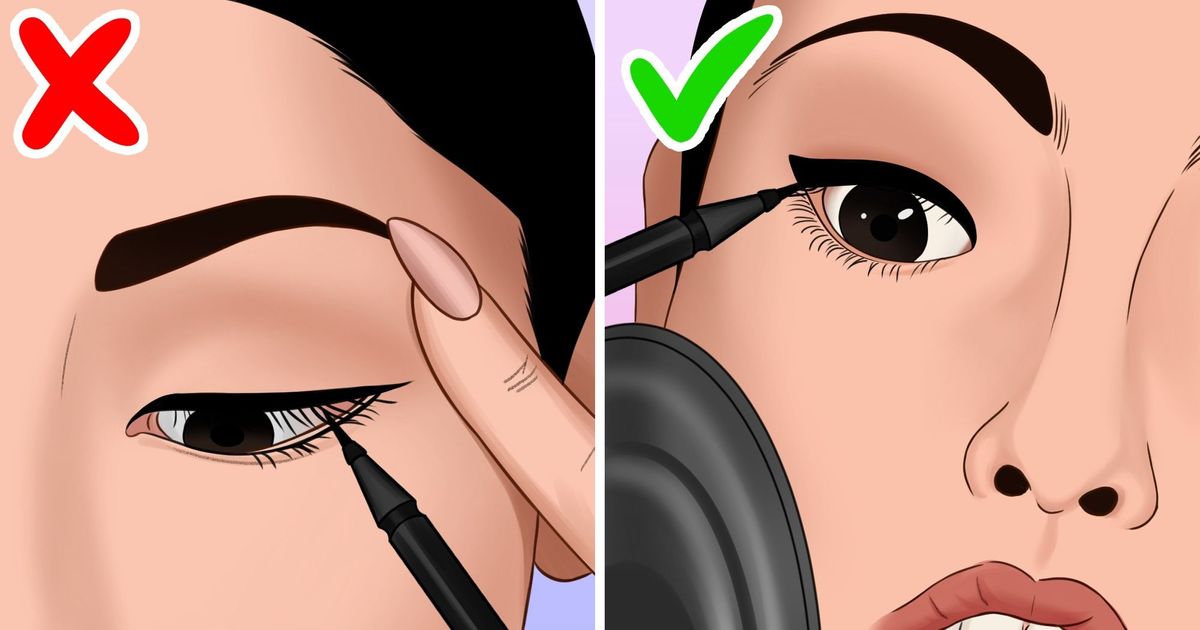
Eyeliner can make your eyes stand out and even transform and complete your appearance in no time, like doing winged eyeliner to give you the coolest cat-eye look. If you are new to applying eyeliner or if you always end up having uneven lines on one or both eyes, let 5-Minute Crafts help you take your eye make-up skills to the next level.
1. Always sharpen your eyeliner pencil before applying.
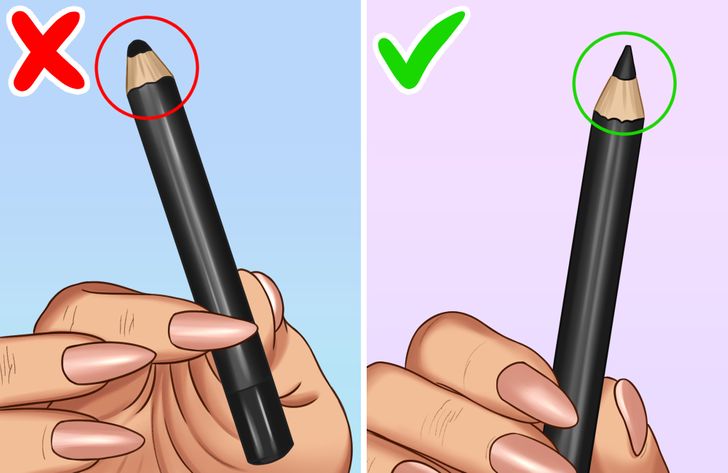
A blunt eye pencil can make it really hard to get precise lines, so you should sharpen them on a regular basis to get a perfect application. It also gets rid of the bacteria that build up on the eye pencil whenever you apply it.
2. Don’t leave gaps between the eyeliner and the base of your eyelid.
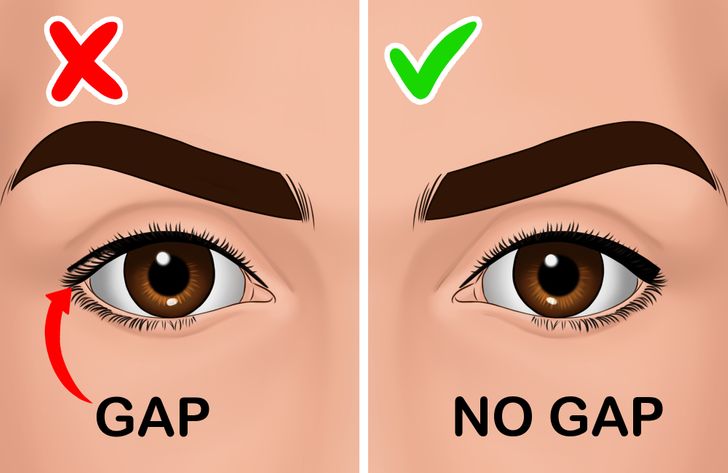
These gaps make eye makeup look messy, so to avoid that you can keep the liner flat and apply it in little strokes starting from the midpoint of your eyelid to the last lash, then you can apply thinner lines from the inner corner to connect with the midpoint. Then, with the help of the tip of the eyeliner, you can color between the lashes and the line to create a stable black base for your eyeliner.
3. Do the proper finishing when applying the eyeliner.
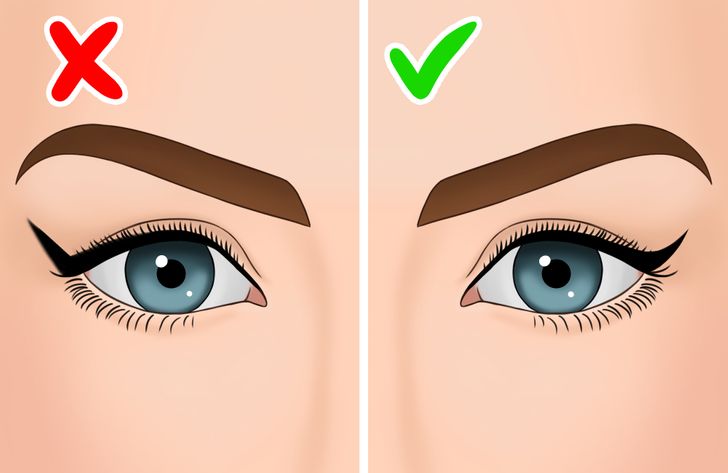
The tail should be connected smoothly with the rest of the arrow. To get the right result, take the following steps:
- From the midpoint of the eyelid, begin tracing a thicker arrow through to the last eyelash, keeping the eyeliner flat as mentioned above.
- Now look straight in the mirror and imagine a diagonal line that stretches through the waterline (the line of skin between the bottom lashes and the eye). To get it right, use the tape method explained below.
- Fill it in with the finishing touches.
4. Don’t line the top and bottom parts of your eyes entirely.
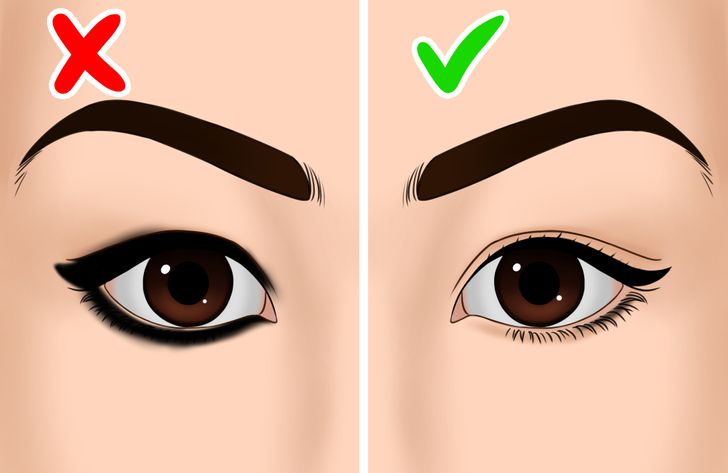
By doing this, you’ll make your eyes look smaller. Instead, tightline your upper lash line, and apply a little eyeliner to the bottom corner. Color the rest of the bottom lash line with a nude eye pencil. This will make your eyes look bigger.
- Lining both the lash lines with a darker shade is only suitable when you want a dark and smokey eye.
5. If your eyes are mature and droopy, don’t apply the arrow to the whole upper eyelid.
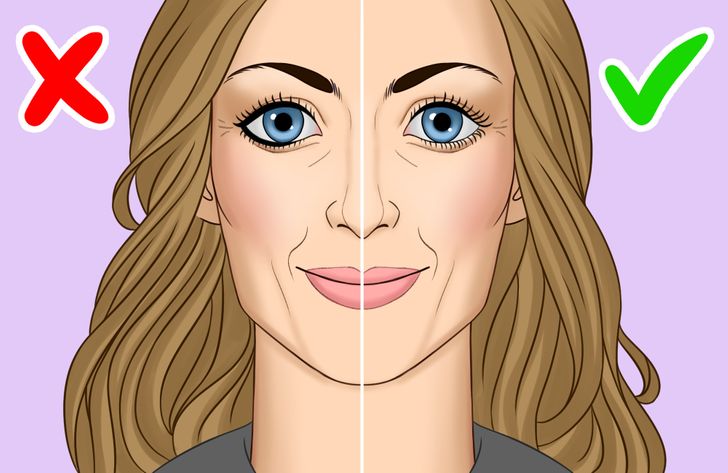
As you mature, the corners of your eyes may start drooping. If you apply eyeliner the usual way, your eye makeup may end up looking a bit downturned. To prevent this, stop applying the eyeliner about 3 lashes away from the outer corner of your upper lash line. Then, make the wing go up right from the outer edge of the arrow. On the bottom lash line, you can go for a nude eyeliner in a lighter shade to make your eyes look bigger and uplifted.
6. Don’t stretch the skin on your eyelid when applying eyeliner.
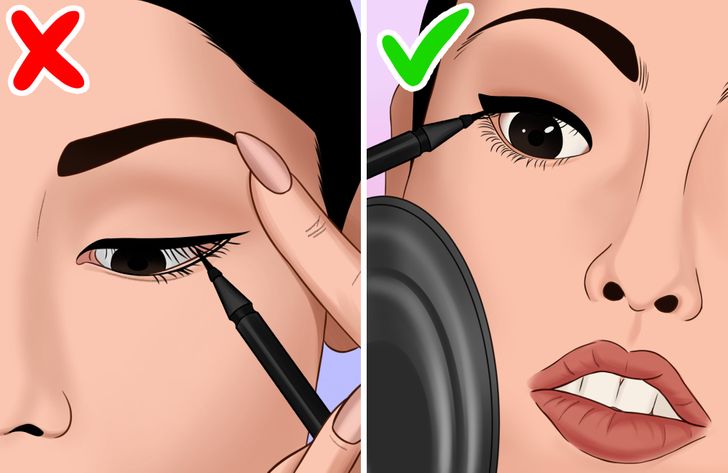
Stretching or tugging on your eyelid accelerates the process of aging as the skin around the eyelid is very sensitive. Instead, cultivate a habit of lifting your head up a bit to apply eyeliner easily.
7. Use nude eyeliner instead of white eyeliner to make your eyes look bigger.
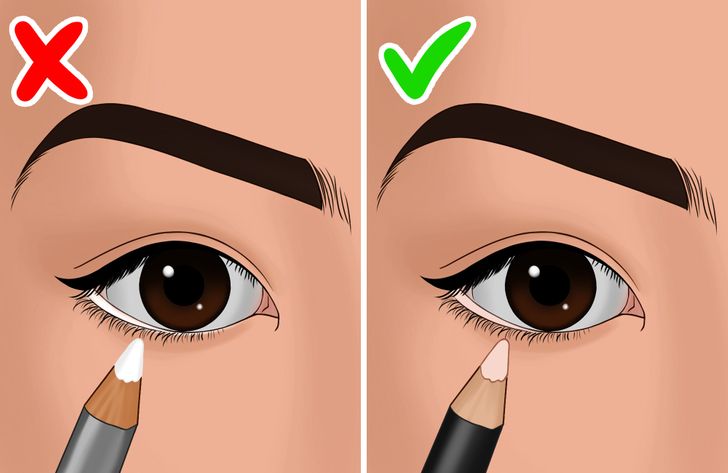
Both white and nude eyeliners are used to make your eyes look bigger. However, it is recommended to use nude eyeliner because it will match your skin complexion and make your eyes look more natural.
8. Use tape below your lash line to apply winged eyeliner.
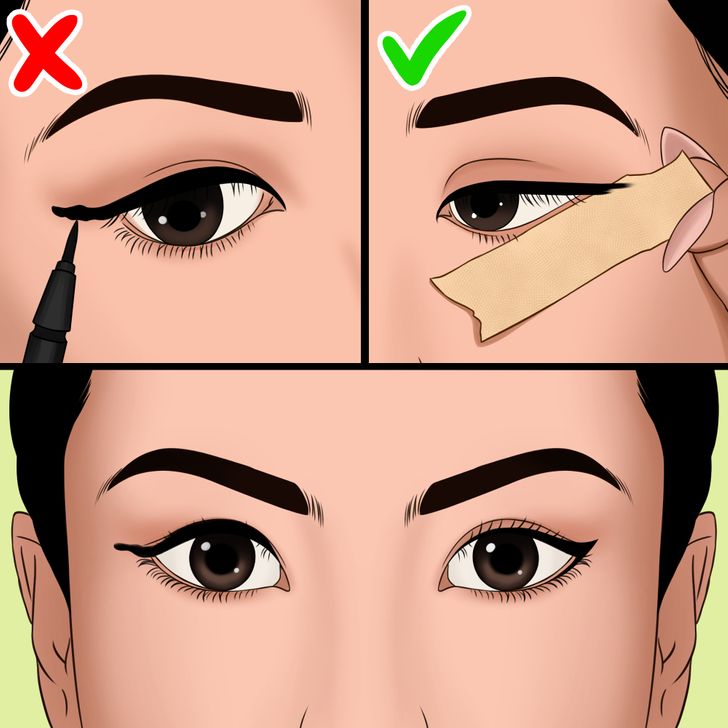
When going for the winged eyeliner look, put a piece of tape at an angled diagonal to your lower lash line, extend the tail of your arrow to your desired length. Once satisfied, connect the tip of the tail with the rest of the arrow. Then, remove the tape carefully and fill in the unfinished details. Also, don’t close your eyes while applying the eyeliner, if you are aiming for a flawless cat-eye look.
9. Don’t use too much eyeliner on the inner eyelid.
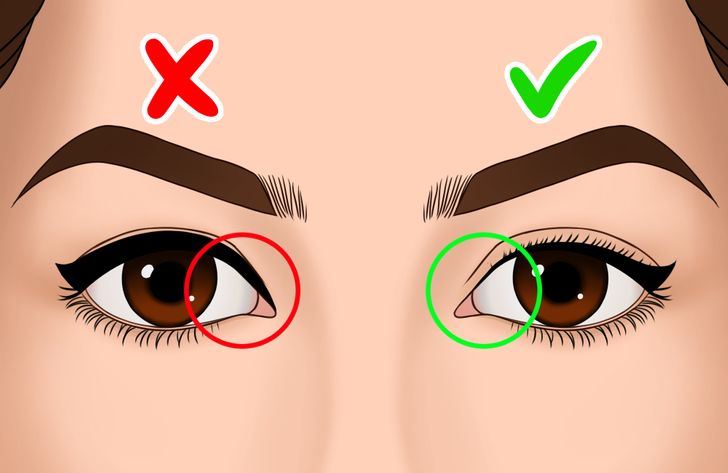
As the inner eyelid has a very small amount of skin, going heavy on the eyeliner on the inner eyelid will create an unflattering look. Instead, apply a very small amount of eyeliner gently from the inner eyelid and keep increasing the width bit by bit to create an impressive look.
The tips listed above can be applied to eye makeup in general. The typical arrow style may not be suitable for every eye shape. We’ve listed a few styles based on your eye shape below:
