How To Color Correct for Clear and Flawless Skin
Makeup artists often learn techniques to achieve incredible looks, using contouring and highlighting. In recent years, color correcting has been a trendy technique on social media, which involves using pastel-based hues to cancel out skin issues (like redness and dark circles, among others).
5-Minute Crafts will reveal the secrets behind color correcting so that you can master this technique for a flawless face.
1. The difference between correctors and concealers
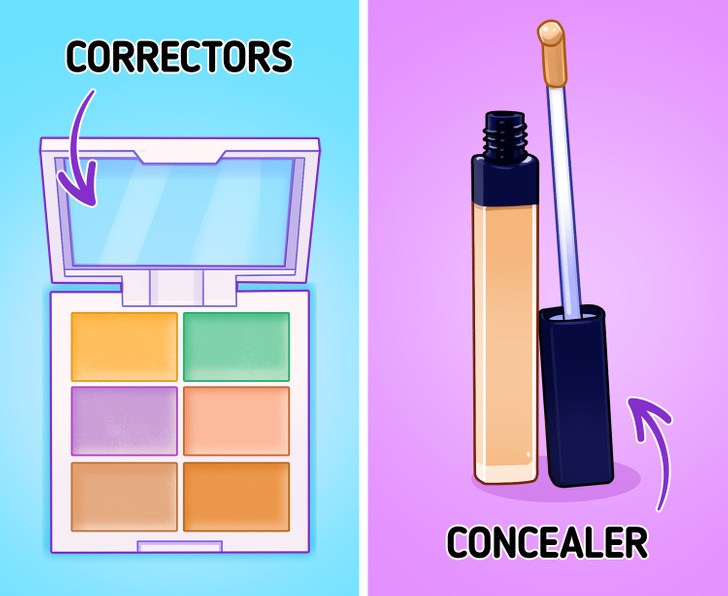
First, it’s important to differentiate between correctors and concealers because these words are sometimes used interchangeably, but they are different products. These are their main characteristics:
- Correctors neutralize skin discoloration and hyperpigmentation, and they’re used underneath concealers. They are not skin tone correct colors because they’re supposed to neutralize the opposing colors you see in the imperfections. In general, they provide a more even complexion.
- Concealers mainly hide and brighten under-eye darkness, but they also correct general pigmentation and blemishes on your face. Plus, they can offer some extra coverage to your foundation if you prefer a full-coverage look. Remember to apply your concealer after your foundation.
2. How color correction works
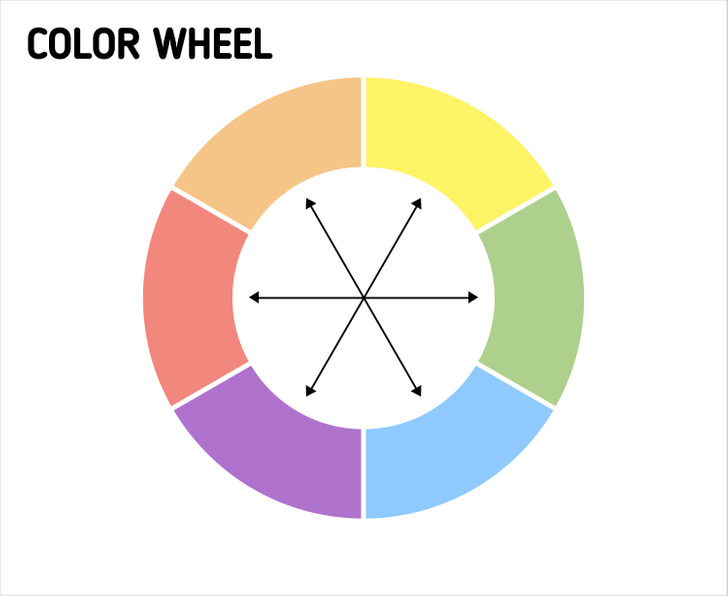
The science behind color correcting lies in color theory. According to this principle, opposite colors in a color wheel counteract each other. When replicating this idea on the skin: green correctors, for example, conceal redness (like rosacea and blemishes) because they sit on opposite ends of the chart. It’s all about counter-balancing colors to neutralize tones.
3. Which corrector color to choose for your skin imperfections
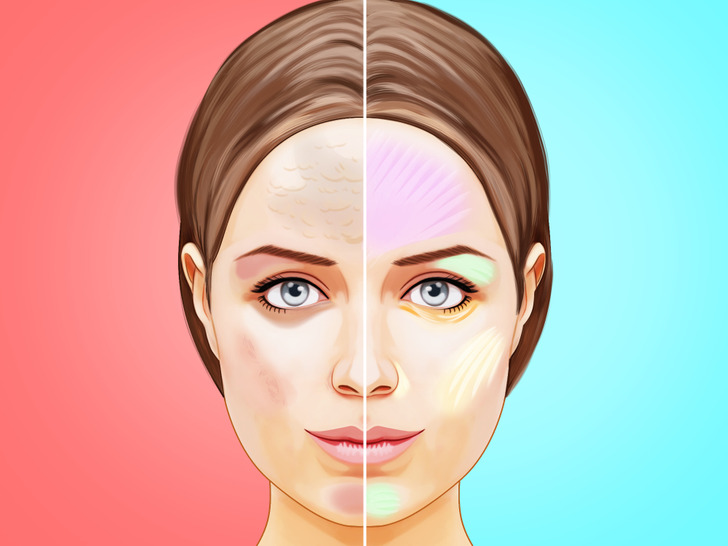
Choosing color correctors can be confusing because these products are available in multiple shades, which aren’t particularly intuitive to use. Instead, it’s better to focus on your skin concerns when choosing the right product.
- Dullness: Use a violet or purple corrector if you want to go for a brightening look with your complexion. Lavender shades eliminate yellow tones, thus creating a healthy and glowing effect. You can use violet correctors on your cheeks, forehead, or chin.
- Discoloration: Purple discolorations, like dark spots and broken capillaries, are counter-balanced with yellow correctors. Apply this product in localized spots or under the eyes to lighten these areas.
- Redness: Green colors are used to neutralize the intensity of skin conditions with red characteristics, like rashes, acne marks, etc. Apply as needed on problem areas, carefully building up the product (since green correctors can be very pigmented).
- Dark circles: These blue-based pigmentations can be canceled out with shades of peach and orange. You should choose one of these tones, based on your skin color, for a natural look: use peach for light undertones, bisque for medium skin, and orange for deep complexions.
4. The difference between liquid and cream formulas
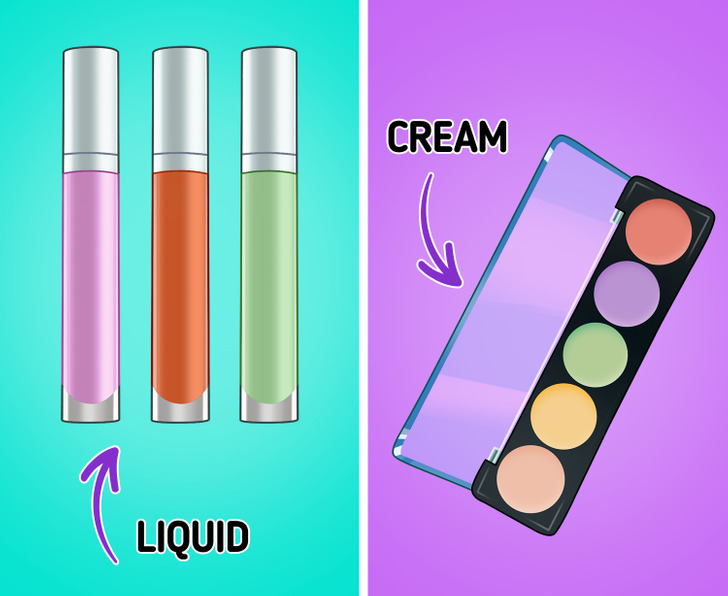
There are several product types on the market for color-correcting, but the most common ones are liquid and cream formulas. They offer the following advantages:
- Liquids: They provide sheer coverage and are perfect for minor corrections, thus achieving a natural look. These correctors will help balance the skin and conceal blemishes.
- Creams: This formula offers medium-high coverage. They are more effective on stubborn areas and pronounced discoloration.
Your purchase decision should be based on a combination of both personal preferences and your specific skin concerns.
5. How to apply correctors the right way
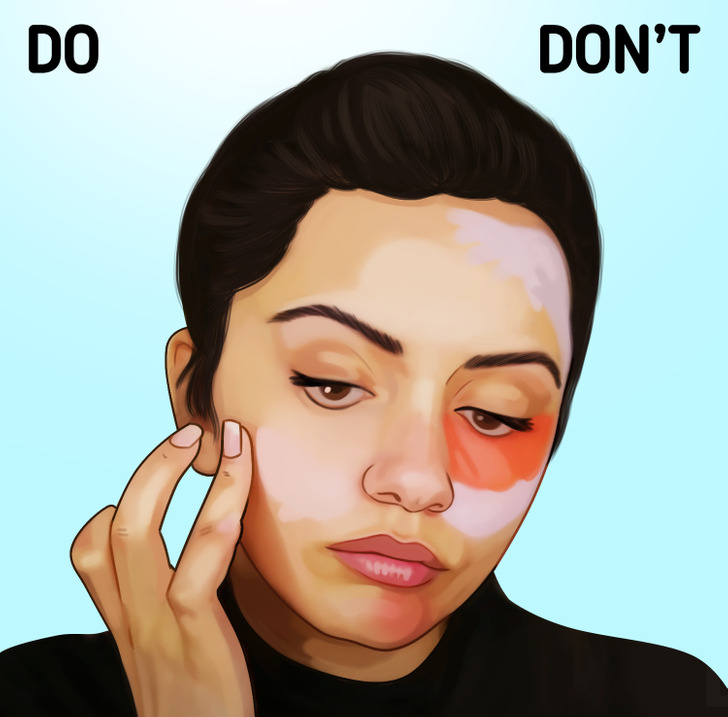
Keep in mind the following rule at all times: “Less is more when applying product” (which means that you should slowly build up the coverage). Then, follow these steps for the appropriate application:
- Apply correctors to bare skin: Use a small brush for precise application, but if you prefer a more natural look, you can lightly apply the product with your fingertips (or use a makeup sponge).
- Use foundation: You can even things out with a sheer-medium coverage foundation or even a foundation that provides heavier coverage depending on your needs.
- Apply concealer: This will mask stubborn imperfections, as well as give you a brighter complexion.
- Set your makeup: You can lock your makeup in place by using additional products. For example, go for matte (setting powders) or dewy (mist primers) formulas, depending on your preferences.