How to Curl Your Eyelashes

Preparation
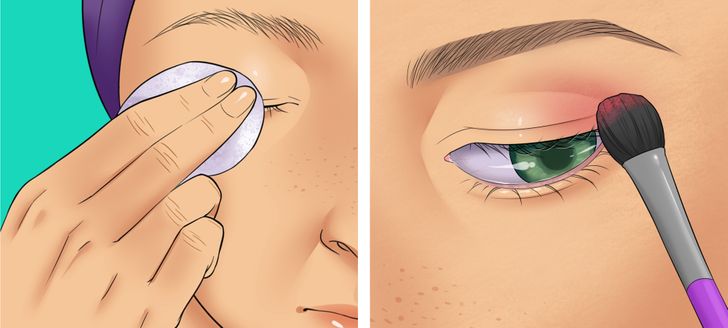
✅ Pour some micellar water or eye makeup remover onto a cotton pad and swipe it over your eyelashes. This will help you clean the natural oils off them and get a better curl.
✅ Then apply all your eye makeup (like eyeshadow, liner, etc.) except for mascara. Choose a waterproof liner to avoid smudging.
Tip: Make sure that your curler is clean too. Otherwise, it can damage your eyelashes. Clean both the rubber cushion and metal once every 2 months with a makeup wipe.
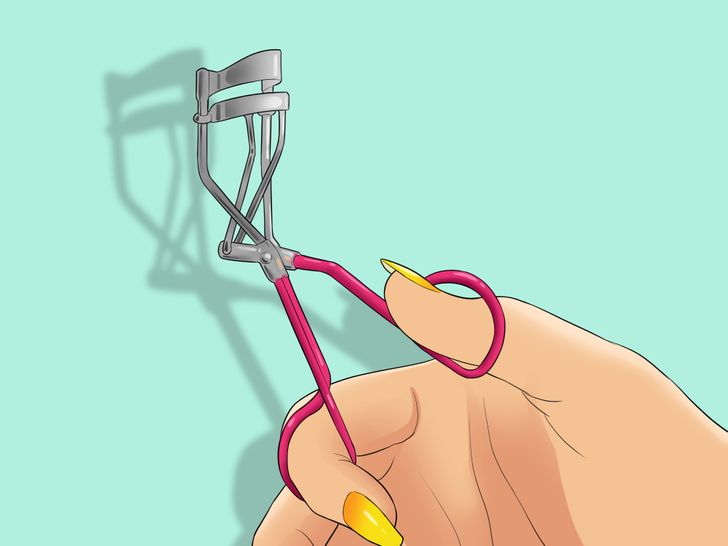
Step 1: Get the curler ready.
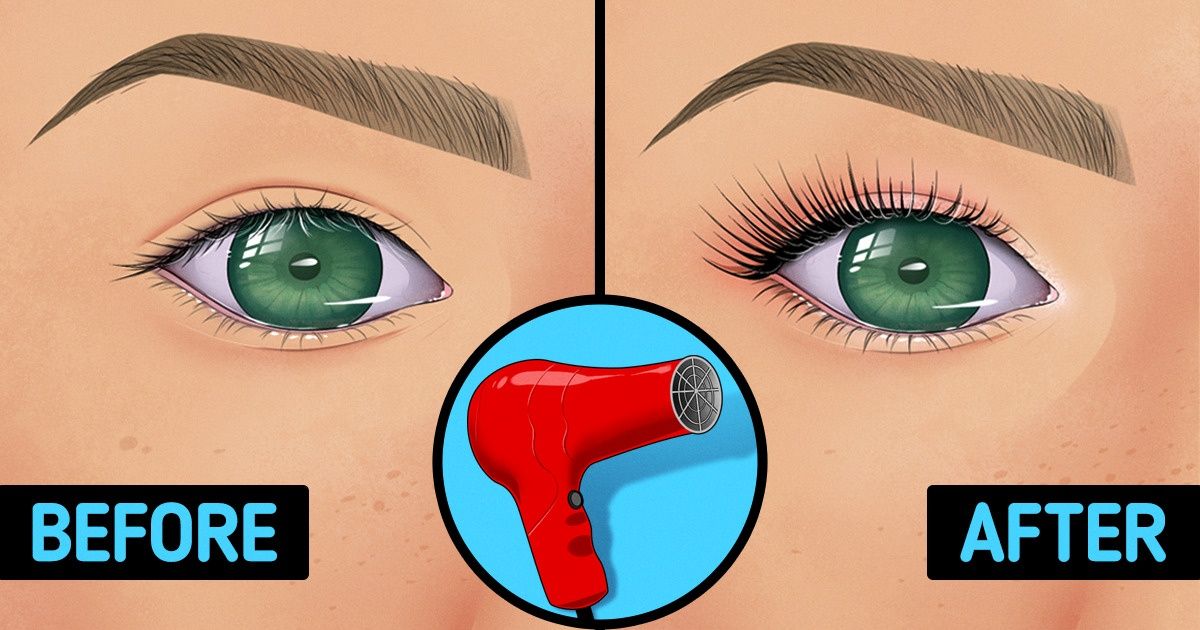
Step 2: Apply some heat.
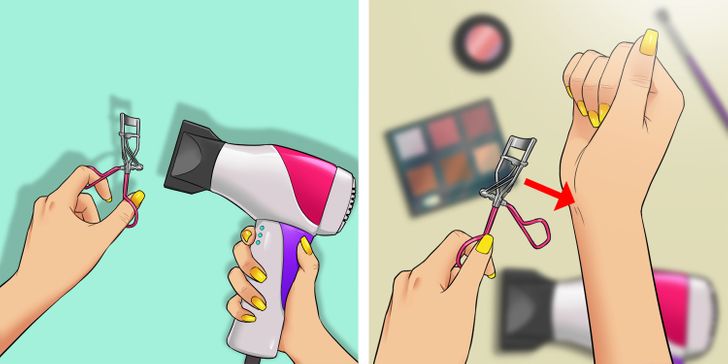
Step 3: Position the curler.
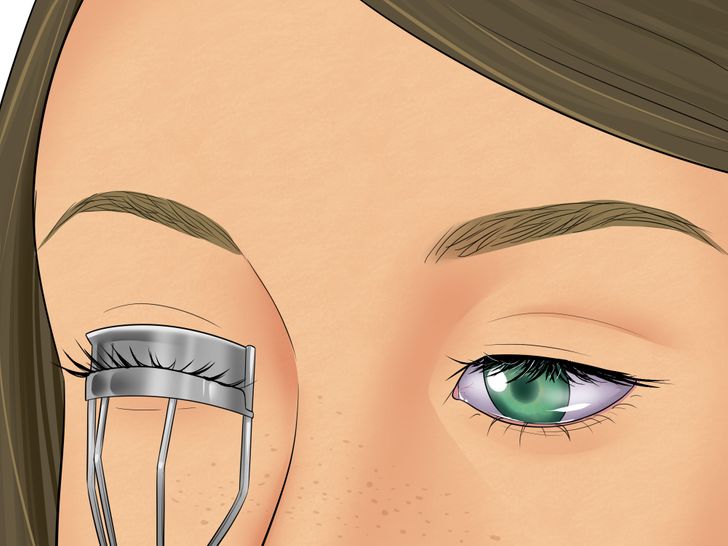
✅ With your eyes halfway open, stand in front of a mirror and turn your head to the side to see your lashes better.
✅ Place the curler as close to the base of your upper lashes as possible without touching the skin.
✅ Make sure that all of the lashes are inside the curler.
✅ Place the curler upright so that the curve faces out.
Step 4: Start curling.
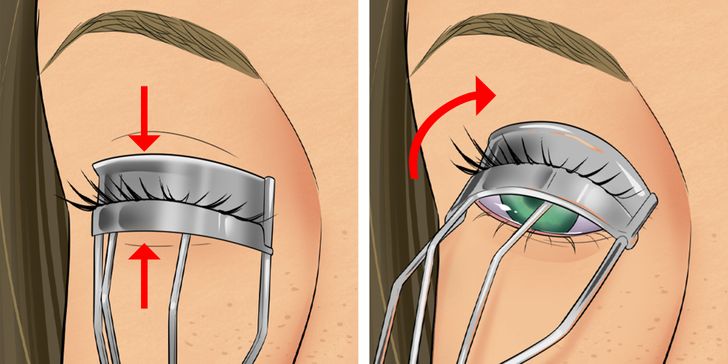
✅ Gently close the curler on the lashes and squeeze it 4-8 times at the root with a soft, pulsing grip.
✅ Then rotate your wrist to bend the curler upward toward your forehead. Hold it in this position for a few seconds without blinking.
✅ Unclamp the curler and repeat the process up the length of your lashes a few times until you reach the tips for a final curl.
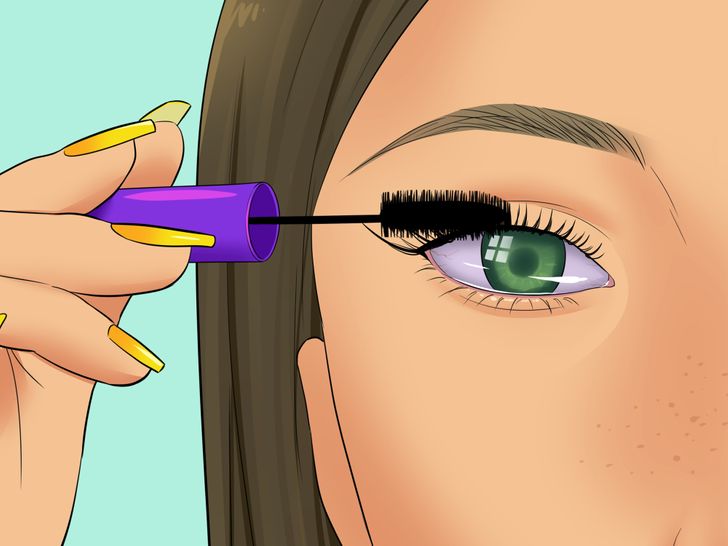
Step 5: Apply your mascara.
