How to Do a Deep Facial Cleaning at Home
A lot of dirt accumulates on your facial skin throughout the day. This is due to regular activities along with makeup and environmental pollution, especially if you live in the city or in a dusty area. Therefore, a good cleaning technique is an important skill to acquire and to implement from time to time to really get rid of all the impurities that regular skincare routines simply can’t handle.
5-Minute Crafts is showing you how to perform a deep skin cleansing so that your face looks fresh and radiant at all times.
Step 1: Cleanse your skin.

- In order to prevent any type of infection, it’s important to remove impurities from your skin before starting a deep cleansing of your face.
- Wash your face with water and mild soap. You can also use a special facial cleanser for your type of skin.
- To stimulate blood circulation in your face, it’s better to use cold water when washing.
Step 2: Open your pores.
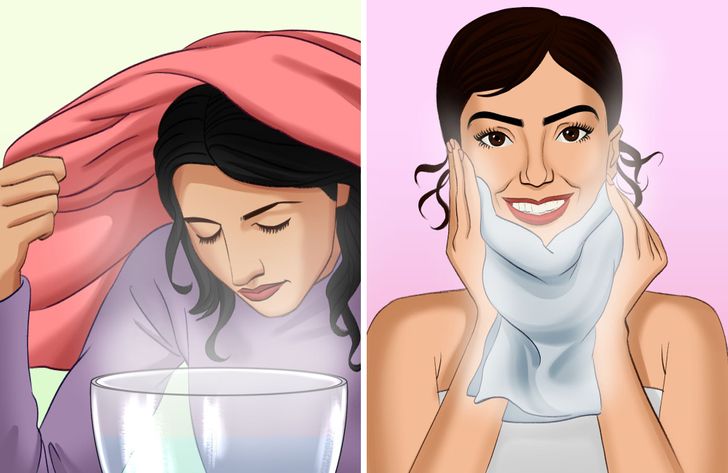
- Gently massage the T-zone (the area containing the eyebrows, upper lip or mustache, and chin) down to the neck to relax the muscles and activate the skin cells.
- A good way to open your pores is to use steam. Bring water to a boil in a large pot or container or heat it up until it starts to steam.
- Cover your head with a towel or cloth and let the steam open your pores. Always make sure to leave enough distance between your skin and the steam so as not to burn yourself. Wait 10 minutes. This method helps to open the pores effectively.
- Otherwise, if you prefer, you can use pieces of cloth soaked in hot water instead of steam. Just place them on your skin and let them work for a few minutes before removing them.
Step 3: Exfoliate your face.
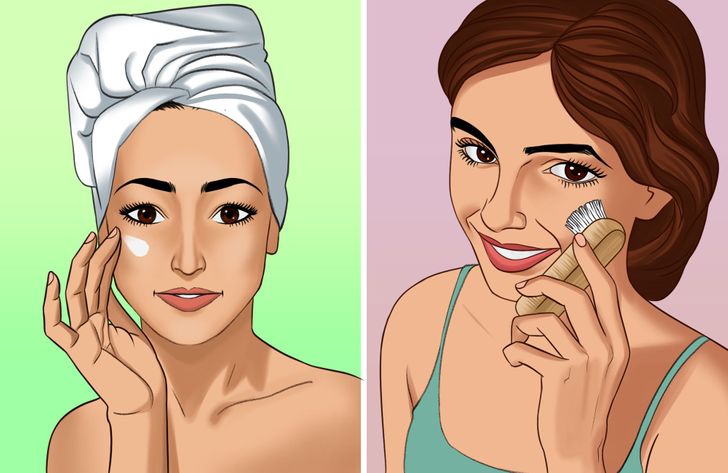
- Once your pores have opened, you have to exfoliate your skin.
- Apply a suitable exfoliant for your skin type and gently rub it all over your face.
- Carry out a soft massage with the help of a face brush. Make sure not to get any exfoliant in your eyes.
- Most commercial exfoliants have particles that help remove dirt. To avoid the skin from getting damaged, you have to do it very carefully.
Step 4: Remove any blackheads.
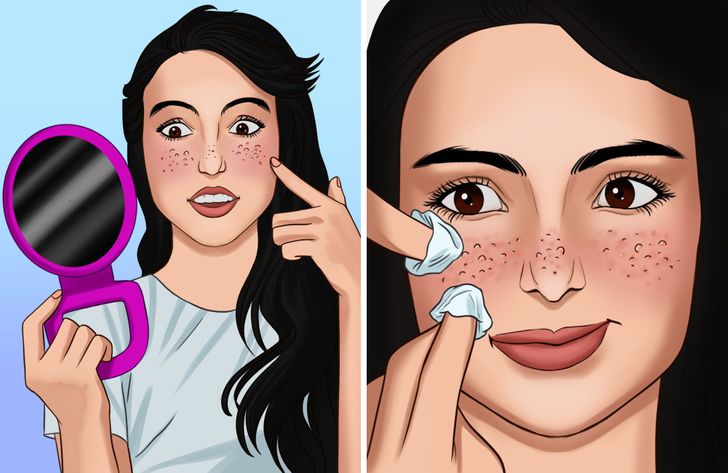
- Wash your hands thoroughly with soap and water.
- Remove any pimples or blackheads from your face by squeezing them with your fingertips wrapped in aseptic gauze to avoid infection.
- Do not squeeze anything with your fingernails because this can leave marks on your skin.
- Don’t touch the hard red areas that precede the outbreak of blackheads because doing so can deteriorate your skin.
Step 5: Apply lotion or a face mask.
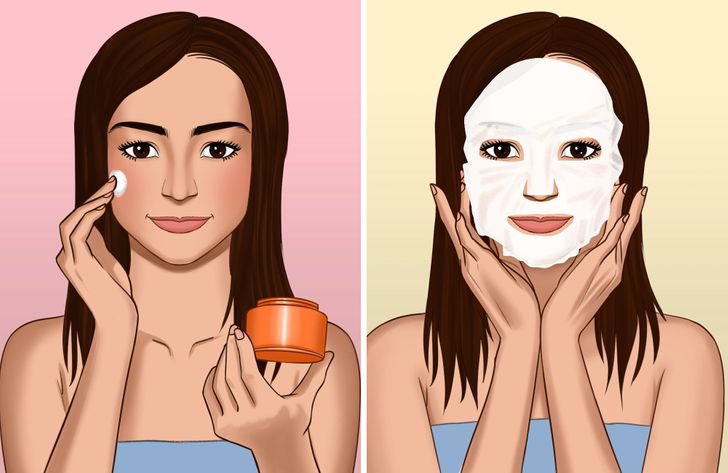
- Apply a tonic lotion or face mask after you’ve removed the blackheads. That will help you soothe the reddened skin.
- Apply the appropriate product for your skin type using a piece of cotton or your fingertips.
- Massage the skin in circular movements. This helps absorb oxygen, which in turn, will close the pores on your face.
Step 6: Hydrate your skin.
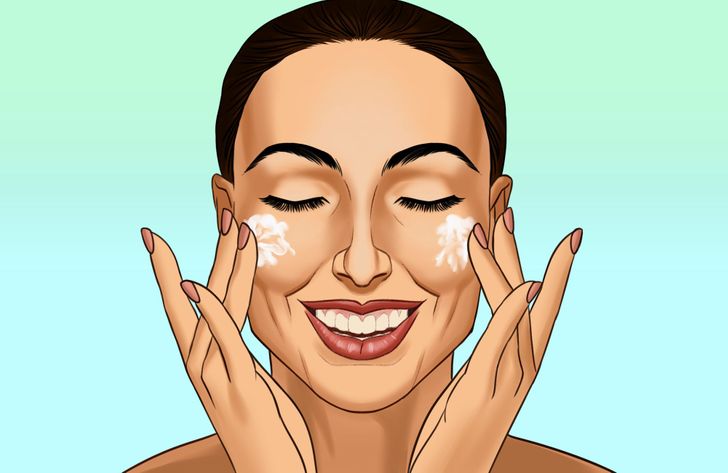
- You may feel as if your skin was stretched or dried out after this whole process.
- In order to get rid of this feeling, you need to apply a facial moisturizer that you use every day.
Step 7: Avoid wearing makeup.

- After an intense skin cleansing like the one we just described, it’s important to avoid wearing makeup until a day after the treatment. This way, the skin has enough time to regenerate and rest.
- If you can wait 24 hours before having to apply makeup again, that would be ideal. That way, your pores will close again and you can avoid the risk of developing a skin infection.
Share This Article