How to Give Yourself a Pedicure at Home: 10 Things You Can Do
We don’t always have time to go to a beauty parlor to have a pedicure. Luckily, it can easily be done at home if you have all of the necessary tools, an hour of time, and our step-by-step guide.
5-Minute Crafts would like to tell you how to do a pedicure yourself at home. We recommend that you repeat this procedure every 2 to 4 weeks depending on how fast your toenails grow.
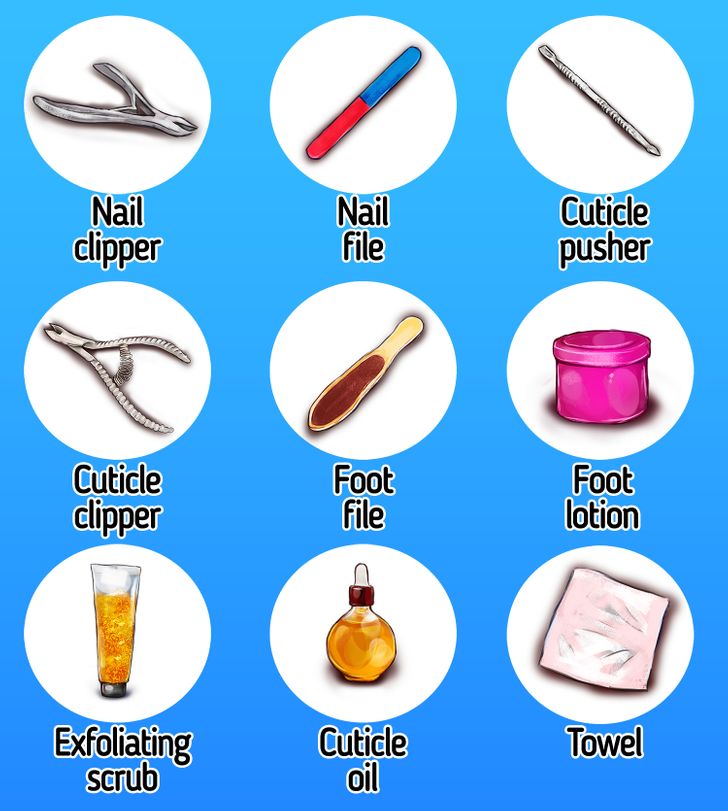
Gear
Step-by-step guide
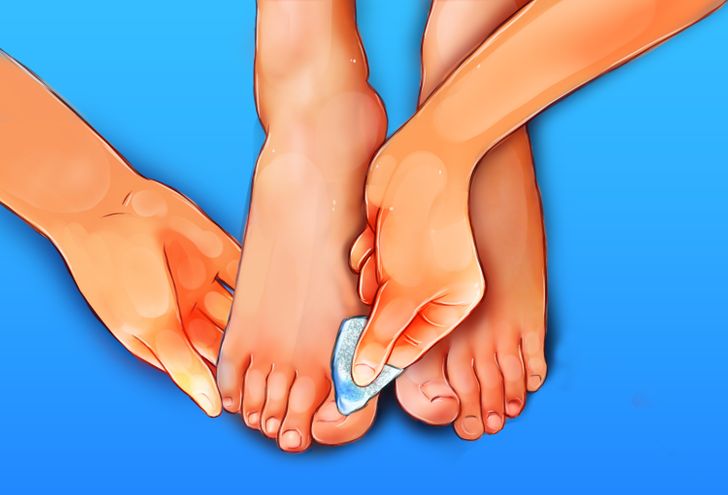
1. If there is still nail polish on your nails, take a cotton disc and moisten it with nail polish remover. Then carefully remove the old coating.
It’s better to use acetone-free nail polish remover because acetone weakens and dries the nail plate.
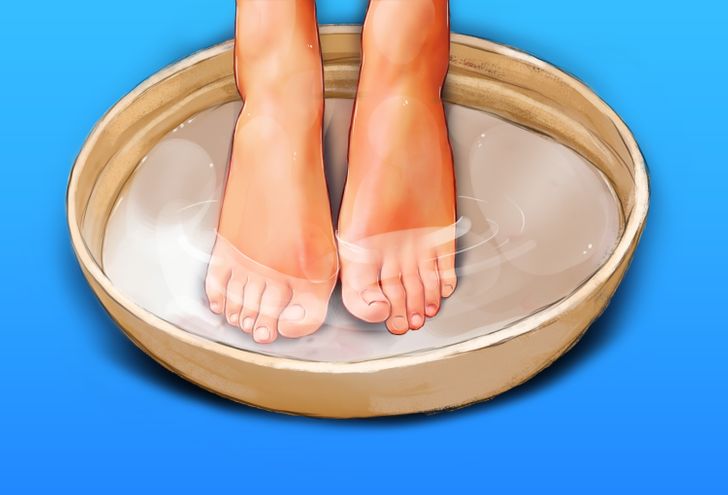
2. Fill a foot bath with warm water and soak your feet in it for about 15 minutes. You can add a few drops of cosmetic oil or sea salt if you want to.
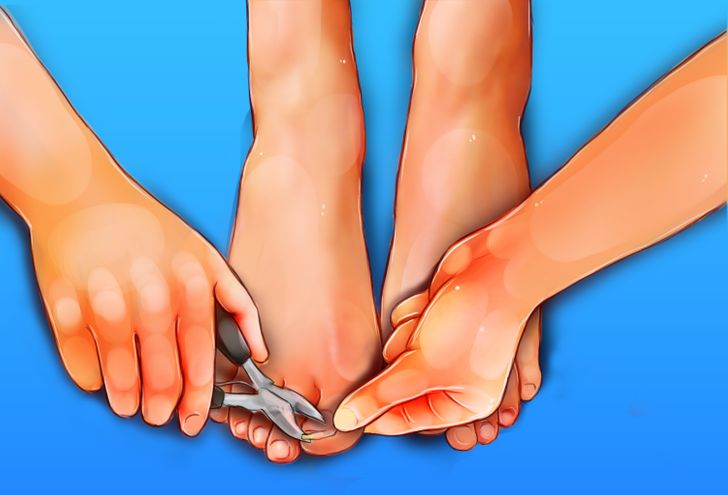
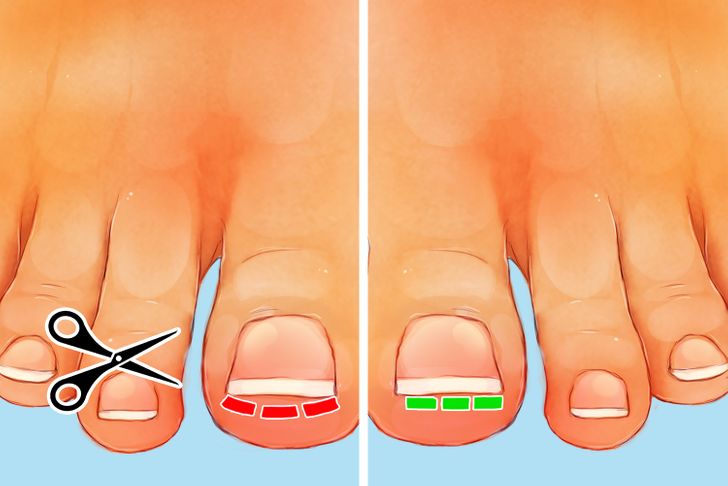
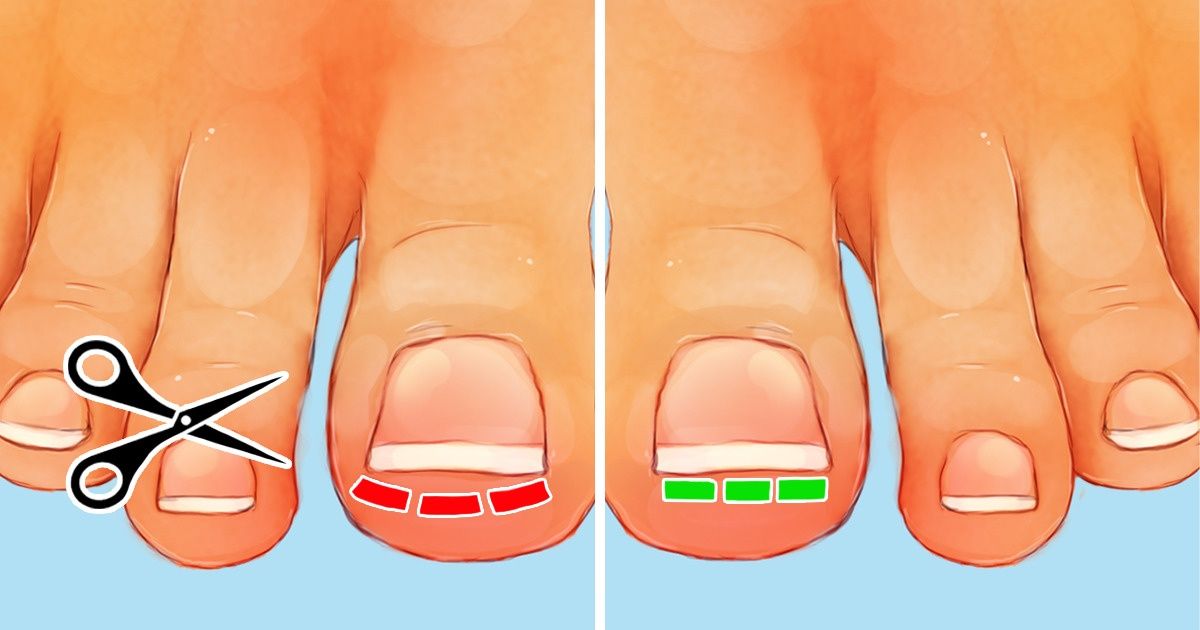
Tip: Cut your toenails straight across, just in line with the end of the toe, and never round them at the corners.
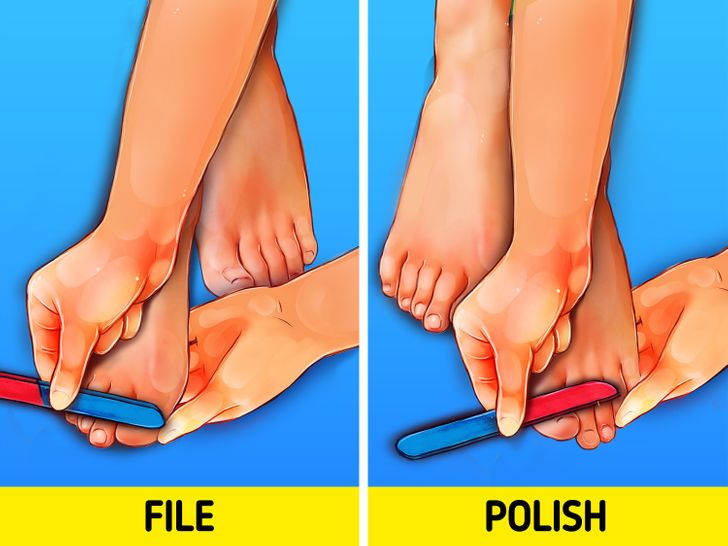
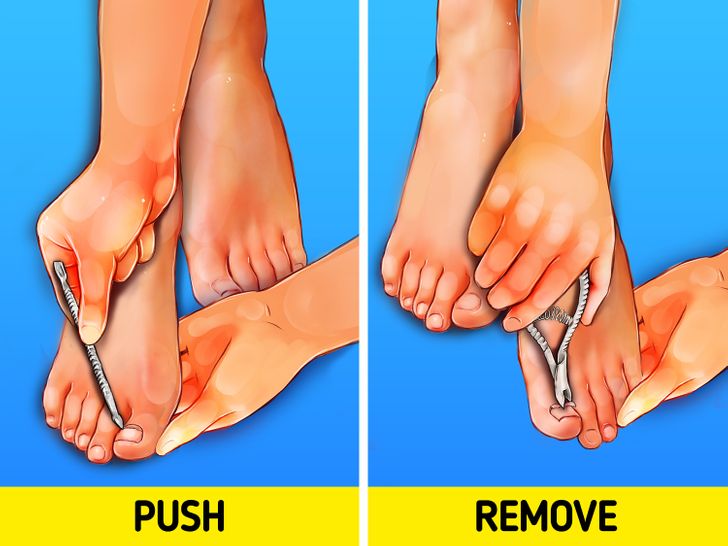
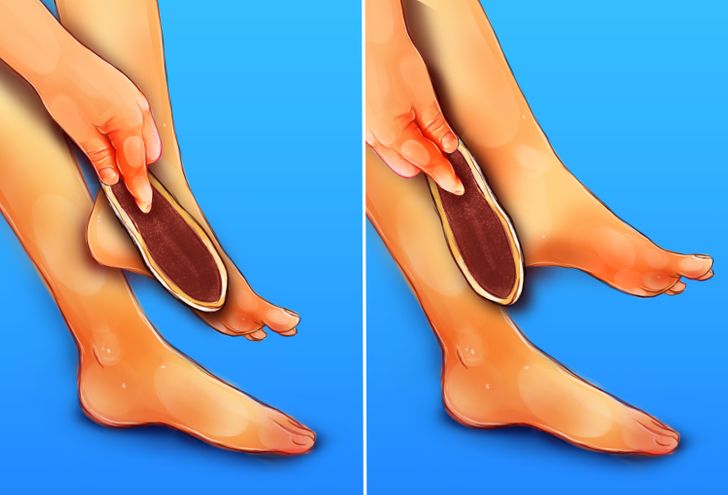
6. Take the foot file or pumice stone and file uneven areas on your feet. Focus on areas where cracks and calluses appear most often. These are usually the heels and balls of the feet.
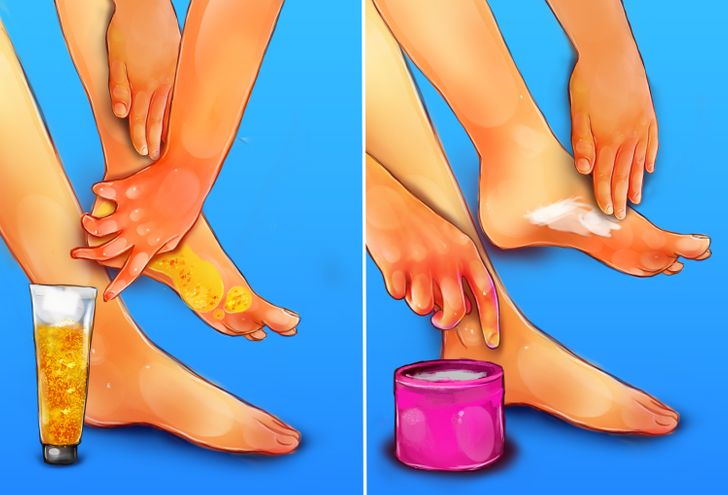
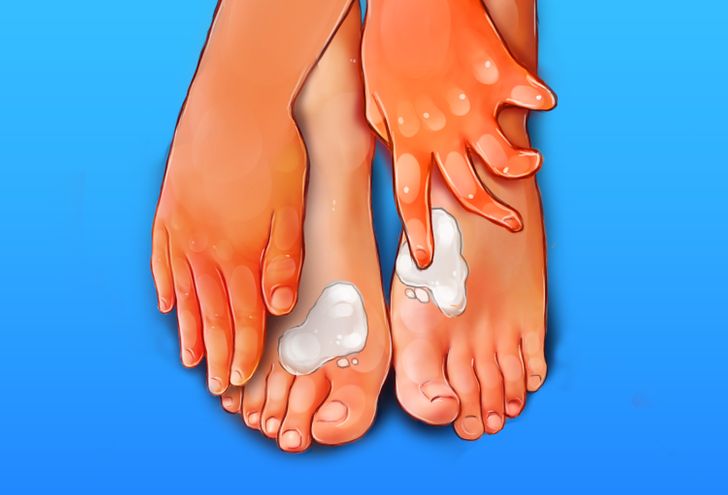
8. Apply the moisturizer or lotion to your feet. Massage your feet to help absorb the product.
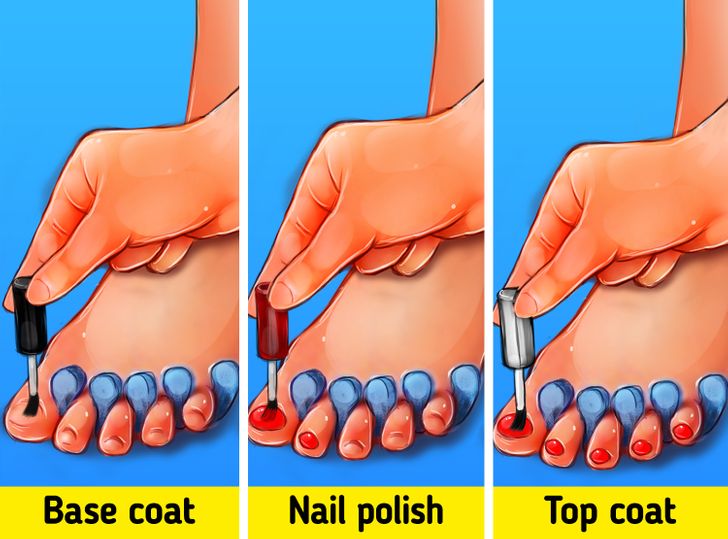
9. Now you can paint your nails:
- Moisten a cotton disc with nail polish remover and wipe your nails. This will remove any remaining moisturizer and degrease the surface.
- Put on the toe separators.
- Apply a base coat to your nails and let it dry. You can cover your nails with a clear coat with nutrients and leave it like this, or follow further instructions and apply nail polish.
- Apply nail polish. However, be careful to not make the layer too thick. It’s better to apply several thin layers and dry each of them well.
- Wait a couple more minutes and then apply a clear topcoat to make your nails glossy and protect the polish from chipping.
- If the nail polish is applied unevenly in some places, take a Q-tip, soak it in nail polish remover, and gently wipe off any excess.
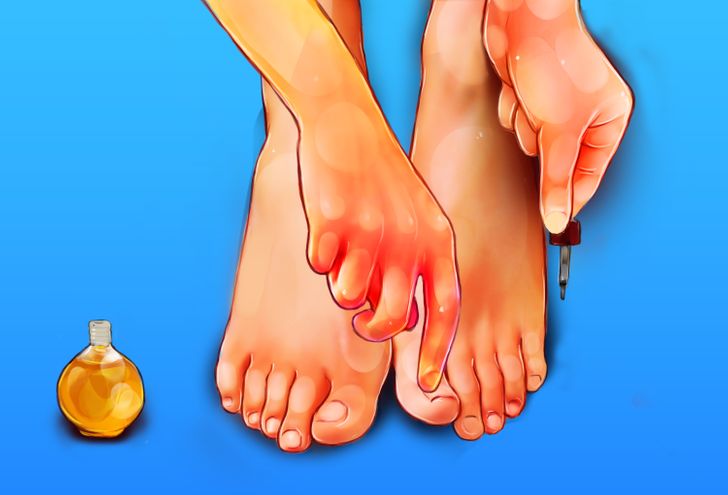
10. The last step is cuticle oil. Apply it to the base of your nails and rub in gently. The product will moisturize the cuticles and prevent them from drying out. Just keep in mind that cuticle oil should be applied strictly after the base coat and nail polish are applied. Otherwise, it will prevent the nail polish from sticking to the nails.
5-Minute Crafts gets commissions for purchases made through links in this post.