How to Do an Ice Facial at Home
According to dermatologists, ice facials can make you glow instantly, soothe acne, reduce puffiness around the eyes, and also reduce signs of aging.
5-Minute Crafts is showing you how to do an ice facial at home. But before trying it, it’s better to discuss with your dermatologist whether this treatment is a good option for you or not.
What you’ll need
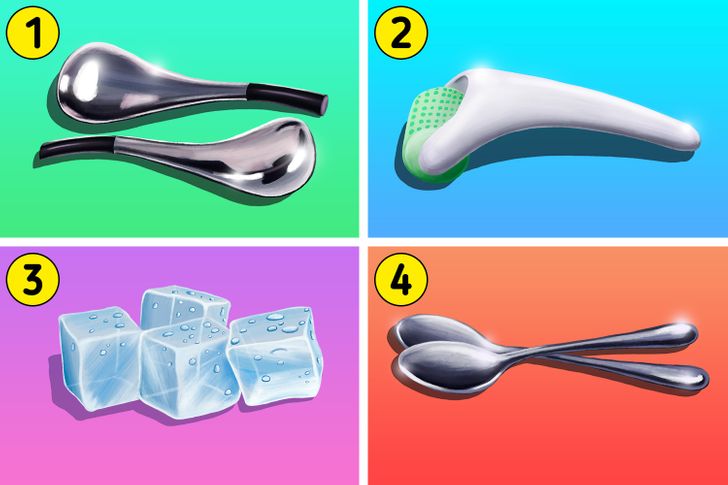
There are 4 different sources of cold you can use to get an ice facial:
- A pair of cryo sticks (follow the manufacturer’s instructions for how to cool it)
- A pair of ice rollers (follow the manufacturer’s instructions for how to cool it)
- Ice
- A pair of metallic spoons (straight out of the freezer)
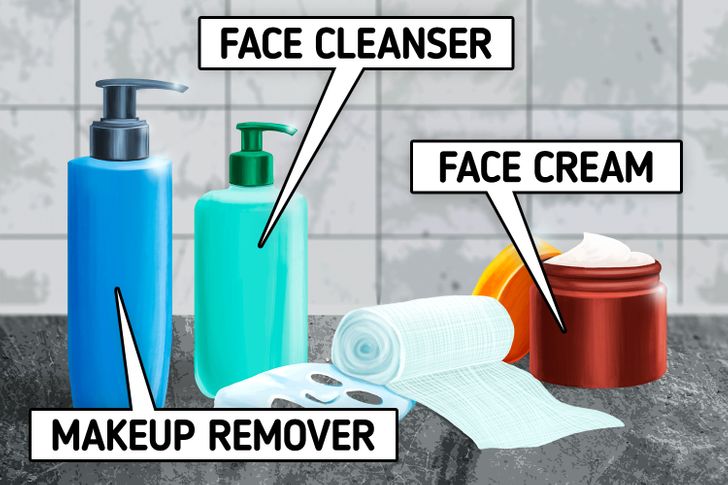
In addition to one of the sources of cold above, you’ll need:
- Makeup remover
- A face cleanser
- A serum or mask (check the note below for more information)
- A thin compress (such as cotton gauze)
- Face cream
Note: The choice of serum or mask is very important in this case, not only because cold could improve the skin’s absorption, but because masks and serums often do the same thing.
Since pushing retinol or anything acidic deeper into your skin could cause irritation, you should avoid treatments that contain fruit acids, retinoids, or anything from the AHA or the BHA family. Also, don’t use masks that are clay-based. Instead, go for sheet masks, cream masks, and anything that contains hyaluronic acid or peptides.
Step 1: Remove all of your makeup and wash your face.
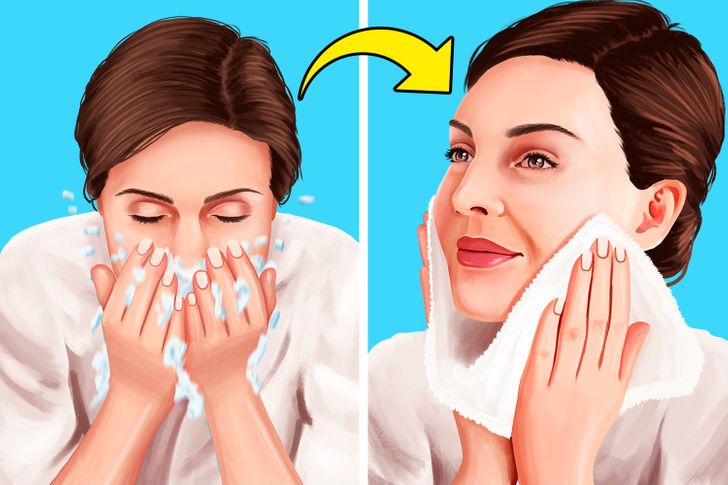
To start, use your makeup remover to take off your makeup. Then wash your face with a cleanser and lukewarm water, and pat your skin dry. You can also do this last part while taking a warm shower to really open up your pores.
Step 2: Apply a mask or serum.
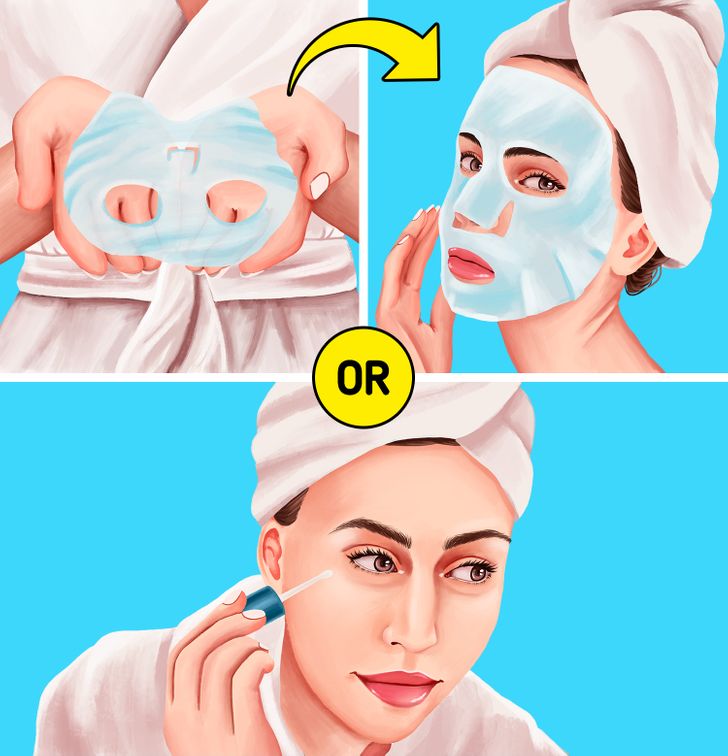
Warm up your serum or mask in your hands to activate it. Then press and release it deeply over the face to apply.
Step 3: Prepare your source of cold.
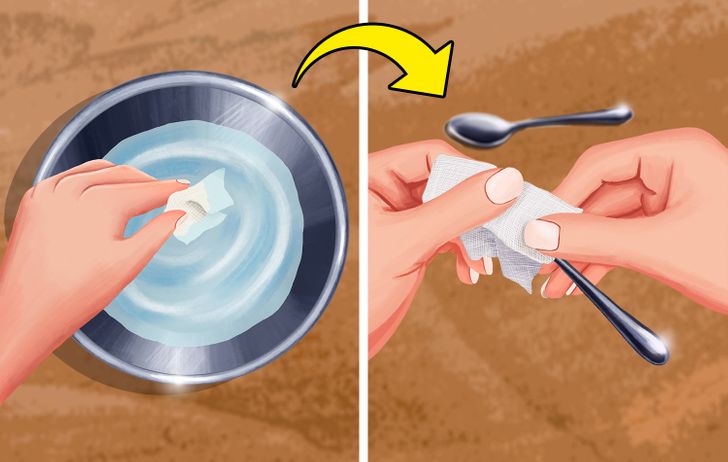
Let your mask or serum work. Meanwhile, you can prepare your source of cold. We chose a pair of spoons. Depending on whether you chose a serum or a mask, your prep will change:
- If you chose a sheet mask: Rinse the source of cold in water to prevent it from sticking. Move onto the next step where you will apply it right over the sheet mask.
- If you chose any other mask or serum: Dip your compress (for instance, the cotton gauze) in water and wring it out. Then wrap the source of cold on the compress. Move onto the next step to apply it to your face.
Tip: Treating both sides of your face simultaneously is faster and ensures you don’t forget anything, so be sure to prepare 2 sources of cold.
Step 4: Apply the source of cold.
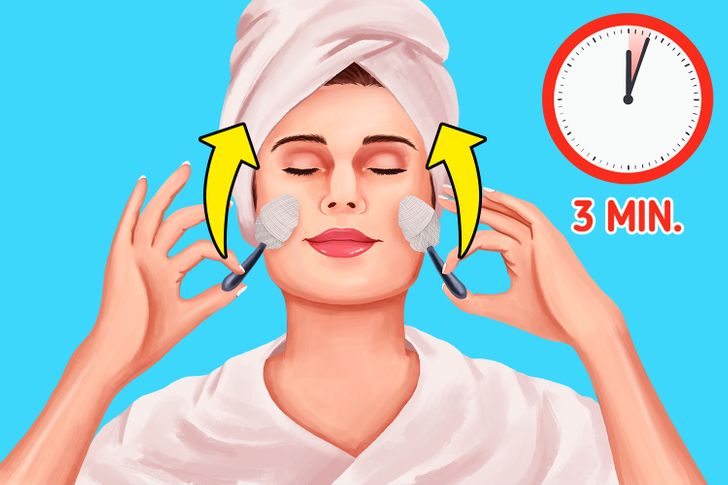
When your serum or mask has fully set, take your one source of cold in each hand and apply it to your face.
- First, run the compress over the skin from the inside out in the center of your forehead.
- Then do the same thing, moving from the bottom of the face to the cheeks and jawline.
- After that, move to the center of the face. Make sure to spend enough time under the eyes.
- Finally, don’t forget to treat your neck and chest.
⚠️ This procedure shouldn’t hurt. If it does, stop immediately and talk to a professional. Also, it shouldn’t take more than 3 minutes in total. Doing it for any longer than that might irritate your skin or cause redness.
Step 5: Apply your regular face cream.
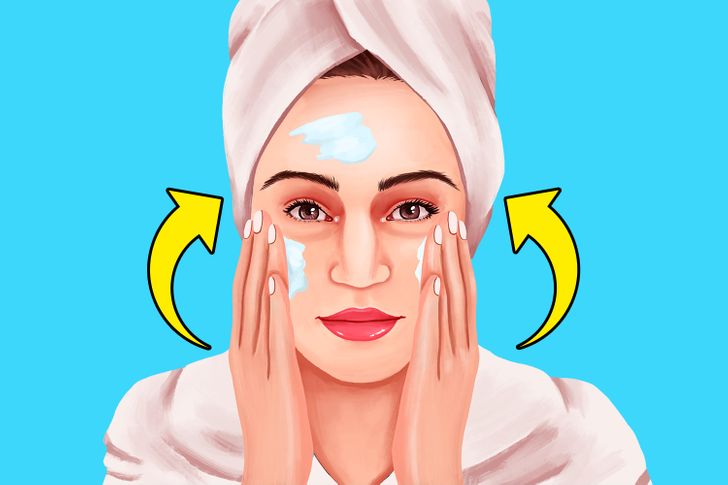
- If you used any type of mask, start by removing it, then rinse your face with lukewarm water.
- Otherwise, skip that step and warm your regular face cream between your palms and massage it into your skin, always using upward strokes.