How to Get a Tan at Home
When you want to get a nice tan without lying under the sun for many hours, a self-tanner can be an easy option. Applying it isn’t too hard, however, there are some small tricks you ought to be aware of. 5-Minute Crafts is ready to share at-home tanning secrets that will help your skin look gorgeous.
❗Advice: If you’ve never used a self-tanner before and don’t feel too confident about applying one, you can always try doing it first with a wash-off or one-day tanner. It will help you to understand how to apply the product better, work on your technique, and also see how your skin will look with a tan.
Step 1: Prepare the tools.
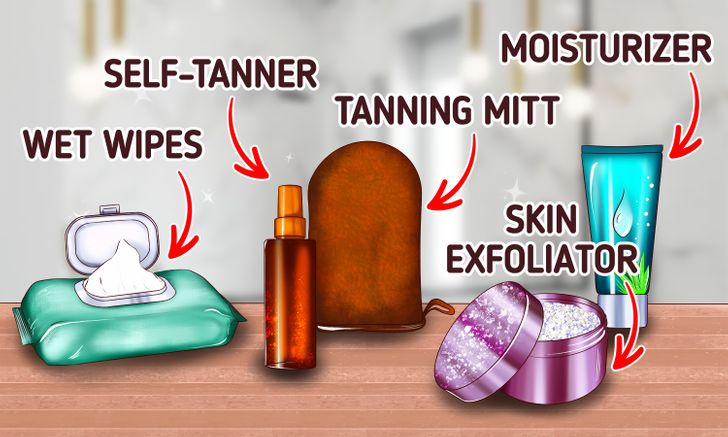
You will need:
- A skin exfoliator
- A moisturizer
- A self-tanner
- A tanning mitt
- Wet wipes
Step 2: Prepare your skin for tanning.
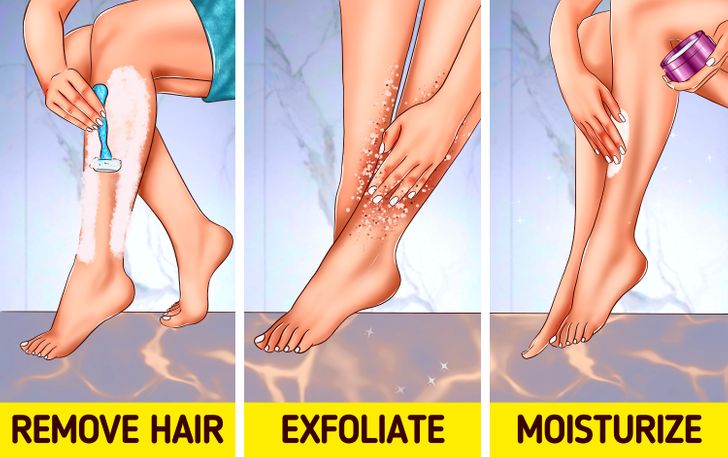
Before you apply self-tanner, you need to prepare your skin to ensure that your tan will be even with no patchy areas. Make sure you do these things first:
1. Remove hair from your skin using any method you prefer — shaving, waxing, etc. Do it 24 hours before applying the fake tan. If you shave after tanning your skin, you risk shaving it away and getting patches on your skin.
2. Exfoliate your skin with a scrub.
3. Moisturize your skin. Do it 24 hours before applying a fake tan, as the moisturizer can act as a barrier and prevent the tanning formula from properly getting into your skin.
- Pay more attention to the areas that have breakouts or dry skin. Always moisturize the skin on your joints, feet, and hands, as they can end up darker than other areas of your body.
Step 3: Apply the self-tanner around your body.
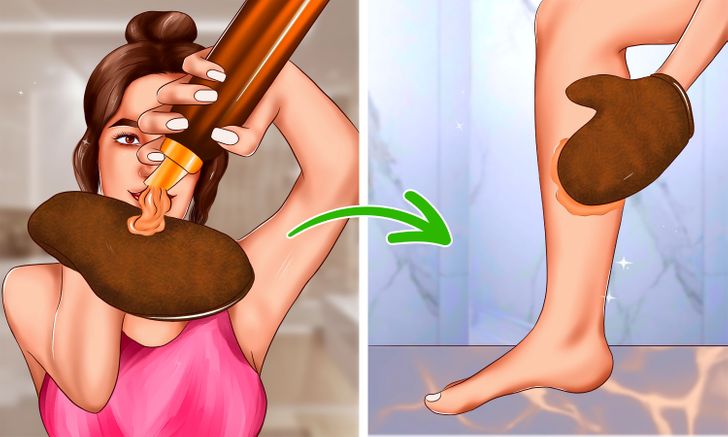
Use a tanning mitt to smear the tanner over your skin because it helps to achieve flat and flawless coverage. If you do it with your fingers, you might end up having streaks or patches around your body.
- Don’t be scared to apply bigger portions of the product. Make sure that you have enough to glide over your skin without any effort. You can always remove the excess tanner with your mitt. Using too little self-tanner can result in streaks and patches on your skin.
- Don’t apply the tanner directly to your hands and feet. If you do it, those areas will end up darker than the rest of the body. Instead, use the excess product from your body and transfer some of it from your arms to your hands and from your legs to your feet.
- If you have a hard time applying the product to your back, ask a friend or family member to help you with it.
Step 4: Apply the self-tanner to your face.
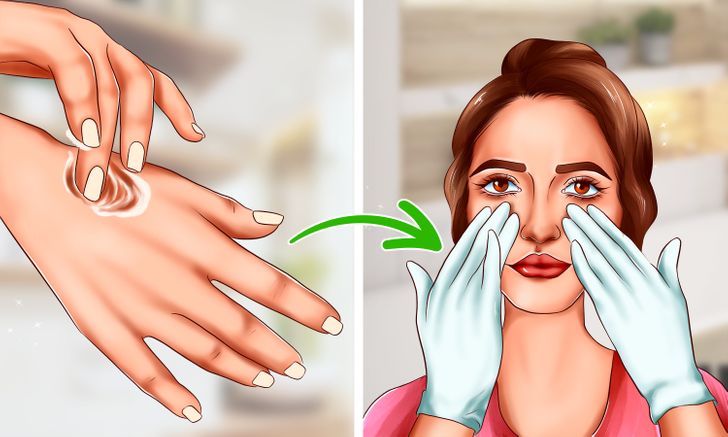
Step 5: Let the self-tanner dry.
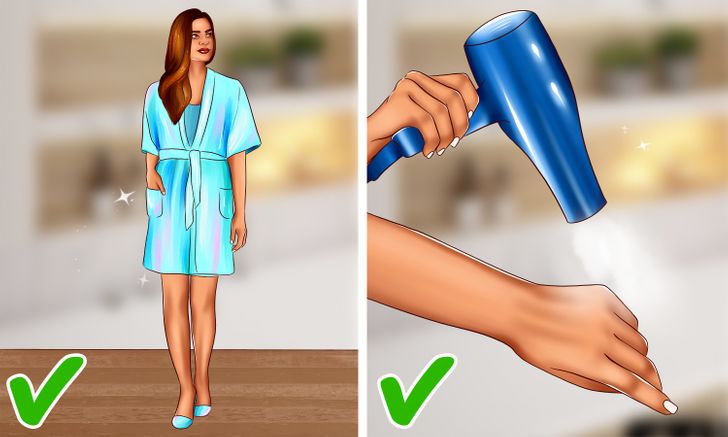
Step 6: Remove the excess tanner.
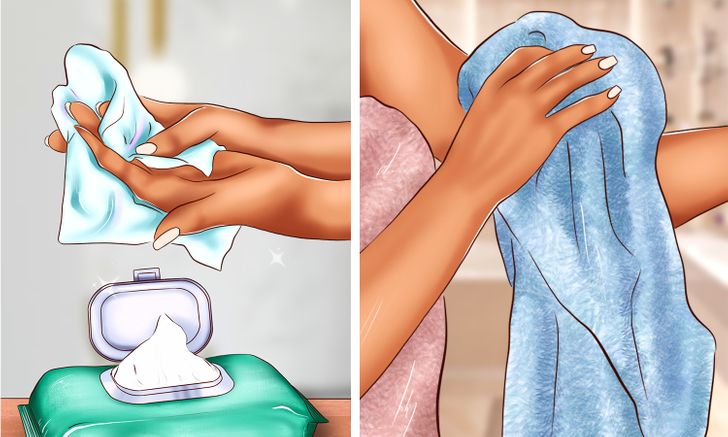
You can use oil-free wet wipes to wipe off excess tanner where you don’t need it. If your tanner requires you to rinse it off, then use warm water to gently wash your body. After that, avoid aggressively drying out your skin with a towel. Instead, softly pat it dry.