How to Give Yourself a Manicure at Home
Giving yourself a manicure can help you to look neat and elegant at a minimal cost. And believe it or not, it’s not as hard as it might seem. All you need are some special tools and a little bit of patience.
5-Minute Crafts will provide you with a list of easy tips on how to give your nails the most popular shapes, including square, squoval, round, oval, and almond.
The tools you will need
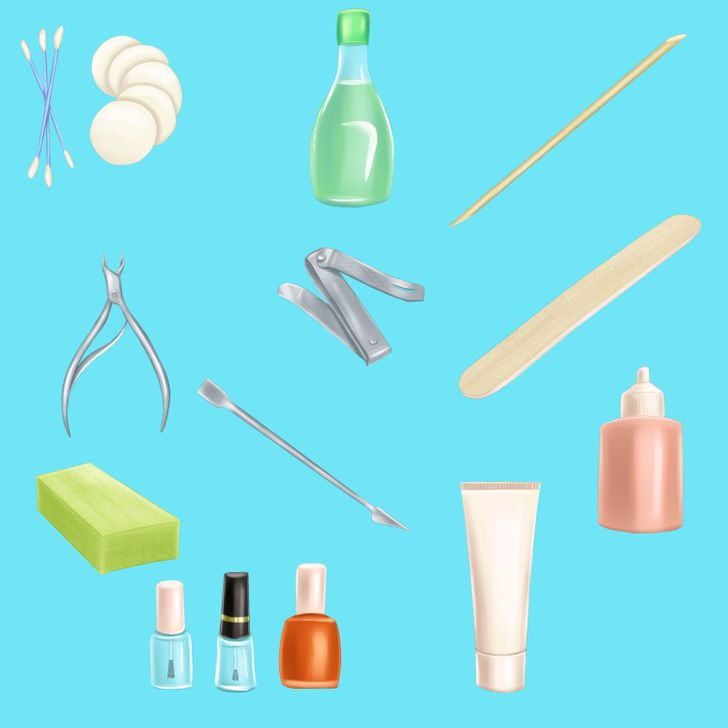
- Cotton pads, swabs, and manicure sticks
- Nail polish remover
- Nail clippers
- A nail buffer
- A cuticle pusher and nippers
- A cuticle remover
- Hand moisturizer
- A base coat
- Nail polish
- Top coat polish
Step 1: Remove old nail polish.
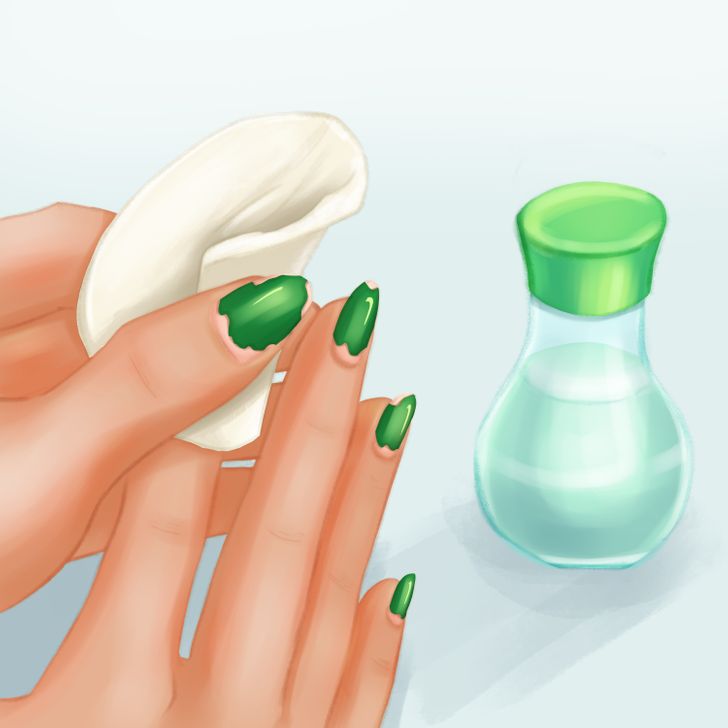
Before you start, make sure all the old nail polish is removed from your nails. Soak a cotton ball in some nail polish remover and run it over every nail. After you’re done, wash your hands with soap and water.
Step 2: Shape your nails.
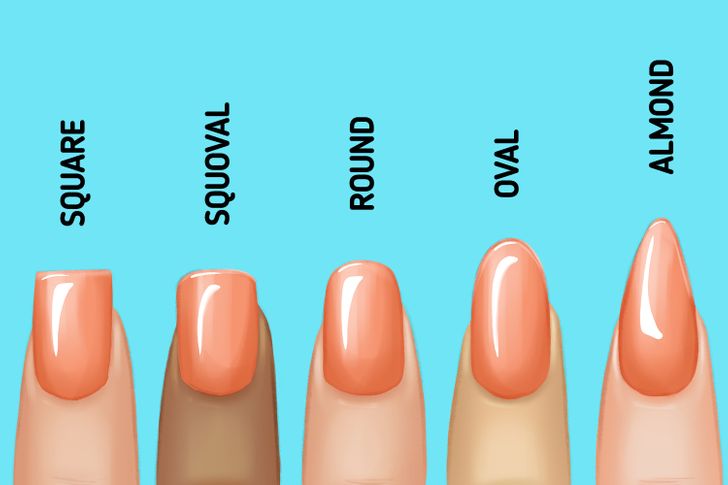
Choose the nail shape that you like, and proceed with the following steps.
Square nails
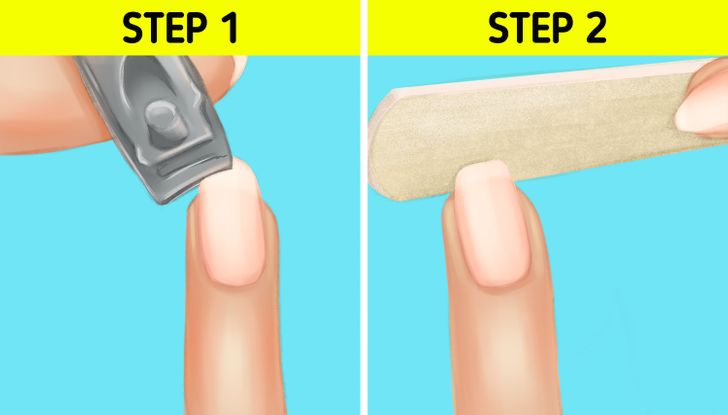
Step 1: Use clippers to cut the nails and give them a somewhat square shape.
Step 2: Take a nail file and move it straight across the free edge.
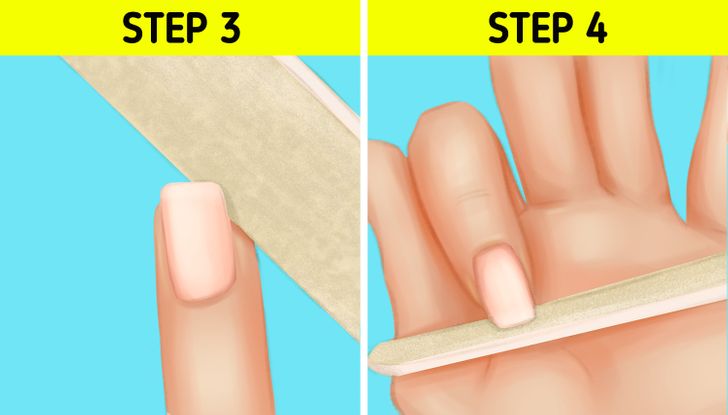
Step 3: Move to the sides and file in an up-and-down motion.
Step 4: Flip your hand over to change the perspective and use your nail file to adjust the shape. Use a nail buffer to smooth the edges out and remove any imperfections around the nail and under it.
Squoval nails
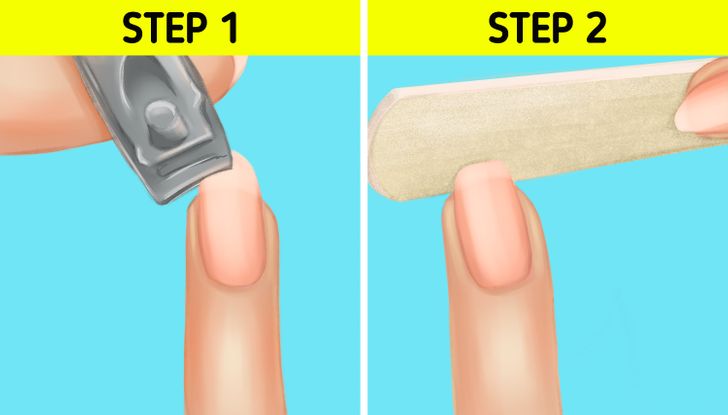
Step 1: Use clippers to cut the nails into the desired shape. Start from the sides first, then proceed to cut some of the nails in the middle if you need.
Step 2: File the free edge straight across.
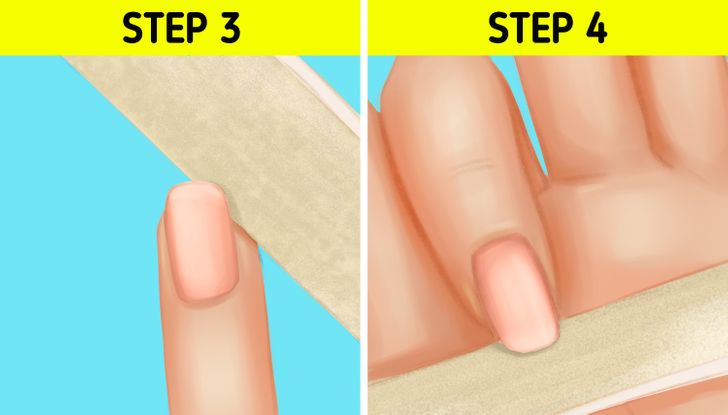
Step 3: Round the corners out, moving with your file in one long stroke. Make sure you connect the sidewalls and the free edge of the nail.
Step 4: Flip your hand over to change the perspective and use your nail file to adjust the shape. Use a nail buffer to smooth the edges out and remove any imperfections around the nail and under it.
Round nails
To get this shape, you need to file your nail in the form of a half-circle. This way, you can visually elongate your fingers and make wide nailbeds look thinner.
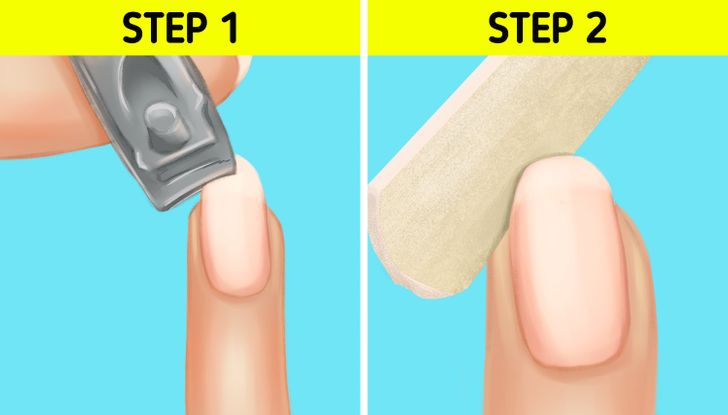
Step 1: Use clippers to cut off the nail to the desired length. Keep the round shape in mind so that you don’t remove too much of the nail.
Step 2: File your nail, following the natural curve of your fingertip. File until you achieve the roundness that you like.
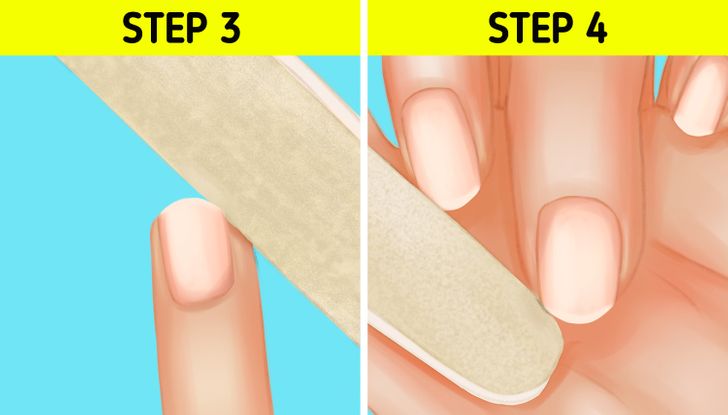
Step 3: Proceed with the same motion on the other side of the nail.
Step 4: Flip your hand over to change the perspective and check if the roundness is symmetrical from both edges. Use your nail file to adjust the shape.
Oval nails
This shape will give your fingers a feminine, soft look and make your fingers appear longer. To achieve this form, you need to let your nails grow slightly beyond the fingertip.
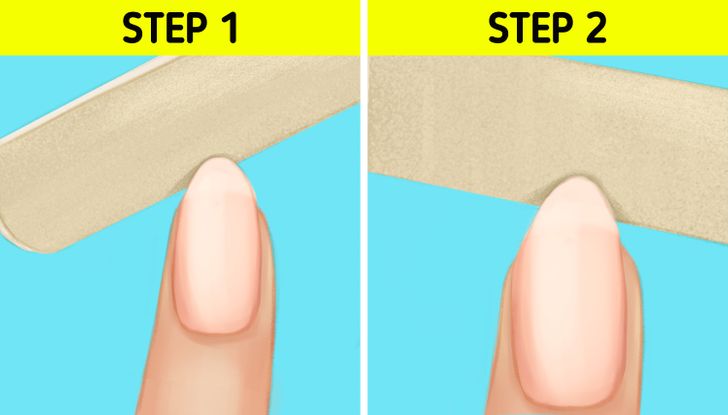
Step 1: Take a file and start filing from the side of your nail.
Step 2: Gently move your file to the end of the nail, slightly curving it to form an oval shape. Repeat on the other side.
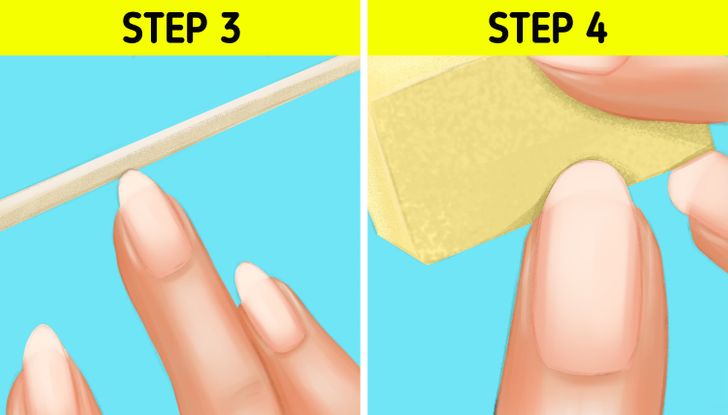
Step 3: Flip your hand over to change the perspective and check if the oval shape is symmetrical from both edges. Use your nail file to adjust the shape.
Step 4: Use a nail buffer to smooth the edges out and remove any imperfections around the nail and under it.
Almond shape
Elongated nails with tapered tips are one of the most popular nail forms. It almost looks like an oval shape but more pointed.
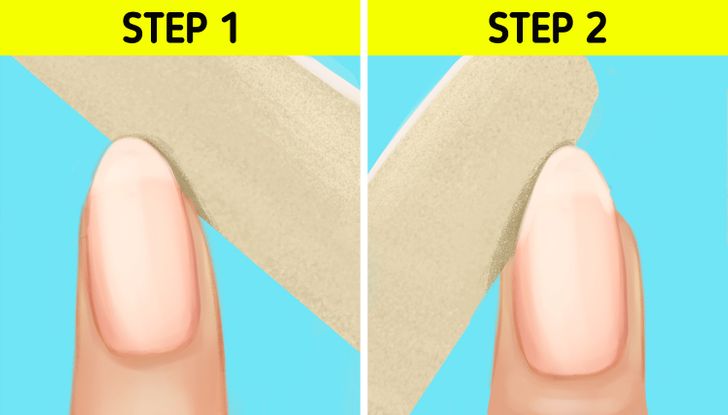
Step 1: Find the center of the nail tip. Starting from the side, file into a slight taper toward the nail tip. Repeat on the second side.
Step 2: Shape the free edge by filing it into the shape of a peak.
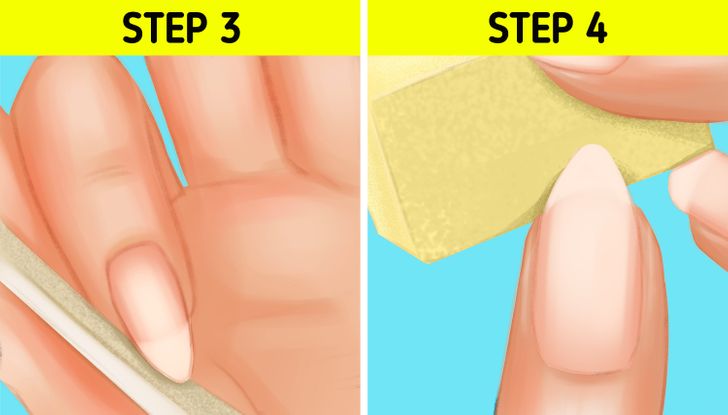
Step 3: Flip your hand over to change the perspective and check if the oval shape is symmetrical from both edges. Use your nail file to adjust the shape.
Step 4: Use a nail buffer to smooth the edges out and remove any imperfections around the nail and under it.
Tips for all shapes
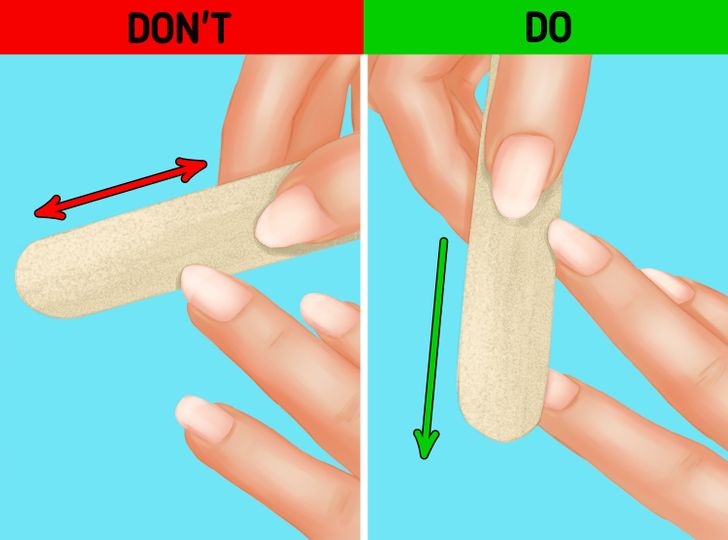
- While filing your nails, move in one direction using the same pressure around every part of the nail.
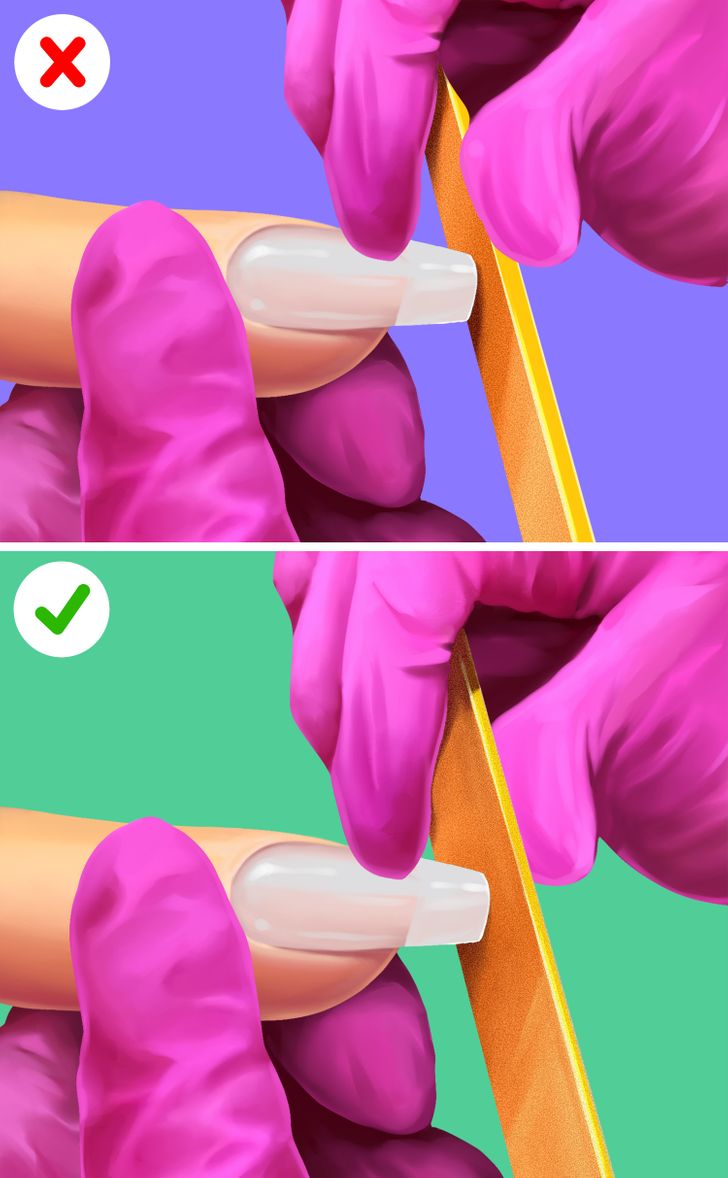
- If you have thin nails, hold the file flush to your nail and tilt it so you file from slightly underneath. This will allow you to see exactly what you’re doing and protect against over-filing.
Step 3: Soak your hands.
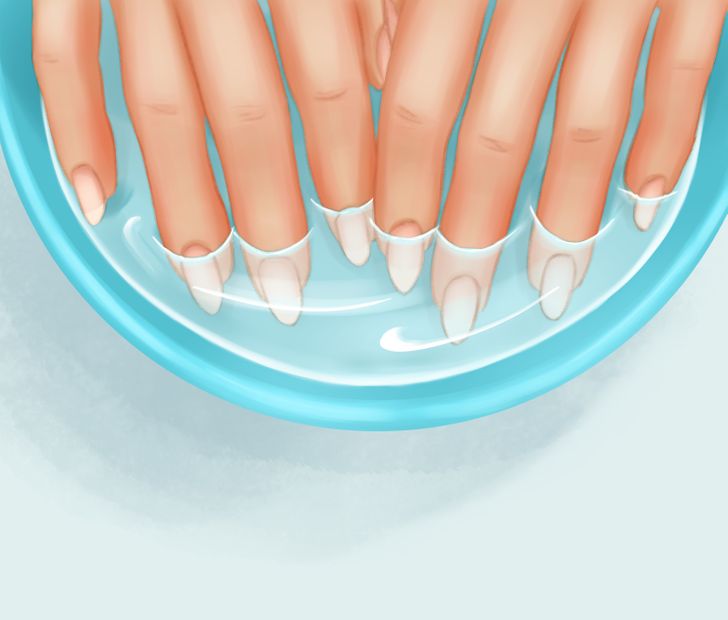
Pour some warm water into a small bowl. You can add some of your facial cleanser or gentle soap to it. Place your fingers in the bowl and let them soak for around 3 minutes.
Step 4: Soften the cuticles.
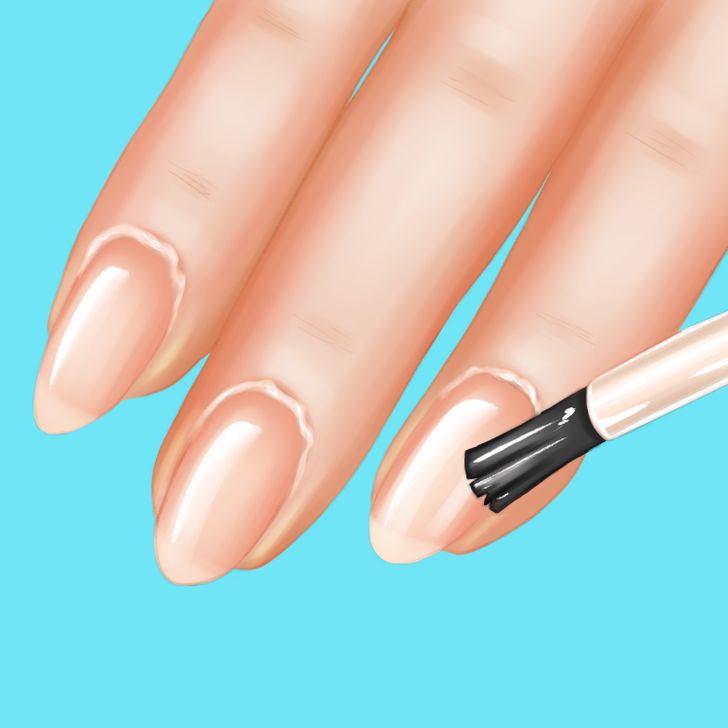
Get your cuticle remover and apply it to the outside edges of your nails. Wait for a few seconds until the product starts working and softens the skin.
Step 5: Remove the excess cuticles.
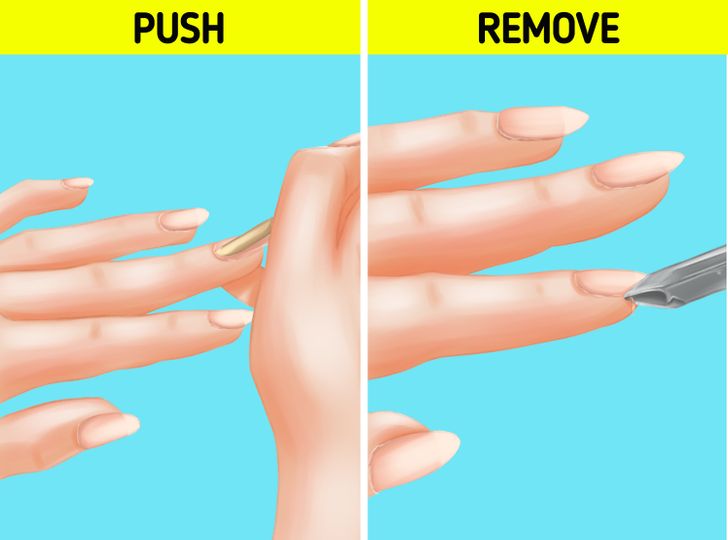
Get a cuticle pusher and use it to softly push your skin back, away from your nail. Be careful not to push too far or too hard, as you can easily damage your skin and nailbed. Then take cuticle nippers and remove just a little bit of the skin that you have just pushed. Proceed to remove it around the nail, but make sure you don’t cut into the skin too deeply.
Step 6: Paint your nails.
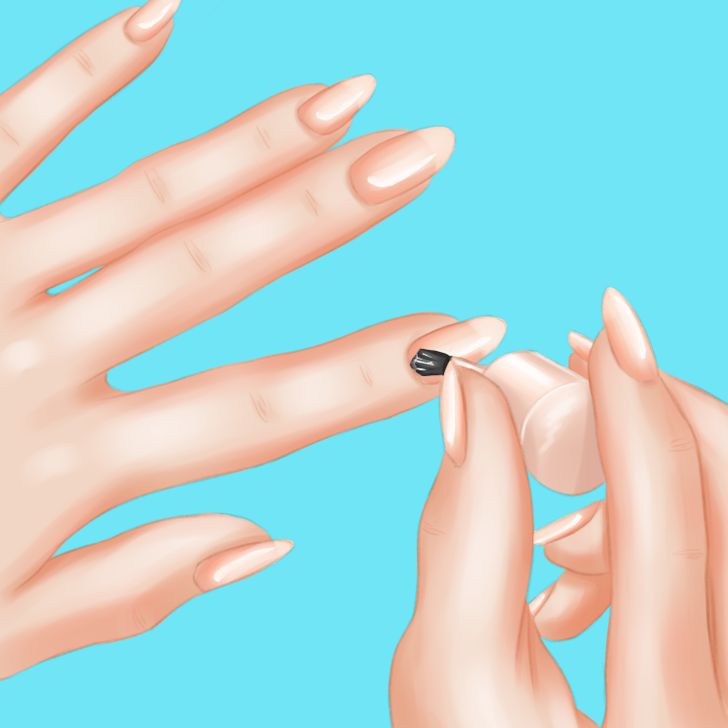
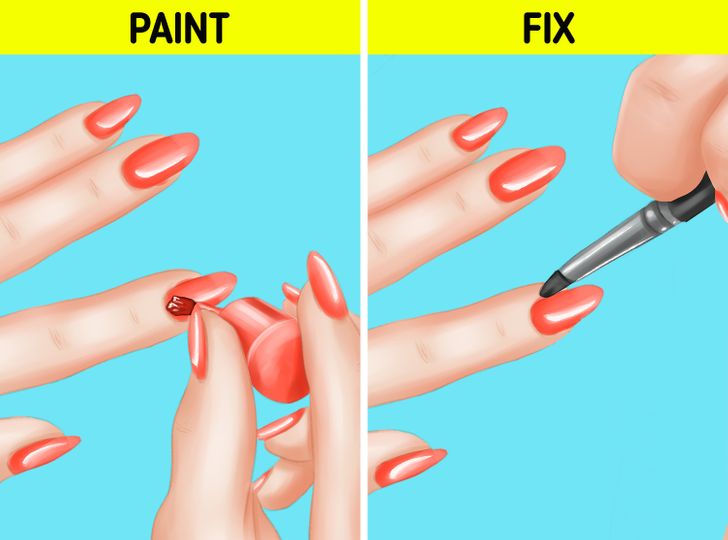
2. Apply nail polish: Begin painting from the middle of the nail, then move to the edges using even strokes. Wait for the first coat to dry before applying a second coat.
Tip: Use a thin paintbrush soaked in nail polish remover to fix any mistakes.
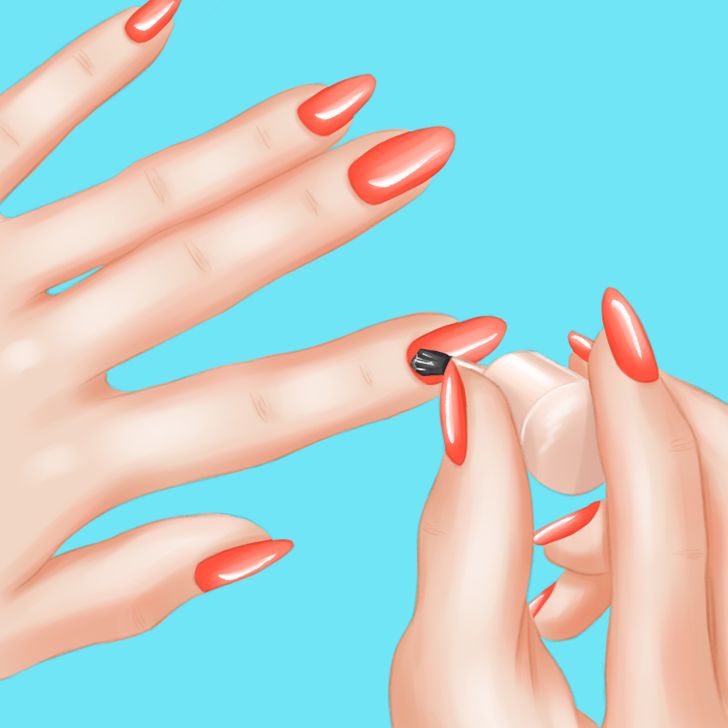
3. Apply a top coat: Let your nails dry completely and apply a thin layer of a top coat to finish. It’s recommended to avoid using quick-dry topcoats, as they tend to chip faster and won’t let your manicure last as long.
Step 7: Apply moisturizer.
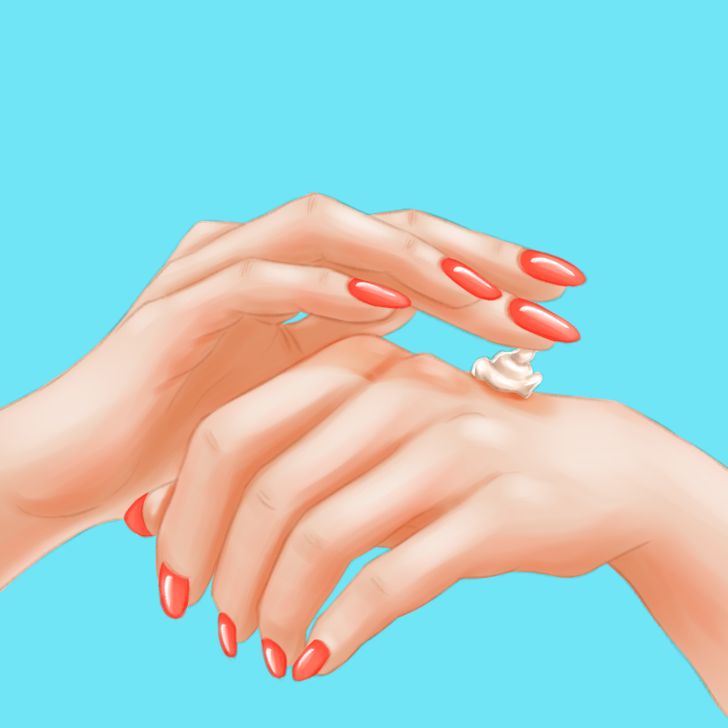
To keep your skin healthy, apply some of your favorite moisturizing cream or butter to your hands and around your nails.