How to Put on Fake Eyelashes (and Tricks to Make Them Last Longer)
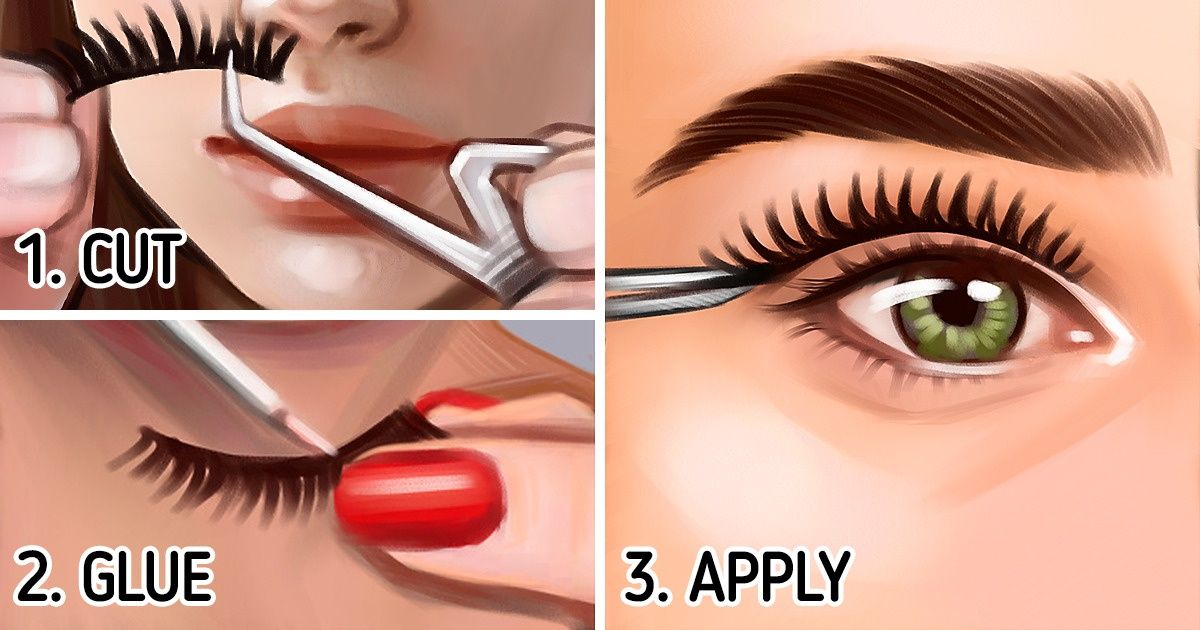
False eyelashes are an easy way to draw attention to your eyes, make them look bigger, and add more expressiveness and depth to your face in general. Although placing them might seem complex at first, it turns out to be very easy and fast once you learn the right technique.
5-Minute Crafts will show you how to put on fake eyelashes step by step.
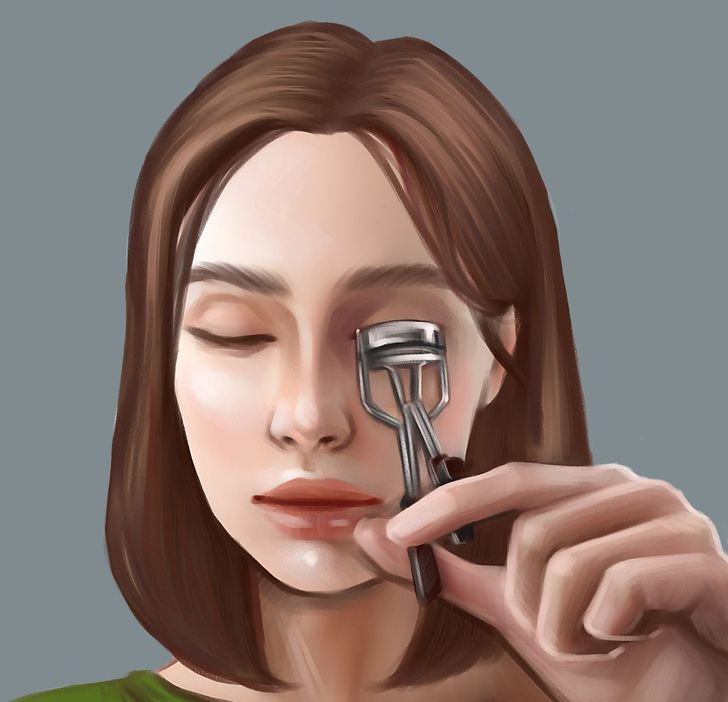
Step 1. Use an eyelash curler.
-
Although this step is not strictly necessary, it is convenient if your lashes face “downward” or are somewhat short. This tool will help you curl them and give them the same shape as the fake eyelashes. If your natural lashes are already “facing up” and long, then there’s no need for the curler.
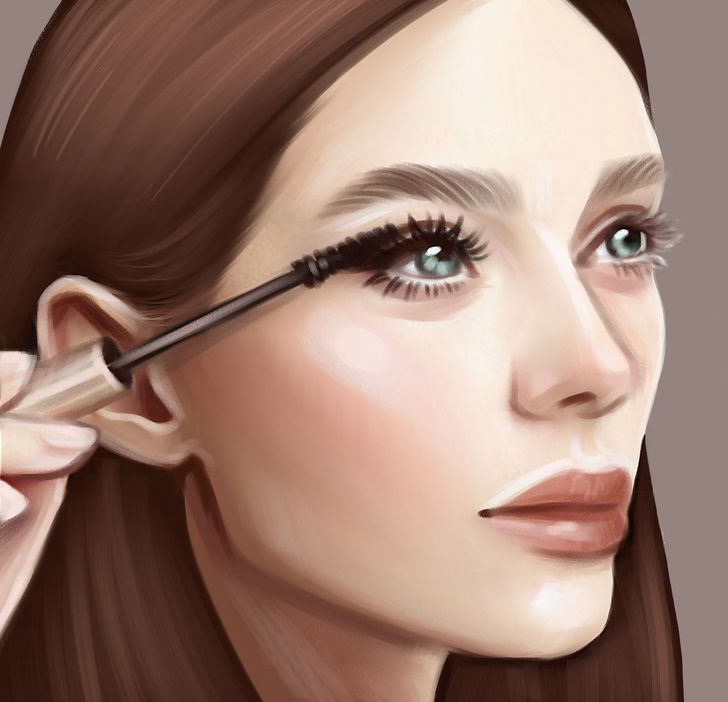
Step 2. Apply a first layer of mascara to your eyelashes.
-
You should only apply a thin layer; the goal is to make your natural lashes look as dark as possible and more curly and intense. Also, once you apply the false lashes, they will look much more natural than if you hadn’t applied mascara.
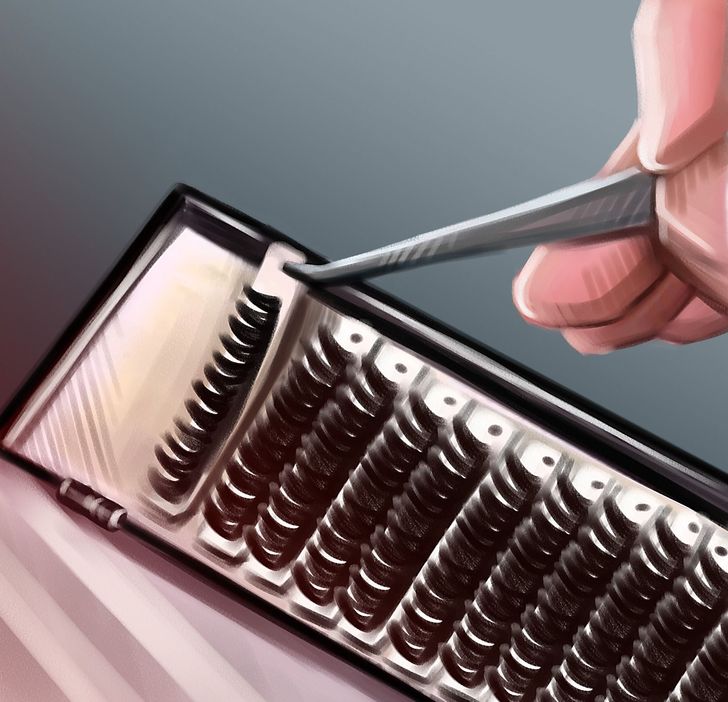
Step 3. Carefully remove the fake eyelashes from their packaging.
-
For full lashes or half lashes, take them from one end from the point closest to the root and slowly detach them so as not to alter their shape. You can use tweezers to do this if you find it easier.
Step 4. Compare them to your eye to check if they’re the right size or if you have to cut off the excess.
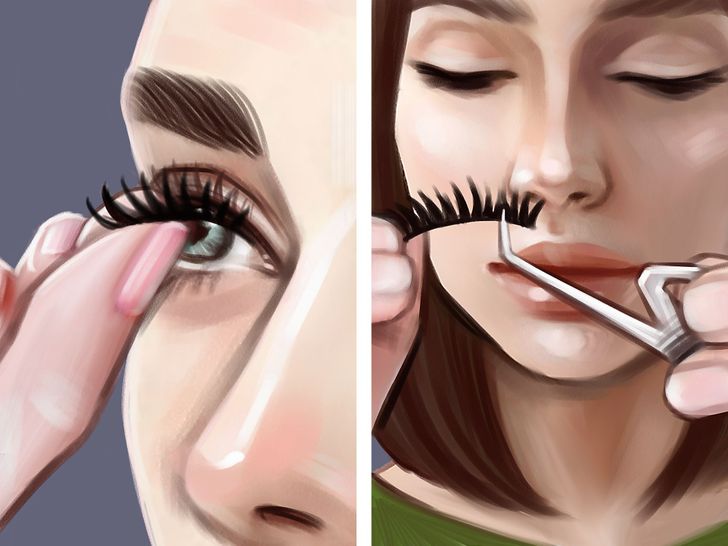
- It’s common for eyelashes not to fit perfectly to the size and shape of your eyes and for them to be, for example, too wide. That’s why, before applying them, it’s a good idea to measure them and cut the parts that you won’t need.
- Place the strip on the eyelid leaving out the lashes closest to the tear duct, approximately two to four natural lashes. If you stick it on starting from the tear duct side, the artificial strands may prick you and cause discomfort. If after doing this you notice that the outer end of the false eyelash sticks out of your eye line, you can trim it.
- Cut off a little bit (always on the outer end of the fake lash) with a small, sharp pair of scissors. Then, lay the lash back on your eyelid and check if you need to cut off a bit more.
- It’s common for the eyes not to have exactly the same size, so it’s a good idea to check the false eyelashes against both eyes before gluing them to your eyelid.
Step 5. Apply glue on the eyelash strip and bend it to spread it evenly.
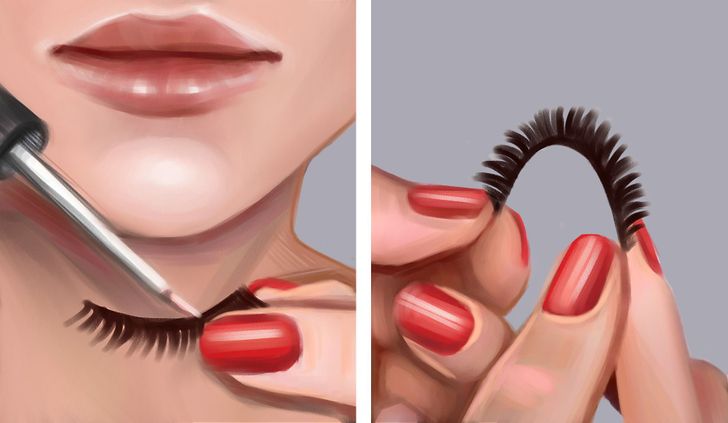
- Apply an even layer of glue (not too thin nor too thick) on the strip.
- Let it dry for approximately 30 seconds before placing it on the lash line. It should feel sticky to the touch, but not wet. This will ensure that the strip adheres smoothly, and it will prevent it from slipping or sliding around on your eyes when you try to stick it on.
- To make sure the glue is evenly distributed across the band and the tips won’t lift while you’re wearing the fake eyelashes, bend the strip so that it forms a closed curve, where the tips almost touch each other.
Step 6. Place the band just above your lash line.
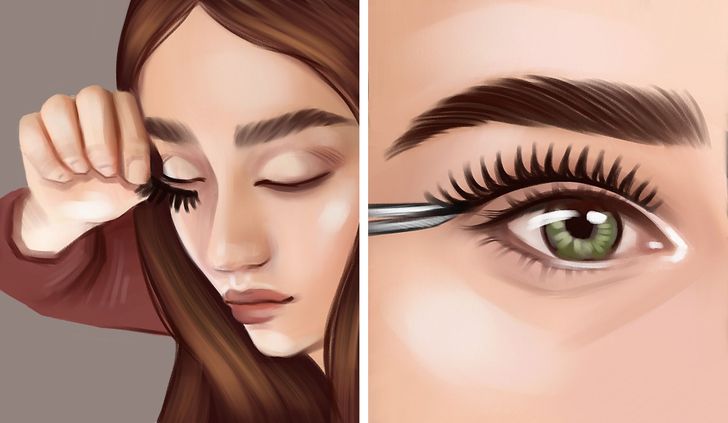
- Start by gluing the middle part of the band. Once that’s well-placed, move on to the outer end and, finally, to the area closest to your tear duct.
- Look down when you place them, you can try using a mirror under your face at an almost perpendicular angle. This way, your eyelid will extend as if you were closing your eyes, but allowing you to see exactly where you’re placing the strip.
- Using tweezers or a toothpick, lower the strip as far as possible so that it is glued to the root of your lashes.
- Once attached, let the glue dry naturally; you don’t need to hold the strip down.
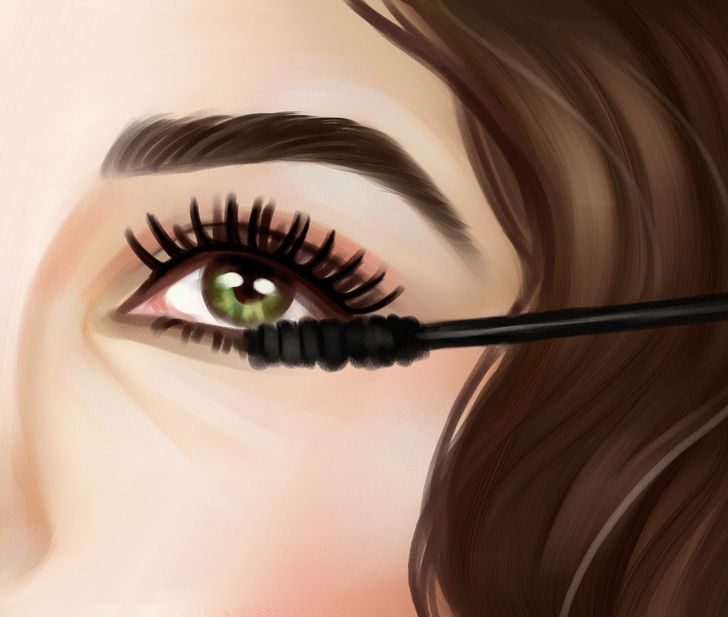
Step 7. Apply a second layer of mascara.
-
Mascara unifies the fake eyelashes with the natural ones. This is also the best way to avoid the double-lash effect that happens when your natural lashes are visible under the fake ones.
-
Make sure you choose mascara that isn’t waterproof or oil-based; otherwise, it will be more difficult to remove it when cleaning the fake eyelashes.
Step 8. Use liquid eyeliner to delineate your upper eyelids.
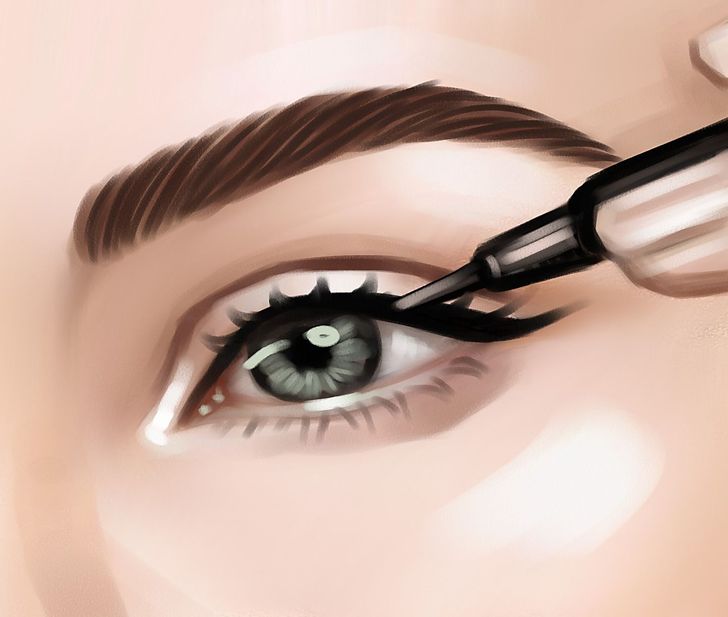
- This step is recommended mainly if you’re using fake lashes for the first time, or if you’re still learning. It will help you cover up glue residue and other possible mistakes you might’ve made as a beginner.
- Take your liquid eyeliner and draw a line that runs down the lash strip from where it starts to the inner corner of the eye. This way, you can camouflage the line of the band, as it will blend in with your eyelashes.
-
The ideal colors for these cases are black, brown, or dark gray mascara.
Tips and hacks
First, practice on a clean, makeup-free eye.
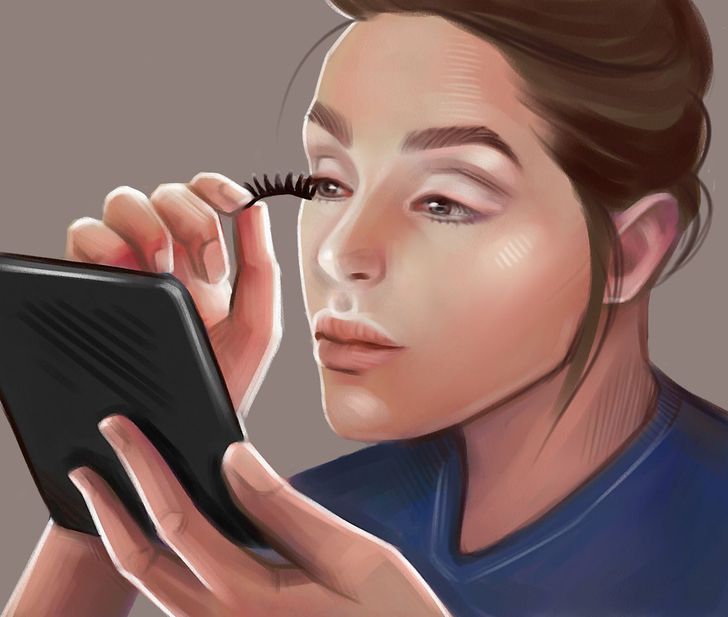
If this is the first time you’re wearing fake eyelashes, avoid doing it when you have already applied makeup and are about to go out. First, practice on a day when you have no plans and are not in a rush. This way, you can put them on and take them off as many times as needed, and, whenever you actually want to wear them, you’ll feel more confident in case something goes wrong.
When applying the glue on the band, put more on the ends.
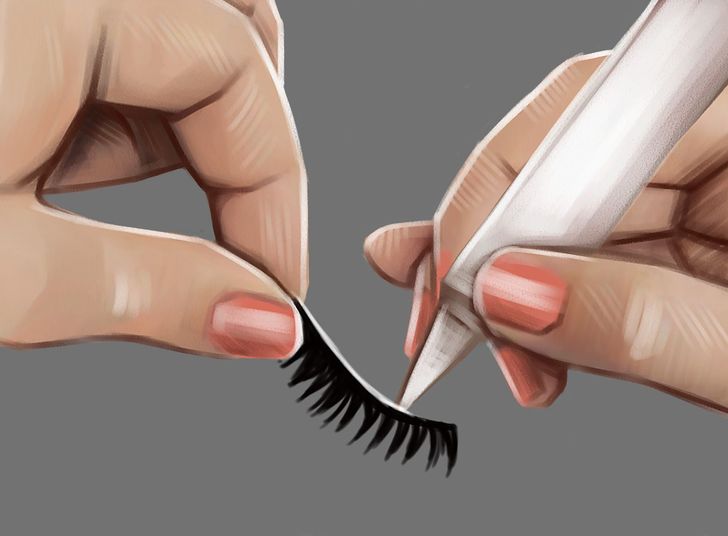
While the entire band should have glue on it, we recommend applying a thicker layer on the ends; this is where fake lashes tend to peel off more easily.
Remove them by pulling on the outer part of the eye.
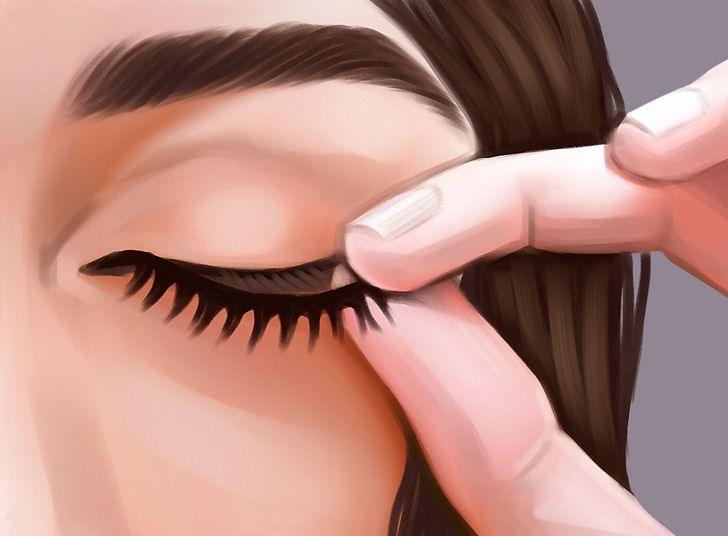
The correct way to remove the lash band is by gently pulling the outer part of the eyelash with one hand while holding the eyelid with the other. But if you have very sensitive skin or feel it’s pinching you, you can dip a cotton swab in makeup remover or oil, moisten the base of the lashes with it, and wait for them to peel off on their own.
Clean them as soon as you take them off.
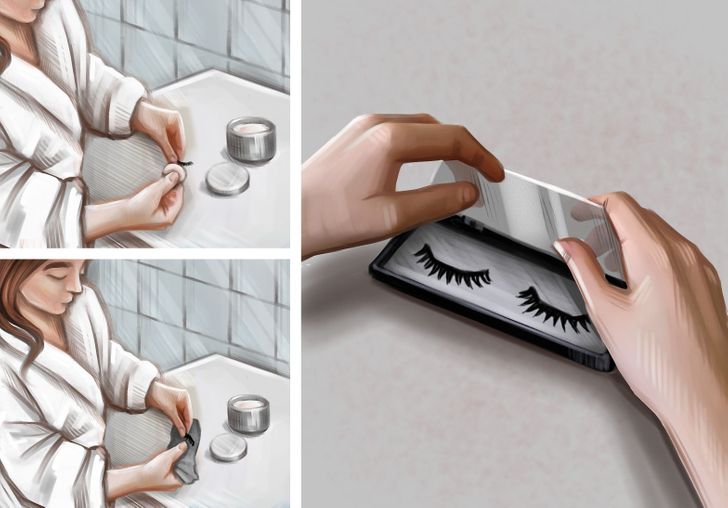
The best way to maintain and reuse them is to clean them as soon as you take them off or within a few hours. You can do this by gently wiping them with a cotton pad with eye makeup remover; this will remove glue and mascara residue. Make sure the cleanser is oil-free so that no oil residue is left on the eyelashes.
Then, dry them with a paper towel and put them back in their container; try to keep their original arched shape.