How to Wash Your Face
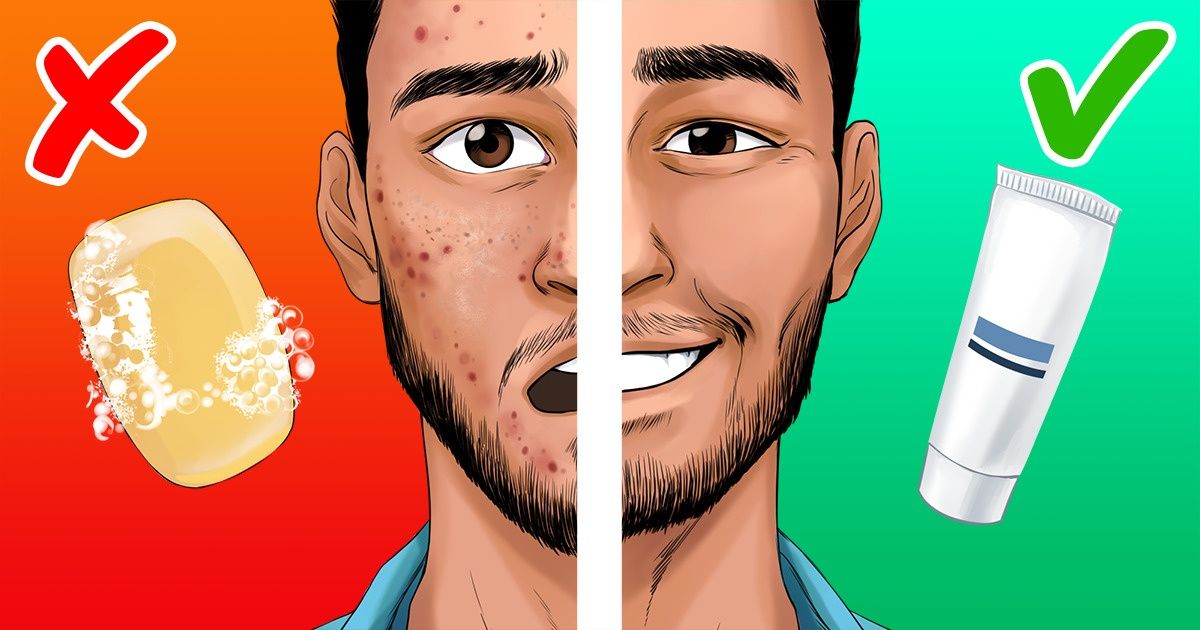
Washing your face is far more complicated than it seems, which is why 5-Minute Crafts gathered advice from experts on how to do it. There is no such thing as doing it the right way, but there are many wrong ways of doing it. That’s because there are different types of techniques and products you can use. Your choice should depend on your skin type just as much as on your lifestyle. That’s why before adopting a (new) skincare routine, you should first consider the following things:
Before washing
1. Get to know your skin
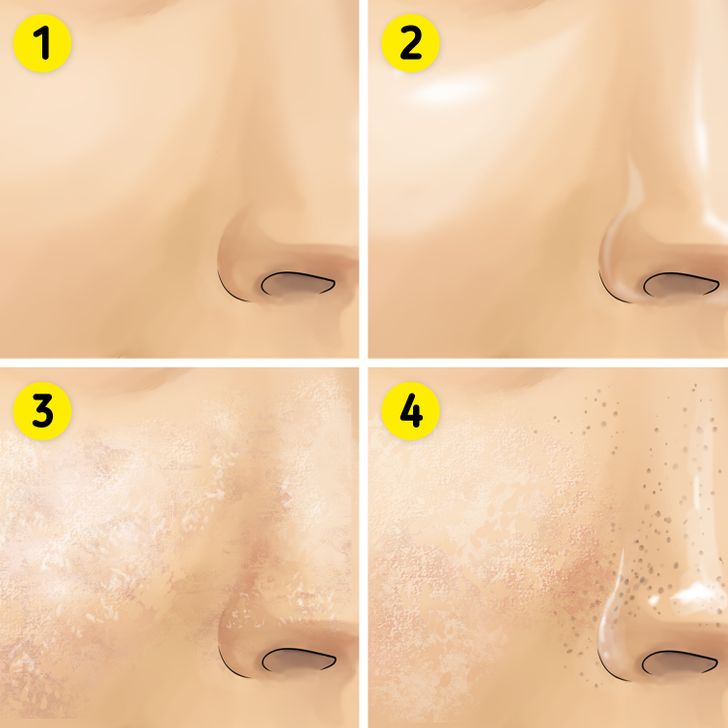
Although there are many different types of skin, dermatologists have narrowed things down to 4 general categories that will be useful for you to choose the right products.
- Normal: As the name suggests, this type is simply well-balanced, healthy skin. It’s used as a reference to define other types of skin.
- Dry: This type falls under the category of any skin that doesn’t have enough lipids to retain moisture. This happens because it produces less sebum than normal skin and it can’t build a protective shield against external influences. There are several degrees of dryness: dry, very dry, and extremely dry. As skin ages, it becomes even drier. This is often referred to as mature skin.
- Oily: This type is the opposite of dry. It’s skin that produces more sebum than necessary. It often has visible pores. This is the skin that develops acne, whiteheads, and blackheads.
- Combination: This is a mix of skin types. Think of the T-zone where the forehead, chin, and nose are often oily with enlarged pores. Cheeks on the other hand tend to be dry or normal.
Some people also refer to their skin as “sensitive skin.” Although that’s not a medical diagnosis in itself, sensitive skin is a common issue that refers to skin that reacts strongly to chemicals, dyes, and fragrances and often points to an underlying condition.
2. Choose the right cleanser
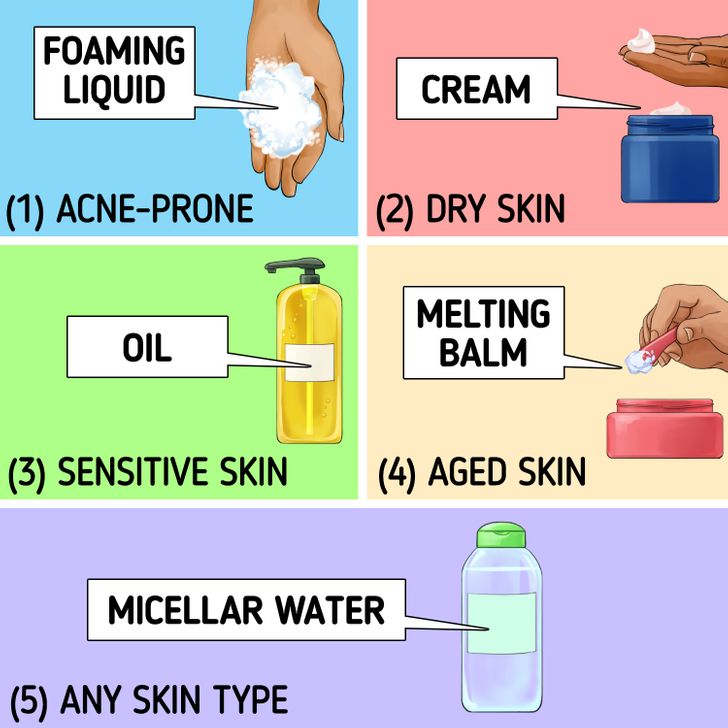
Depending on the type of skin you have, you need different types of cleansers. Foaming liquid (1) helps break down dirt and excess sebum from pores, creams and lotions (2) wipe away impurities and hydrate skin. As unlikely as it seems, oil (3) absorbs oil. Argan oil, for example, cleanses and moisturizes sensitive skin. Melting balm (4) is very soothing for mature skin. Finally, micellar water (5) attracts debris and oil without causing dryness and works for most skin types.
3. Dos and don’ts to keep in mind
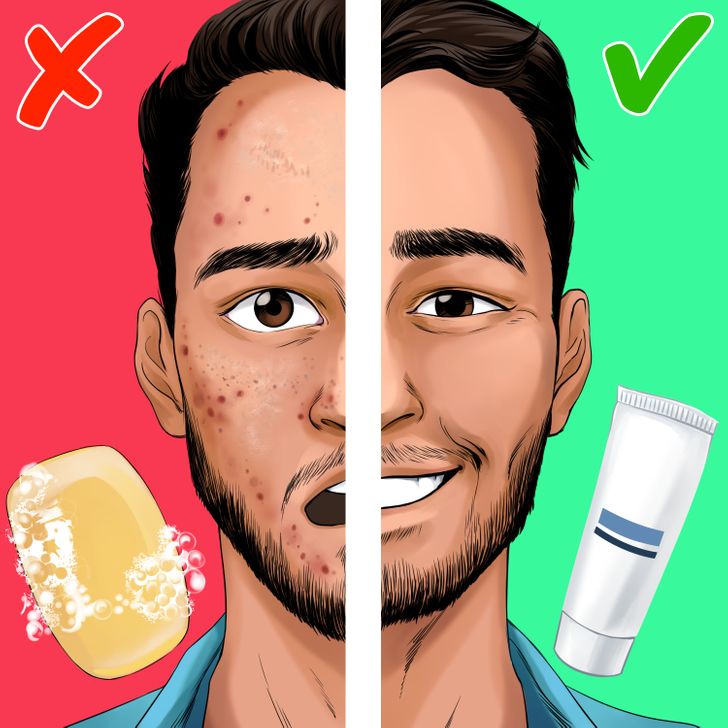
Now that you’ve identified your type of skin and the kind of products you need, here are some dos and don’ts you might find useful before actually washing your face.
- Don’t use generic bar soaps. These can break the pH balance of the skin, which actually allows for more bacteria and yeast growth. Instead, use the recommended amount of face cleanser for it to work as it’s intended to.
- Don’t go tool crazy. Your best tools are your fingertips, you won’t be needing much more than that. However, oily skin could benefit from a sonic cleansing brush.
- Don’t over wash your face: Remember that you’re probably washing your face already when showering. Plus, over washing could make your skin drier. Instead, extend your routine by using a moisturizer and a toner. Experiment with new routines and try new products until you find what’s best for you. You can try using micellar water, try massaging your jawline and neck from time to time, etc. Your skin is just as alive as you are, so your routine will probably change with time according to its needs.
Always keep in mind that visiting a professional dermatologist can save you time and money. After all, they are the ones who can determine what’s best for your skin and guide you.
Basic skin care routine
That being said, let’s go for the basic steps to wash your face. Keep in mind that regardless of what product you’re using, consistency is key: commit to using a product over at least 6 weeks, once or twice daily, to be able to notice a difference. The technique laid out below can be used for all types of skin and it involves washing your face twice a day: once in the morning, and once before going to bed. You can also wash it a third time after sweating a lot (for example, after exercising).
1. Remove makeup, if you’re wearing any.
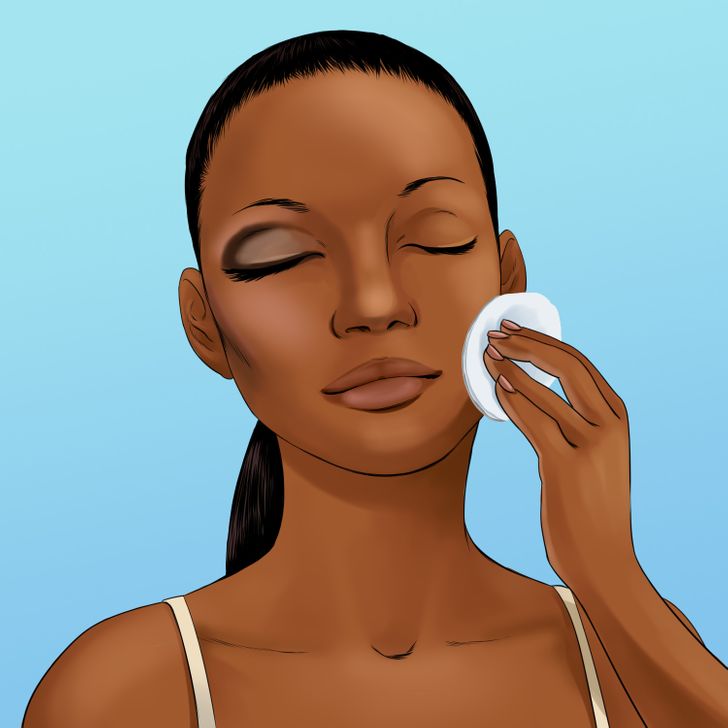
Removing your makeup before washing your face is important to prevent your pores from getting clogged. If they do get clogged, they won’t be able to purge the toxins out overnight.
- Tip: Use a gentle makeup remover.
2. Wet your face with lukewarm water.
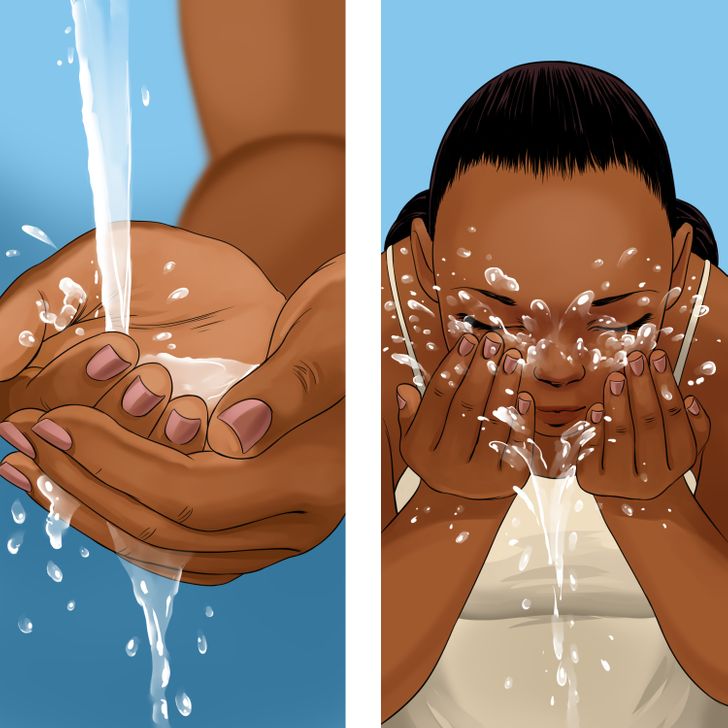
Rinse your face with an abundance of lukewarm water to moisten the skin. Forget about the urban myth of using warm water to “open up your pores.” The same goes for cold water to close them. Temperature extremes can cause irritation. Just stick with lukewarm water.
3. Use your fingertips to apply cleanser.
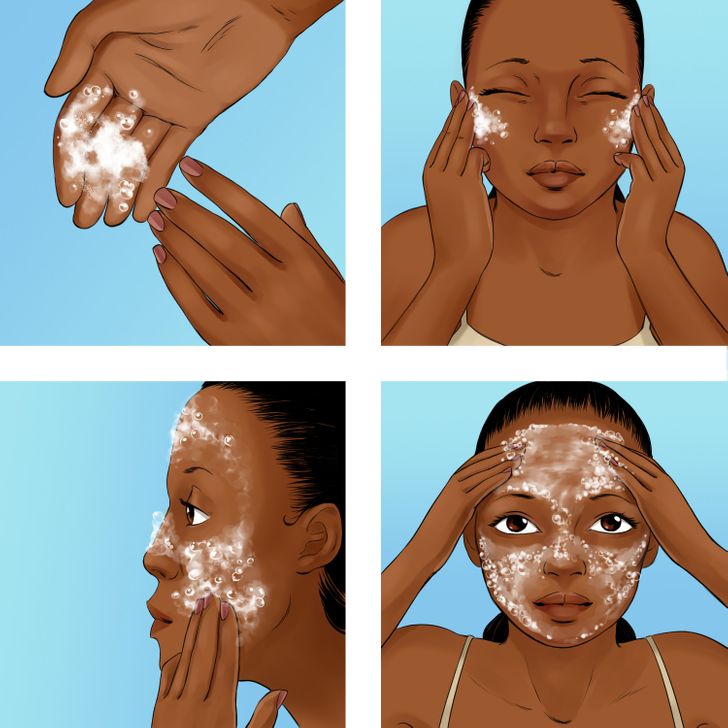
Start by using the first 3 fingers of each hand to work the cleanser in. Slowly add more warm water to create a lather. Now, work the cleanser all over your face. Start by rubbing back and forth over the bridge of the nose and down and around the nostrils. Then draw circles around the eyes and cheekbones. Finally, move outward to your forehead, the areas around the ears, jawline, and chin, and do small circles up the neck.
- Tip: Don’t scrub or reach for the washcloth ASAP or you might strip the skin of its natural protective barrier.
4. Rinse again.

After rinsing your hands, follow the same pattern as in step 3, but with water to wash off the cleanser from your face. Repeat as many times as needed.
5. Pat dry with a soft towel.

As counterintuitive as this might sound, leaving water drops on your face doesn’t hydrate it because when it evaporates, it could lead to dryness. Pat your face dry with a soft towel to avoid irritation.
Extended skin care routine
Cleansing your skin is only the first step of a complete skincare routine. That’s because, for ingredients of other products like toners or moisturizers to properly absorb, your skin has to be clean. Think of it as a clean canvas that is now ready to absorb all the nutrients you’ll add.
6. Apply toner + (optional) serums / eye cream / spot treatments
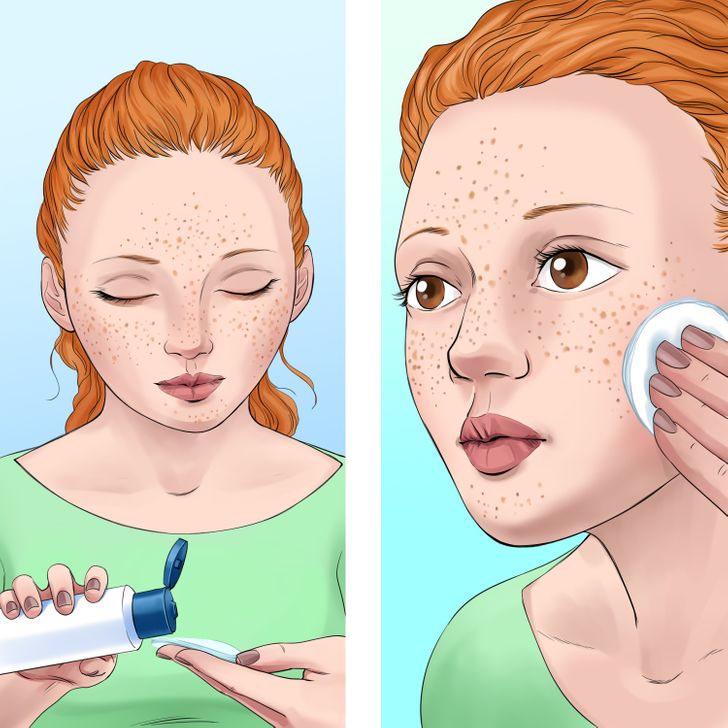
For it to be the most efficient, you should do it in this order:
- Toner: Apply toner with clean hands to add in specific ingredients that you may not have in your other products. These include alpha and beta hydroxy acids, hyaluronic acid, rose water, green tea, and vitamins E and C.
- Serums: These contain active ingredients that can fight issues ranging from dark spots to wrinkles. Hyaluronic acid, vitamin C, retinol, vitamin B3, peptides, colloidal sulfur, and niacinamide are some examples of serums. You can treat different areas with different products depending on your needs.
- Eye cream: Look for an eye cream that has a rollerball applicator to help treat under-eye bags. Be gentle when applying.
- Spot treatments: The ideal time to use these is at night. Dab a thin layer (seriously—more isn’t merrier here) over your spot or pimple, then wait at least a full minute for it to dry.
Note that not all products should be applied with the same frequency. The use of exfoliating products should be limited. Also, don’t try to mix the ingredients to save time. Lotions, toners, and serums work best when your skin is moist because it’s more permeable.
7. Apply moisturizer
Even if the previous products can be considered optional, moisturizing your face after cleansing is an important step of any skin care routine. Moisturizer is meant to hydrate and soften the skin.
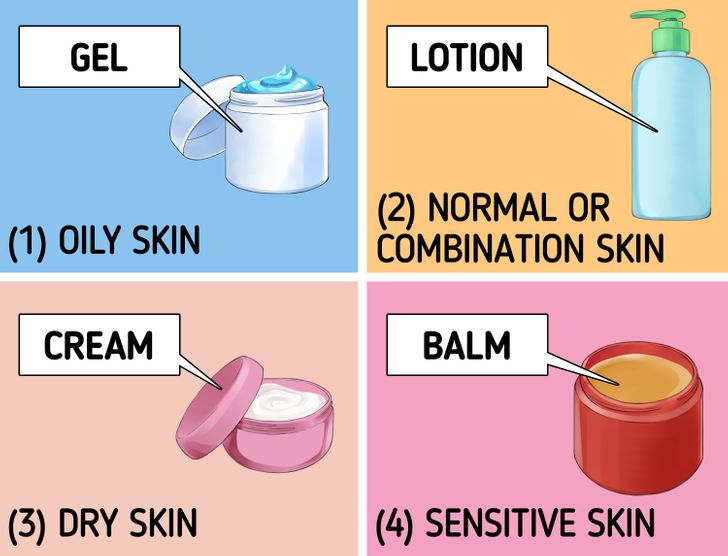
Even if everyone should be using a moisturizer, there are different types you should use depending on your type of skin. Above you can find a cheat sheet that’ll help you figure out which one you should be using. Gel moisturizer (1) is basically water-based and absorbs quickly. Lotion (2) feels more moisturizing, but it absorbs well. Cream and soft cream (3) are heavier than lotion and balm (4) has a heavier texture, and is good for very dry skin or inflamed and sensitive skin that isn’t acne prone.