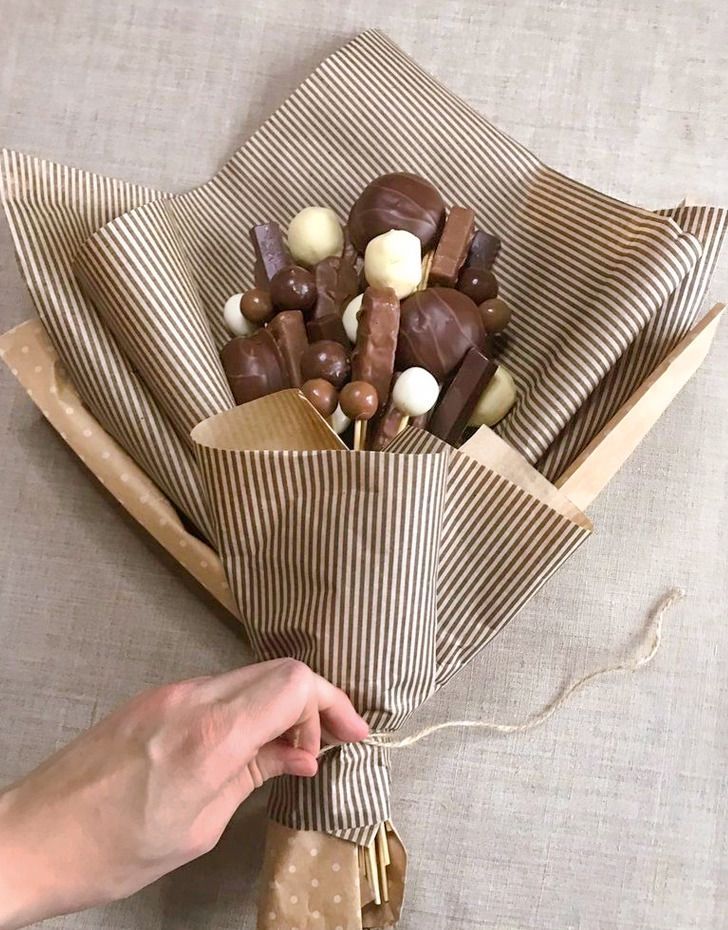
How to Make a Bouquet From Sweets
A while ago, bouquets stopped being just beautiful compositions with flowers. Today they are made of fruits, berries, stuffed toys, sausages, and even baby diapers and socks. Nevertheless, the most universal bouquet is perhaps a bouquet made of sweets. It can be presented to a kid, to a friend, to a girlfriend, or even to a mother-in-law — and everyone will be happy.
5-Minute Crafts would like to show you how to arrange 2 very different types of sweet bouquets.
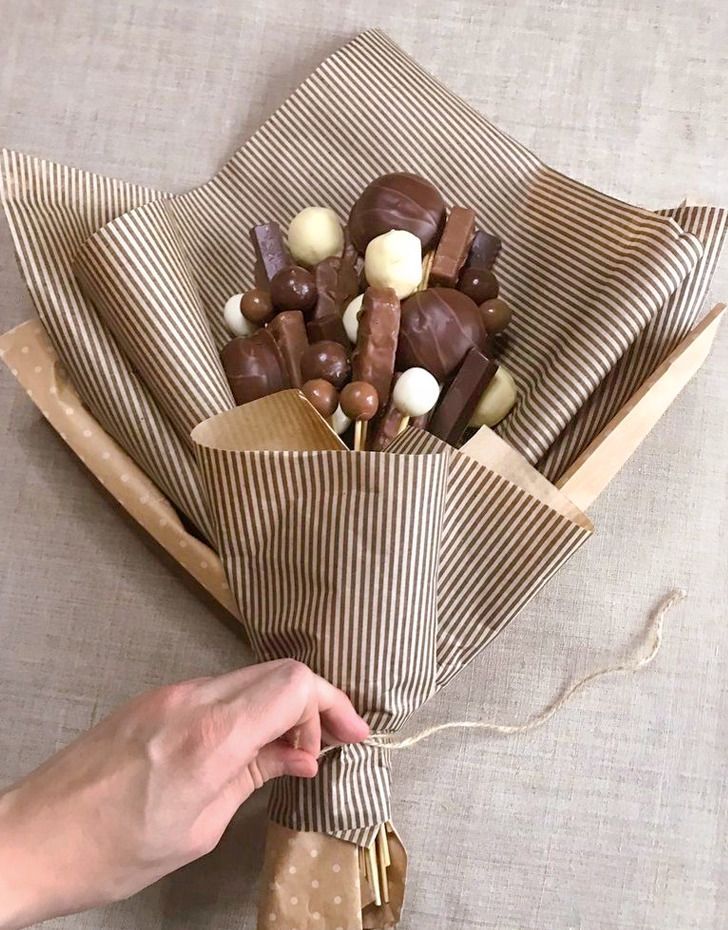
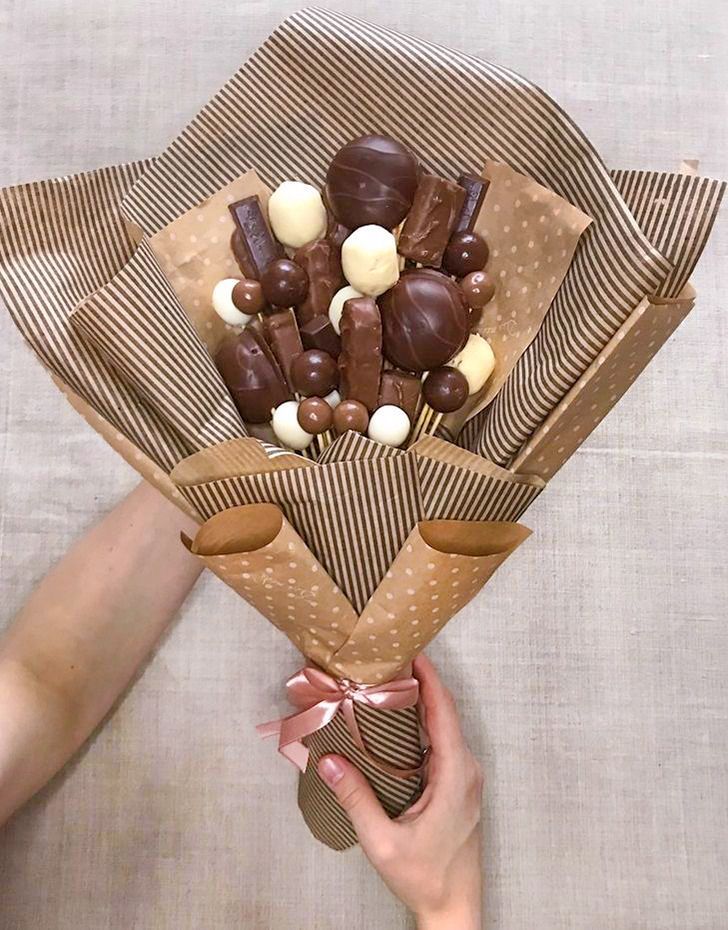
Chocolate bouquet
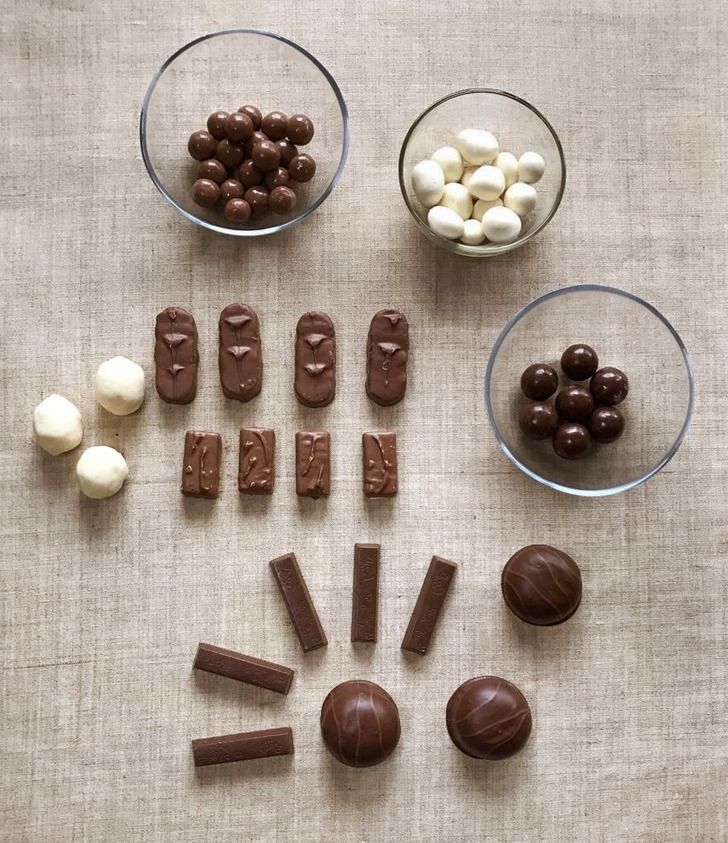
Ingredients:
- 7 strawberries dipped in white chocolate
- 9 chocolate balls (milk chocolate)
- 3 chocolate candies filled with coconut
- 7 round chocolate candies
- 3 chocolate candies filled with mousse
- 4 small individually wrapped chocolates
- 4 chocolate bars with coconut
- 4 chocolate bars with nougat and caramel
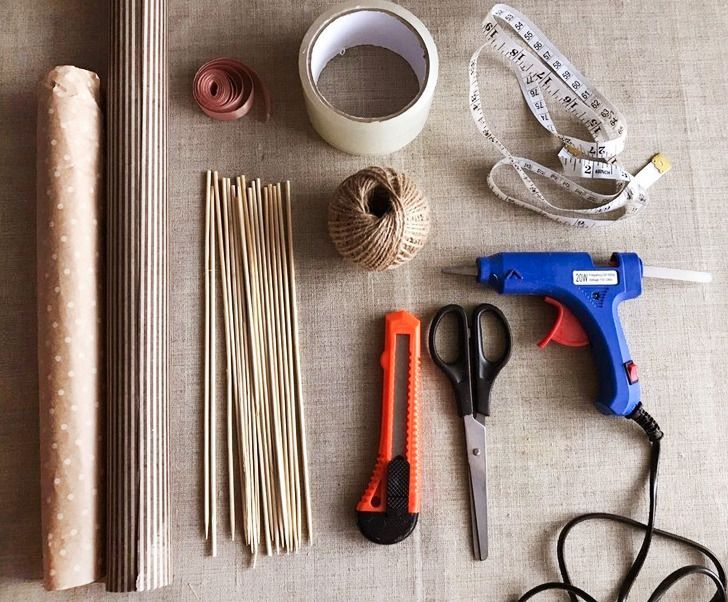
Supplies:
- wooden skewers (as long as 10 inches)
- scissors
- paper cutter
- wide adhesive tape
- measuring tape or ruler
- twine
- glue gun
- narrow satin ribbon
- 2 types of wrapping paper
- thin rubber gloves (optional)
How to arrange the items:
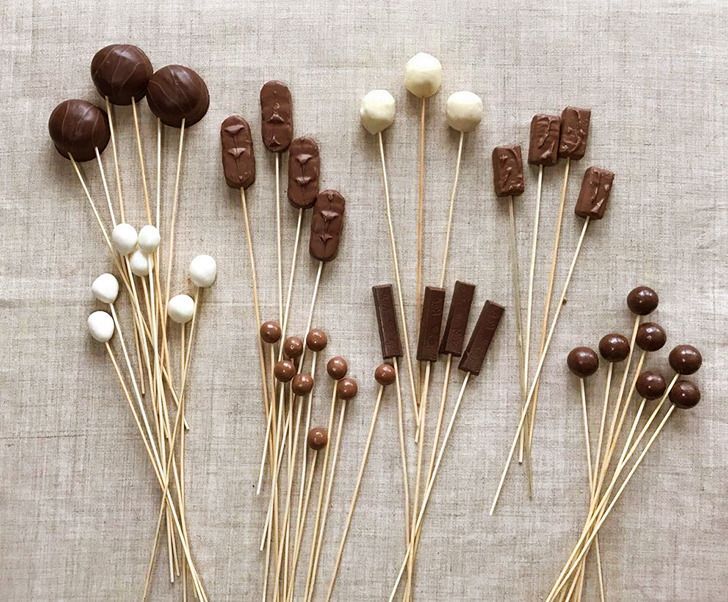
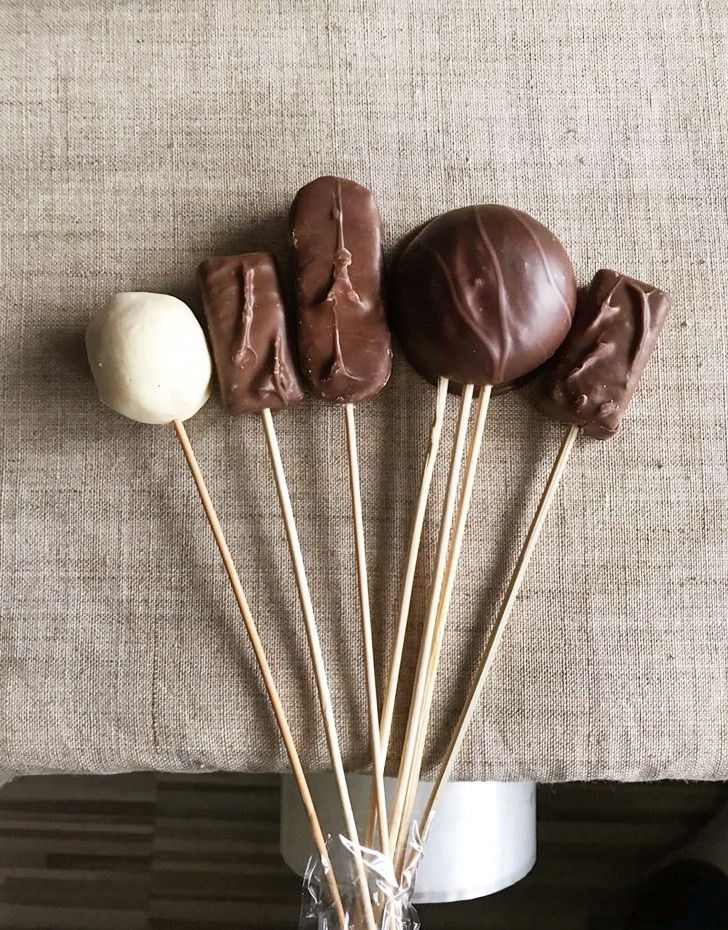
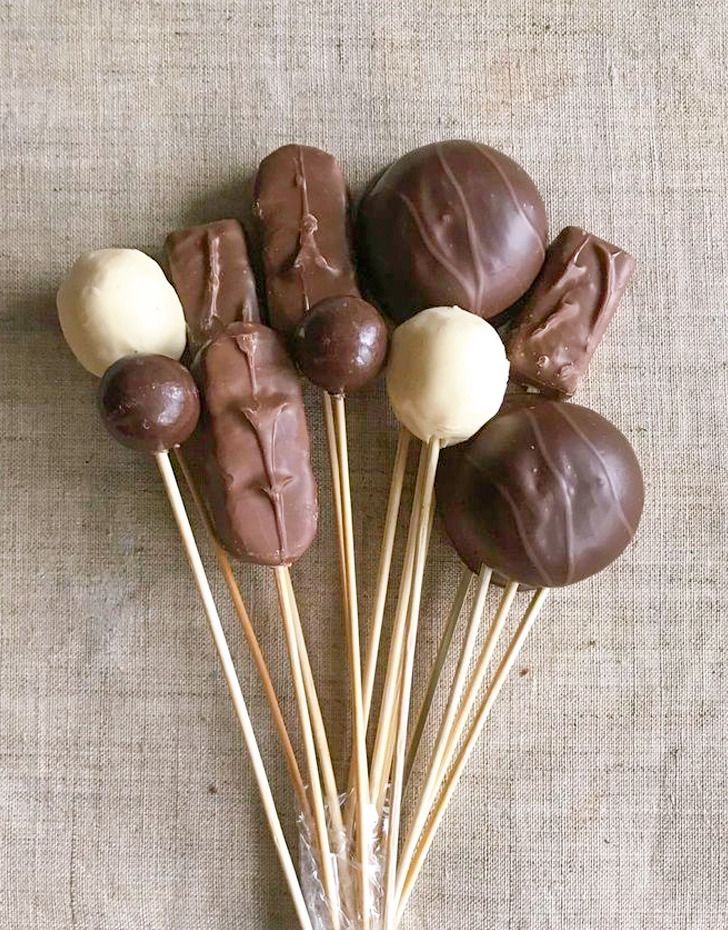
1. Remove the packaging from the sweets and put each of them on a skewer stick. Use 2 or 3 skewers for large chocolates and heavy sweets.
An important note: The warmth of your hands can melt the chocolate quickly, so if possible, try to work in a cool place, away from heating appliances (you can open a window if necessary). In order to avoid leaving your fingerprints on the sweets, we suggest that you work using thin rubber gloves.
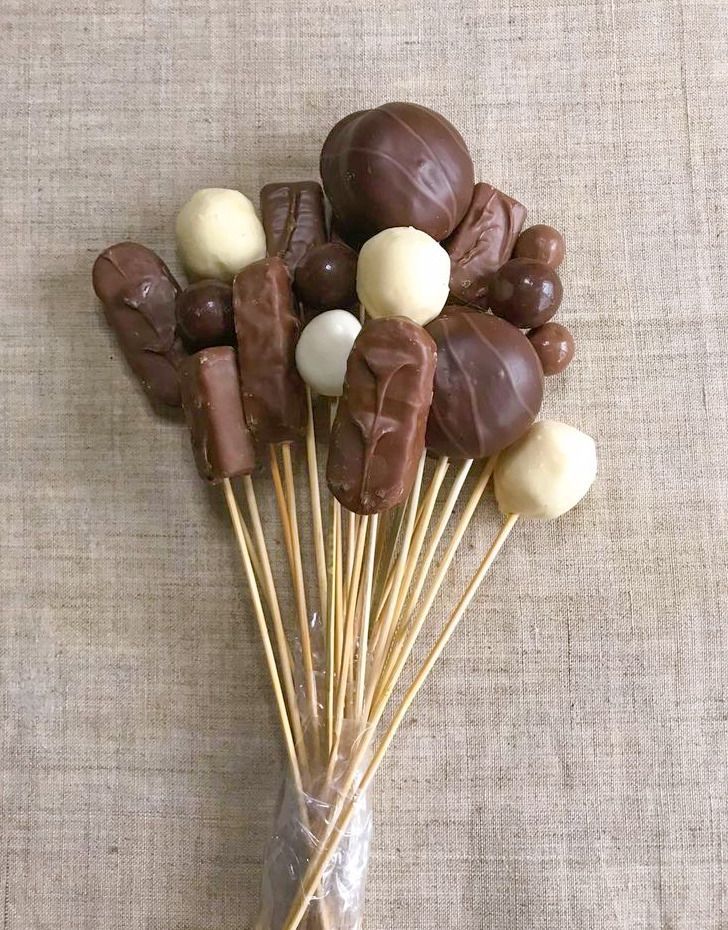
2. The sweets for the bouquet will be laid out in rows. Start arranging the first row by using 5 different chocolate candies. Place them next to each other so that they touch each other slightly and secure this bunch with a piece of adhesive tape.
An important note: Chocolates can be very fragile, so it is better to not move the bouquet if it’s not necessary. Place the bouquet at the edge of the table for convenience and wrap the ends of the skewers with the adhesive tape in this position.
3. Place the second row of sweets over the first row. Position them a bit below the first ones. Use various sweets to add dynamism to the composition. Secure it with adhesive tape.
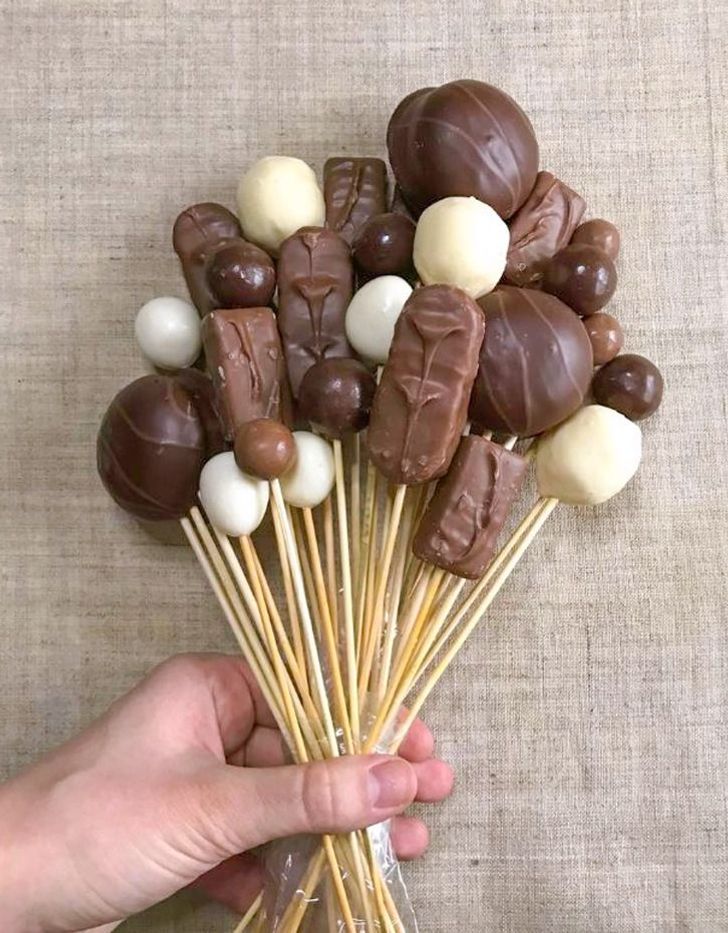
4. Place the sweets from the third row a bit lower than the sweets from the second row. Move some sweets a bit forward to create volume in the bouquet. Use adhesive tape to secure.
5. Locate the fourth row of sweets even lower than the previous row. Add sweets to the big gaps in the composition that appeared between sweets.
An important note: Place the skewers loosely, be mindful to not place the candies too close to each other. The tape itself should also not be too tight.
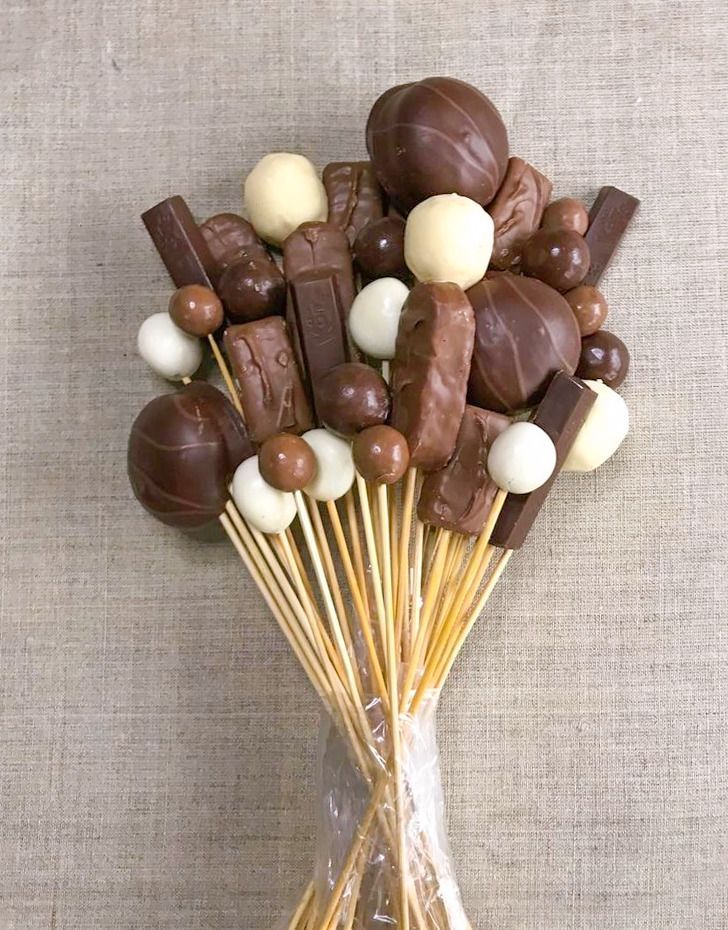
6. The small chocolates may not stick to the skewers well, so make sure to add them last. Place them in different rows chaotically and make sure to adjust them with adhesive tape.
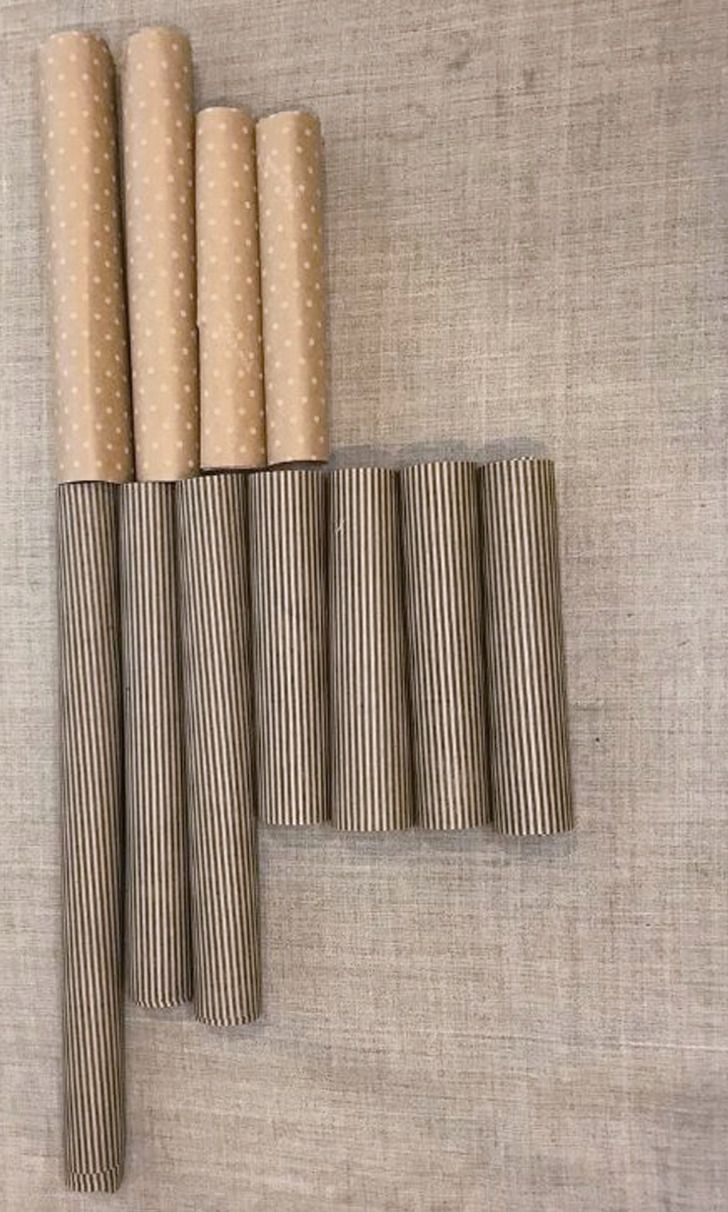
7. Set the finished bouquet aside and get your wrapping paper. Choose which of the 2 colors will be the primary and which will be the secondary. Cut off one 15×15 inch piece, 2 12×15 inch pieces, and 4 8×8 inch pieces from the paper in the primary color (it’s striped paper in our example). Cut off 2 8×15 inch pieces and 2 8×8 inches pieces from the secondary color paper (it’s the polka dot paper in our example). Additionally, you can cut out 2 small 4×4 inch pieces from the second type of paper for additional decorations (optional).
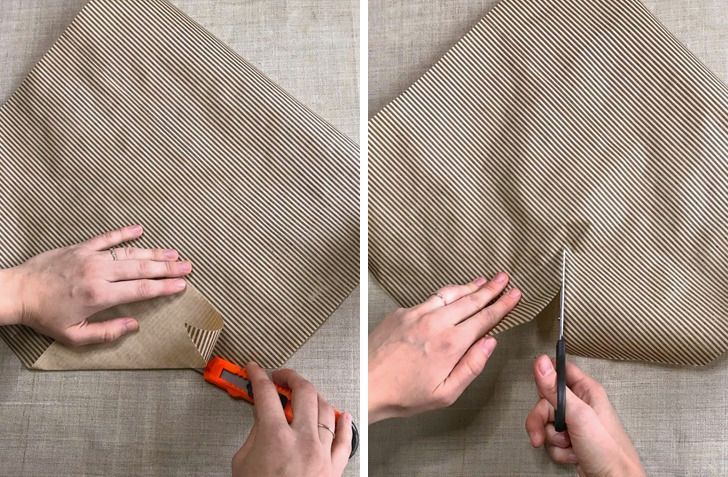
8. Take the big piece of the main wrapping paper (15×15 inches) and place it so that it resembles a diamond. Slightly fold the bottom corner of the paper and cut it with scissors or a knife. After that, make a vertical cut about 4 inches in height in the place of the removed corner. Make sure that the cut goes all the way to the middle of the wrapping paper.
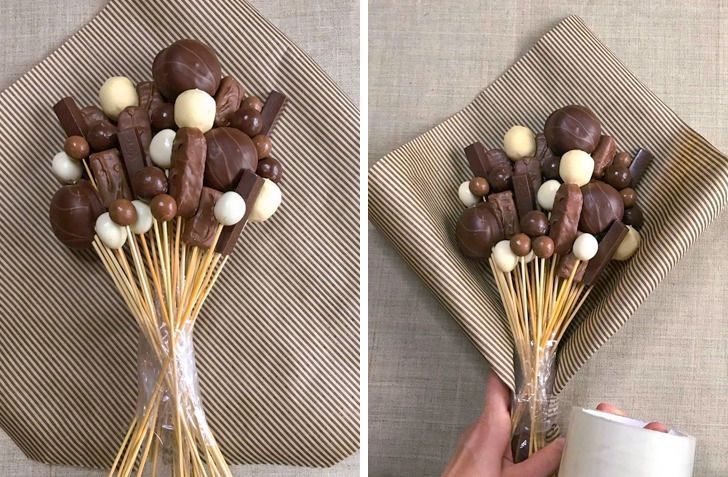
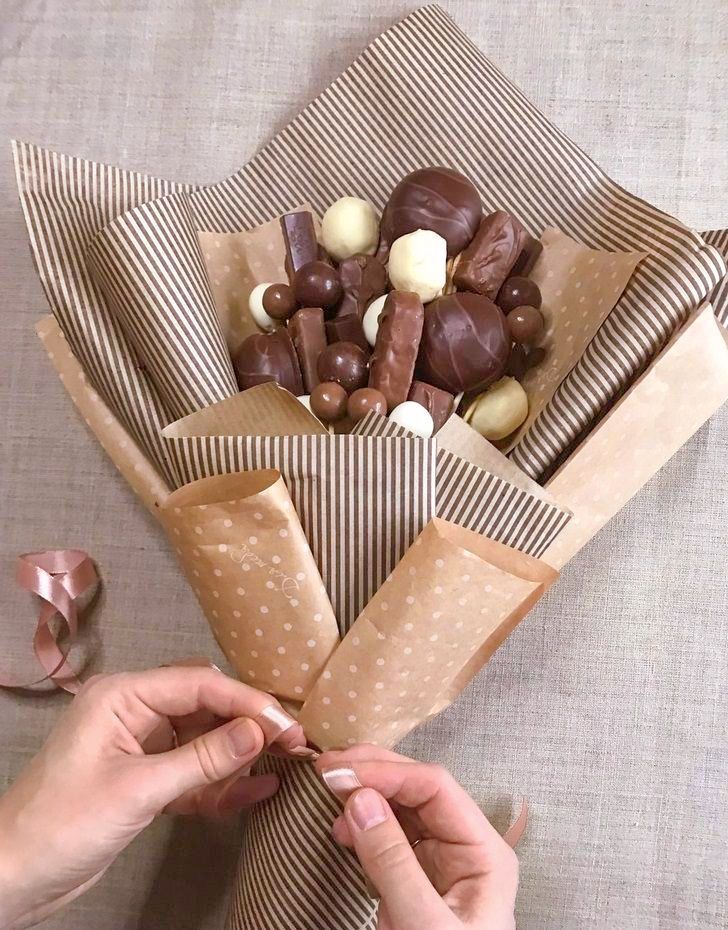
9. Carefully put the bouquet on the paper and bend the corners smoothly. Wrap the bouquet (with the paper) around its stem part and secure with adhesive tape.
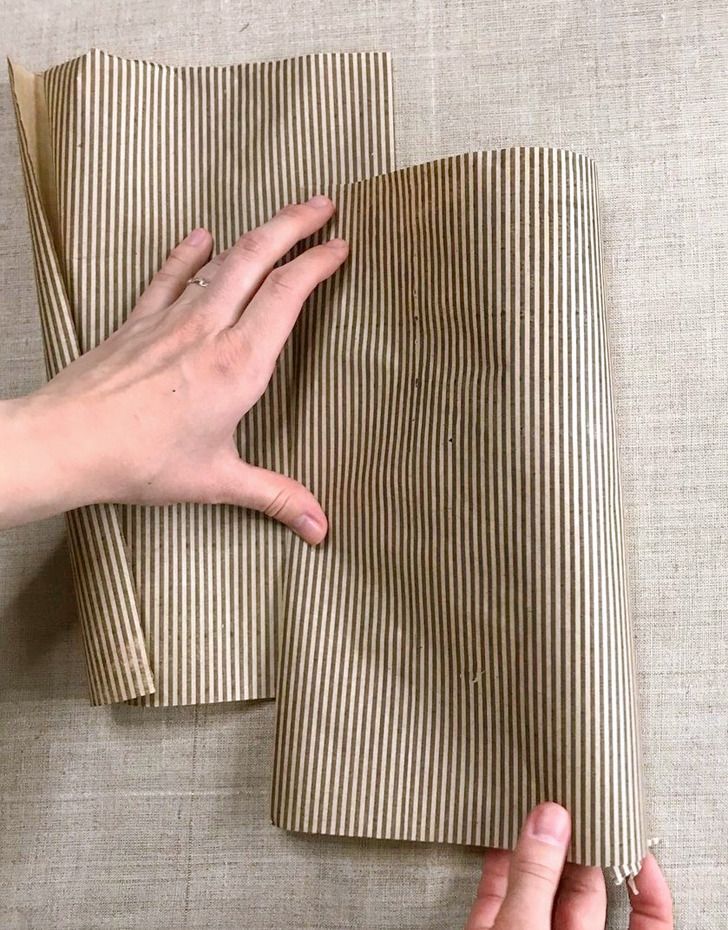
10. Take the 2 12×15 inch pieces. Fold each one in half along the short side and add them to the bouquet on the left and right sides. Secure with tape.
11. Make the same manipulations with the 8×15 inch pieces with the secondary color paper. Fold each one in half and add around the bouquet sides.
12. Fold the small 8×8 inch paper pieces in half diagonally and use them to cover the skewers sticking out of the bouquet. Adjust the paper and tie it with the twine.
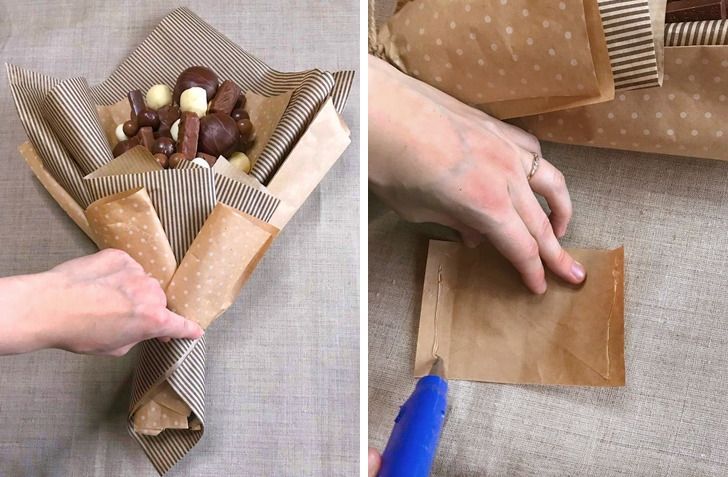
13. Take the 8×8 inch pieces of the secondary color paper. Fold each of them in half and secure them on the sides of the bouquet leg. You can also add the 4×4 inch paper pieces from the right and left sides of the bouquet. Use a glue gun to secure them.
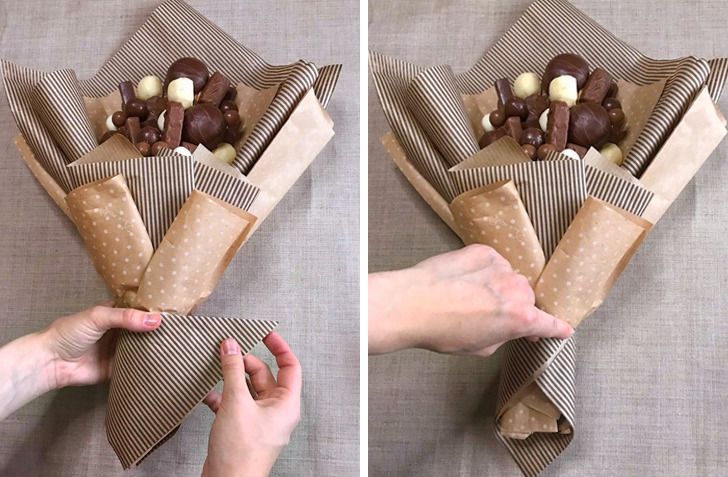
14. Take the remaining 2 pieces of the main 8×8 inch paper and fold them diagonally. Apply glue to the edges of each piece, and then attach them to the stem of the bouquet.
An important note: It takes longer for the glue to stick together pieces of thick paper. Firmly press down on the edges of the paper for a few seconds so that they stick to each other properly.
15. Tie a small satin ribbon in a bow on the stem of the bouquet.
16. In order to help preserve the sweets in the bouquet better, you can pack it with a transparent film. To do that, fix the film with the help of a stapler along the bottom edge of the bouquet, decorate the stem with the ribbon, fanfold the upper edge, and adjust it with the ribbon as well.
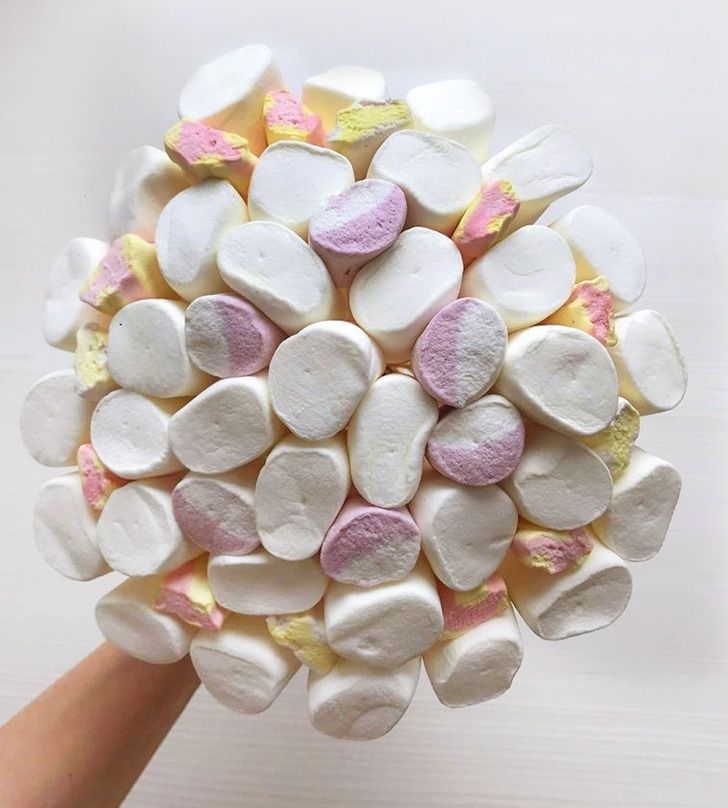
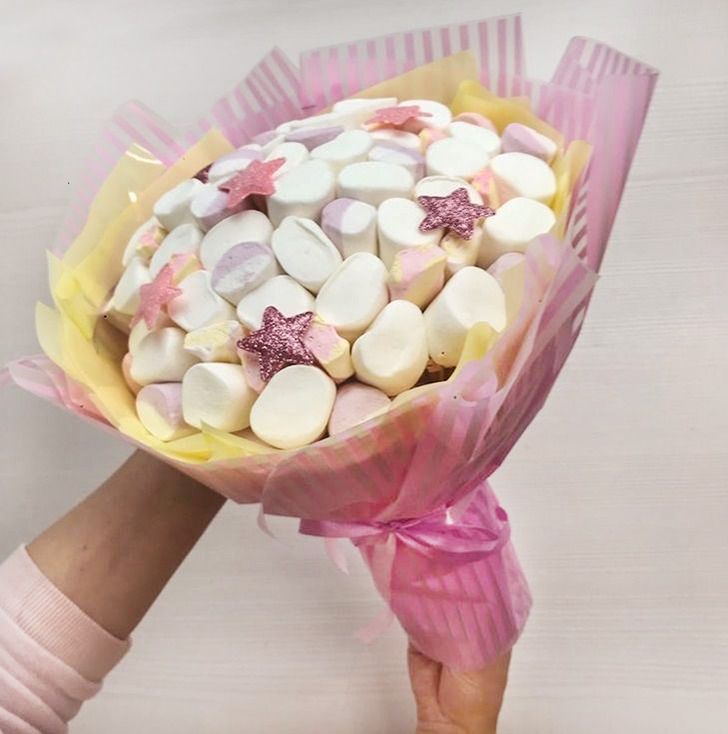
Marshmallow bouquet
Ingredients:
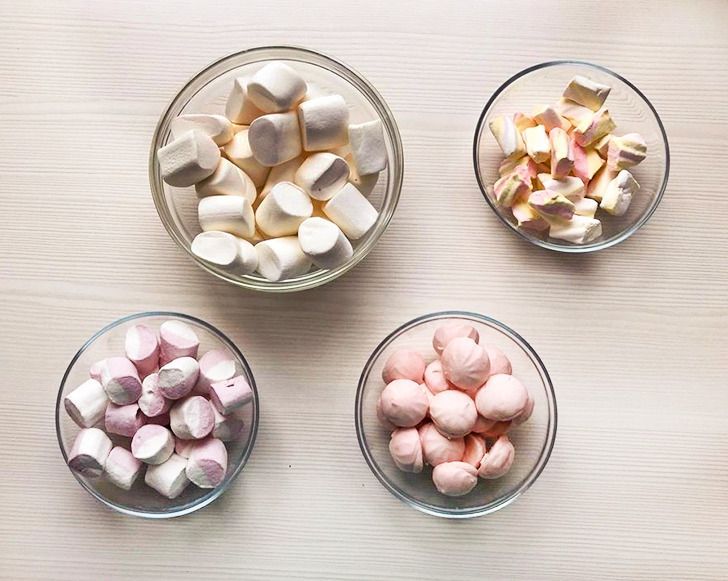
- big package of marshmallows
- medium package of colored marshmallows
- 1/2 pack of round glazed mini-marshmallows
- 1/2 pack of colorful spiral marshmallows
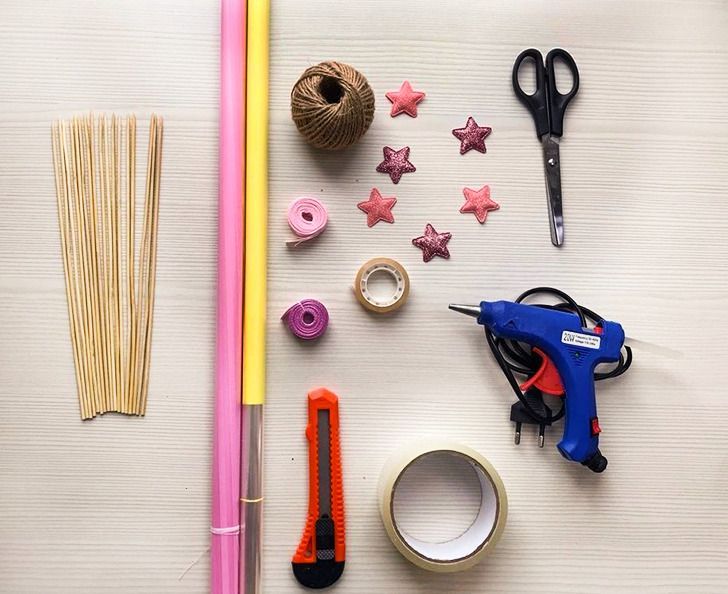
Supplies:
- paper cutter
- scissors
- narrow and wide adhesive tape
- wooden skewers (about 12 inches long)
- glue gun
- twine
- 2 types of narrow satin ribbon
- 2 types of wrapping paper
- additional decorations (in our example we are using stars)
Working process:
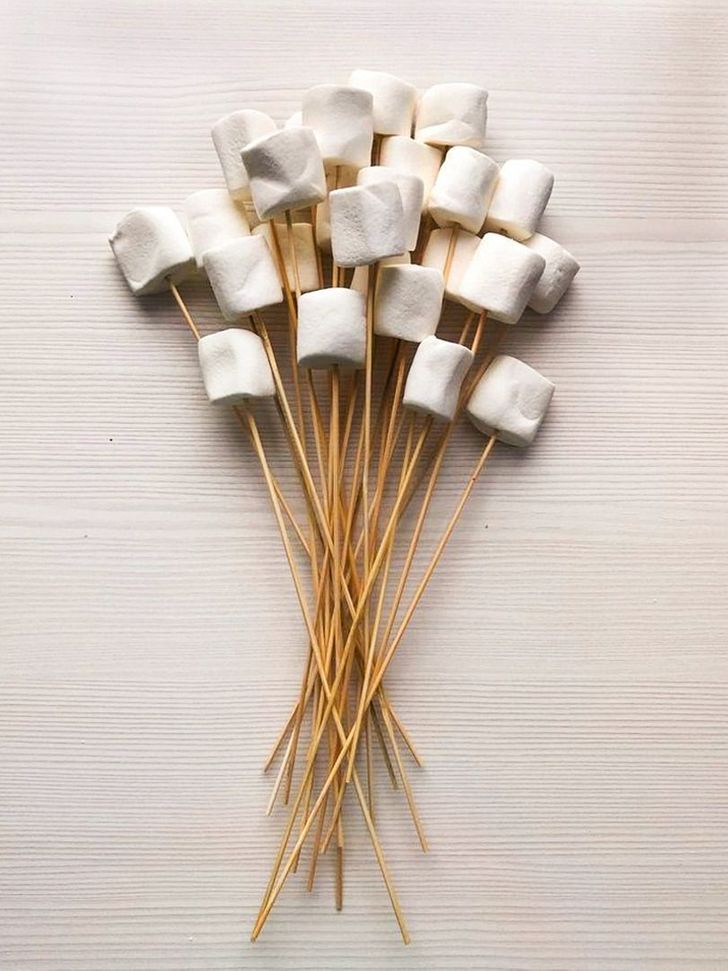
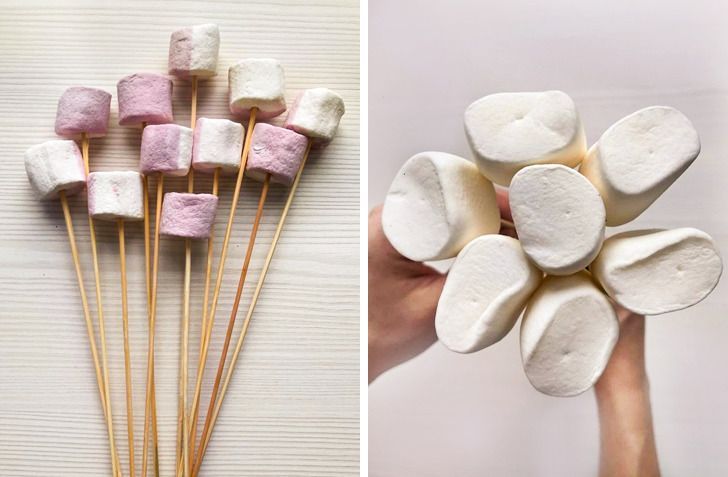
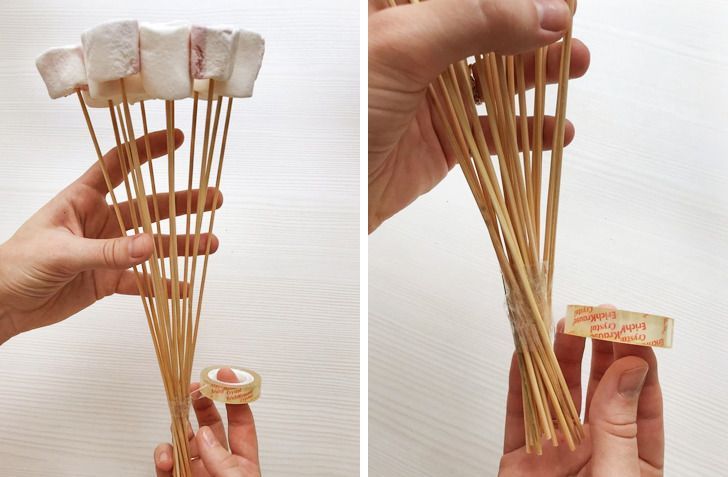
1. Put the big marshmallows on the skewers edges.
2. Take one marshmallow and place 5–6 pieces around it so that they resemble flower petals, in shape. Secure with adhesive tape. Set the rest aside.
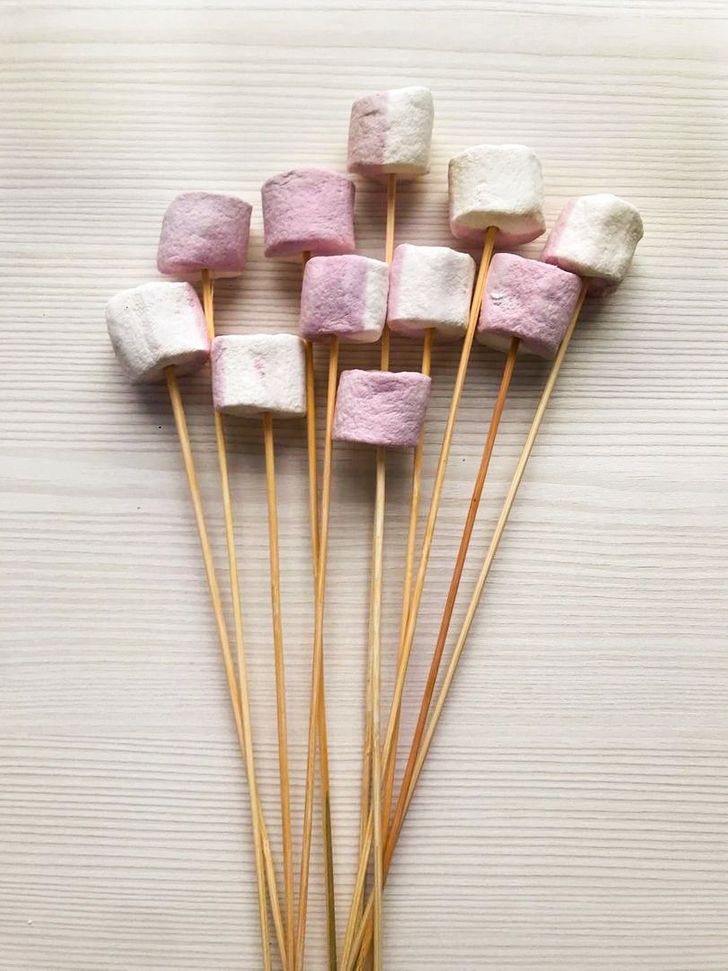
3. Place the colored marshmallows on skewers too.
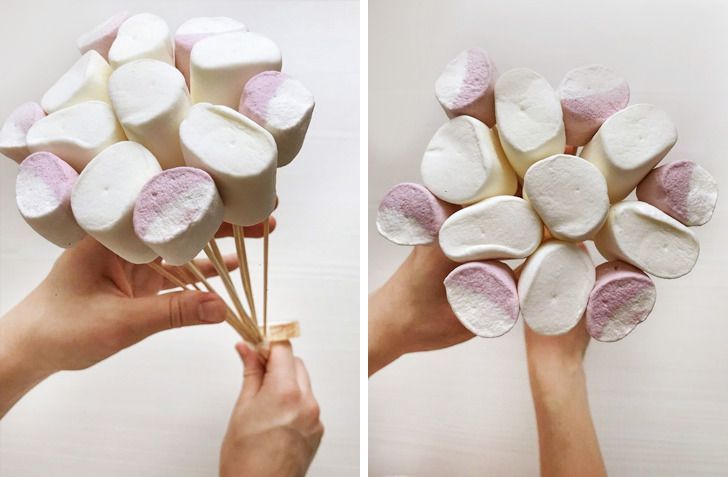
4. Add some colored marshmallows to the base of the bouquet. Place them in between the large marshmallows. Secure the skewers with the narrow adhesive tape.
5. Arrange the skewers in a spiral and secure with tape so that the position of the sweets doesn’t change.
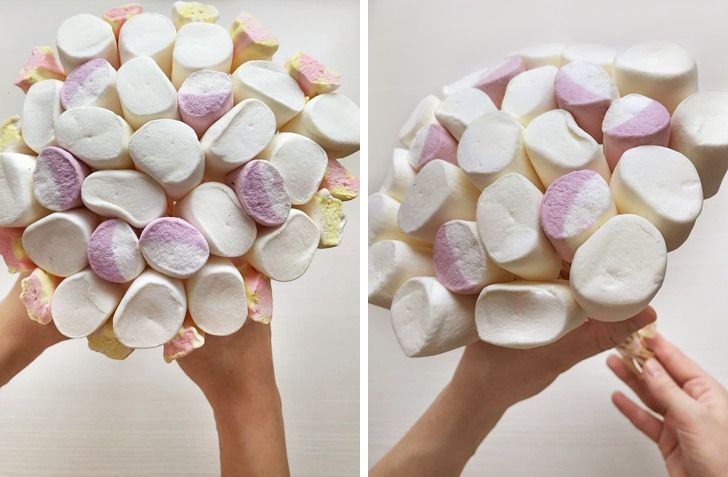
6. Make a new circle of large marshmallows around the colored marshmallows, also arranging the skewers in a spiral. Secure with adhesive tape.
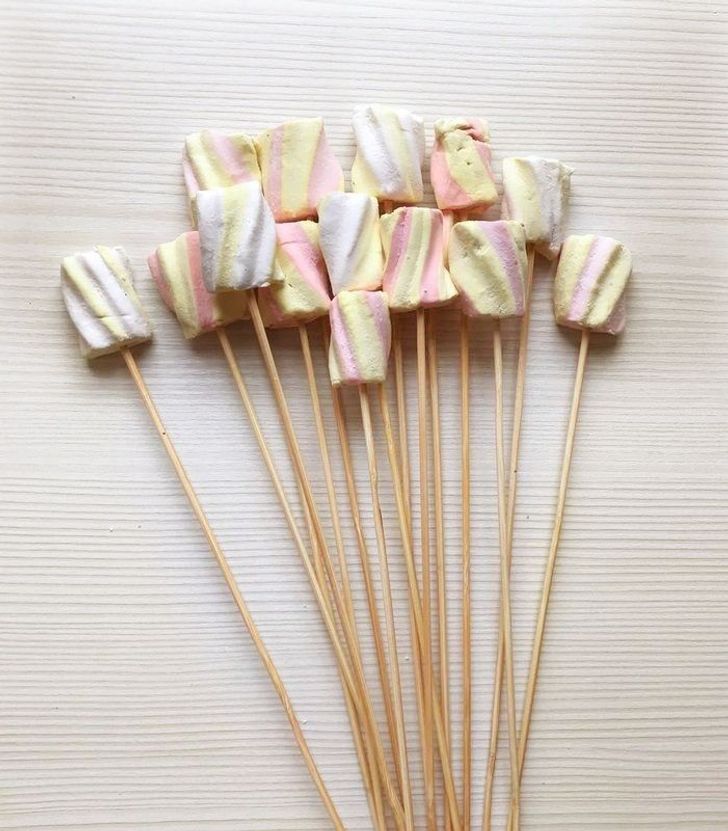
7. Place the spiral-shaped marshmallows on skewers.
8. Arrange the marshmallow spirals in a circle, adding them in between the large marshmallows. Secure with tape.
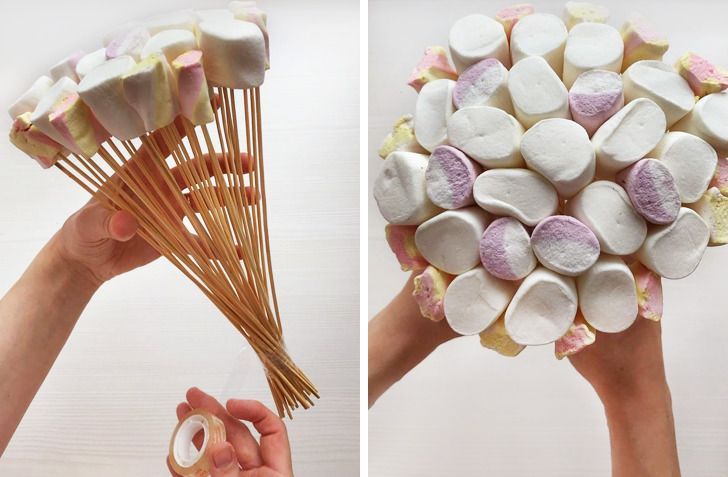
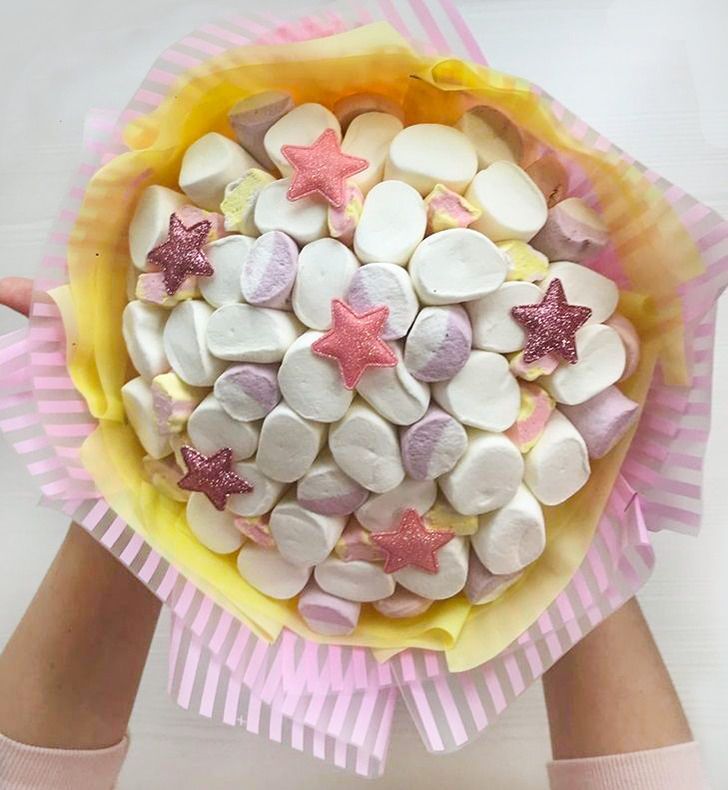
9. Make another circle of large marshmallows, adding them around the perimeter of the bouquet.
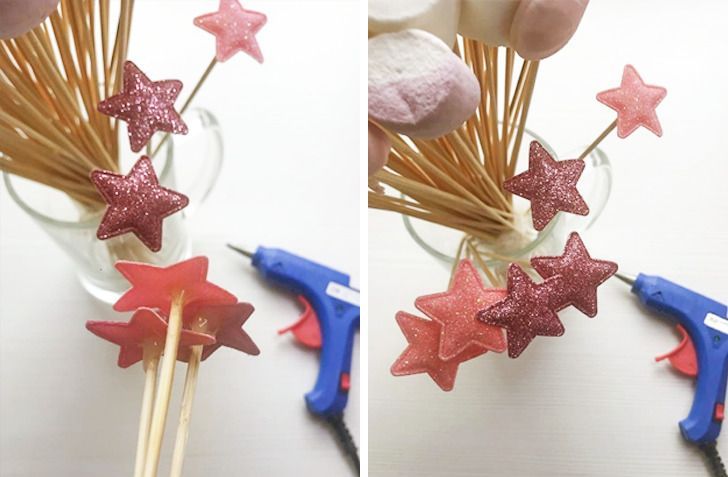
10. Glue decorative elements to the skewers with the help of a glue gun.
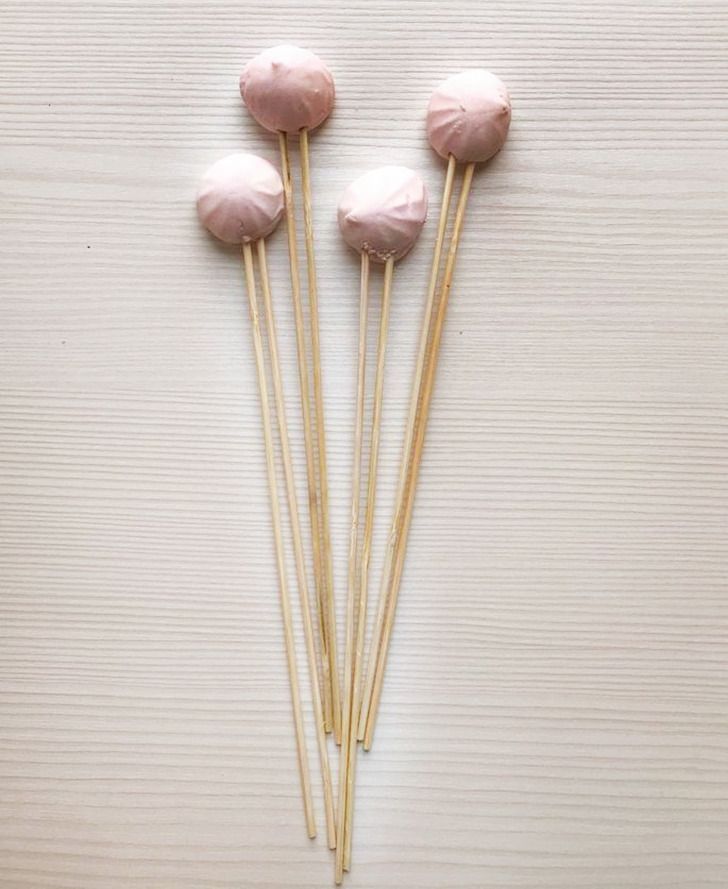
11. Place several semicircular soft glazed marshmallows on double skewers. Be careful, make it smooth because soft glazed marshmallows can start to crumble.
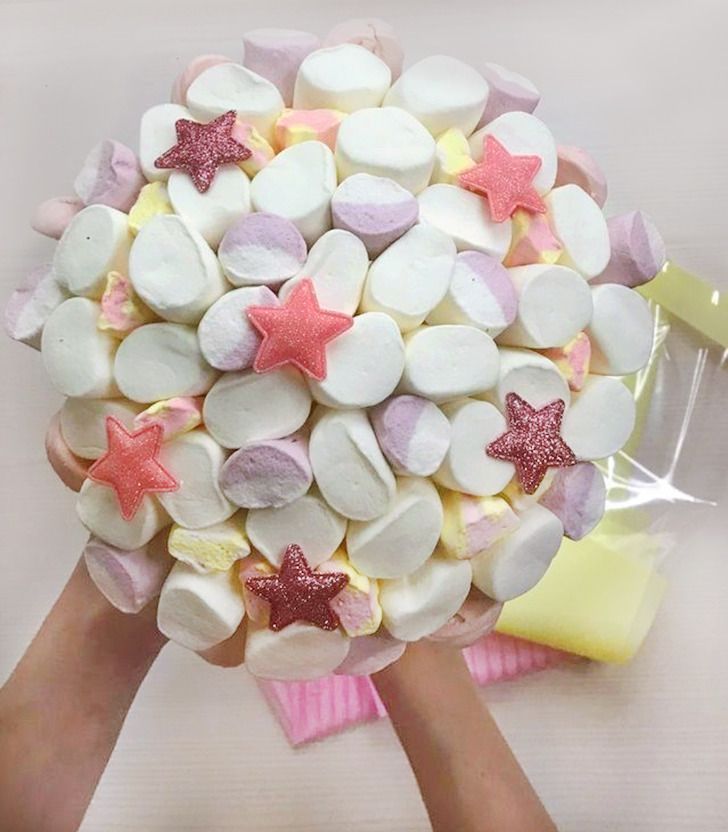
12. Place the semicircular marshmallows around the bouquet. Place the skewers with decorative elements in the bouquet in a random way.
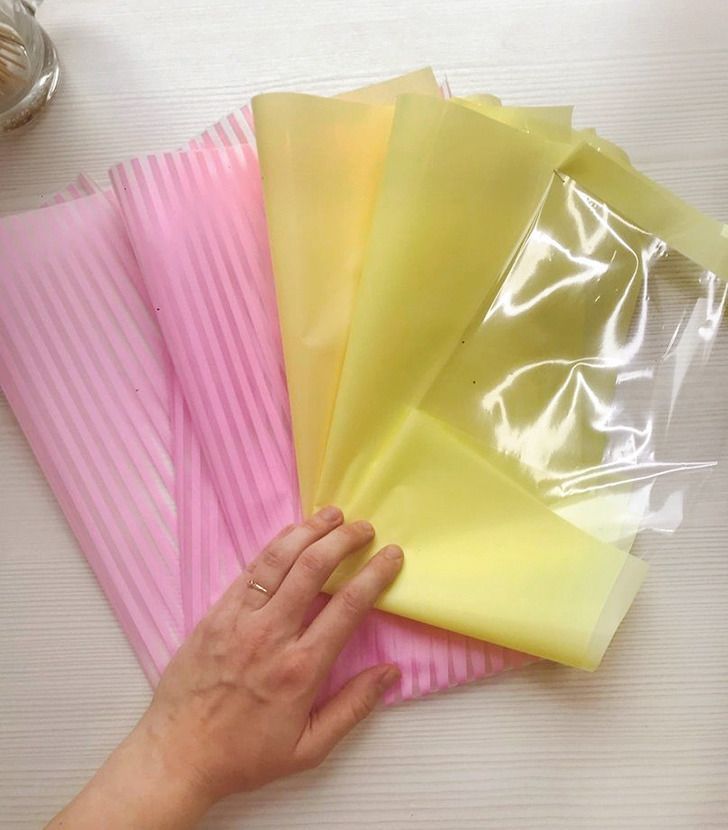
13. Put the bouquet aside and get the wrapping paper. Cut out 3 12×24 inch pieces from the paper in each color.
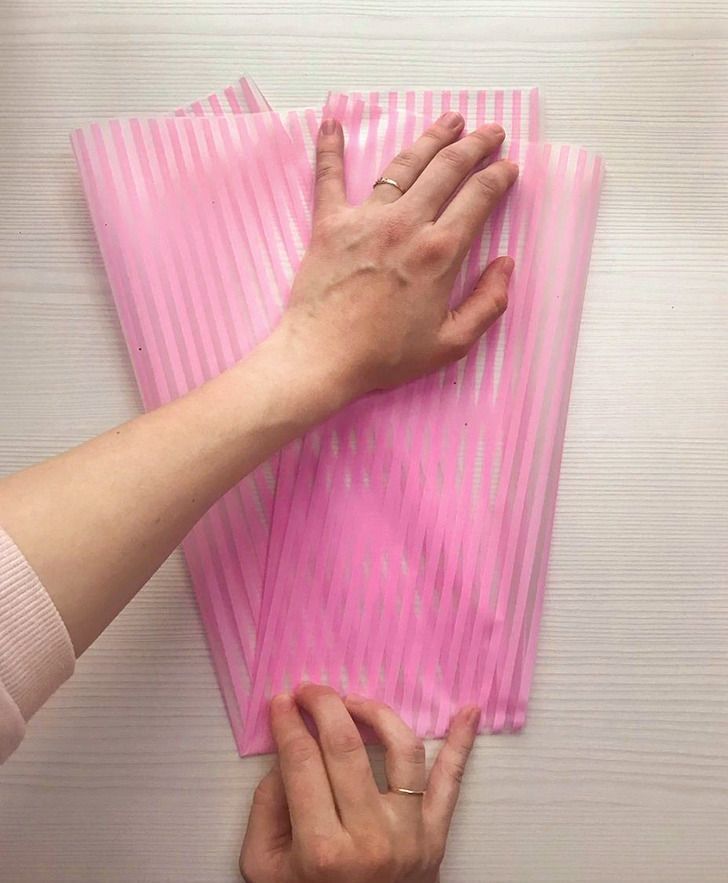
14. Fold each piece in half along the short side slightly unevenly so that the edges don’t line up together. Then fold the paper in half diagonally on the long side.
15. Do the same thing with each of the 6 pieces of paper. If you want, you can secure the bends with a stapler or with double-sided tape.
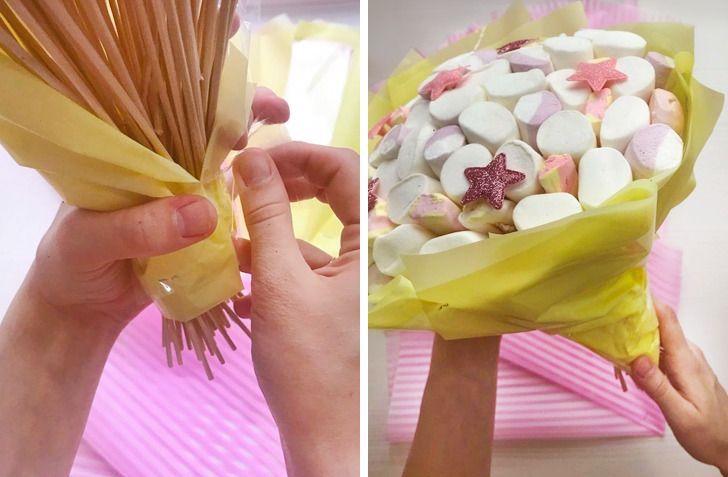
16. Take one of the folded pieces of paper and wrap it around the bouquet, securing it with tape. Repeat the action with other pieces of the same color, placing them in a circle one after the other.
17. Take pieces of paper that are a different color and wrap the bouquet with them one by one in a circle. Secure the paper with tape.
18. Measure and cut 2 more 12×12 inch pieces of paper. Choose the color that you have on the outside part of the bouquet.
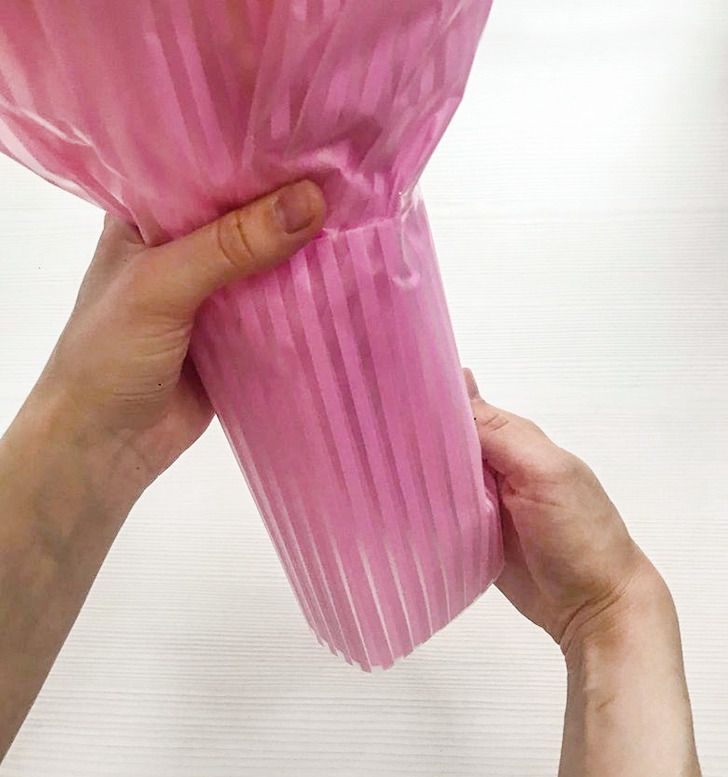
19. Fold each piece in half along the short side and wrap them around the stem of the bouquet. Secure the stem with wide adhesive tape.
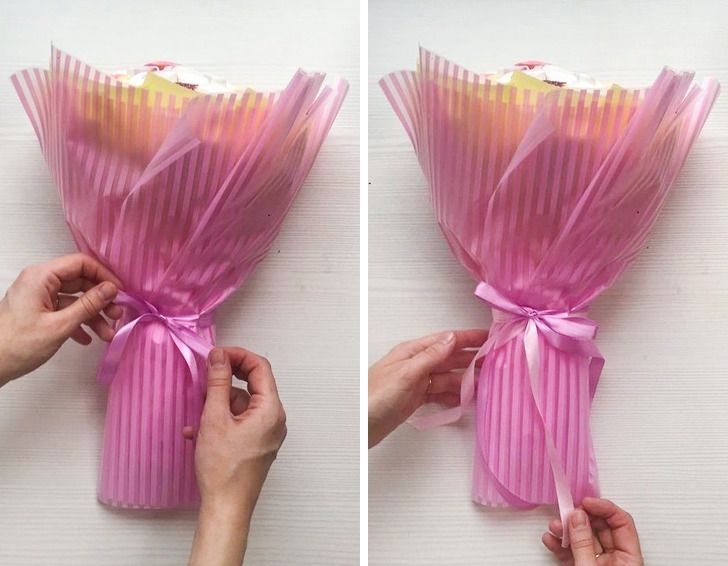
20. Tie a satin ribbon at the base of the bouquet’s stem. You can use ribbons that are different colors and tie them one over the other.
An important note: Marshmallows dry relatively quickly, so make sure to not keep this bouquet for a long time.
