9 Exercises to Help Develop Your Strength
The average 30-year-old will lose about a quarter of their muscle strength by age 70, and half of it by age 90. Therefore, just doing aerobics isn’t enough. You may become weaker and lose mobility if you don’t do strength training. 5-Minute Crafts has rounded up a series of exercises to help develop your strength.
❗Avoid these exercises if you have a back, neck, shoulder, elbow, or wrist injury. Consult with your doctor or physical therapist.
Before you begin
You might need special aids, such as dumbbells and resistance bands. But you can work with just your body weight if you’re a beginner. Don’t forget to do a short warm-up before you start exercising — just 5-10 minutes will do. Do 1-3 sets for each exercise, depending on the kind of shape you’re in.
1. Lunges
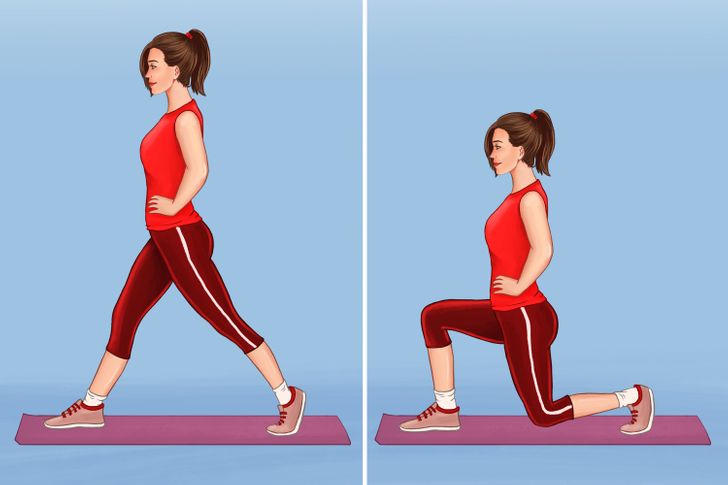
The muscles that go to work: glutes, hamstrings, quadriceps, and calves
How to do it:
- Stand straight with your legs at shoulder width.
- Step forward with your right leg, bending the knee at a right angle. Ensure your front knee doesn’t go beyond your toes. Keep your hip parallel to the floor and your left knee near the ground but not touching it. Straighten your back and hold the position for 4 seconds.
- Return to the initial position and repeat it with your other leg.
⏱ Repeat 10 to 12 times.
2. Squat to overhead raise
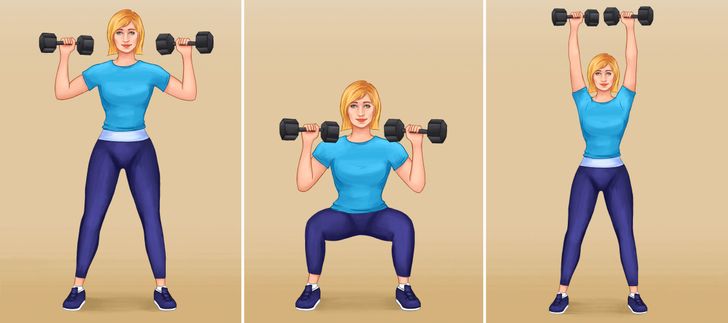
The muscles that go to work: glutes and leg muscles, the muscles in your core, back, and shoulders, as well as your triceps
How to do it:
- Stand straight with your legs just a bit wider than your hips. The arms should be alongside your body. Hold dumbbells if you want to increase the load.
- Bend the elbows and raise the wrists above the shoulders, turning the back of your palms forward.
- Slowly lower your hips down into a squat position.
- Press up to come back into a standing pose, and raise your arms overhead.
- Return to the starting position.
⏱ Repeat 8 to 12 times.
3. Plank
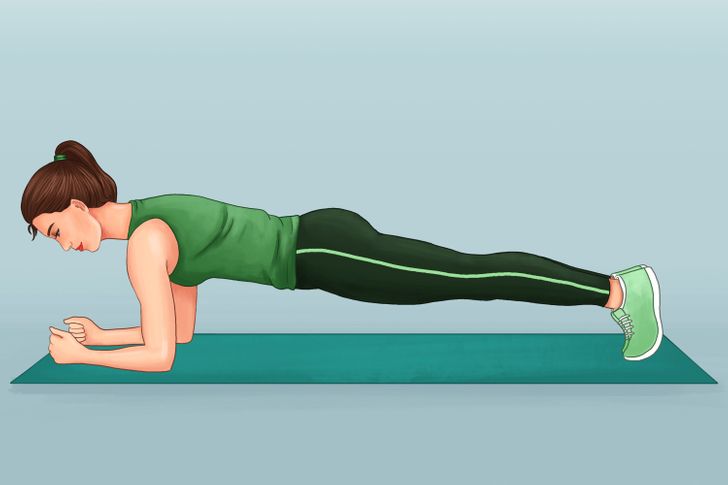
The muscles that go to work: leg muscles, back, core, chest, and shoulders
How to do it:
- Lie on your belly. Rise up on your forearms and elbows. Your toes should be the only part of your feet touching the floor. Keep the body in a straight line. Make sure the lower back is straight along with the glutes.
- Hold the position for at least 30 seconds. You can increase or decrease the time, depending on your physical ability. Raise one of your legs to make the job harder and hold the position.
4. Push-ups
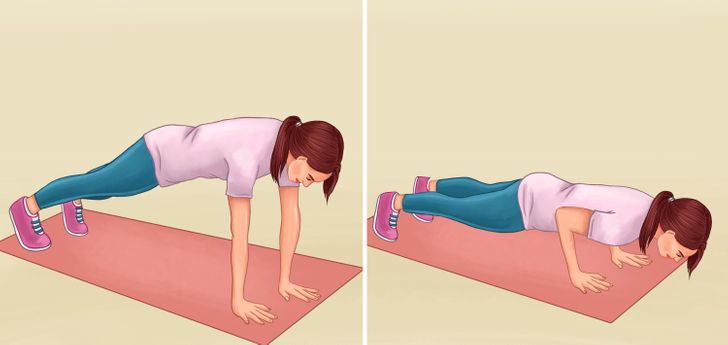
The muscles that go to work: abs, triceps, shoulders, and chest
How to do it:
- Make a plank on straight arms. The palms should be level with the shoulders, and the feet should balance on the toes. The body should be straight, like a plank.
- Bracing your core, lower your body by bending the elbows. The chest should almost touch the floor. The elbows should be near the body. To make it easier, increase the distance between your hands. You can even do push-ups while balancing on your knees.
- Return to the starting position.
⏱ Repeat 8 to 12 times.
5. Dumbbell shoulder press
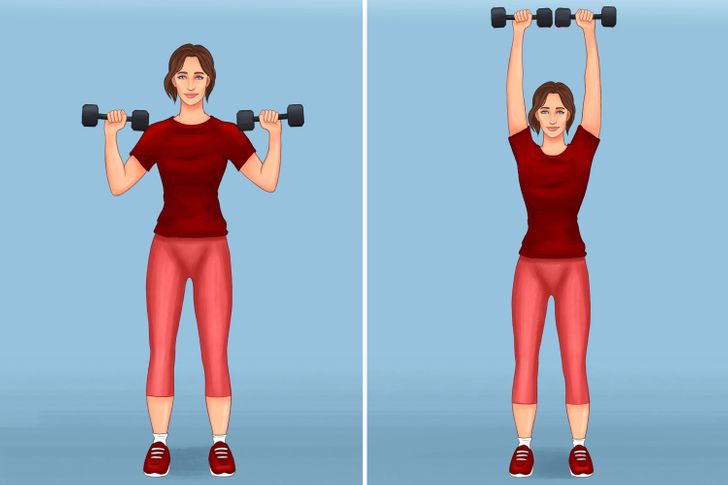
The muscles that go to work: shoulders, arms, and chest
How to do it:
- Stand straight with your legs at shoulder width, and slightly bend the knees. Take 2 dumbbells and raise them to shoulder level. The elbows should be near the body and looking down. Face your palms forward.
Raise the dumbbells above your head until your arms are fully extended — lower the shoulders. Keep the position for a few seconds.
Lower the arms to the shoulder level, returning to the starting position.
⏱ Repeat 8 to 12 times.
6. Dumbbell triceps kickback
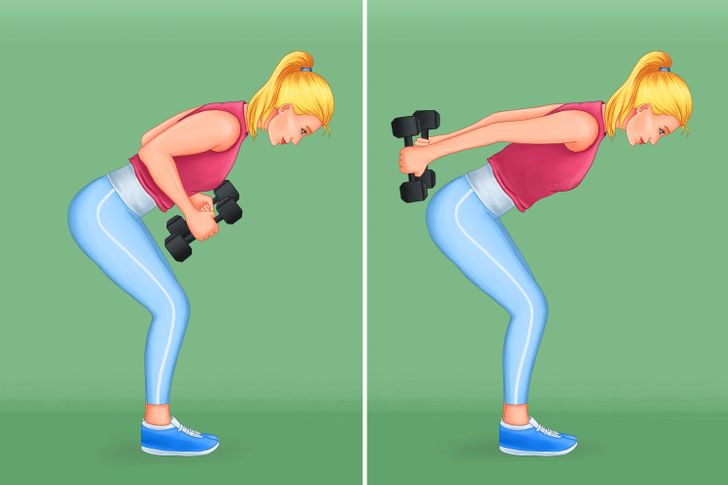
The muscles that go to work: triceps and shoulders
How to do it:
- Stand straight with your feet together. Take 2 dumbbells in your hands. Bend the knees and your torso at a 45-degree angle. Raise the elbows — they should be close to the torso. Bend them at a right angle.
- Straighten your arms and put your palms behind your back. The upper back and the lower back should be straight. You should feel the tension in your triceps.
- Return the arms to the starting position.
⏱ Repeat 8 to 12 times.
7. Resistance band pull apart
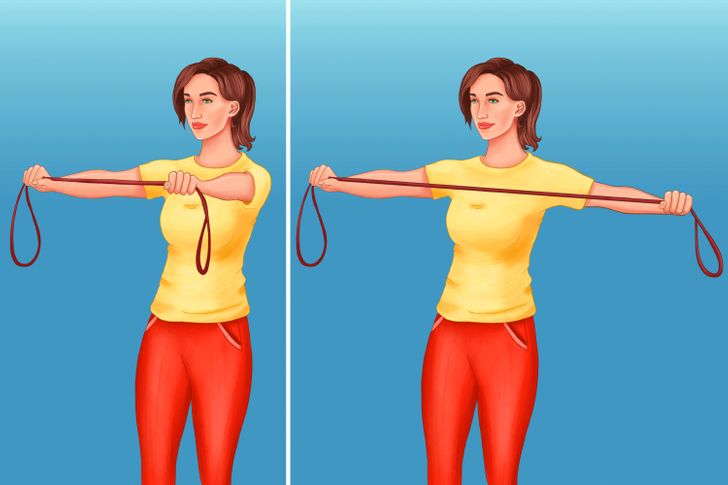
The muscles that go to work: chest, back, shoulders, and arms
How to do it:
- Standing straight, put your legs together and bend the knees. Hold a resistance band with both hands. The band should be parallel to the ground.
- Pull the band toward your chest by moving your arms outward to your sides. Make sure the elbows are not bent. The back should be straight, and your shoulder blades should be squeezed together.
- Slowly return to the starting position.
⏱ Repeat 15 to 20 times.
8. Hip extension
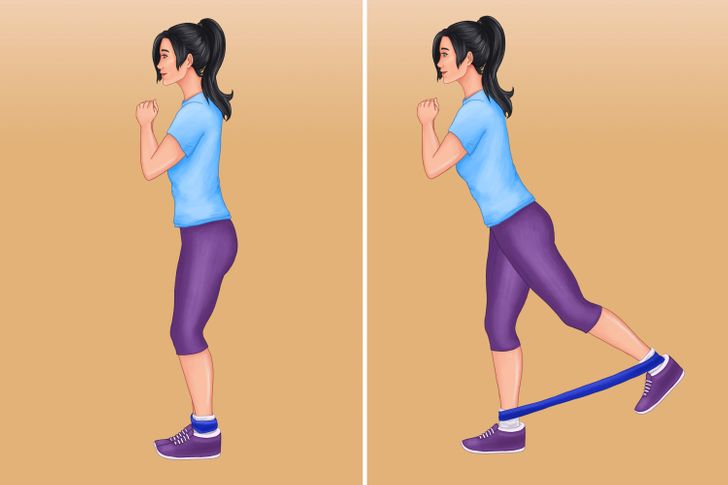
The muscles that go to work: glutes, hips, and shins
How to do it:
- Stand straight with your legs together, and bend the knees slightly. Put your hands in front of you. Wrap the band around your ankles.
- Slowly pull the left leg back as far as you can. Don’t bend forward. If it’s hard to keep your balance, you can use the wall or a chair to help you.
- Return the leg to the initial position. Do the entire set with your left leg, then with your right leg.
⏱ Repeat 12 times for each side.
9. Resistance band leg press
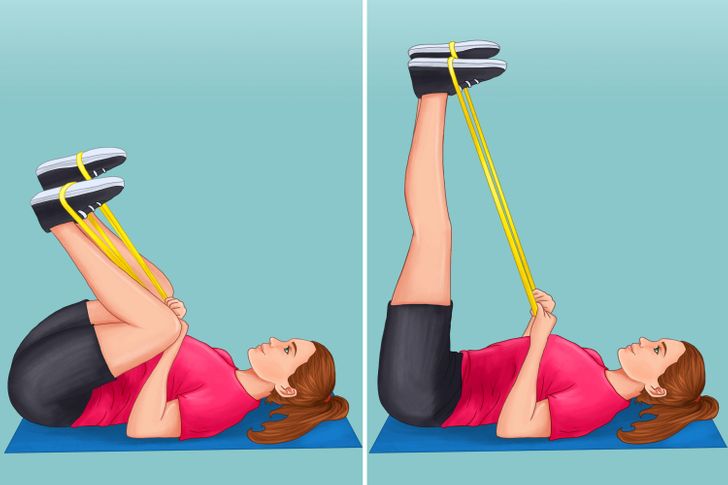
The muscles that work: quadriceps, hamstrings, calves, and glutes
How to do it:
- Lie on your back. Bend your legs and pull the knees to the chest. The lower back should be on the floor. Put a band on each foot and keep the ends in your hands.
- Straighten your knees by pushing the feet. You should feel the tension in your legs.
- Return to the starting position by bending the knees at a right angle.
⏱ Repeat 10 to 12 times.
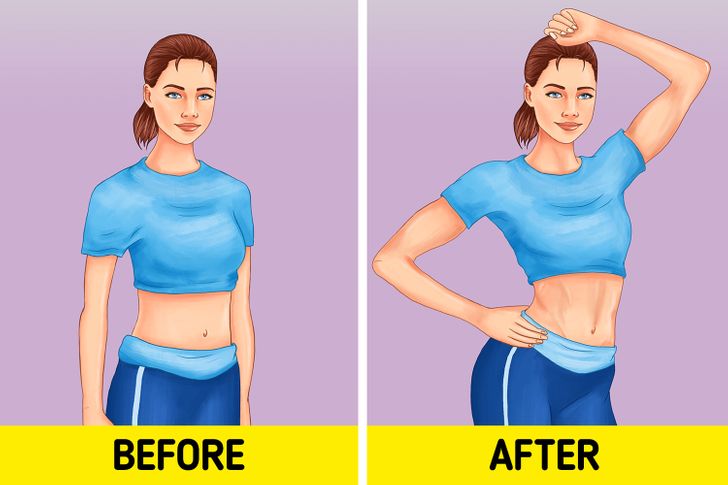
You don’t have to exercise every day to see an improvement. You can see great results even if you do the exercises for just 20-30 minutes, 2-3 times a week.
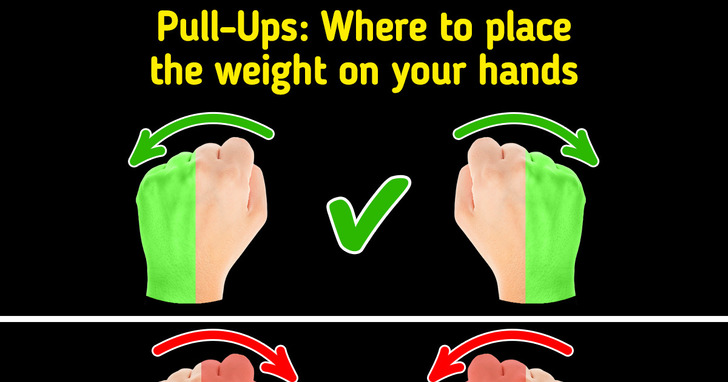
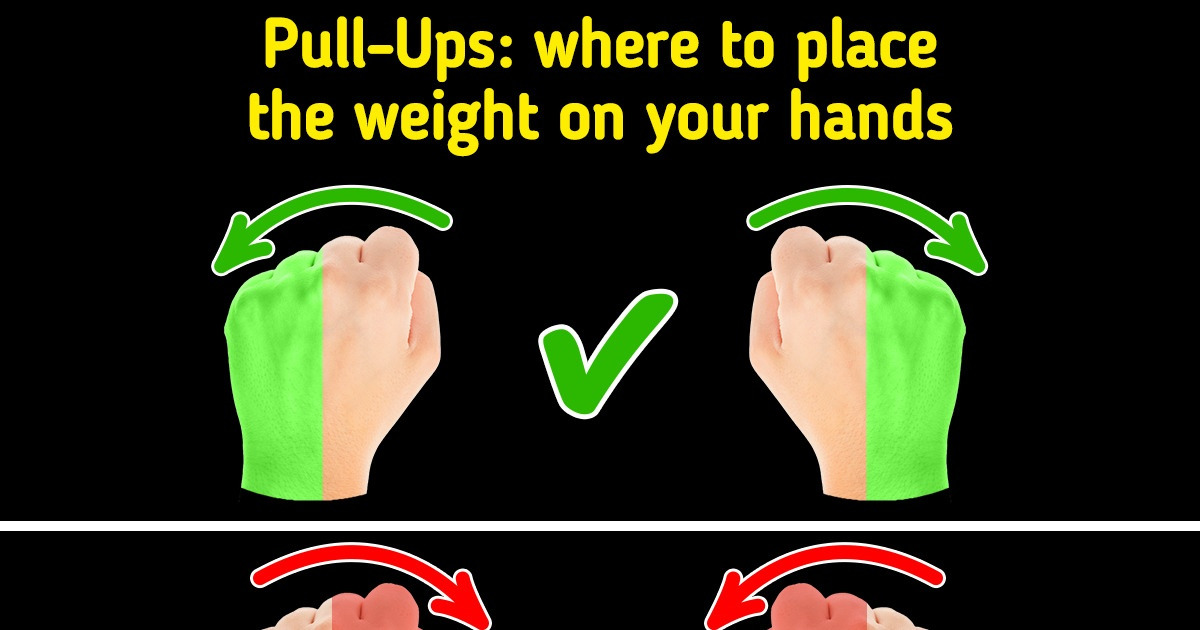
Bonus: what the pull-up exercise is, and where to place your weight on your hands
A pull-up is a compound upper body strength exercise that involves hanging from a pull-up bar using your hands and palms, then lifting yourself till your chest touches the bar. You use multiple muscles simultaneously but focus more on your arms and shoulders with extended hand positions. It has many benefits — it improves grip strength, arm and body muscles, etc. Before you begin, to prevent injury, do some stretching or light cardio exercises. Also, keep the following in mind.
- If your grip is too wide, having the full range of motion may not be possible.
- Wrists and thumbs shouldn’t be flexed but stay in the neutral position. Ensure your thumb is on the same side of the bar as your fingers.
- Don’t flare your elbows, but keep them close to your body.
For the classic (regular grip), chin-up exercise, ensure the bar is above your height, requiring you to jump up to hold it, so your feet stay dangling, freely swinging in the air. Keeping your feet apart at shoulder-width, extend your arms. To maintain balance, bend your knees and cross your ankles. Make sure to take a breath at the bottom.
- Exhale as you pull yourself up. Pause when your chin comes to bar level.
- Inhale as you go down while ensuring to have straight elbows. Repeat it without touching the floor. Remember to squeeze your abs when lowering your body into a hanging position.
- At the top: The ideal hand position allows your hands to grip the bar a little wider than your shoulder-width distance. It’ll ensure optimal lat engagement. But taking your hands too wide will cause too much pressure on your shoulders. And, conversely, if you narrow it too much, you’ll restrict your motion range.
- At the bottom: Push your shoulders forward, ensuring they’re externally rotated. It’ll keep your joints stable and help the joint ball stay secure in its socket.
