How to Clean Your Ears
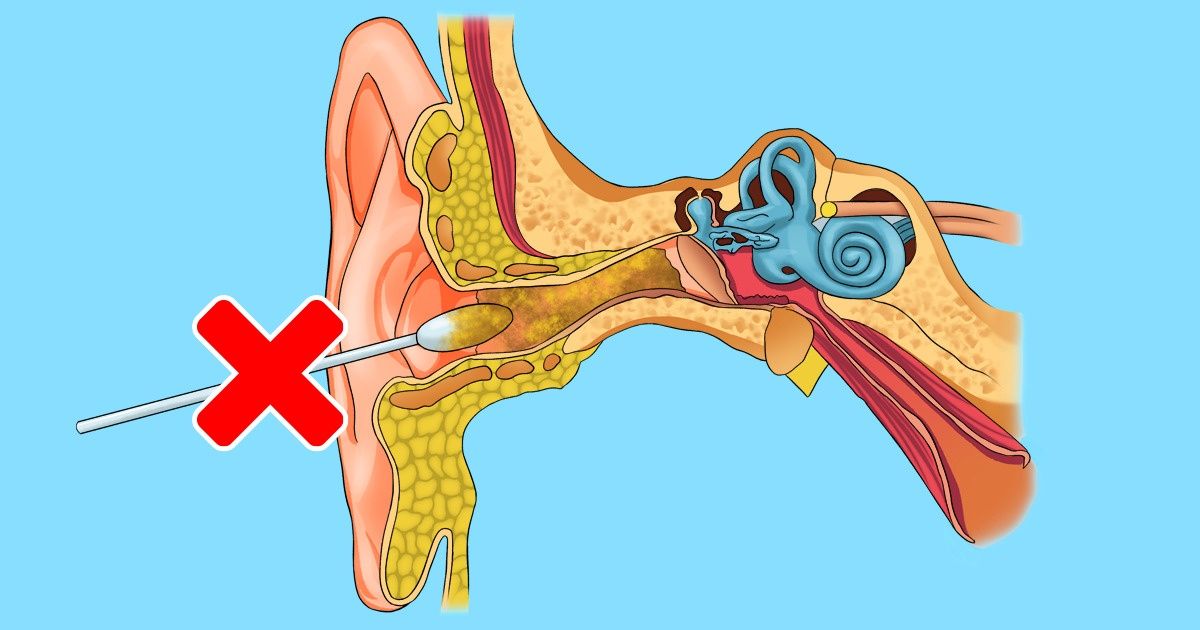
There are many reasons to clean your ears: from just wanting to keep things tidy to suffering from an earwax blockage. 5-Minute Crafts will describe basic methods to get this done easily at home, but before starting, check with your doctor to make sure you can perform these on your own.
Remember that if you have ear tubes or your eardrum has a hole, then you shouldn’t try any of these. And don’t forget to always wash your hands before starting.
What you’ll need
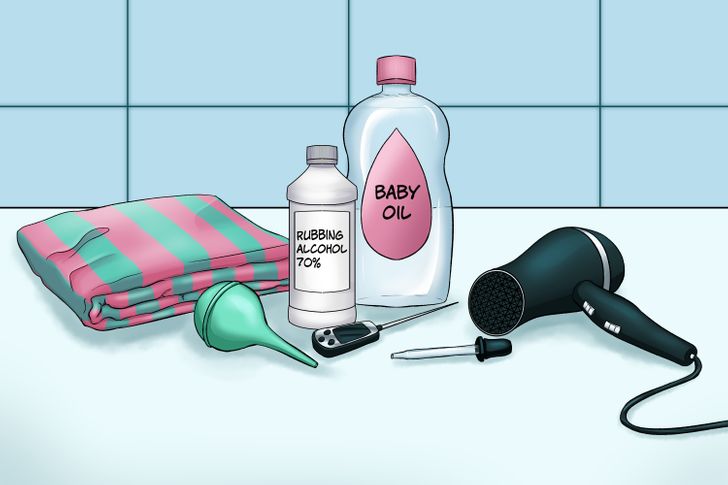
- An eyedropper
- Mineral oil, olive oil, baby oil, glycerin, or hydrogen peroxide (choose one)
- A towel
- A hairdryer (optional)
- A rubber bulb syringe (optional)
- Rubbing alcohol (optional)
- A kitchen thermometer (optional)
For small amounts of ear wax
The following method can help you clean a regular excess of earwax. Depending on how much wax we’re talking about, you might need to repeat the following steps several times.
1. Tilt your head and pull your ear up and back to straighten the canal.
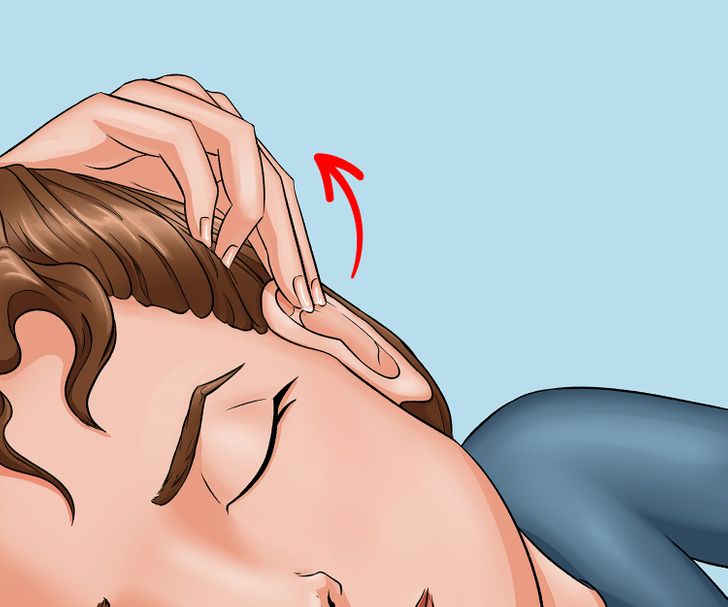
For children, gently pull the lower ear down and back.
2. Use an eyedropper with oil to soften the wax.
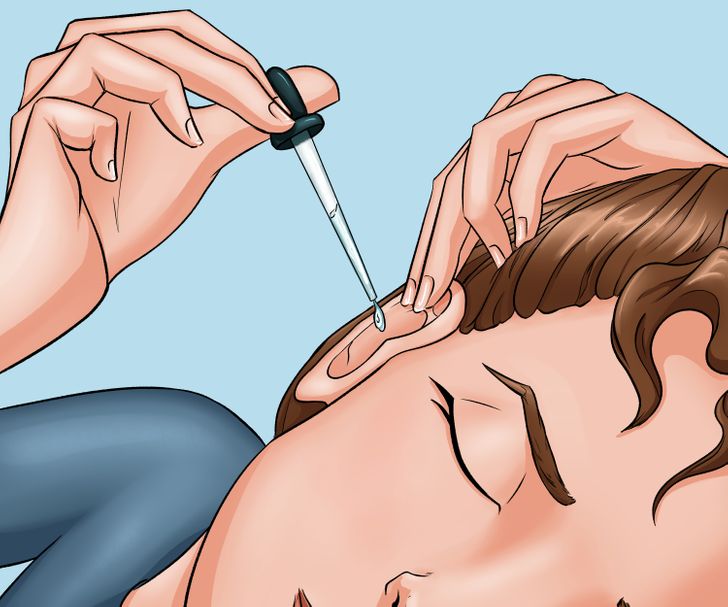
Hold your ear up. With the help of an eyedropper, put in 2 or 3 drops of the oil of your choice. Some people use olive oil, but it has proven to be less efficient than other oils.
3. Gently pull the earlobe up and down.
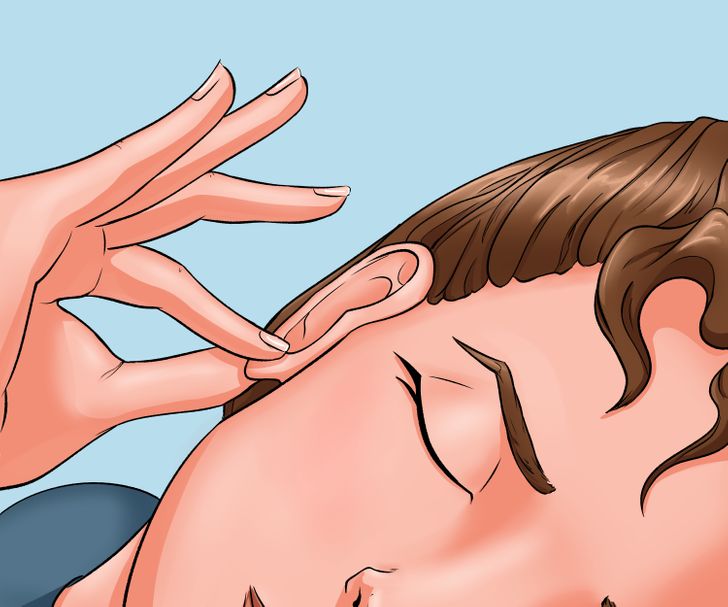
Doing this will allow the drops to run into the ear canal. Keep the head tilted that way for about 2 to 5 minutes and then tilt your head back to the side to let the softened earwax escape.
4. Wipe away any extra liquid with a clean cloth.
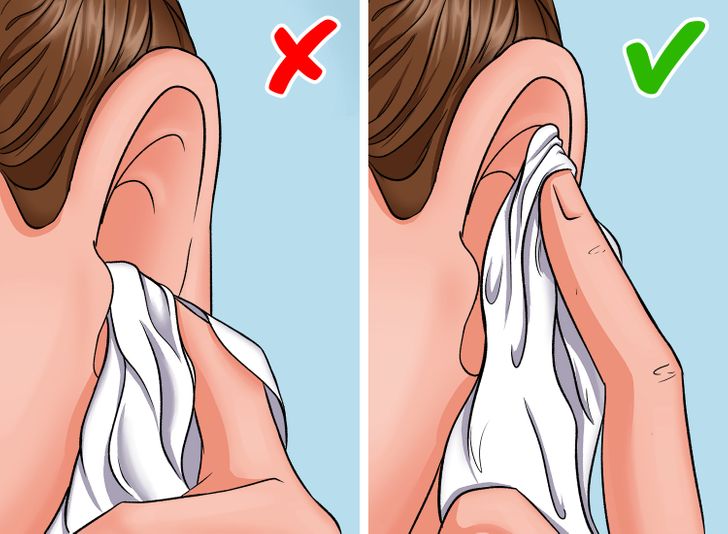
You can also use a towel to clean the outer ear, but remember to not introduce anything into your ear canal.
For larger amounts of wax
If after repeating the previous steps you didn’t obtain great results, you can always use a rubber bulb syringe to rinse your ears at home.
1. Use an eyedropper with oil to soften the wax.
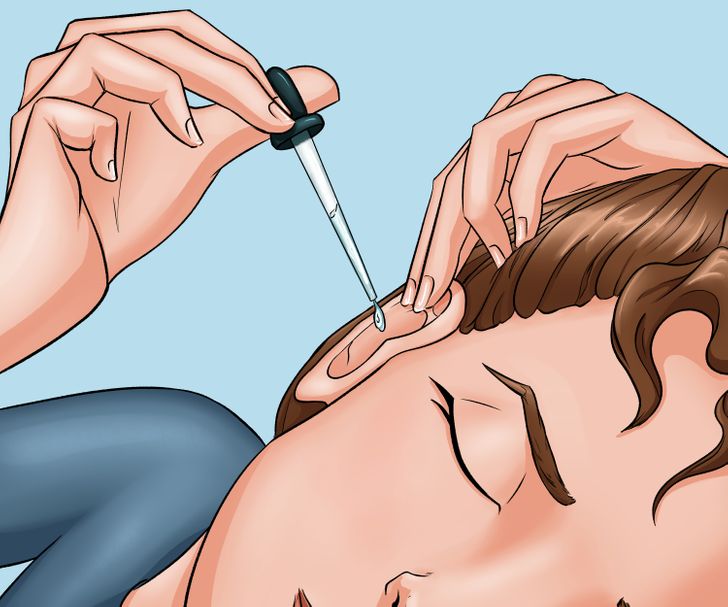
Start by tilting your head to the side. The treated ear should be facing up. Pull that ear up and back to straighten the canal and use an eyedropper with oil to put in 2 or 3 drops. Gently pull the earlobe up and down, and then wait for 2 to 5 minutes in that position. Then you can lift your head back up again. Wait for between 15 and 30 minutes before using the syringe.
2. Meanwhile, prepare your bulb syringe properly.
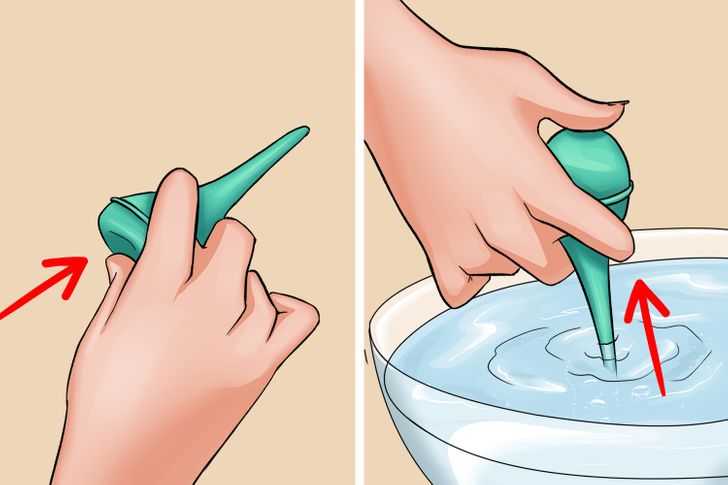
Fill up the bulb syringe with water. Keep an eye on the temperature of the water: If you want to be very methodical, you can use a kitchen thermometer to see how warm the water is. It should indicate 98.6ºF. Remember to always use clean water.
3. Then pull your outer ear up and out and gently squirt the warm water in.
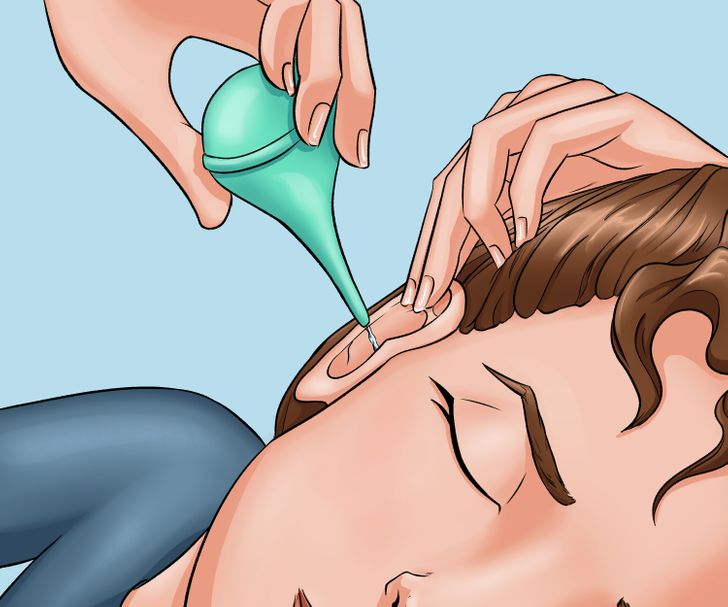
Remember to do it gently, so you don’t pierce your eardrum. The best way to do this is with the ear to be treated facing up. Do not insert the syringe deep into the ear, you can squirt the water from the ear opening.
4. Wait one minute and then let the water out by tilting your head to the opposite side.
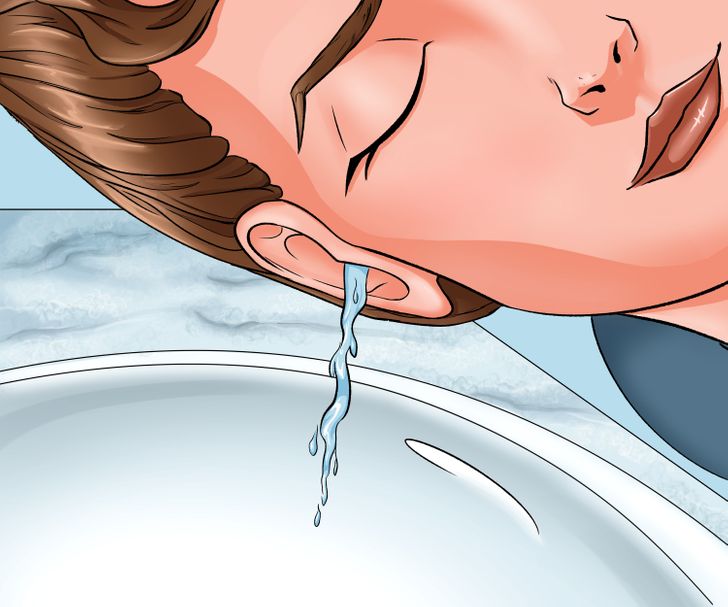
It’s better to do this over the sink.
5. Finally, dry the ear and use rubbing alcohol.
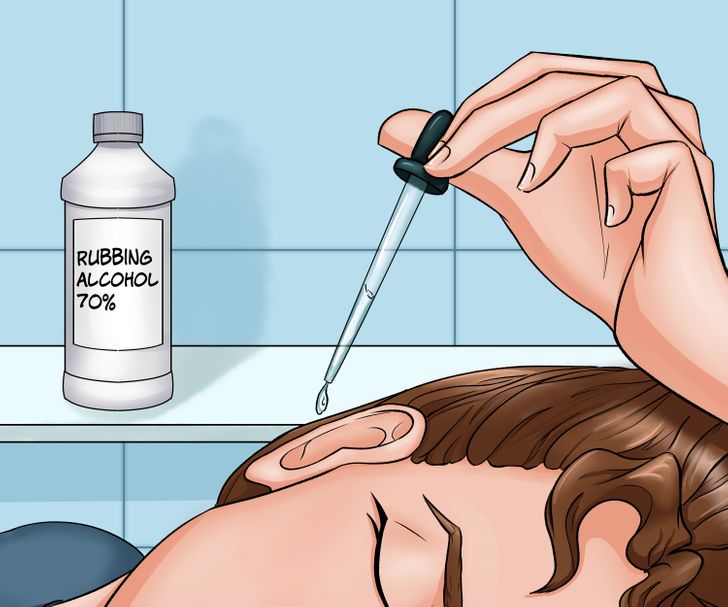
Pat your outer ear with a towel. Do not introduce any foreign object down the canal. You can use a few drops of rubbing alcohol to dry your inner ear. You can also use a hairdryer to dry your ears without introducing anything into the canal. Remember to hold it about 3 to 4 inches away from your ears.
Bonus: Do’s and don’ts when cleaning your ears
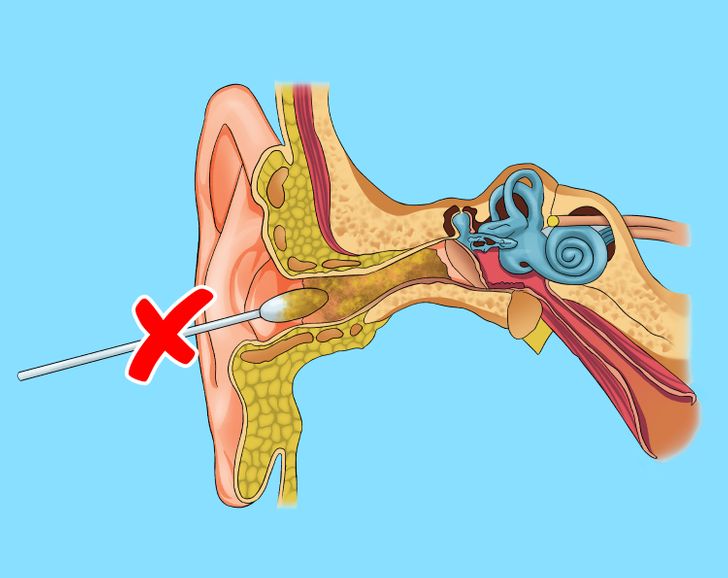
⛔️ Never insert foreign objects into the ear canal. That includes Q-Tips or any other cotton swabs. Ear wax removal candles are also a no-go.
✅ If you’re on vacation and tend to get ear infections, you can take water with vinegar with you to prevent infections.