How to Do Crunches Correctly
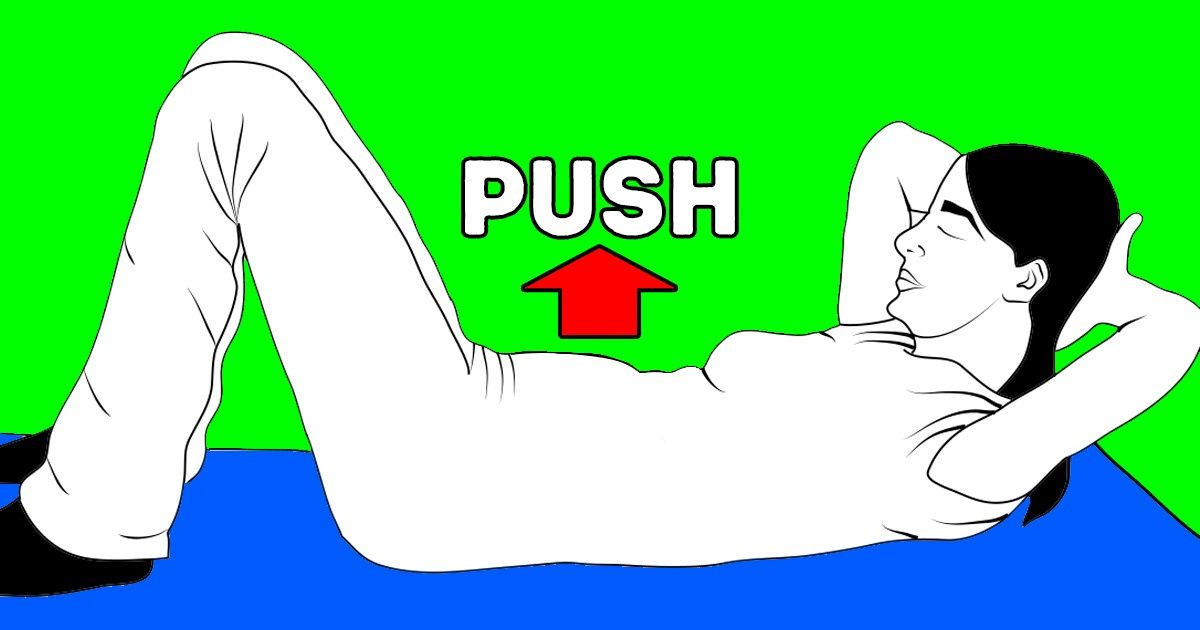
Crunches are a perfect exercise that can be done by anyone, from beginners to advanced sports enthusiasts. Moreover, you don’t need any special equipment for them. This easy routine can be performed anywhere you want when you have some free time.
5-Minute Crafts wants to show you these 5 crunch variations to work your core out from different angles. Our tips and tricks will help you to avoid any mistakes and keep your exercises as effective as possible.
How to engage your core
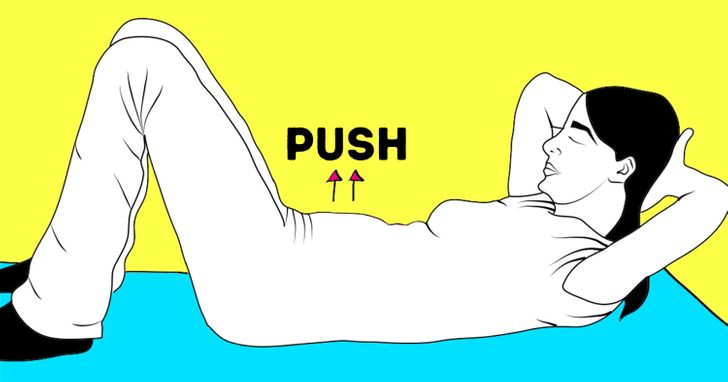
To make your crunches more effective and avoid injuries, you need to keep your core muscles constantly engaged. Don’t just suck your belly in, but keep your stomach “zipped up.” To do this, lie down on your yoga mat, inhale, and let your breath go through your sides and to the back of your ribs. Exhale and connect to your pelvic floor, bringing your core together. Engage your body from the base of your pelvis to the top of your head.
How to do a basic crunch
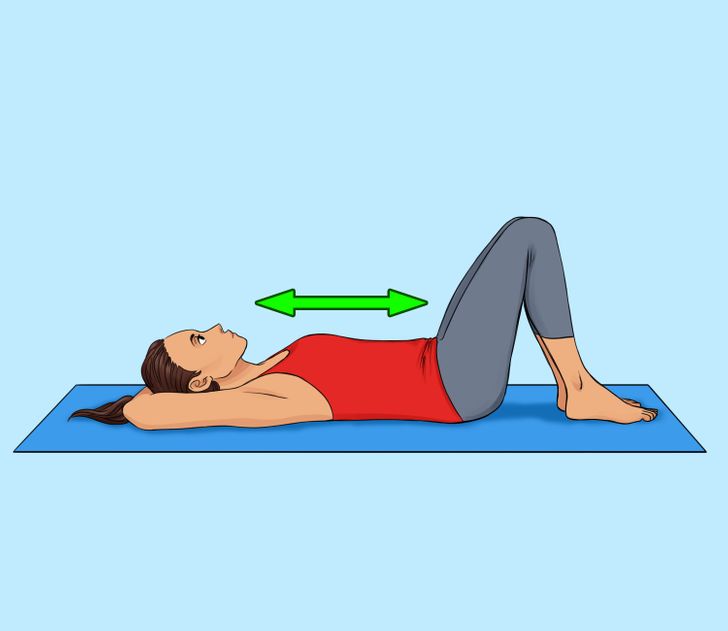
Step 1: Lie down on your back on your yoga mat or just on the floor. Bend your knees and place your feet on the floor, hip-width apart. Cross your arms on your chest or gently position your hands behind your head for more advanced crunches. Your elbows need to be wide, pointed out toward the sides of the room.
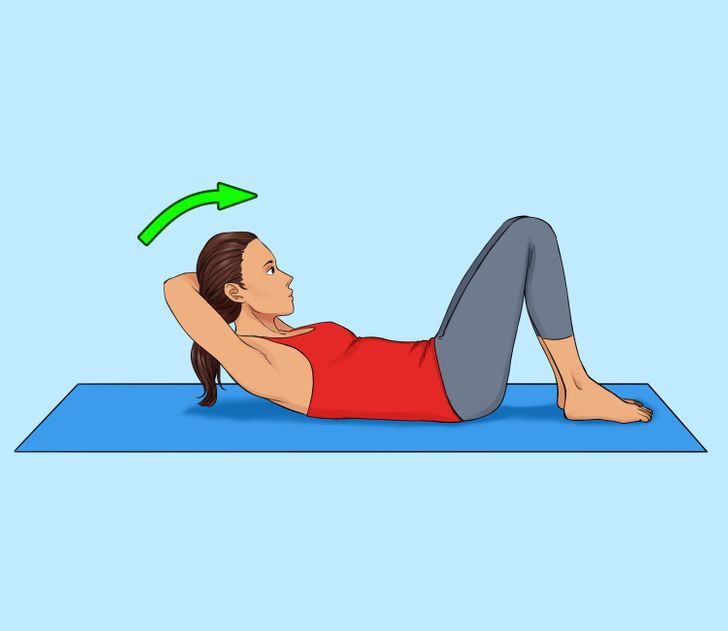
Step 2: Engage your obliques and inhale. As you exhale, start raising your upper body. Keep your core engaged and draw your belly button to your spine.
Step 3: Make sure your head and neck are relaxed. Keep moving until you reach your knees with either your elbows or your chest. It’s important to use your oblique muscles to do the movement and not your spine muscles.
Step 4: When you reach the top, exhale. Inhale as you slowly move back to your initial position. Repeat the exercise 10-15 times.
How to do a bicycle crunch
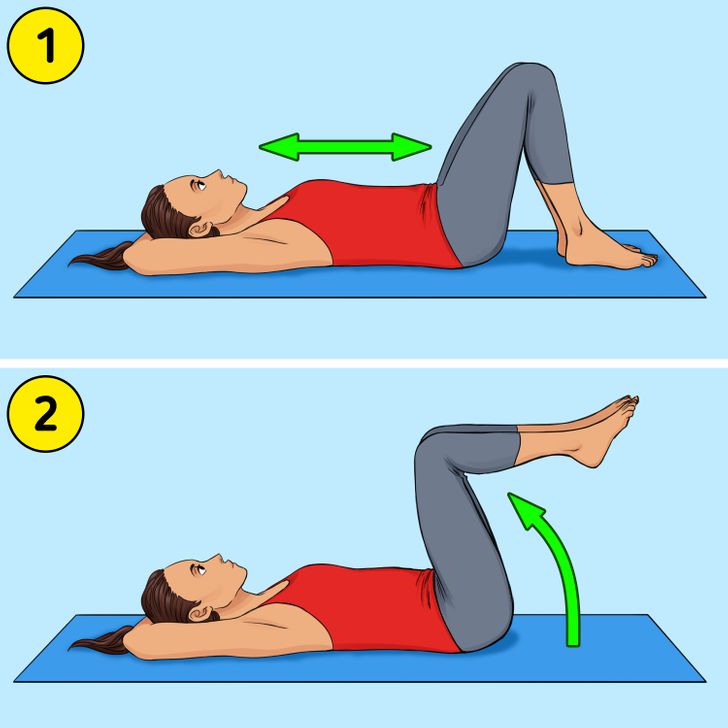
Step 2: Engage your core muscles, pull your shoulder blades back, and lift your feet off the floor. Bend your knees at a 90-degree angle.
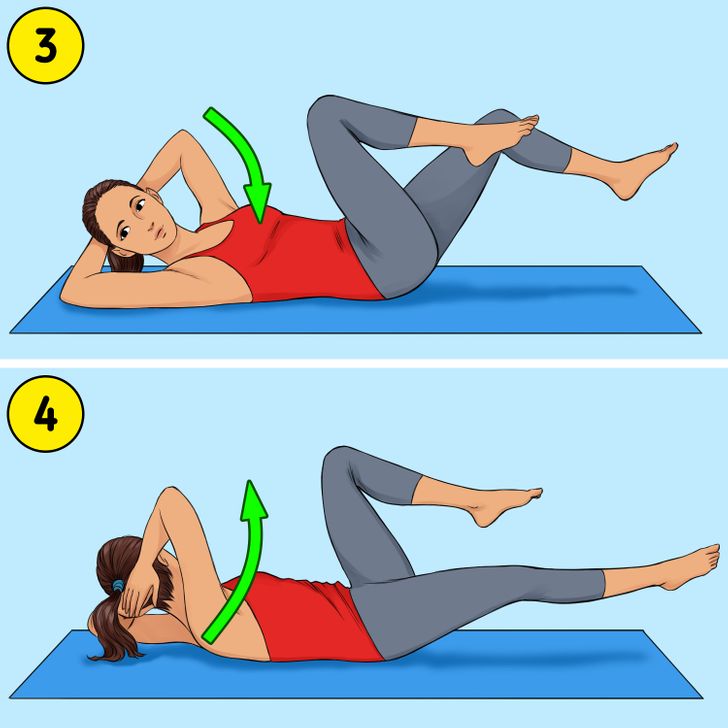
Step 3: Exhale and move one of your knees toward the opposite armpit. Straighten your other leg, but don’t put it on the floor. As you bring your knee to your armpit, bring the opposite elbow in the direction of that knee.
Step 4: Keep your core engaged as you rotate your torso and touch your knee with the opposite elbow. Alternate the movement to the other side. Repeat 12-20 times for 3 sets.
How to do a vertical crunch
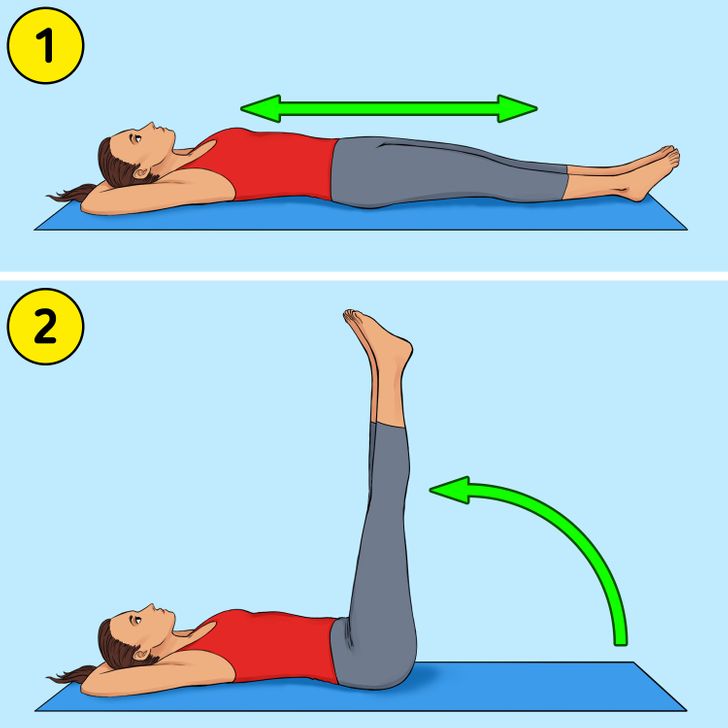
Step 2: Bring your legs up and hold them perpendicular to the floor, while keeping them squeezed together.
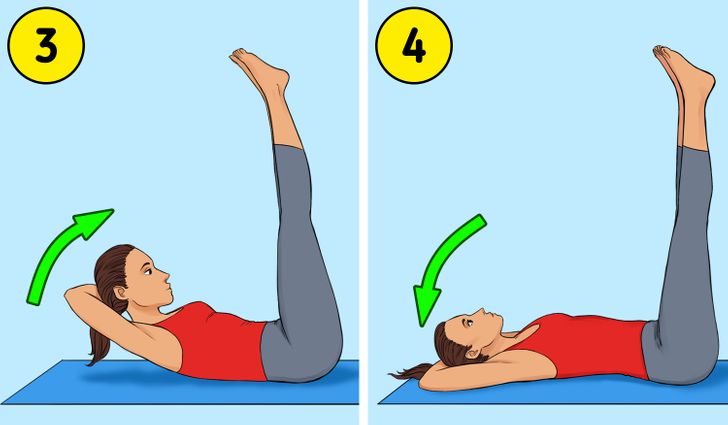
Step 3: Engage your obliques and start lifting your shoulders and upper back up off the floor. Don’t round your shoulders.
Step 4: As you reach the top, hold the position for around one second and then slowly lower back to your initial position.
How to do an oblique V-crunch
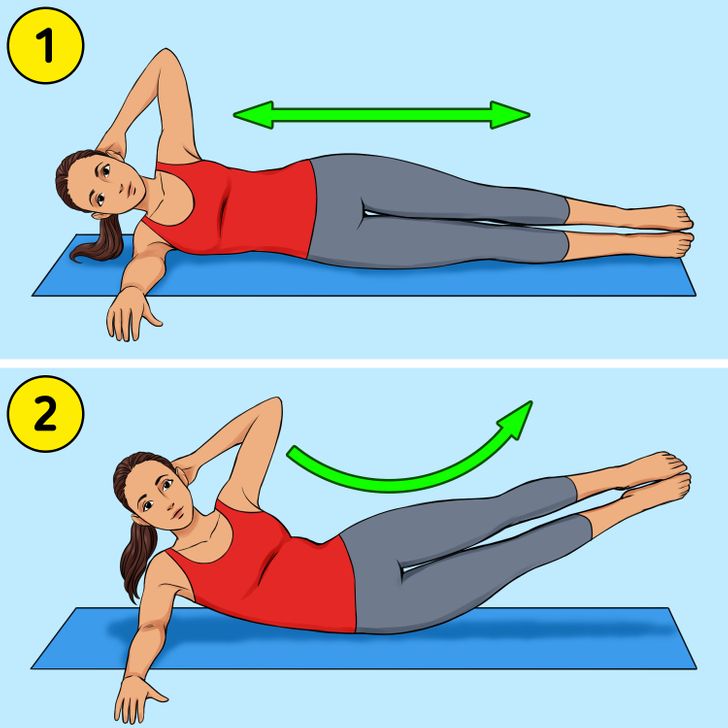
Step 1: Lie down on your left side on your yoga mat or just on the floor. Extend your legs and keep your feet stacked. Put your left hand on the floor and bring your right hand behind your head.
Step 2: Keep your core engaged and start bringing your legs up to the ceiling. Move your right elbow to your right knee so that your body forms a “V” shape.
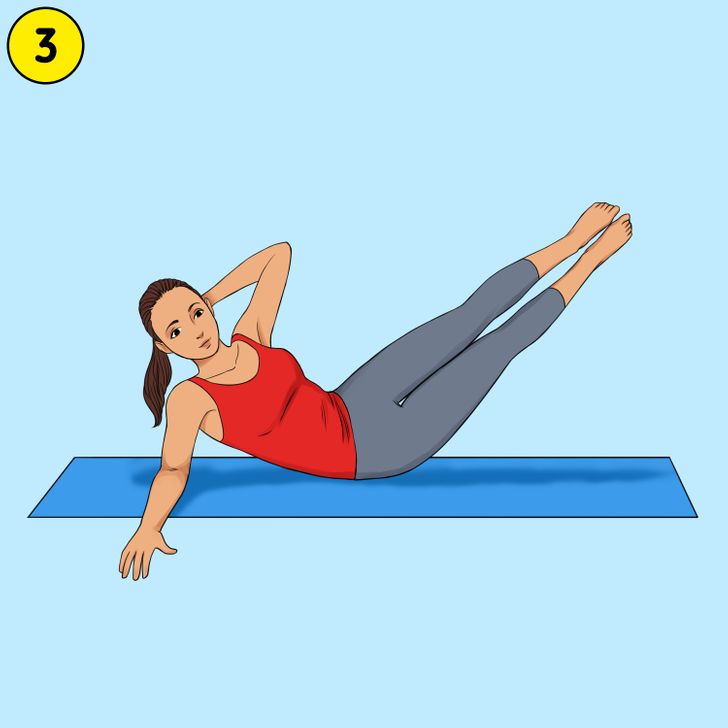
Step 3: As you reach the top, hold the position for around one second and then slowly lower back to your initial position. Repeat on the other side.
How to do an oblique side crunch

Step 1: Lie down on your left side on your yoga mat or just on the floor. Keep your legs slightly bent and keep your feet stacked. Put your left arm on the floor in front of you. Bring your right hand behind your head.
Step 2: Engage your core and start lifting your upper body toward your feet. Pull from the obliques.
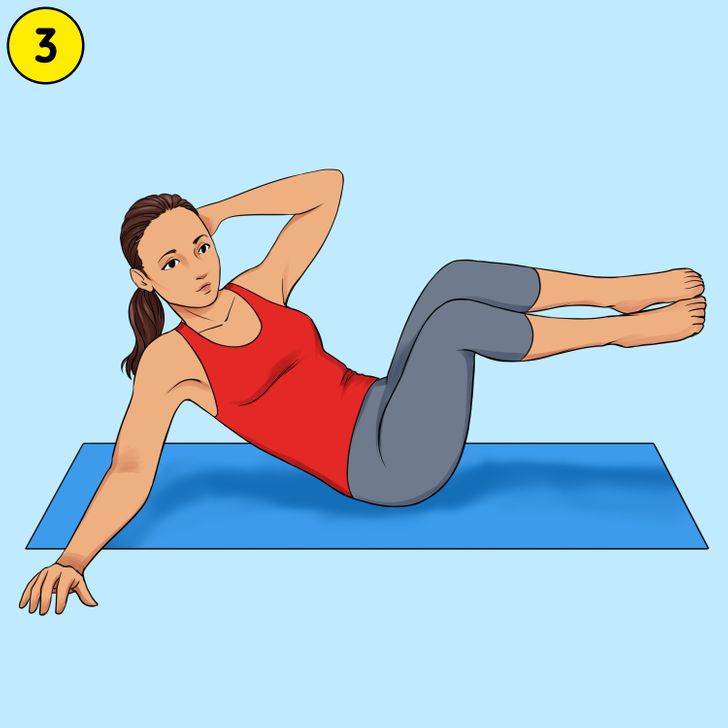
Step 3: To make it more advanced, you can start moving your knees toward your elbows. As you reach the top, hold the position for around one second and then slowly lower back to your initial position. Repeat on the other side.