How to Make Aloe Vera Gel
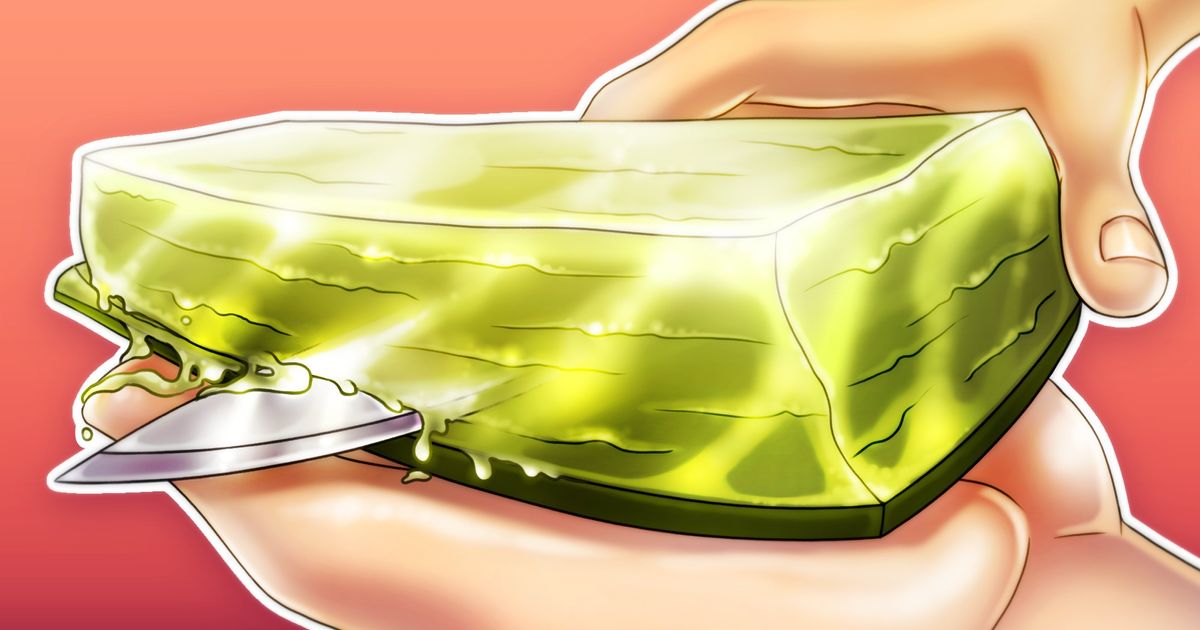
Aloe vera gel is a natural moisturizer with a lot of health benefits: it’s good for sunburns, bug bites, minor cuts, and wounds. 5-Minute Crafts will show you the steps you need to take to create your own gel, from cutting the leaf to the final product.
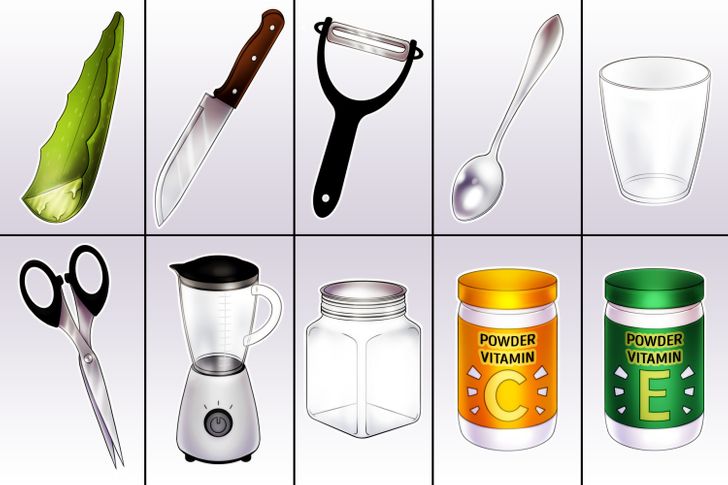
- An aloe vera leaf
- A knife or vegetable peeler
- A small spoon
- A cup
- Scissors
- A blender
- A glass container
- Powdered vitamin C and/or vitamin E
Step 1
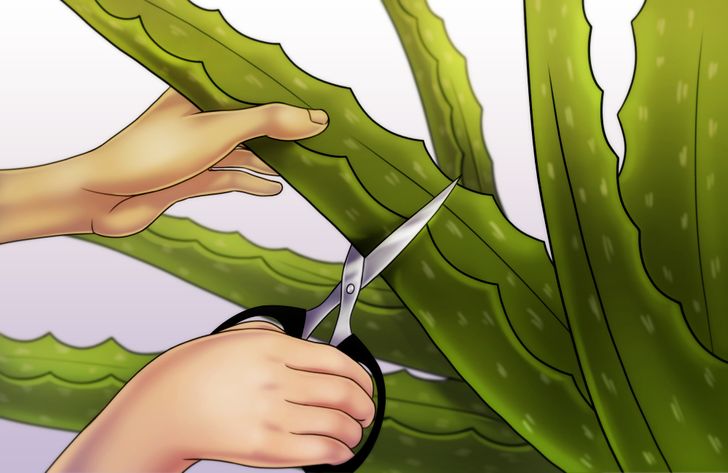
Cut the leaf from the aloe vera plant. Remember, you can buy one that’s already cut.
Step 2
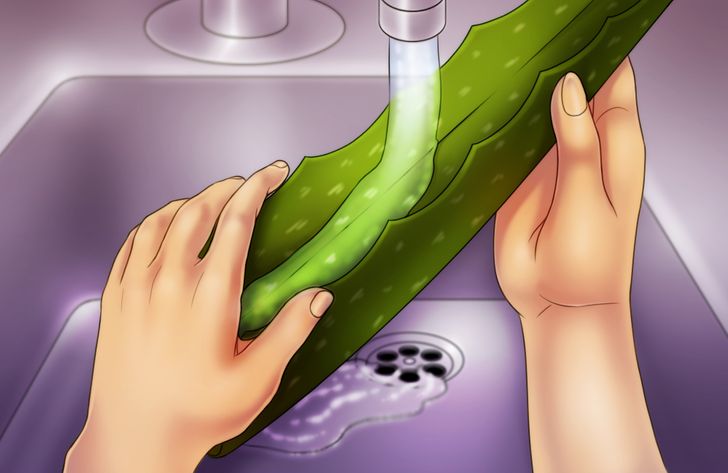
Wash the leaf and remove any dirt.
Step 3
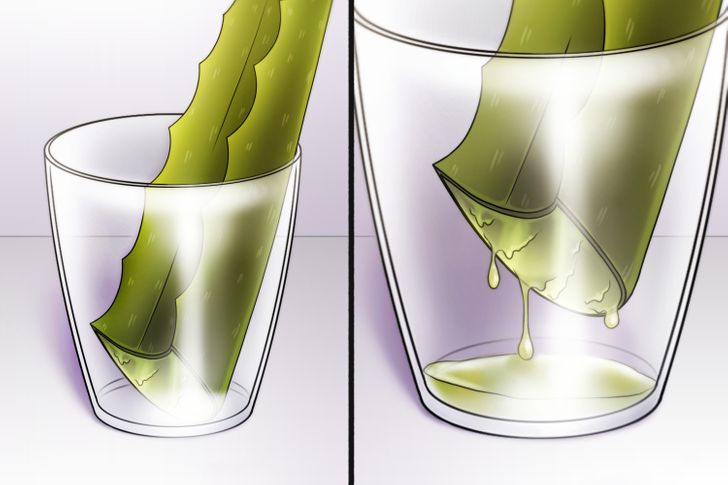
Drain the leaf’s resin for 10 minutes to 15 minutes by standing it upright inside a cup.
Step 4
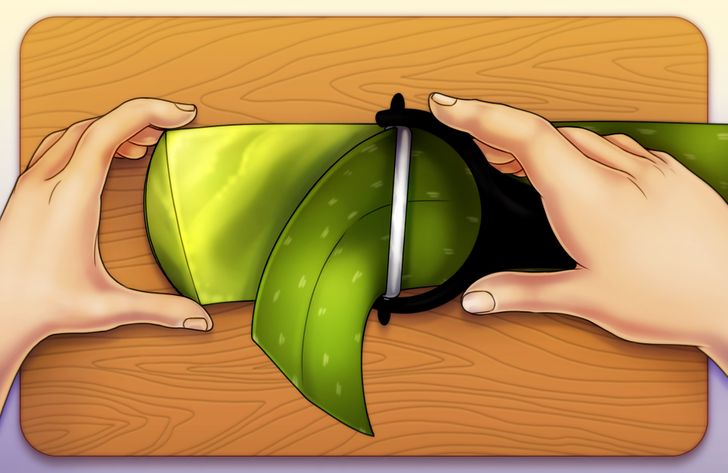
Peel off the skin of one side of the leaf by using a vegetable peeler or knife. Cut through the inner white layer to get to the gel underneath. If the leaf is too long, you can cut it into small pieces.
Step 5
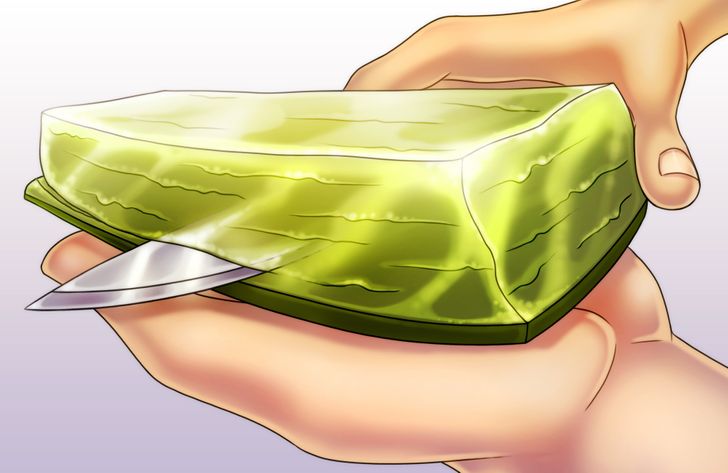
Take the natural aloe vera gel out using a knife or small spoon.
Step 6
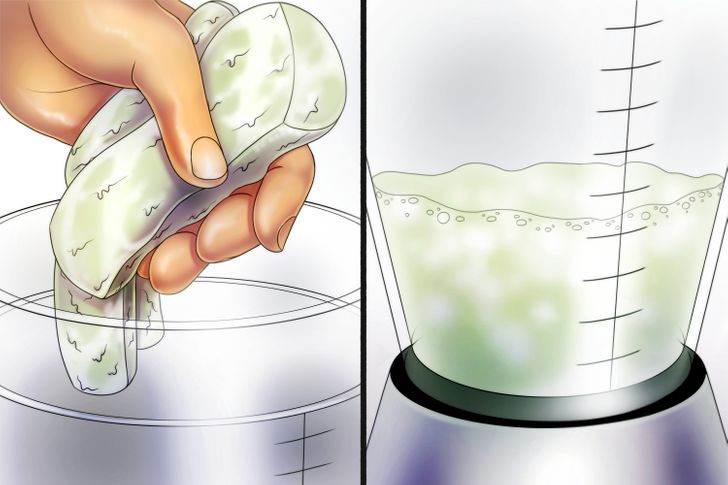
Put the natural gel inside a blender and blend it until it’s frothy and liquefied. This only takes a few seconds.
Step 7
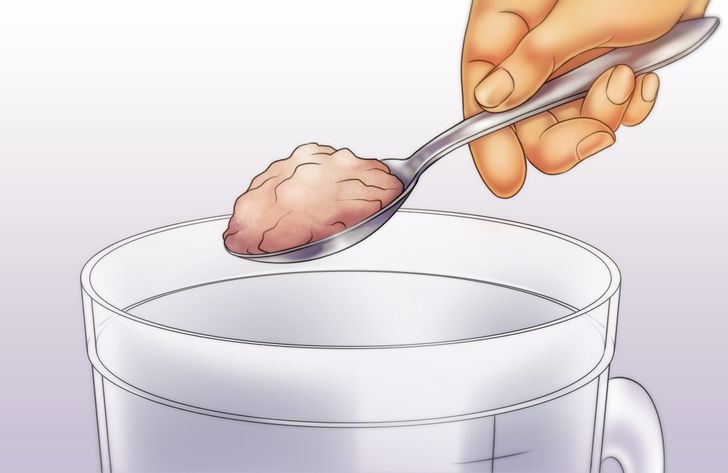
Step 8
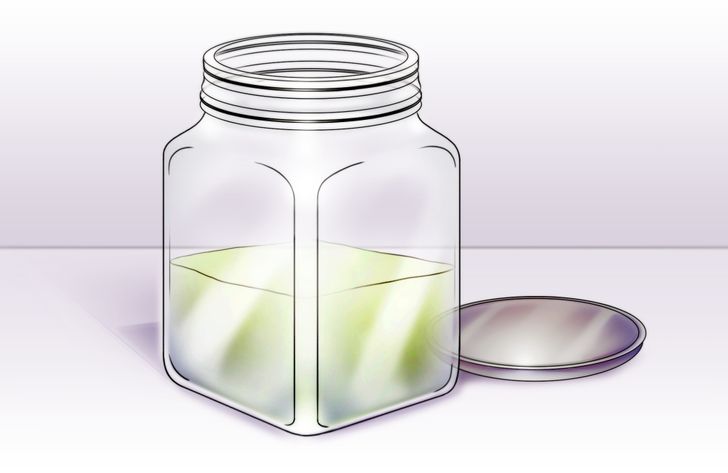
Put the gel inside a container and store it in the fridge. It should last for around 2 months thanks to the added vitamin C and vitamin E.