6 Smart Ways to Plan Your Kitchen
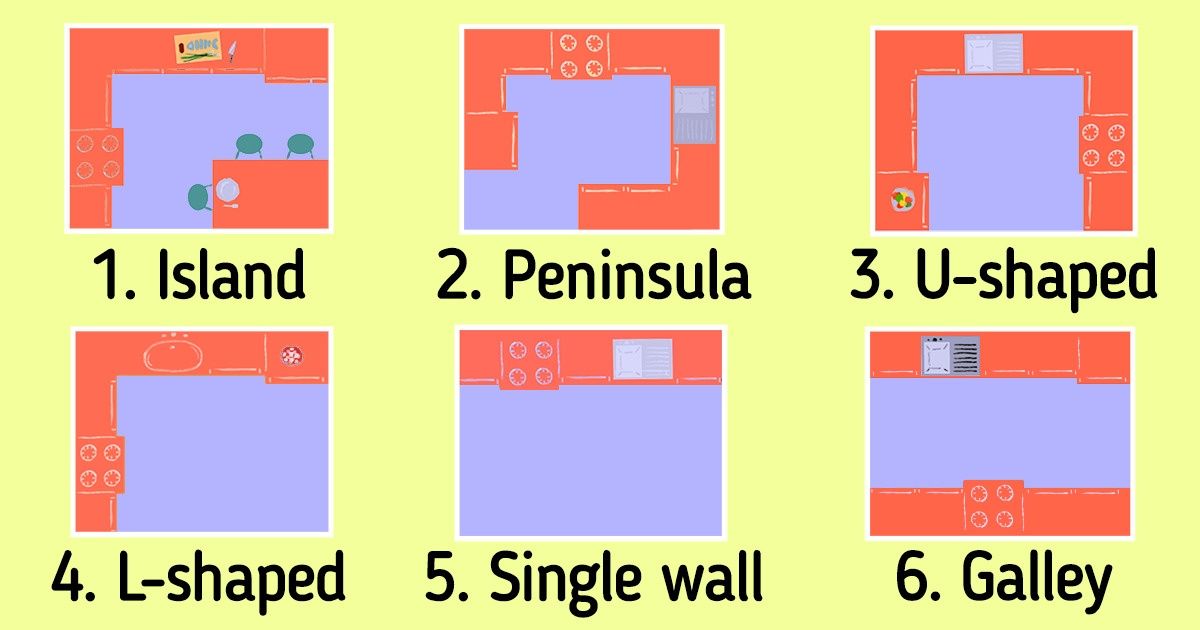
While the kitchen triangle is a concept in design that’s fairly popular, the first step in planning your kitchen is to make sure you’ve chosen the best layout for the room. Since it’s probably the most used part of your house, besides being functional, you’ll want it to be a space you enjoy spending time in.
With that in mind, 5-Minute Crafts gathered some tips to help you choose what type of kitchen will best fit your place.
1. Island kitchen
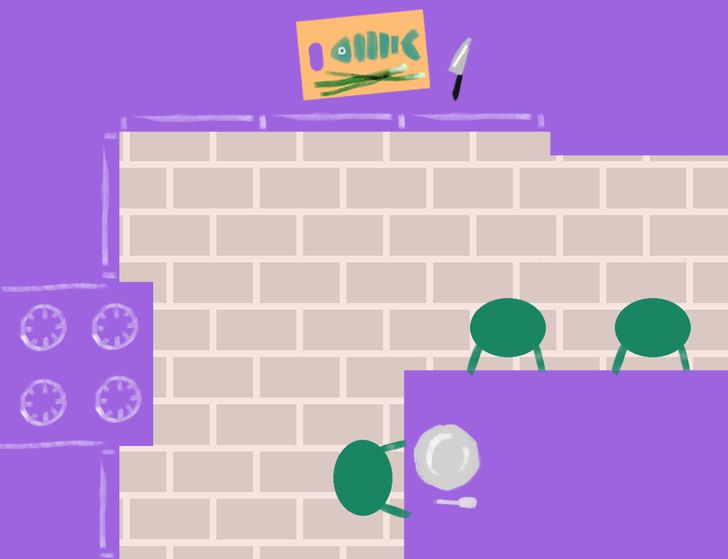
Installing a kitchen island is a great opportunity to introduce color, texture, and new materials. But the downside is that designing it requires lots of know-how and careful planning because your entire space revolves around this central element.
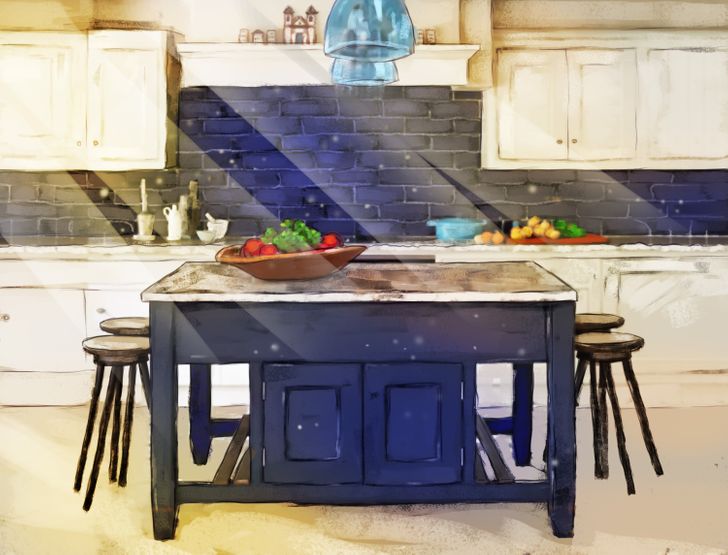
If you’ve decided to go ahead and get a kitchen island, here are some tips you might find useful:
- Figure out whether you have enough room for it. Islands can vary in size and shape, but the minimum recommended size is about 40×40 inches that require a minimum clearance zone of 31½ inches. And if you want a stovetop, the island should be 8 to 10 feet long and 3 to 4 feet wide.
- Think about functionality. Will you be adding a fridge, appliances, and a sink? Or will the island just be a workspace? In any case, storage is an important factor. It’s better if you look for wide, deep drawers on the kitchen side, and either shallow drawers or open shelving on the dining side of the island.
- Decide between mobile and fixed islands. Mobile islands are useful if you need furniture that acts as a preparation-based room divider during the day that will then be pushed aside at night to make way for entertaining. On the other hand, fixed islands prove more functional in larger kitchens with extra floor space.
- Consider seating. You might or might not want to add seating to the island. If you do, give some thought to how you will actually use it. Avoid placing more than 3 stools in a straight line. If you need four, wrap them around one end of the island so it’s more sociable.
- Work in a lighting design. Above the island, the lighting needs to be both practical and aesthetically pleasing. Consider an extractor fan that doubles as a light fitting if there is a hob on your kitchen island. Otherwise, a pendant or a line of pendants will draw attention to the island and provide task lighting for when you’re prepping.
2. Peninsula kitchen
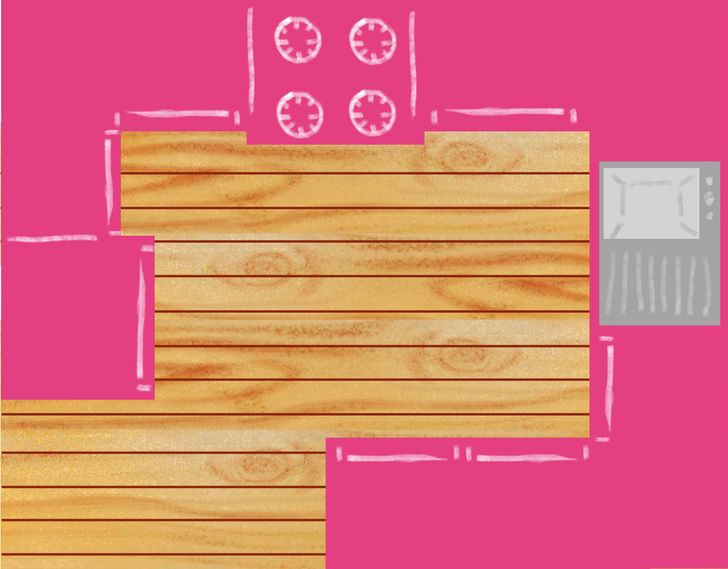
While similar to an island in that it’s a unit with a worktop, a peninsula is accessible from 3 sides instead of 4. That means it won’t be standing free in the middle of your kitchen, but one side will be attached to the wall. Its purpose is to be an extension of your layout and to divide spaces in an open-plan kitchen. If you’ve got a particularly large kitchen with a lot of floor space, a peninsula might not always be the best option.
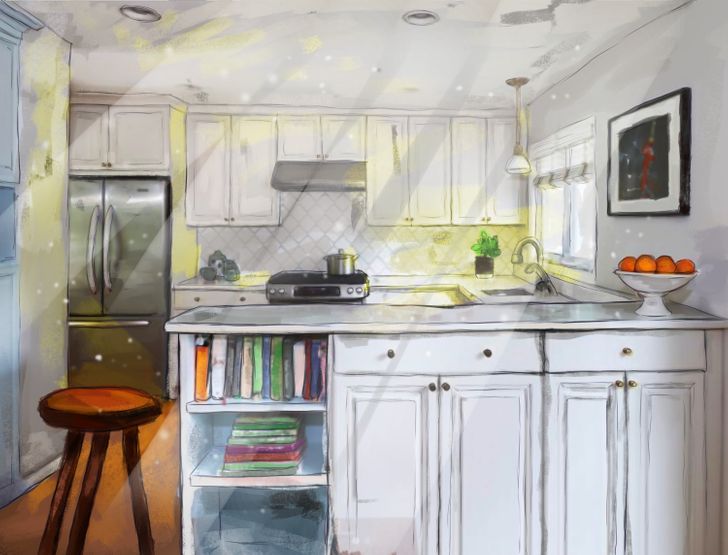
If you think a peninsula kitchen is for you, you might want to take a look at these tips:
- Figure out whether you have enough room for it. Most kitchens’ peninsula units are approximately 3 feet wide but the length can vary for them to fit into small kitchens as well as big ones.
- Keep things simple. Generally speaking, the kitchen peninsula is best used as a food prep and/or seating area for casual dining, so it’s best not to install large appliances, a sink, or a stove top there.
- Maximize storage. Peninsula cabinets are a great way to add extra storage to your kitchen, freeing up your old cabinets for new appliances or tools.
- Add bar stool seating. This is a great place for kids to do homework or for guests to sit while you work in the kitchen, so, if possible, consider adding a couple of stools.
- Add lighting above it. Since people will be hanging out there, you can hang accent lights as an opportunity to personalize your kitchen.
3. “U” shape kitchen
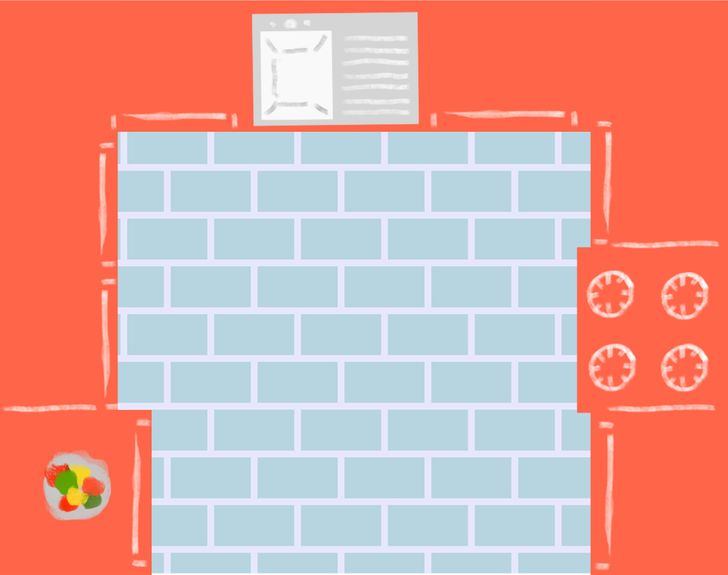
Sometimes known as a “C”-shaped kitchen, this layout typically comprises workspace on 3 adjoining walls of cabinetry, with an open-end for access. “U”-shaped kitchens provide lots of storage and a work surface. They’re also very safe since they have only one entrance and no through traffic, but that means they’re best for a single cook.
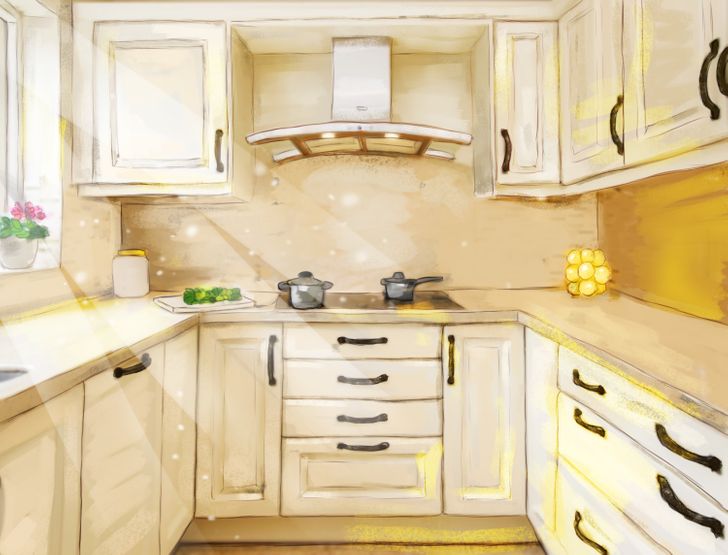
Here are a few tips you might want to take into account when designing your “U”-shaped kitchen:
- Consider centering the design around a window. Light will then fill the space and compact areas will feel brighter and inviting. In this case, adding a sink below an opening creates a focal point, leaving longer lengths of counter space available for devices and food preparation.
- Go for a center stove. Creating a hub along the middle wall will help to form a functional workflow when cooking. This creates more symmetry too, and while it’s not essential, many homeowners appreciate it for the resulting clean and balanced aesthetic.
- Transform the tricky corners with pull-out storage. This is especially important in smaller layouts in order to maximize every inch of space. The pull-out mechanism ensures that nothing is forgotten about and it will enable you to explore the depths of cupboards with ease.
- Play with lighting accentuation. Chances are cabinets used to span the walls lead to shadows along the counter space. Add well-placed lights beneath wall units to ensure work areas are always illuminated and to create an inviting environment.
- Think minimal: Keep kitchenware hidden from plain sight and use cutlery drawers to store essentials. In a smaller room, internal drawers will also add to a fuss-free look while still offering enough storage.
4. “L” shape kitchen
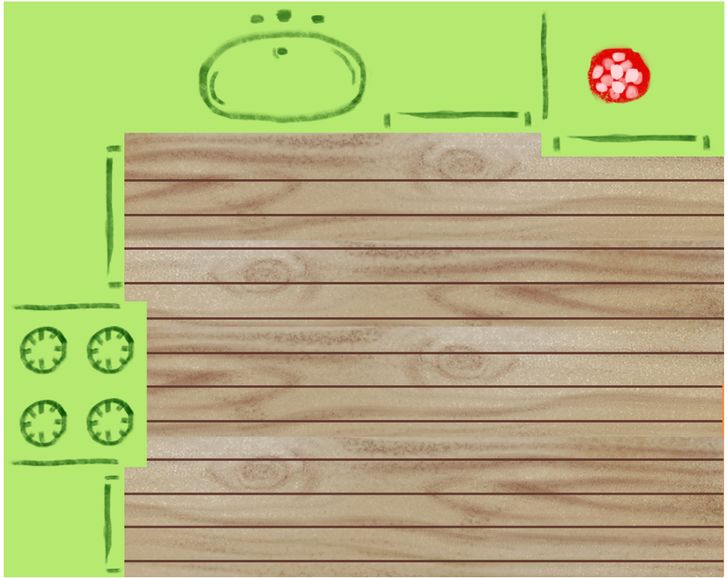
If you have an open-plan kitchen and living area, that means you only really have 2 walls on which to consider for the kitchen. In that case, an “L”-shaped kitchen could be ideal for you. This is especially true if you have a small kitchen space, as you’ll put all storage and appliances on 2 sides of the room, leaving the others free and open. But generally speaking, the “L” shape isn’t ideal if you’re a social cook because you’ll have your back to people most of the time.
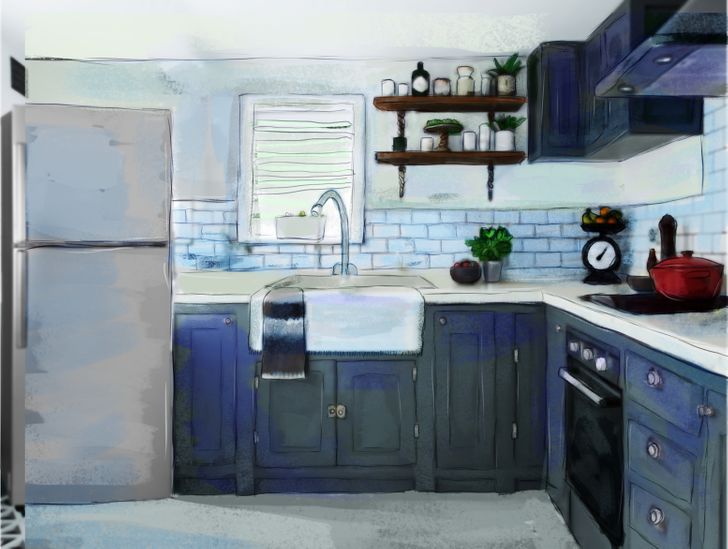
Some tips to take into account for this layout are:
- Think about the size. A room with a run of at least 96 inches (8 ft / 2.44 m) on one side of the “L” and 36 inches (3 ft / 92 cm) on the other side will allow each tail of the “L” to accommodate standard appliances.
- Keep the sink and appliances on one end. This is to ensure they are at the furthest distance from the living area.
- Place the fridge carefully. If freestanding, the fridge is best placed at the very end of the “L” shape so it doesn’t interrupt the flow of the workspace. However, if the fridge is integrated below countertop level, there’s more freedom for placing it closer to the sink. In any case, remember your fridge is the starting point of any cooking journey, so put some thought into where to place it.
- Maximize storage options. If your kitchen is verging on the small side, consider installing wall-hung shelves into the corner of the room. Open shelves are a practical and stylish solution in any kitchen too. Display china and glassware so that they are easily accessible. Try running a fixed rail below the bottom shelf to hold utensils with hooks for saucepans.
- Consider counter space. In “L”-shaped kitchens, counter space might be a bit of a premium. You could look into using an under-the-counter refrigerator to free up a bit more space. If the kitchen table is nearby, it doubles up well as extra counter space during preparation.
5. Single wall kitchen
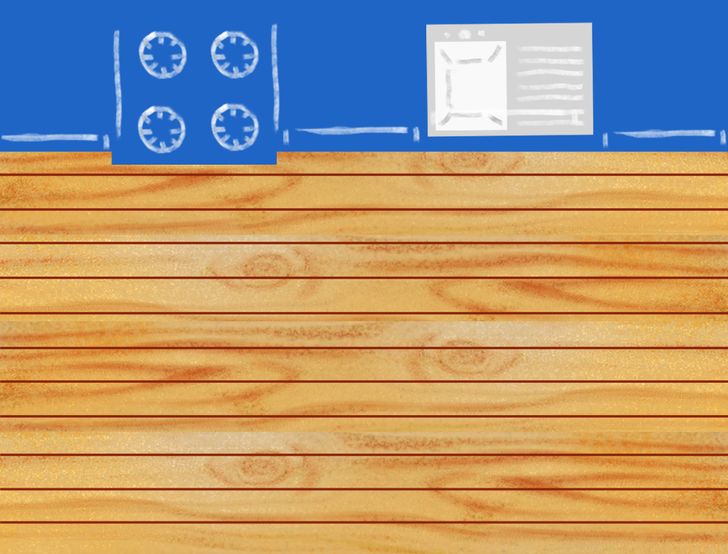
Also known as a one-wall kitchen, this is the perfect layout for limited spaces. As the name suggests, these small kitchens only use a single wall. In doing so, they leave space for items like dining tables, bar carts, and breakfast bars if you have room for them, so even if your home is larger, this layout can contribute to a spacious open floor plan. The downside is that you’ll also have less room for countertops.
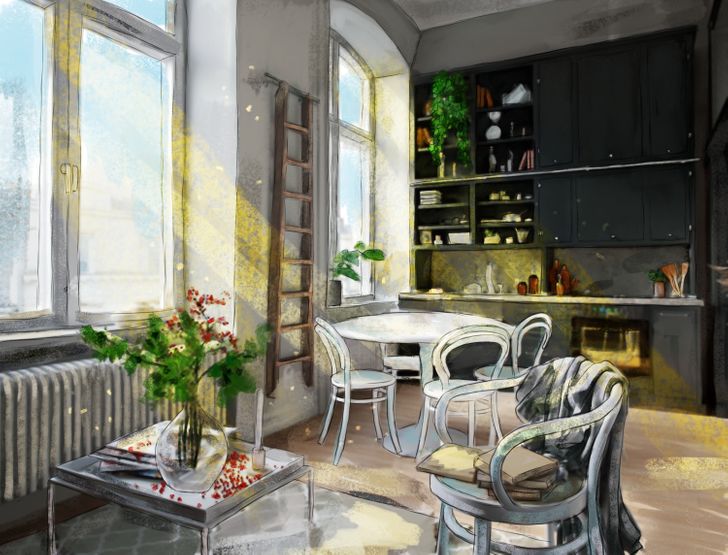
While small in size, there’s still a lot of things you can do to make a one-wall kitchen efficient:
- Consider size. The counter of a one-wall kitchen typically is around 8 feet long to accommodate all major appliances (fridge, stovetop, sink, and possibly a dishwasher). Things that can be moved, such as items like a microwave or coffee maker, are better left out.
- Be flexible. The order of the work services is less important than with other configurations due to the layout’s small size. In this case, you can afford to find a combination that suits your place best. A one-wall kitchen’s compact design is ideal if you need a table or anything else, so be creative, especially when it comes to making room for prepping.
- Avoid windows. If possible, consider locating the kitchen along a wall that doesn’t have a window. Windows reduce the number of wall cabinets you can install.
- Go vertical. Make use of high ceilings by installing a double run of wall units to increase your storage space. The highest, less accessible units can be used for storing seasonal and occasional items. Having a ladder nearby can be useful in this case. To prevent cluttering the room and to make a narrow space feel wider, you could use open kitchen shelving.
- Use trolleys. Increase your worktop area and storage by getting yourself a kitchen cart. Since they’re on wheels, you can easily move them around the room whenever and wherever needed.
6. Galley kitchen
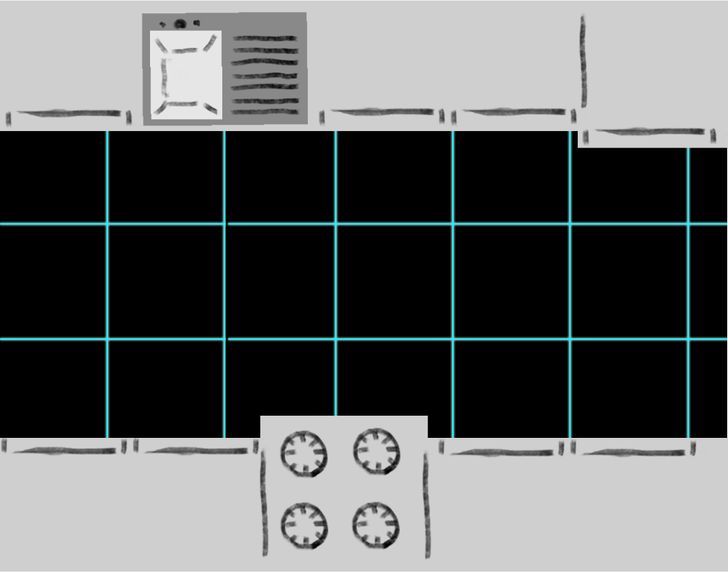
These long and narrow kitchens mimic the layout found on ships: units on both walls and a corridor running down the middle. It’s often used in small kitchens and is very practical because everything’s easily accessible to you. Your benchtops on either side can be any length you want, provided you have enough room to use appliances.
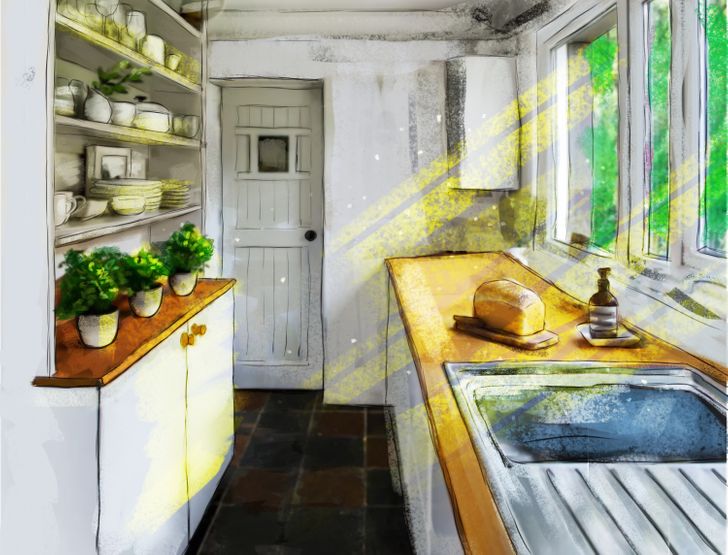
Some of the things you should consider when planning your galley kitchen are:
- Arrange appliances carefully. Keep your main workspace, stovetop, and sink on the same side of the kitchen to avoid having to cross back and forth too often. This is especially important if you’ll have a constant flow of kids and pets underfoot.
- Think symmetrical. Sticking to a symmetrical scheme with low cabinets on either side is a classic arrangement for a galley kitchen. Each wall doesn’t have to mirror the other perfectly, but keeping both sides similar can help you to achieve a more balanced and coherent feel.
- Opt for open shelving. Doing so will help to maintain an airy atmosphere within the small space, while still giving you enough storage room. It’s also a great way to display your prize appliances and kitchen accessories.
- Plan for extra storage. If needed, consider placing long, tall cabinets on one wall, but leave the workspace on the other side open. That way you won’t feel like the units are towering over you. Extending overhead wall cabinets high up, close to the ceiling, can add extra storage space without infringing on the rest of the kitchen.
- Keep a well-lit room. Try not to block windows or overcrowd them with cabinets, remember shelves will allow light to filter through the room more fluidly, so they’re a good option. Use lamps or shelf lights scattered throughout the room too. You can also add under-shelf spotlights to highlight the main workspace.