6 Steps to Help You Revive an Orchid
Orchids can be one of the hardest house plants to keep. If you have an orchid that has yellowing on the leaves or rotting roots and is not doing well in general, don’t throw it away because it can be saved.
5-Minute Crafts has created a step-by-step guide to help you revive an orchid.
Step 1: Inspect the orchid
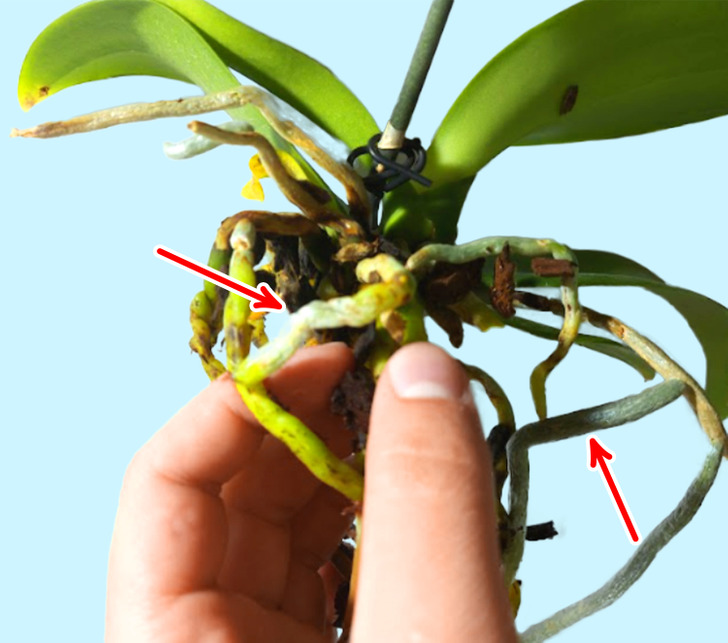
Remove the orchid gently from the current pot and inspect the roots. You should look for green and white roots. Even if the plant does not have any leaves left, the roots can photosynthesize.
They absorb nutrients from the water and air which can help the plant be revived.
Step 2: Put the orchid in a container with moss
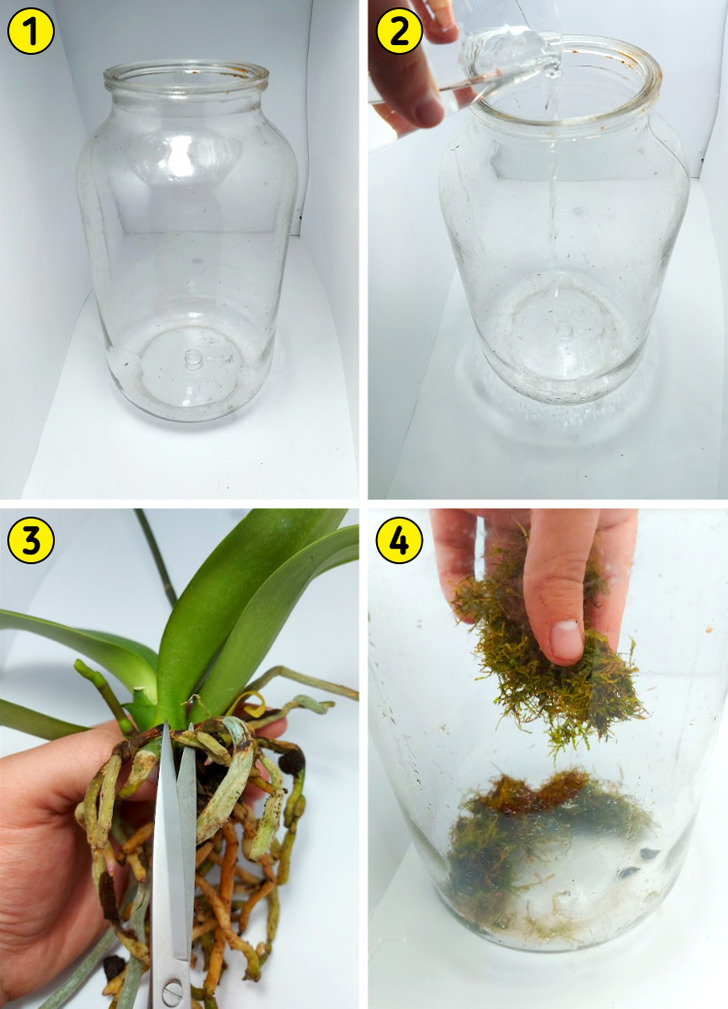
Having moss planted with your orchid is a great way to prevent fungus from forming on the roots. At the same time, it will help the plant to maintain the right amount of humidity. To add the moss, follow these steps:
- Get a container or a jar that is taller and about the same width as the pot that the orchid is already in.
- Put a small amount of RO water in the container.
- Fill it with 2-3 inches of live moss.
- Then use disinfected scissors to cut off all the dried-up roots and put the orchid onto the moss. Don’t bury it inside because that can lead to root damage.
- Put the container on a window that gets a decent amount of sunlight. After a couple of weeks, news orchid buds will start growing from the old orchid.
⚠️ Always disinfect the tools before cutting the orchid. If the tool is not clean, it can spread disease.
Step 3: Replant the orchid buds
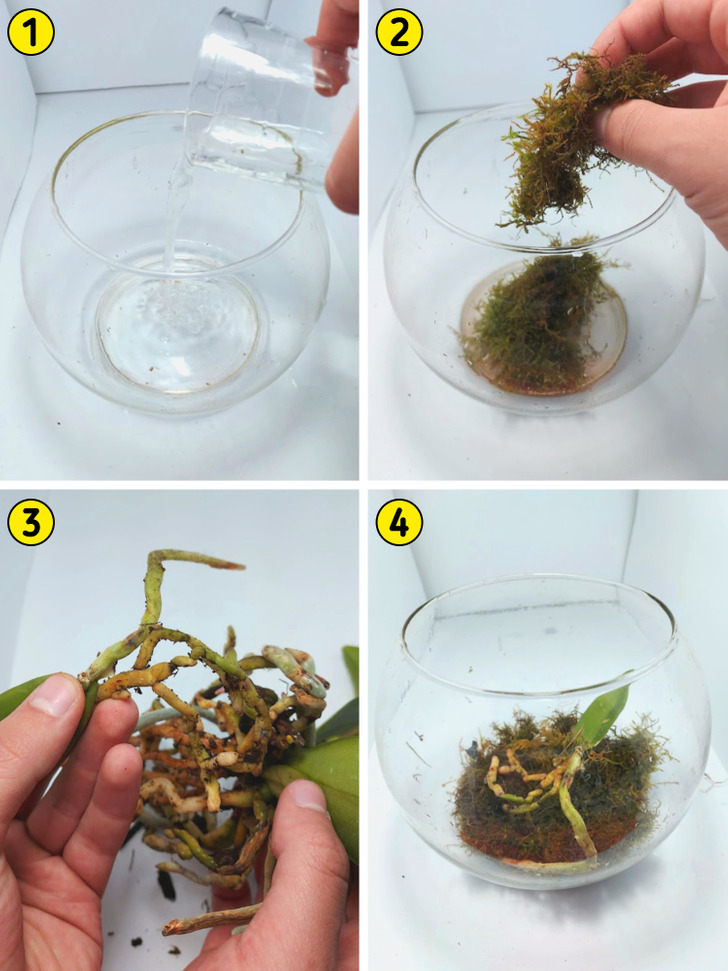
After a couple of weeks, there should be a new orchid growing from the old one. When the new orchid starts to grow leaves and roots, break it off from the old one.
- Grab a smaller container or a bowl.
- Put a small amount of RO water on the bottom of the container.
- Fill it with live moss.
- Put the new orchid into the container and wait for a while so that the orchid will start growing leaves and roots.
Step 4: Plant the orchid in a pot
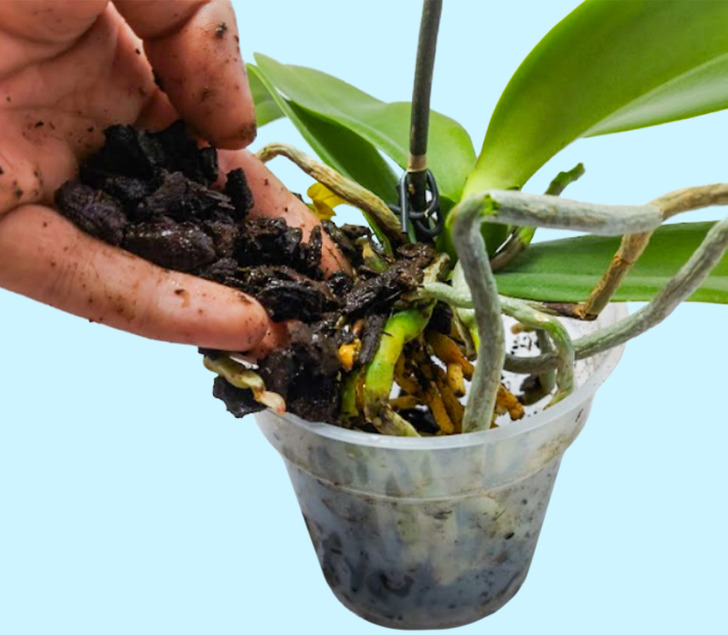
After some time has passed, the new orchid will develop good roots, they should be firm to the touch and be green or white. The plant itself should have green leaves. Then get a special orchid substrate that is usually made up of wood chips or moss. Put it in a pot that has good draining and is around 4-6 inches in diameter. After planting the orchid, make sure to water it every week with distilled water.
⚠️ Don’t use tap water because it has an excessive amount of chlorine.
Step 5: Position your orchid
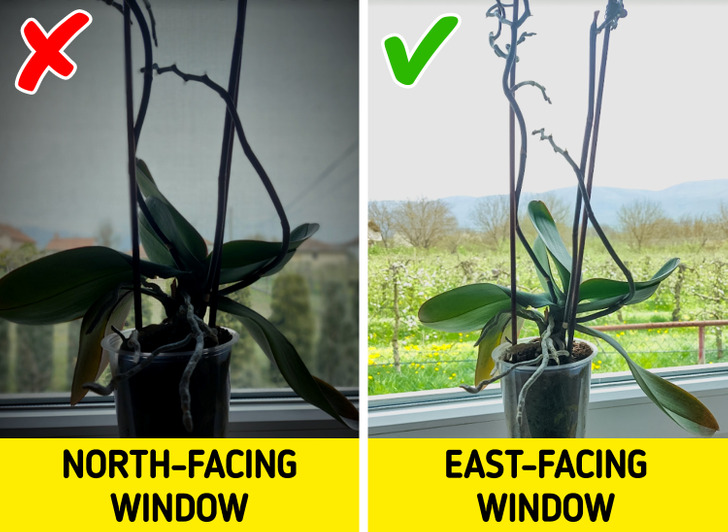
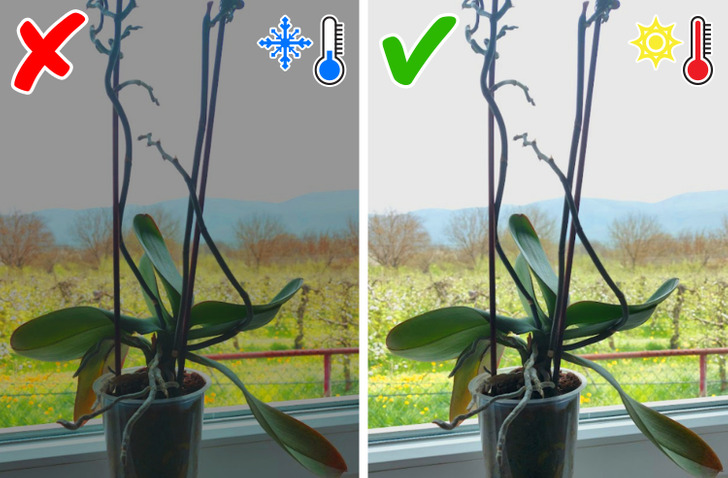
The orchid should get indirect sunlight. So positioning it near east-facing windows would be ideal. Or you can place it on a west-facing side further from the window on a table or a shelf. Don’t place it on a northern window because it will not get enough sunlight.
Step 6: Set the right temperature
