How to Clean Your Fridge Quickly and Efficiently
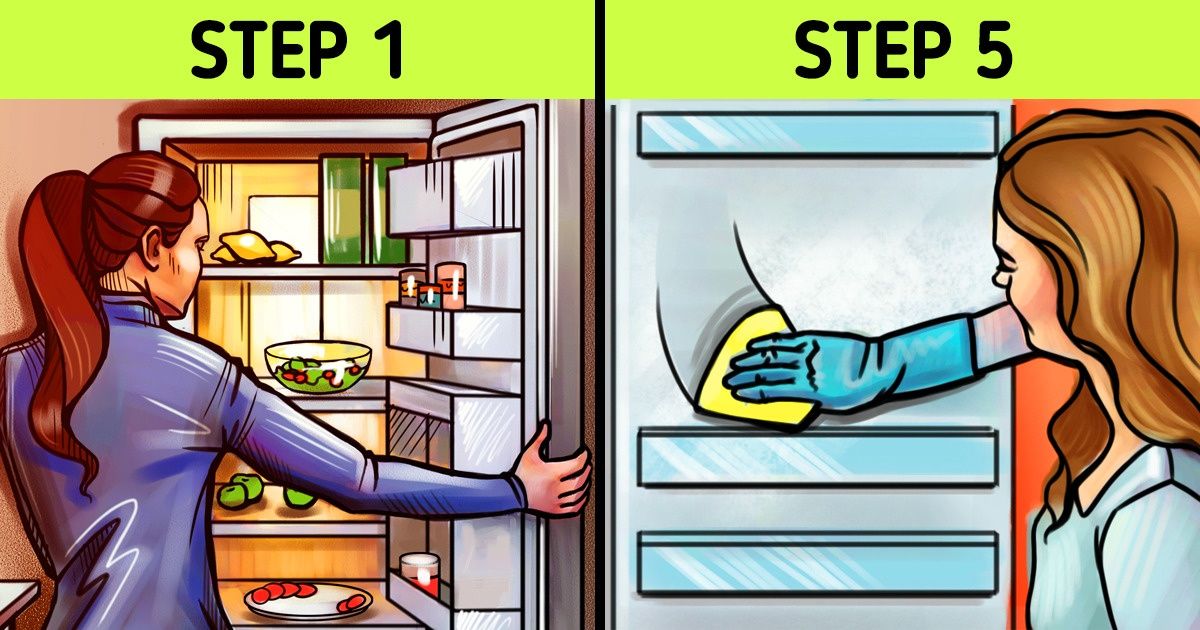
It is advisable that approximately once a month, you do a thorough cleaning of your refrigerator to keep it clean and reduce the risk of food contamination. In the process, you should wash shelves, clean up spills, and discard anything that is out of date or that you think you will no longer consume. Although all this may seem like an arduous and tedious task, it doesn’t have to be.
5-Minute Crafts wants to show you what steps to follow so you can do it quickly and efficiently.
Step 1. Take all the food out of the fridge.
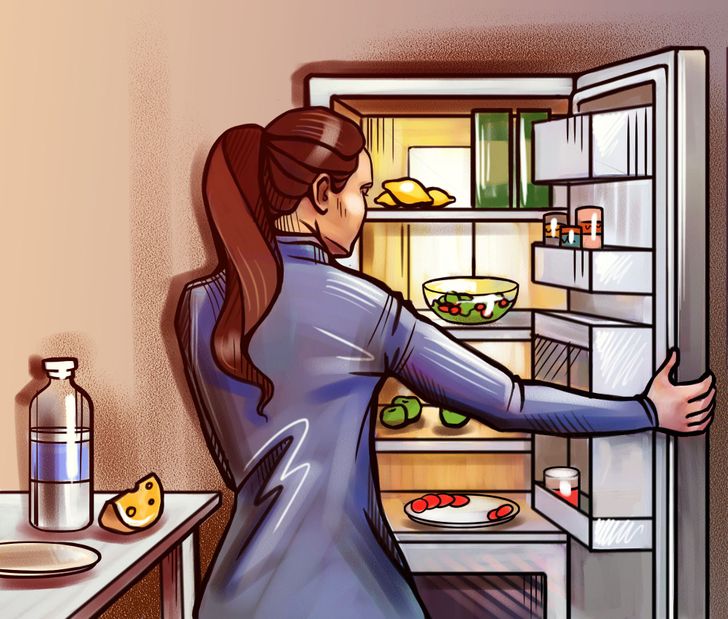
Doing this will make cleaning your fridge much easier because, this way, you will be able to reach any corner or crevice that you might not even notice is dirty if you still had all the products in there.
- A useful tip is to schedule cleaning your fridge on a day that you know there won’t be too much food to take out. For instance, it can be right before your weekly grocery shopping trip.
- Before you start, make sure to clear your kitchen counter or any other nearby area so that you can put everything you remove from the fridge there.
- Keep in mind that fresh food shouldn’t be left out for more than an hour, if you live in a place with high temperatures. You can time your cleanup to make sure it won’t take longer than that. Even though, technically, some products can withstand longer out of the cold, others may begin to spoil quickly.
Step 2. Discard expired or spoiled foods.
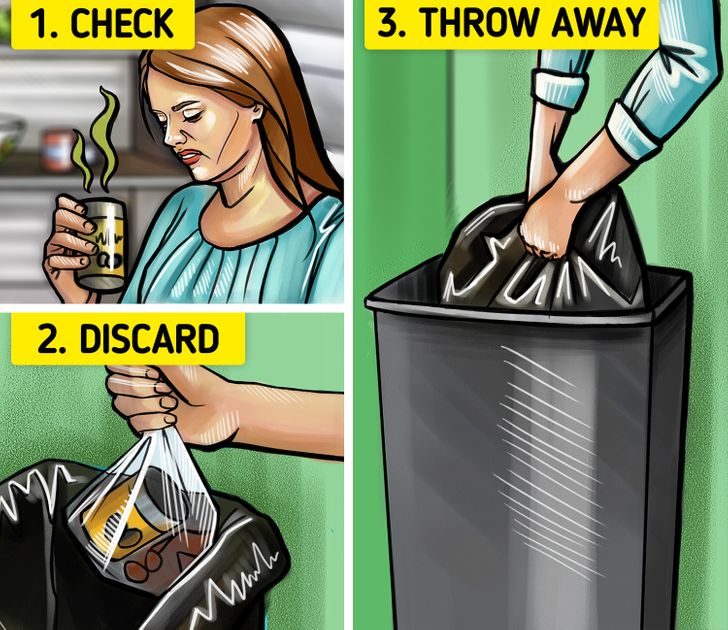
This is especially important and should be done on a regular basis. By doing so, you will avoid contaminating foods that are still fresh. Keep in mind that germs from expired products can spread to other refrigerator shelves and spoil other products.
- Throw them in the trash. Make sure you do so in a sealed bag to prevent leaks or mold from spreading.
- Check the expiration date on all products. Pay special attention to those you know you’ve had for a long time.
- Get rid of old items that you bought for a special occasion, but that you know you will no longer use. If you’re sure they’ll just sit there, they might end up taking up space and ultimately rotting and contaminating other foods.
- Don’t forget to take out the garbage as soon as you are done with this task. Otherwise, your house could quickly fill up with the smell of all that rotting food.
Step 3. Removes shelves, drawers, and any other pull-out items.
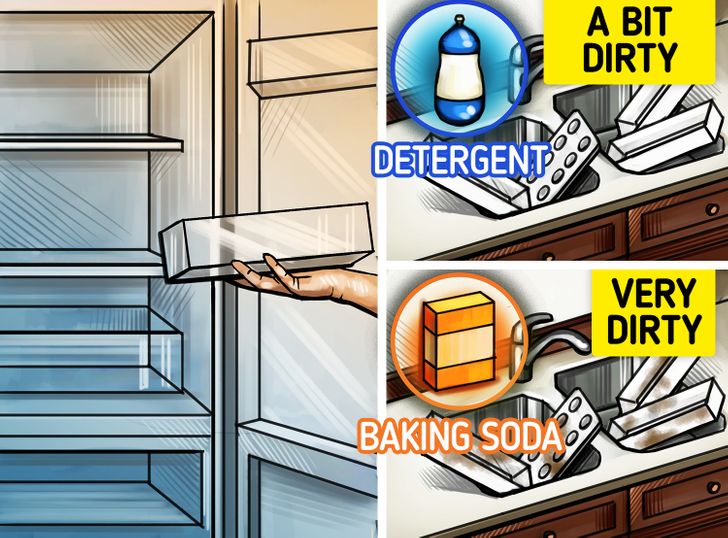
Doing this will come in handy to speed up your work as well as to allow you to do a more thorough cleaning.
- Before cleaning and rinsing these parts, fill a large container with warm water. Add some dishwashing detergent and let them soak in there for a while.
- If you notice that they are very dirty, you can soak them in a mixture of baking soda and water. Your solution should have 2 tablespoons of baking soda per liter of warm water.
Step 4. Hand-wash all parts of the refrigerator that were able to be removed.
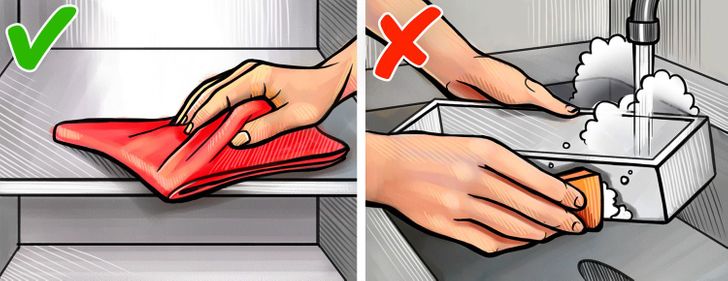
Scrub these parts with a soft brush or kitchen sponge.
- If you have pull-out shelves made of glass, do not place them under running hot water as soon as you take them out of the refrigerator. Remember: the sudden change in temperature could cause them to break. It’s better if you let them sit at room temperature for a while and only then wash them.
- After washing, place them on the drying rack or the kitchen counter and let them dry naturally while you clean the other parts of the fridge. If they’re not dry by the time you’re finished cleaning, use a dry, lint-free cloth to dry them thoroughly.
Step 5. Clean the inside of the fridge.
- Try not to use any hard detergents or scented cleaning products. Your fridge spends most of the time closed and food can absorb the smell as well. This is exactly the same reason why you should never use very abrasive cleaners, like ammonia or bleach, for example.
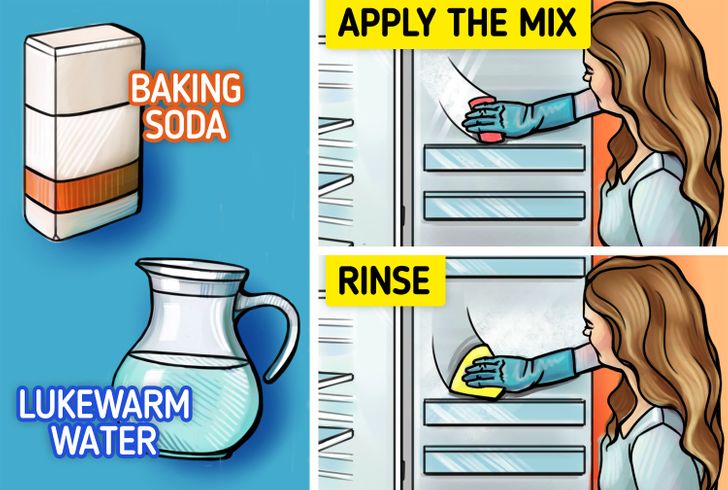
- Instead, you can use a mixture of warm water and baking soda. This helps loosen stuck-on products or spills and neutralizes bad odors. You can use 2 tablespoons of baking soda for every liter of warm water.
- When you’re done cleaning, rinse these parts with a damp cloth or sponge and wipe with a dry, absorbent cloth to finish the process.
- If you find stains that are difficult to remove or products that are very sticky, apply the same mixture of baking soda and warm water directly on them and let it act with the door open for approximately 10 minutes, then repeat the previous steps.
- Start from top to bottom to avoid spills on the parts that you already cleaned before.
Step 6. Clean the door’s rubber seal.
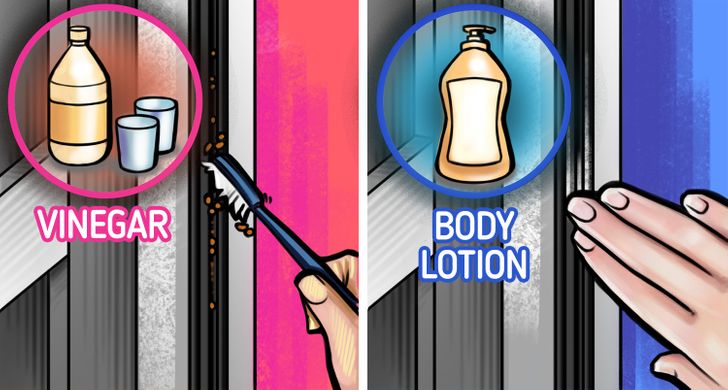
This will remove any crumbs and dirt that may have accumulated in between the door and the seal.
- Use hot water and a mild dish soap.
- Wipe the inside of the seals with a sponge and dry with a clean cloth or paper towel.
- If you notice crumbs or deep embedded dirt, you can use an old toothbrush and a mixture of vinegar and water to kill all the bacteria and germs that this dirt could hold. Your mixture should have a 2:1 water to vinegar ratio.
- You can rub a small amount of body lotion around the edges of the seal to keep the rubber flexible.
- When you’re done, make sure the seal is tight. Otherwise, the refrigerator could leak cold air and it will stop working properly.
Step 7. Put the food back in the refrigerator.
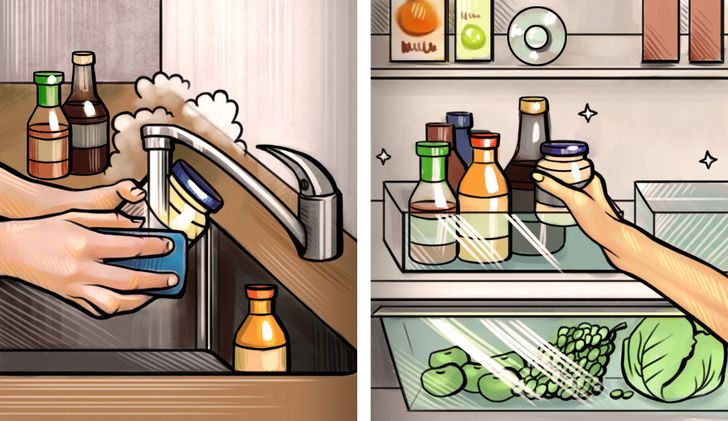
- Clean jars, bottles, and plastic containers thoroughly with hot water and soap.
- This is also a good opportunity to recheck expiration dates and to make sure everything you’re putting back into storage is in good condition.
Step 8. Clean the outer part of the fridge.
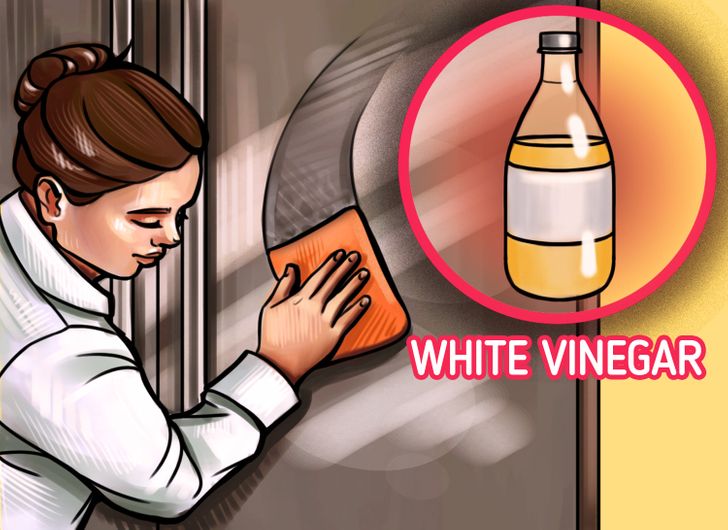
- Clean the doors, edges, and top of the fridge with a microfiber cloth soaked in warm water and mild detergent.
- Start at the top and work your way down, paying special attention to the handles.
- If the exterior of your refrigerator is made of stainless steel, pour a little white vinegar on a microfiber cloth and wipe in the direction of the grain.