How to Install a Washing Machine
Washing machines are easy to use and serve as efficient household appliances. If you’re planning to purchase one of these machines, 5-Minute Crafts will share a simple guide to complete its installation at home, step by step.
Basic requirements for installing a washing machine
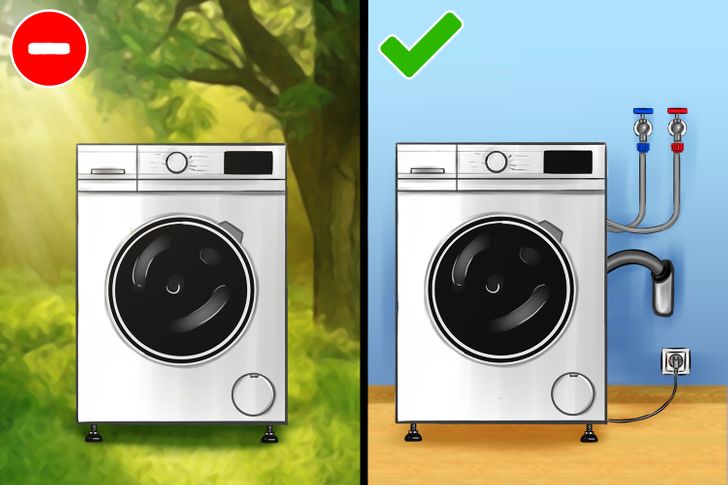
Before buying a washing machine, make sure you have the right area to put it in for it to work correctly.
⛔ Don’t install it on a patio that doesn’t have a shed — the appliance will get direct sunlight, which would affect its plastic components. Also, if it’s exposed to rain, the water may cause a short circuit that can damage the appliance and/or become a hazard.
✅ Put it in a room that has been previously designed for the installation of a washing machine. It must have an electrical outlet, hot and cold water supply, and a drain. The floor must be flat and resistant to vibrations.
Step 1: Unpack the product.
-
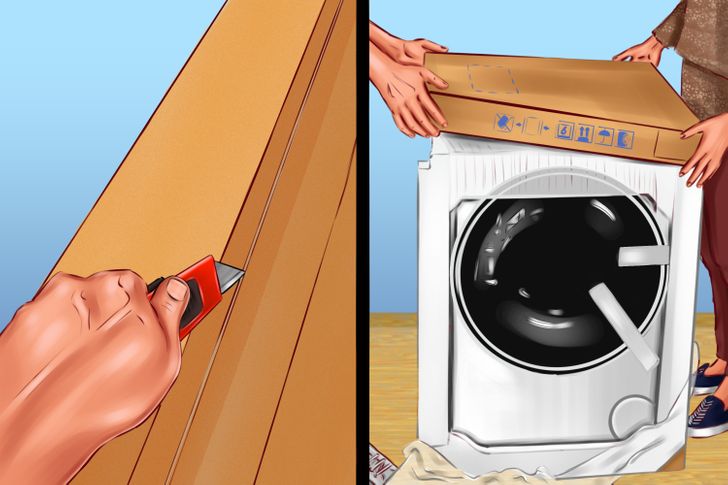
Place the appliance near where it will be connected. Remove it from its packaging and make sure it has no dents or scratches and that it’s in good condition.
-
You should find the installation kit inside the machine (hot/cold water hoses, the product manual, filters, and other parts and tools).
Step 2: Level the front legs.
-
Read the instructions of your washing machine design carefully.
-
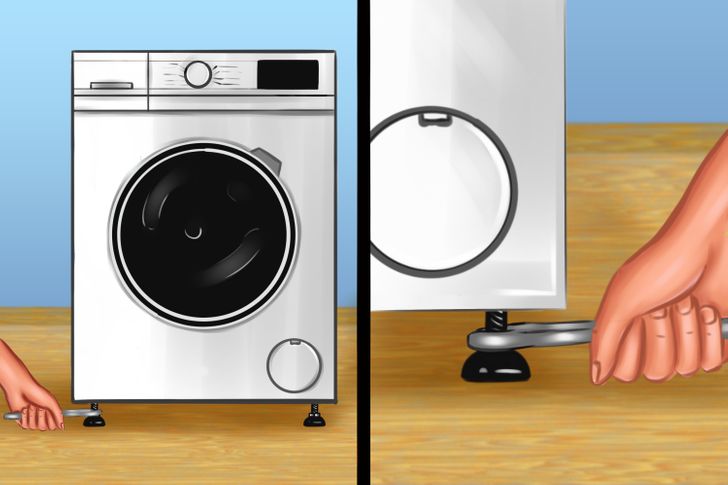
Screw in the leveling feet located in the corners underneath the appliance. Adjust each one’s height depending on the surface where the washing machine is placed in order for it to be as level as possible.
Step 3: Assemble the water supply tubes.
-
Close the water supply to your house to carry out the next step.
-
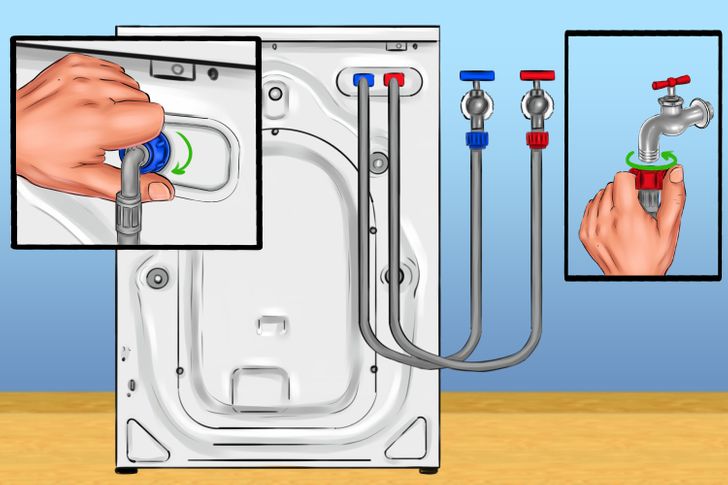
Identify in the instruction manual where each connection goes. Typically, you would find 2 tubes, each with distinctive colors: blue for cold water and red for hot water.
-
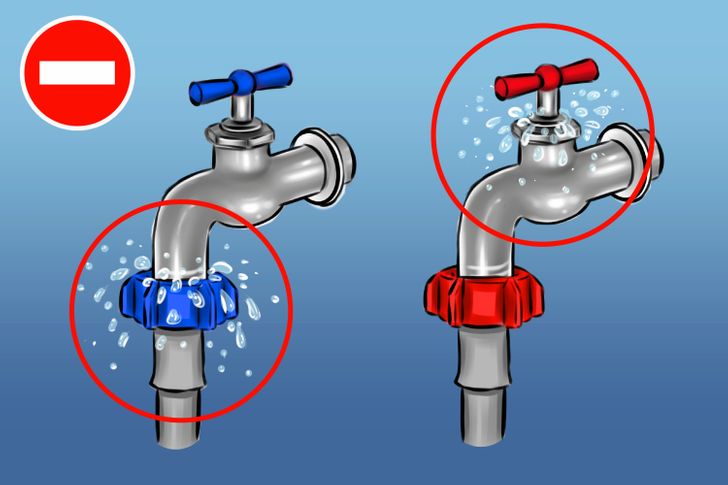
Connect both tubes from the washing machine to the corresponding tap. If you’re only going to use the cold water supply, you must seal or close the faucet you don’t plan to use.
-
Open the general water supply to your house along with the hot and cold water supplies.
⛔ There should be no water leaks either from the area where the connectors are fixed or from the taps.
- If you notice leaks or droplets, call a plumber to perform an inspection and proper specialized maintenance before proceeding with the installation.
Step 4: Attach the drain tube.
-
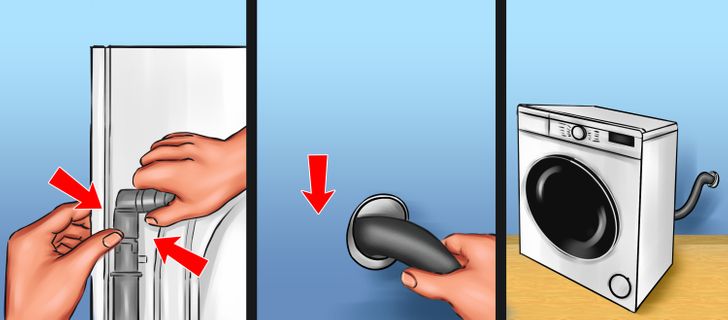
Follow the manual instructions to install the end of the drain hose attached to the back of the appliance.
-
Then put the other end into a drain pipe or inside a sink.
-
Some washing machine designs have a plastic accessory that allows you to keep the hose bent down. Use it so that when draining the water, the hose remains firm and does not splash water.
Step 5: Plug the unit into the outlet.
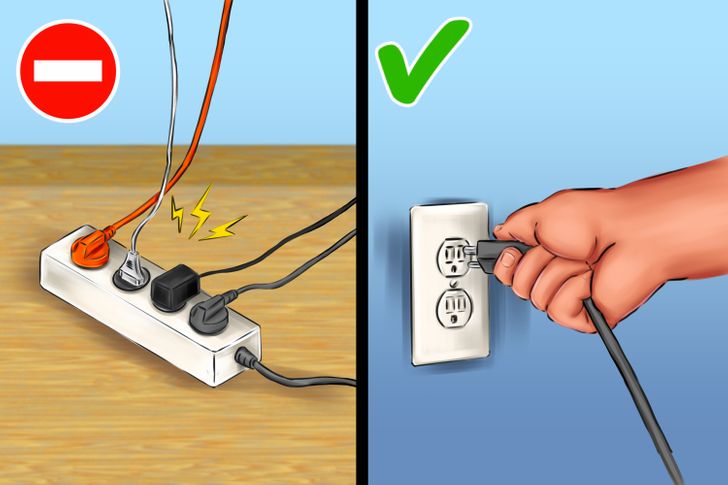
⛔ Do not use extensions or multiple electrical connection plugs. When connecting various types of equipment, there may be electricity fluctuation problems that could generate a short circuit.
✅ Connect the washing machine directly to the electrical outlet.
Step 6: Do a wash test.
-
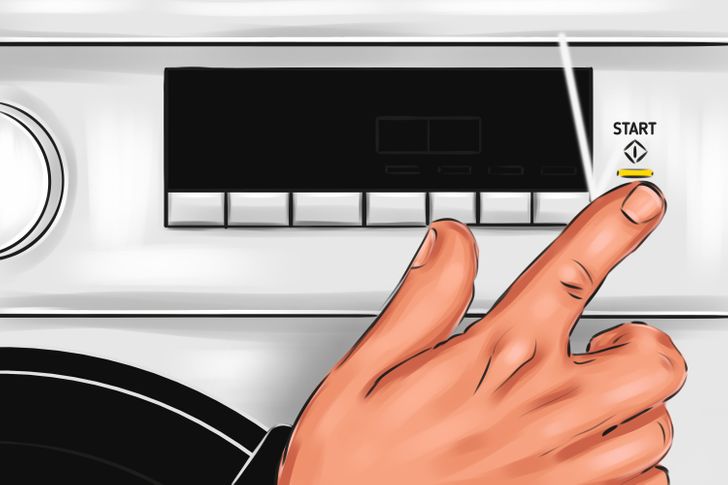
When the washing machine is connected, turn it on and program a quick wash cycle; don’t put clothes in the drum or use detergent.
-
Monitor the process. Check around, under, and behind the device. If you see any water leaks, tighten the connections. If it continues to leak, turn off the washer and call a plumber so they can inspect and fix the problem.
-
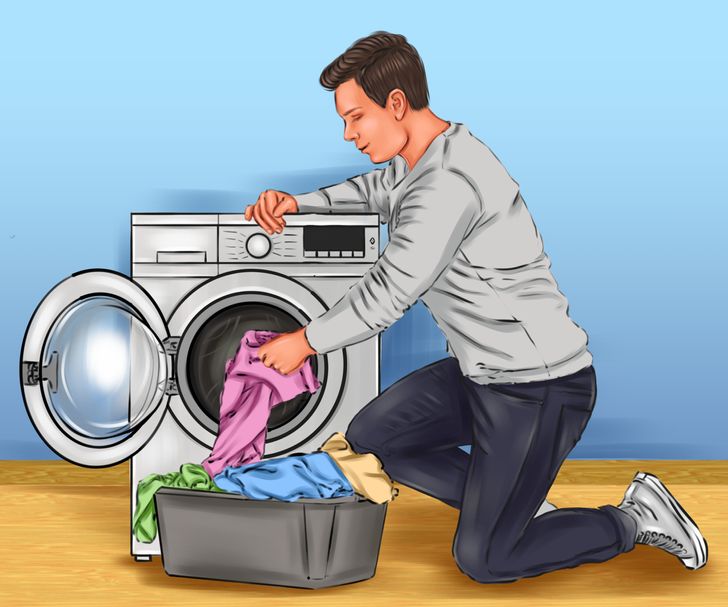
Read the instruction manual to determine the proper wash cycle. You can use this appliance to wash most of your clothes; just be sure to check the labels first for specific recommendations.