How to Make a Hanging Plant Stand
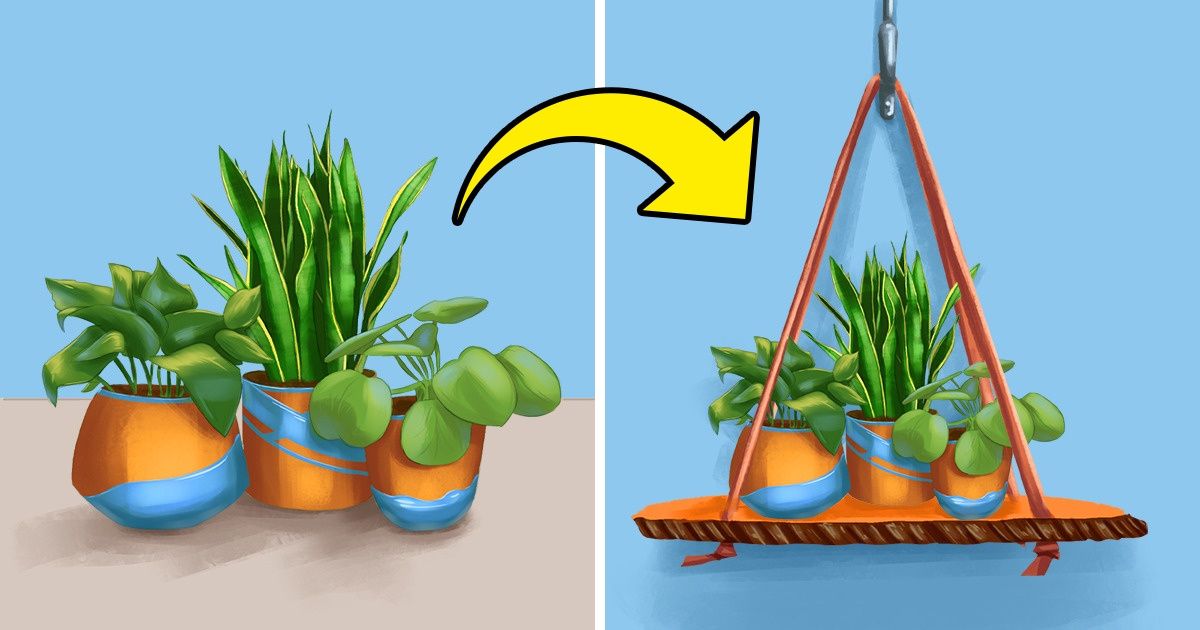
With just a few materials, and a little bit of effort and time, your plants won’t be needing to sit on the floor for much longer. We at 5-Minute Crafts have prepared a guide so that you can create their own special stand for them.
You’ll need:
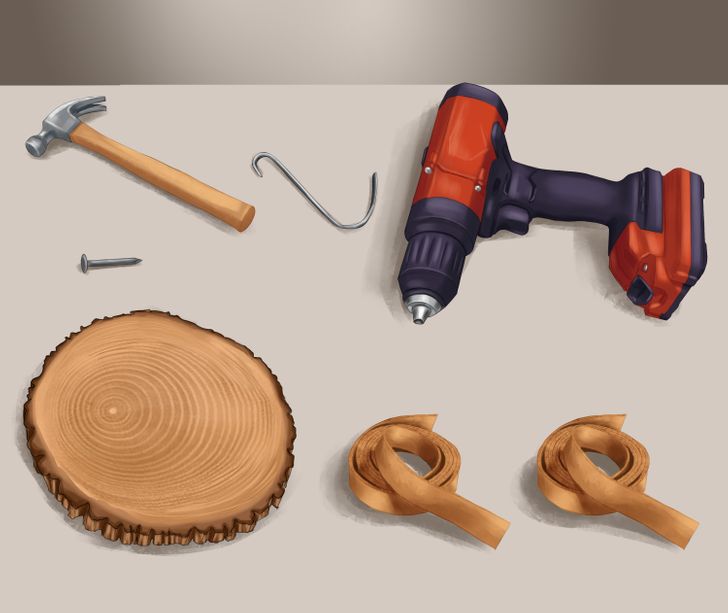
- 1 wood slice
- 2 suede strips
- 1 curved hanging plant bracket
- 1 power drill
- 1 hammer
- 1 nail
Step 1
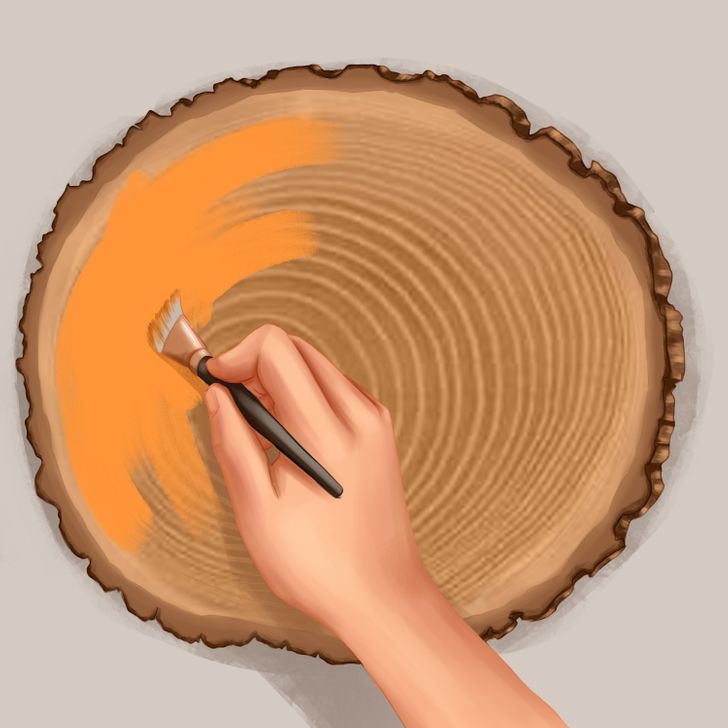
- If the color of your wood slice isn’t to your liking, paint it with your desired color.
Note: This is an optional step.
Step 2
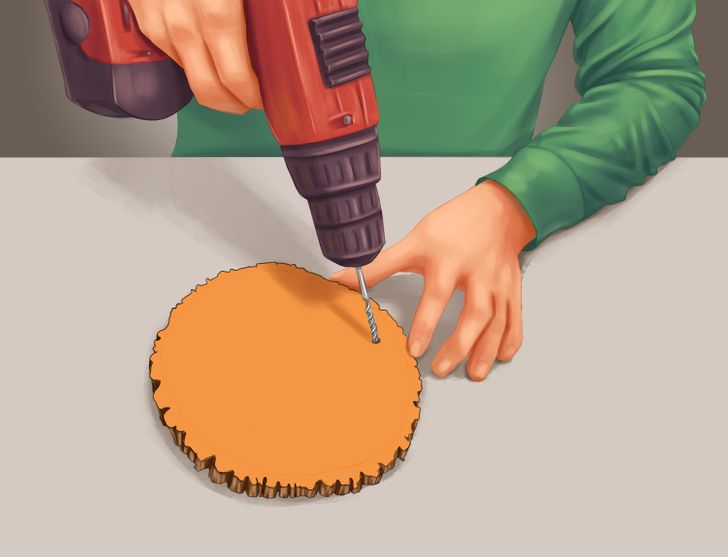
- With the power drill, make 4 holes in the wood slice.
Step 3
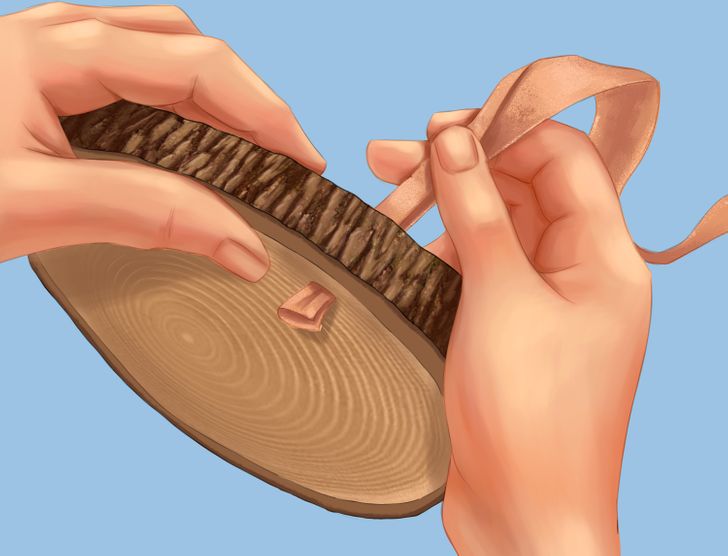
- Loop the suede strips through the holes you’ve just made, and tie a knot in each of the strips once they’re through.
Step 4
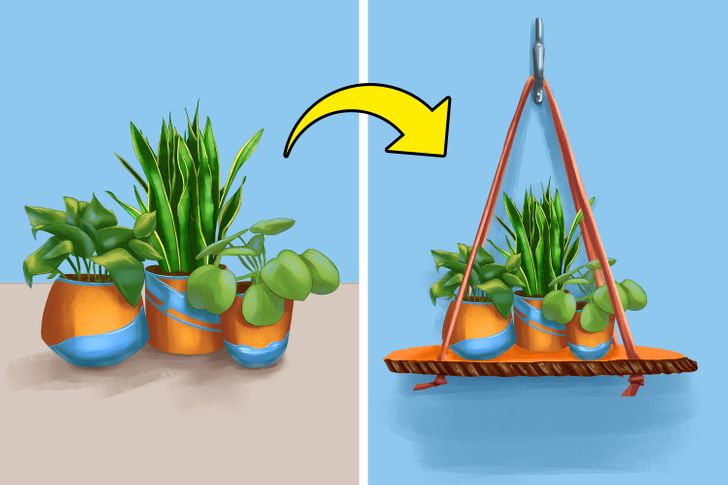
- Nail your curved hanging bracket in your desired spot, and place the hanging stand on it.
- Lastly, transfer your plants to their new location.
Share This Article