How to Make Compost at Home
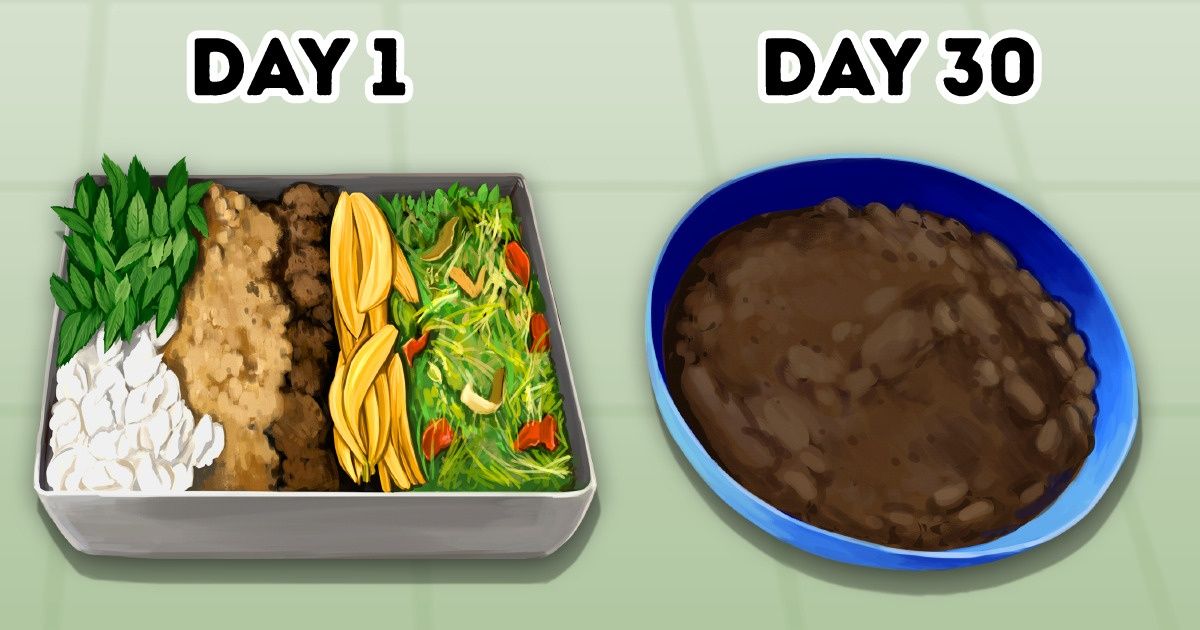
There are different ways to make compost, but the general idea remains the same: enriching the soil with nutrients from the leftovers that almost every home creates.
5-Minute Crafts chose a method that is easy to implement at home and that doesn’t require specialized tools.
1. Select your containers and drill holes in the main one
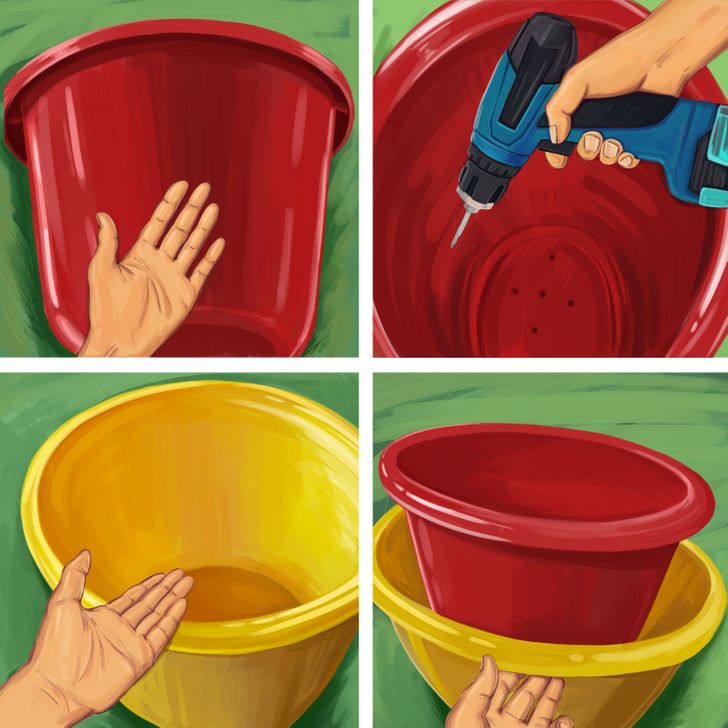
You can either buy a compost bin or make one yourself at home. It’s pretty simple, you just have to keep in mind that your main container has to be big enough to collect a pile that is about 3×3x3 feet. The size of the pile is supposed to be like this because:
- If you don’t make enough compost, the pile won’t be able to warm up and decompose.
- If you make too much, it’s difficult to mix.
Drill a few holes in the bottom of the main container. You’ll also need a smaller but wider container that you can place the main one on top of. This second container will collect the leftover liquids that you’ll need later.
2. Gather your ingredients, but keep them divided.
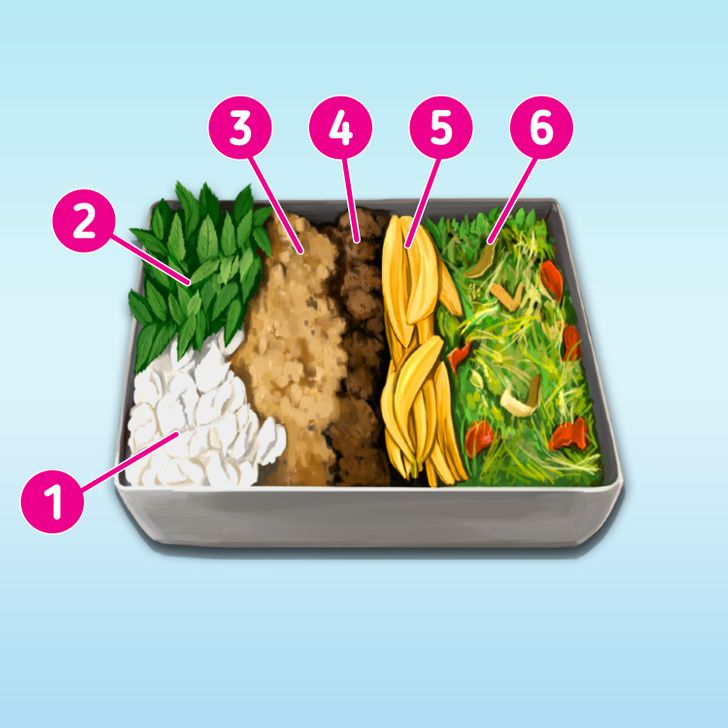
Keeping your ingredients divided will help you check the ratios easily (for more info on those, check out the bonus). Here are the ingredients you’ll need:
- Eggshells: They’re rich in calcium carbonate, which helps plants develop stronger cell walls.
- Neem leaves: They’re known for acting both as a fertilizer for plants and worms and as a pesticide against insects.
- Garden soil: It should be dry when added. Soil prevents the compost from attracting insects and flies, plus it’s rich in the microorganisms needed for the decomposition process to start. It keeps bad smells away too.
- Compost: You’ll need a bit of compost or a compost starter because these contain microbes that will help your batch of organic contents break down, as well as nitrogen.
- Banana peels: They add potassium and small amounts of nitrogen, phosphorus, and magnesium to the mix.
- Green kitchen scraps: These are high in nitrogen. They can include anything ranging from salad, to potatoes, to onion and carrot peels, just to name a few.
- Other optional ingredients: These include (but are not limited to) wood chips, straw or hay, shrub prunings, pine needles, shredded paper, and coffee grounds.
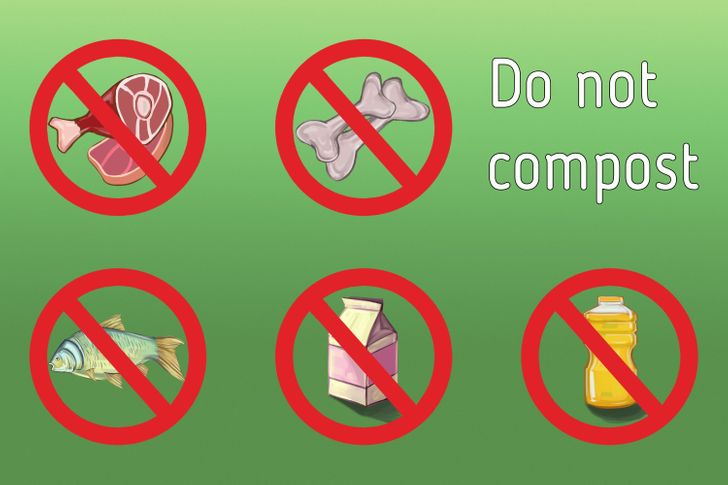
- Avoid at all costs: Meat or animal products (bones, fish, eggs, butter, yogurt, etc.), coal ash, weeds or weed seeds, and pet droppings. This is because they take too long to decompose and they have a different type of bacteria that causes them to attract scavengers. Synthetic chemicals are also not a good addition to your mix.
3. Break down the ingredients into smaller pieces.
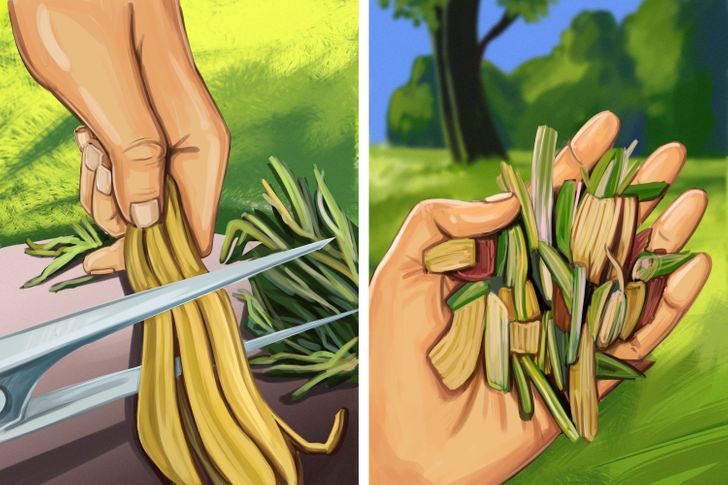
Break all the components into smaller pieces to make sure the process takes less time. Make sure to keep all the ingredients apart.
4. Start creating your layers.
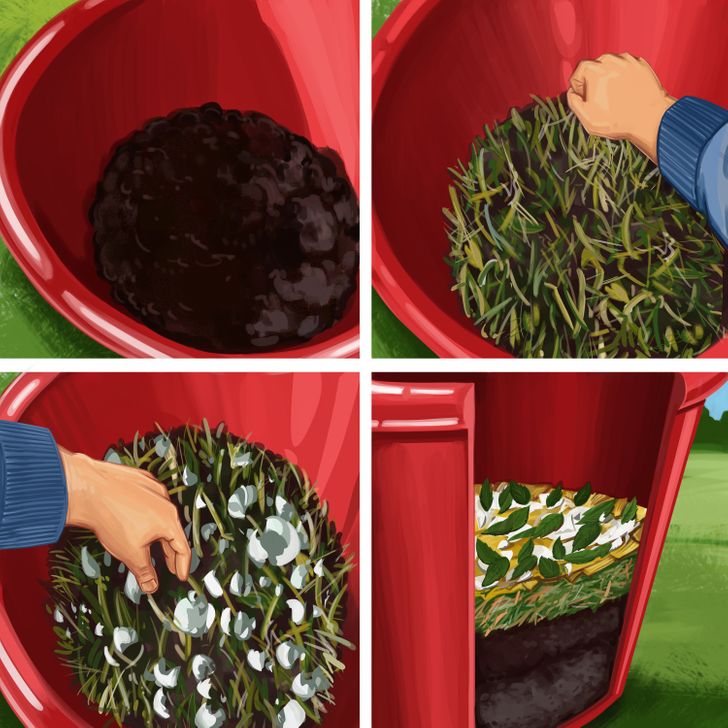
Start by making a 1-inch layer of garden soil and then a 1-inch layer of compost. Cover them with thin layers of kitchen scraps, banana peels, eggshells, and neem leaves in that order. Repeat the process as much as needed to fill your container about 3/4 of the way full. Add the last layer of garden soil to prevent smells from escaping and press the mix down with your hand.
5. Water well and place under full sunlight.
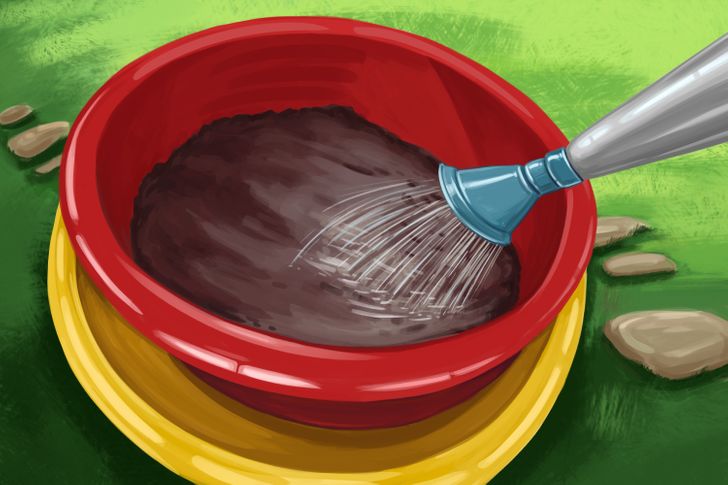
The heat from the sunlight will speed up the process of breaking down organic scraps. However, you should be careful not to let the compost dry out too much. The amount of water your compost will need depends on how warm the weather is. Make sure your compost stays moist, but not too wet. Composting works best with a 40-60% moisture content and it should heat up to temperatures of 140-160°F.
- If your compost is too cold: Chances are it’s dry and the microbes have died. Try adding more water.
- If your compost smells: You might be adding too much water. Try adding wood chips to alleviate the problem.
6. Reuse the collected drained water.
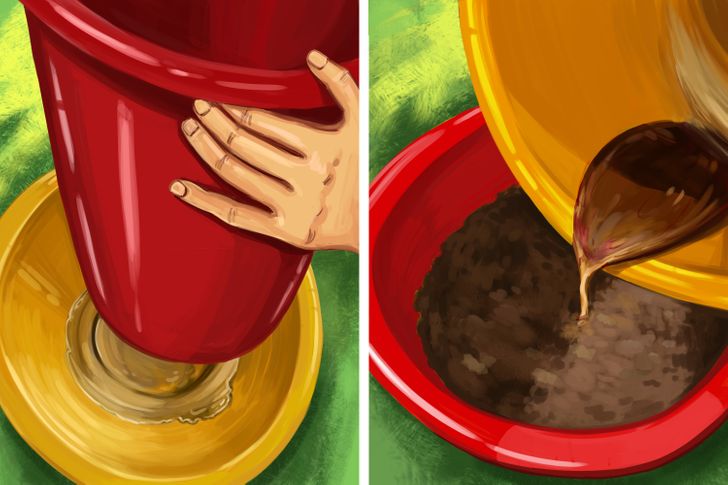
After 2 days or so, you’ll see water draining down to the second pot. Don’t throw it away. Instead, reuse it to water the compost mix. It’s rich in bacteria that is beneficial for compost and plants. After 15 days you can stop collecting that water.
7. Mix all the layers.
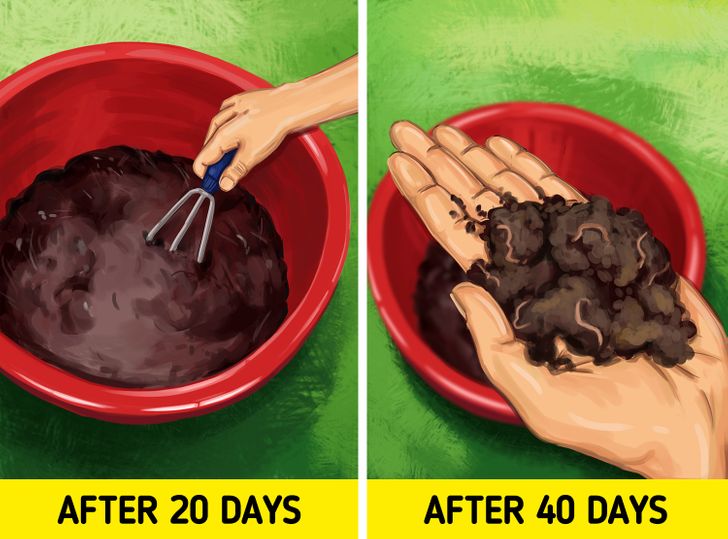
If you’re making your compost during a warm season, you have to wait about 2 weeks before mixing all the ingredients together. During the winter wait around 20 to 22 days. Mixing the pile helps aerate the mix in order to let enough oxygen penetrate for microorganisms to develop. As a rule of thumb, mix the whole pile every few days after that first time. After 40 days, you might see earthworms developing too.
- If the temperature peaks and then drops: If after you’ve mixed the ingredients you notice sudden drops of temperature, it’s time to mix it up/turn the pile again.
8. Cover with dry leaves and add water.
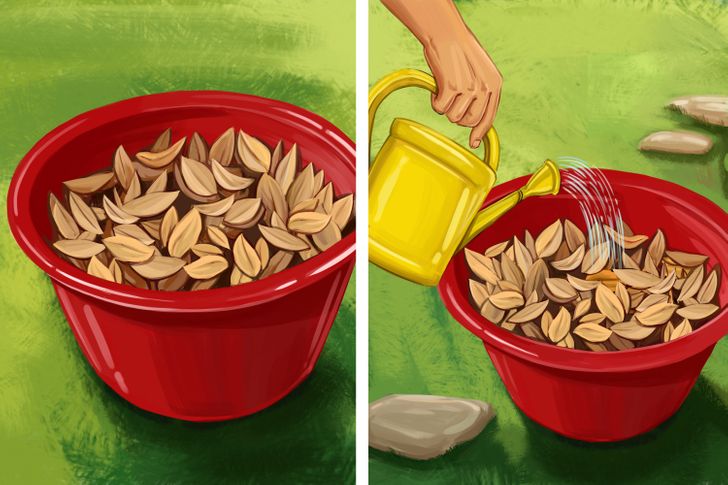
Now that the process of composting has really started, cover with dry leaves or anything you have that could help retain moisture and heat.
Before using the compost in your garden, wait for about 2 to 3 months during which you’ll have to pay attention to temperature, moisture (see step 5), aeration (see step 7), and the carbon-to-nitrogen ratio (see bonus). To store the compost, remove the leaves covering it and save it in bags. Keep it away from direct sunlight and make sure it stays moist.
- Compost can lose its nutrients over time. You can repeat the whole process throughout the year to keep it alive, always minding the carbon-to-nitrogen ratio.
Bonus: The carbon-to-nitrogen ratio
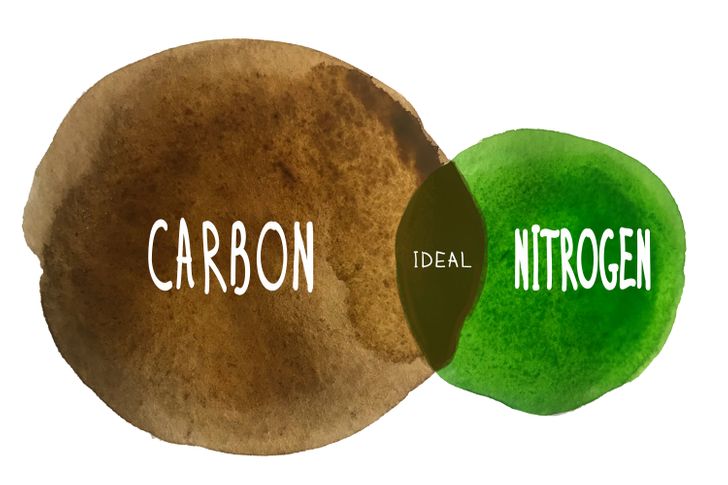
Generally speaking, there are 2 types of ingredients you’ll be using when composting:
- Brown ingredients are rich in carbon. These include fall/neem leaves, soil, shredded cardboard, corn stalks, shredded newspaper, pine needles, straw, and wood chips.
- Green ingredients are rich in nitrogen. These include eggshells, banana peels, vegetable scraps, uncooked fruit waste in general, alfalfa, hay, manure, coffee, and grass.
The goal is to always keep a 25 to 30 parts carbon to 1 part nitrogen ratio by mixing the ingredients properly. There’s an infinite amount of recipes you can use, the one suggested in point 2 of this article is just one of them. We chose it because it’s simple and uses ingredients you’re likely to already have on hand.