How to Paint an Old Wardrobe
Before you start renovating your wardrobe, pay attention to what it’s made of. Depending on what it is you might need different materials. Besides, the products for the prep work may differ. Natural wood, for example, requires longer preparation, while chipboard requires more paint because it absorbs water well.
5-Minute Crafts offers you the most simple and affordable option for painting an old wardrobe. Don’t be afraid to experiment with different colors by using masking tape and stencils.
Preparation

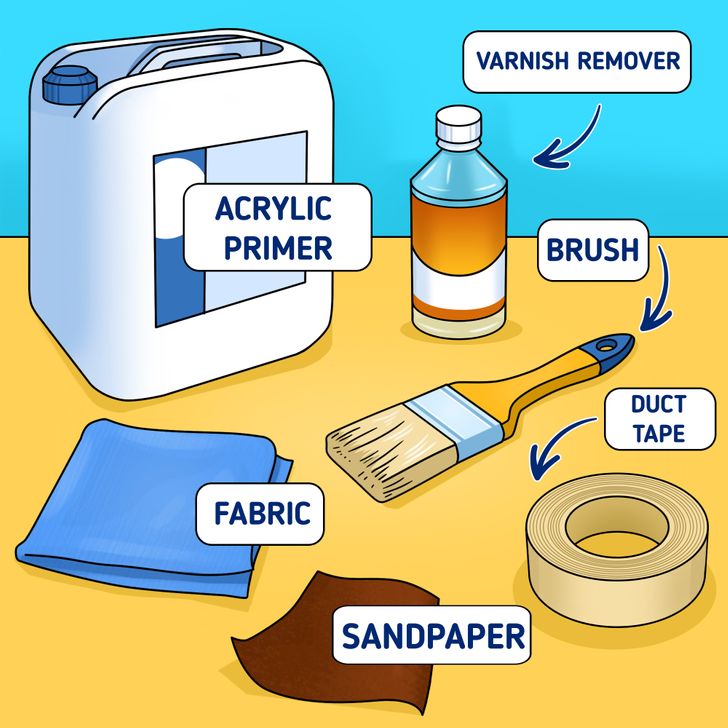
You will need:
-
a sponge or fabric
-
a brush
-
masking tape
-
medium sandpaper
-
varnish remover or a hot air gun and a scraper
-
acrylic primer

Preparation stages:
-
Choose a suitable place for painting. The best option to do it is outdoors. If this is not a possibility, choose a well-ventilated area. Keep in mind that there will be a lot of dust and paint, so make sure to protect the floor and other pieces of furniture by covering them with rags or any other protective material.
-
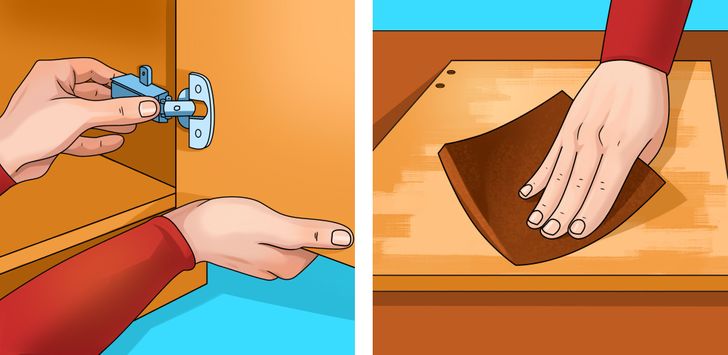
Remove all the removable parts of the wardrobe. Remove handles, hinges, doors, and drawers. As a result, you will be left with a bare frame. If this is not possible, cover the small elements with masking tape to protect them from the paint. The same thing should be done with glass and mirrors.
-
Remove dust and dirt from the wardrobe surface. You can do this with a dry cloth or sponge. If the wardrobe is very dirty, you’ll have to do a wet cleaning. Wait until the surfaces are completely dry before proceeding to the next step.
-
Get rid of the varnish coat. If it’s thin, you can simply smooth the surface with sandpaper. If the varnish layer is quite thick, you will have to use chemicals or special devices: you can purchase a varnish remover or arm yourself with a hot air gun. But don’t forget about safety measures.
-
Remove dust again. Take a brush and carefully brush off whatever remains after removing the varnish. It’s better to not use a cloth — it will only smear the dirt.
-
Apply primer. This step is necessary to make sure that the paint levels and adheres to the surface of the wardrobe. Besides, if your wardrobe is made of chipboard, this step will help to avoid excessive paint absorption, and you’ll need less paint. When the primer is completely dry, proceed to the next step.
✴️ Reminder: Don’t forget to do the same with the doors and drawers.
Painting

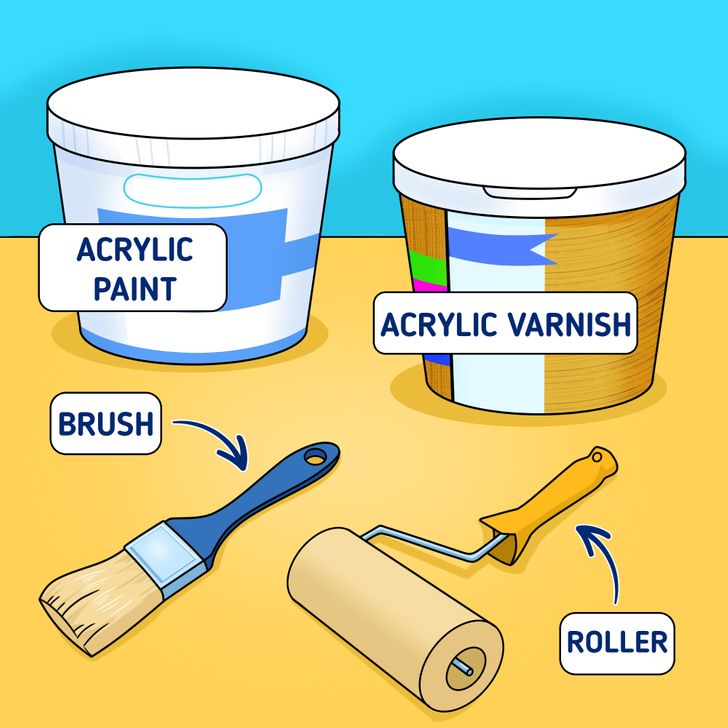
You will need:
-
Paint. The best option is acrylic paint. It almost doesn’t have a smell and can be diluted with water. If you want your wardrobe to be painted in different colors, buy them, but keep in mind that saturated shades will require more than one jar. You can also purchase acrylic enamel spray paint. It’s easier to apply, but you have to take into account the spray radius to avoid painting everything around you.
-
Acrylic varnish
-
A brush
-
A roller

Stages of painting:
-
Dilute the paint to the necessary consistency. Add color if you want to.
-
Apply the first coat of paint. If you are not using spray paint, use the roller for large parts and the brush for small parts and corners.
-
After the first coat of paint has dried, apply the second one. Usually 2 layers are enough, but you can add another one. Remember to move the brush and roller in the same direction.
-
When everything dries, varnish the surface.
-
Assemble the wardrobe and enjoy the results!
