How to Waterproof Wood
Waterproofing wood will enhance its natural color. It can also help prevent scratches, mold, and mildew. With that in mind, 5-Minute Crafts has come up with a guide on how you can do this by yourself.
Step 1
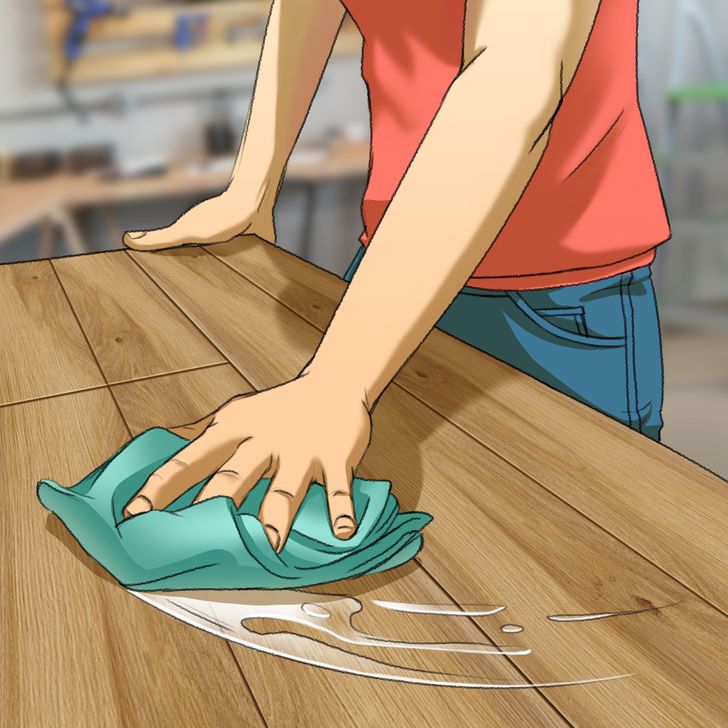
- Use a general cleaner to remove any dirt, mold, and mildew.
- Let the surface dry completely before starting the next step.
Step 2
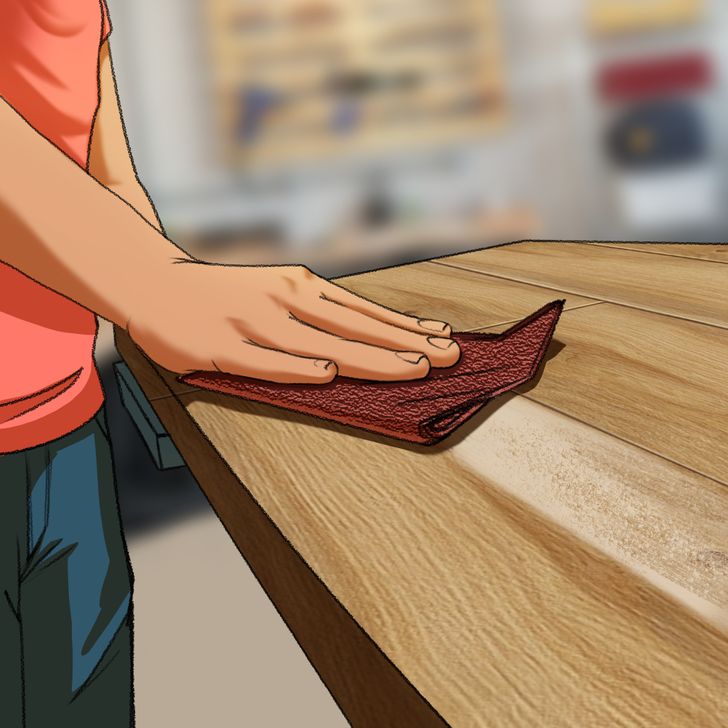
- Sand down the wood with rough sandpaper.
- Finish it with finer sandpaper to make it smooth and even.
- Wipe the surface of the wood to remove any leftover residue.
Step 3
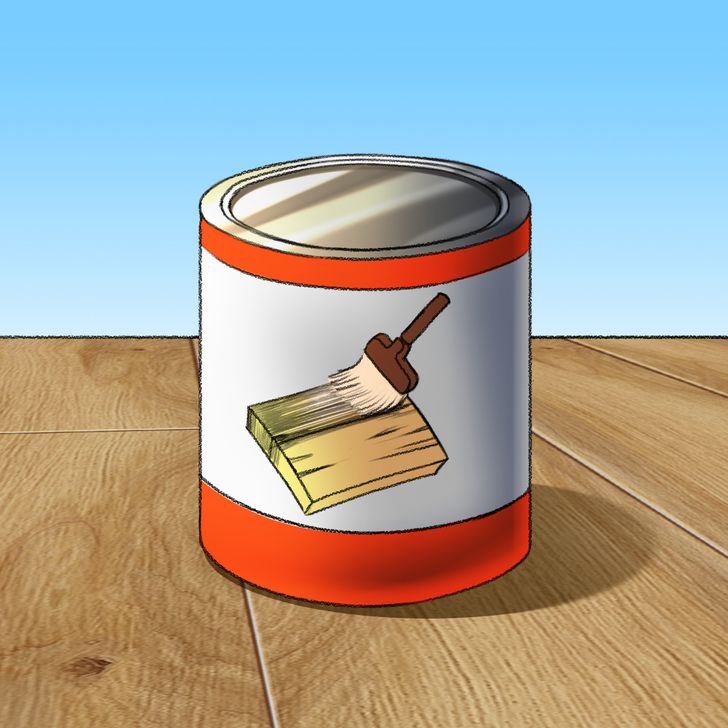
- Pick a stain or sealant that works for your wooden surface.
Note: They’re usually sold exactly for the application that you need them for.
Step 4
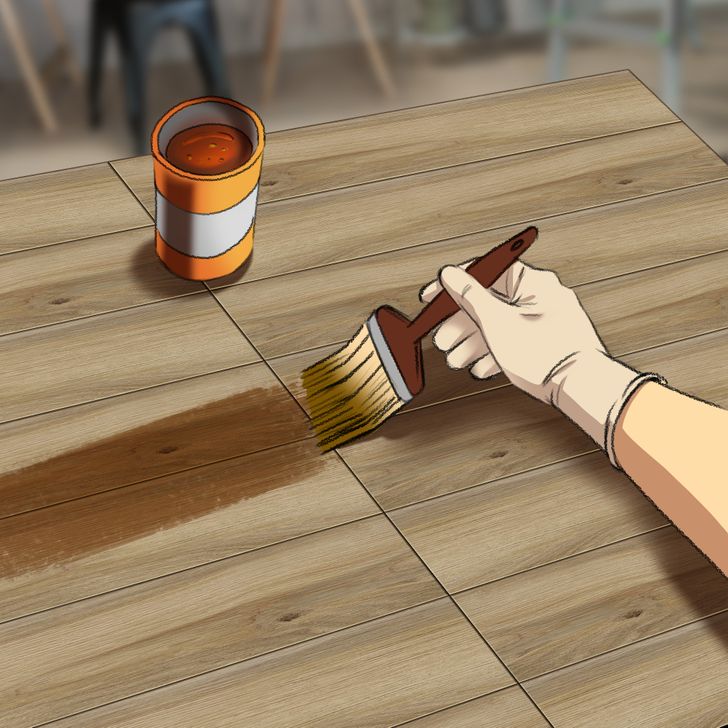
- Apply the stain or sealant to the wood’s surface.
- Sand the surface so that the next layer you will put on sticks better.
- Wipe down the surface with a dry cloth after sanding it.
Note: Use very fine sandpaper for this.
Step 5
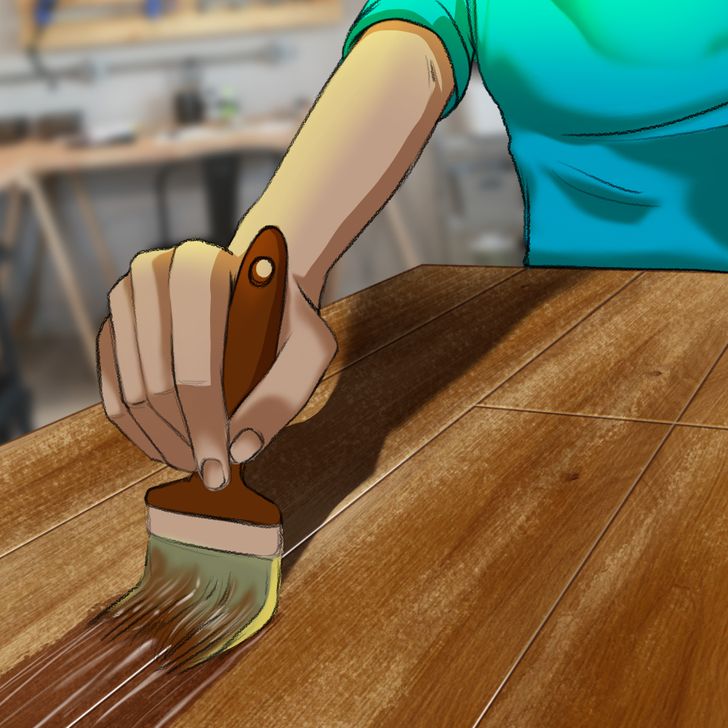
- Apply the next layer of stain or sealant.
- Let it dry for 4 to 10 hours.
- If necessary, you can sand the surface again and then apply more stain or sealant.
Step 6

- Let the wood cure for 3 days.
- Afterward, you can start placing things on top of it.
Share This Article