How to Make a Homemade Elizabethan Collar for Your Pet

Even though we don’t like to take away our pets’ freedom or mobility, sometimes we are forced to do it for their health. For example, there are times when it is important for them to not bite or lick an affected area. For this, using an Elizabethan collar can be of great help.
5-Minute Crafts will show you a cheap and easy way to do this at home with materials that you can easily get.
Equipment

- Thin cardboard or poster board
- Scissors
- A ruler
- A tape measure
- A needle or string
- A hole punch
- A pencil or pen
Procedure

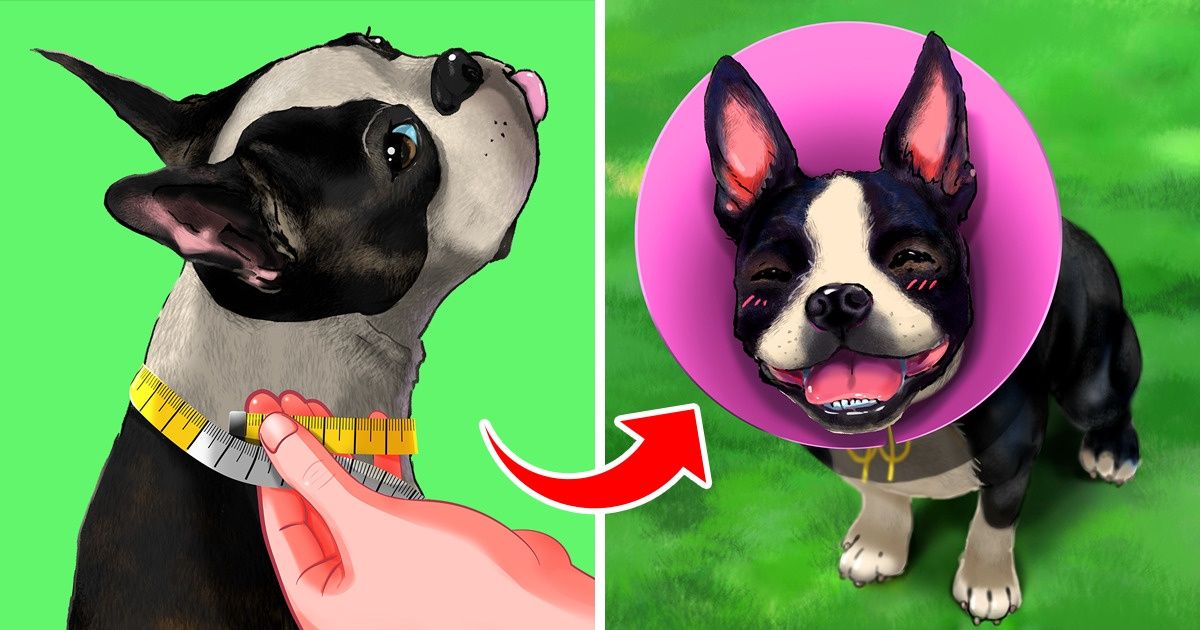
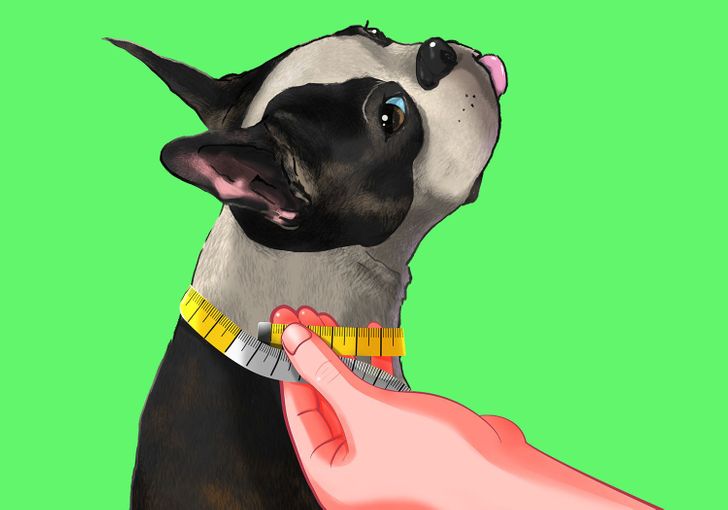
1. Measure your pet’s neck with a tape measure. If you don’t have one, you can improvise with a piece of string. In addition to the measurement, leave an extra inch or a bit more (3 cm) to adjust the size so that it is not too tight.

2. Mark that measurement on the cardboard with a pencil.

3. Without removing the tape measure, make a mark in the center. Right at the center mark, hold the tape with one finger and with the other end and a pencil, trace a semicircle by moving your hand to the right or left, whichever is easier for you.

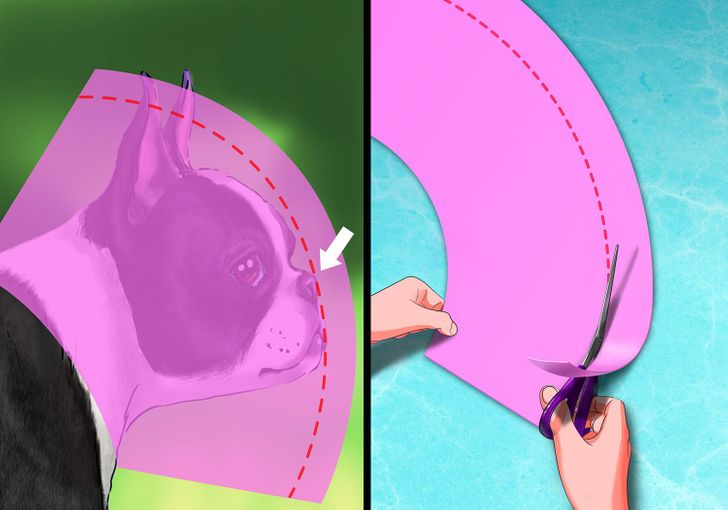
4. Leaning on the semicircle you traced, measure about 6 to 8 inches (15 to 20 cm) upward to trace a larger semicircle.

5. Connect each point you marked to make a semicircle bigger than the first one. You should be left with something similar to a donut cut in half.

6. Using a cutter or scissors, cut the small semicircle and the excess of the large one.

7. Check to make sure the size is appropriate for your pet. If it is too big, cut a few more inches to fit your pet’s size.

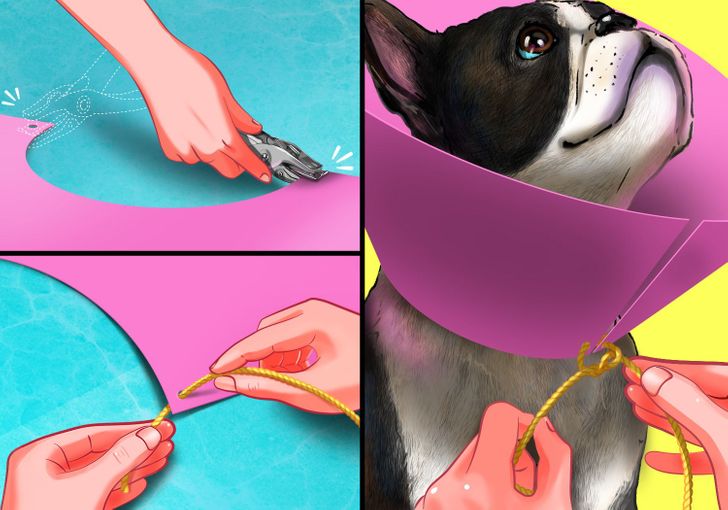
8. To fasten it so that it does not come loose, you can make some holes with a hole punch and tie the ends with a shoelace, a ribbon, or a string. Another alternative would be to use tape or glue, or a few pieces of Velcro.
