How to Trim a Dog’s Nails at Home
Sometimes, we can’t get to a professional to trim our dog’s nails. In that case, we might have to do it ourselves at home. While many people avoid this task in fear of hurting the animal or because they don’t know how to do it correctly, it’s something that has to be done every now and then.
5-Minute Crafts would like to share a practical guide with tips to inform you about how you can trim your dogs’ nails safely at home. Keep in mind that this article only serves as an introduction to this type of task.
Step 1: Make sure you have the right tools.
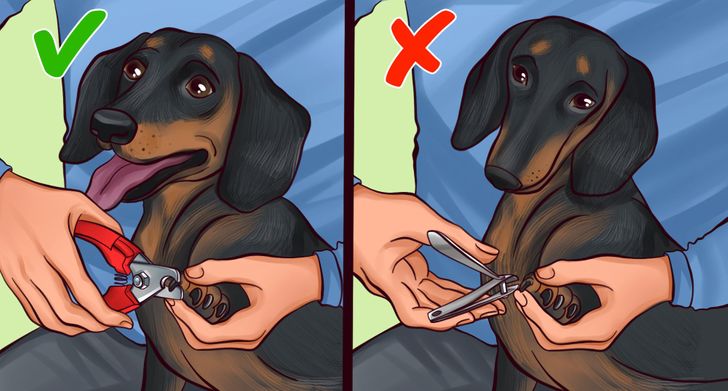
Some of the tools you can use to trim dogs’ nails are:
✔️ Nail clippers or special scissors for dog nails: These are the most suitable tools for the task. They’re also the ones that are recommended in most cases, and you should own a pair of these if you have a dog. You can get them at any pet store or even order them online.
✔️ Nail file: If you need to fix your dog’s nails urgently and don’t have the right tool to do it or can’t get to a professional, a file could possibly be your second-best option for the task. But remember, you have to be extremely careful and use it only in emergencies.
The tools that you should never use are:
🚫 Regular nail clippers for humans
🚫 Regular scissors
🚫 Dull tools
🚫 Rusty tools
Step 2: Create a comfortable and relaxing environment for the dog.
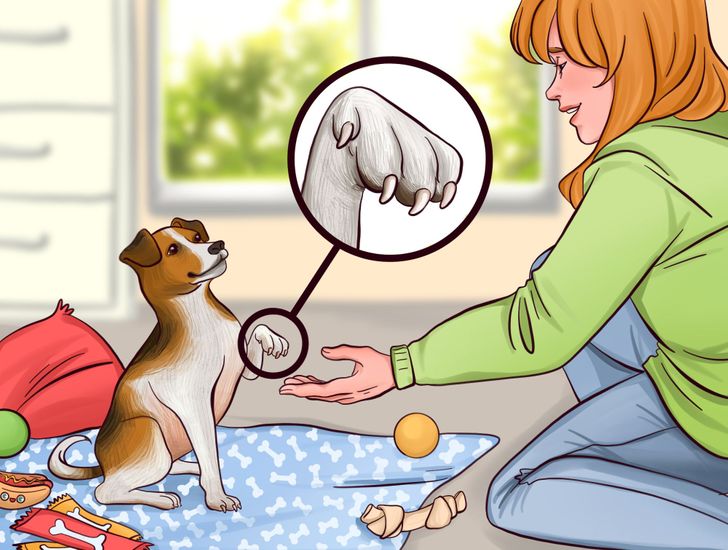
Create a calm, cozy, and well-lit environment for your pet to relax in. You can place their favorite blanket nearby and pet them on it. The idea is to show them that nothing bad is going to happen and that while this might be an unusual situation, there’s nothing to worry about. Doing that will make the whole process way easier and prevent the dog from getting startled, which could hurt both the animal and you. If the dog still won’t stop moving, the best thing to do is ask someone to help you hold them or even postpone the task and go to the vet.
Step 3: Examine the dog’s paw to know where to cut.
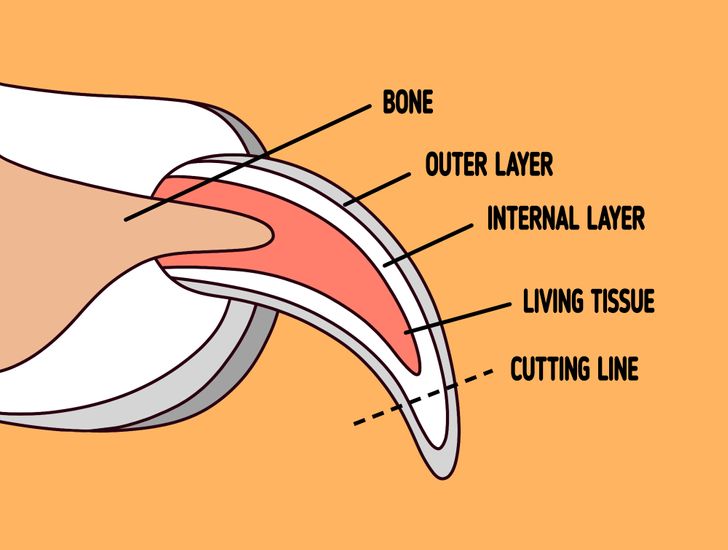
The dog’s nail has a very peculiar structure, as you can see in the image above. Please take the time to understand the image before starting. Keep in mind that the only thing you have to cut is the excess internal layer without touching the living tissue. You can spot where the living tissue starts with the naked eye by placing the dog’s paw on the floor or holding it up to the light. The nail should be at the same height as the paw pad or at the same level as the floor, but without touching it.
Step 4: Cut one nail.
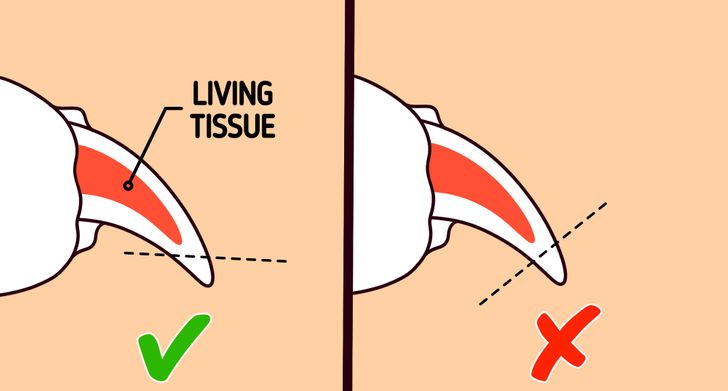
Hold the paw with your hand, and make sure not to rub the paw pads too much, as this may tickle the dog and cause it to move. Take the canine nail clippers or special scissors and make a straight, clean but safe, quick cut.
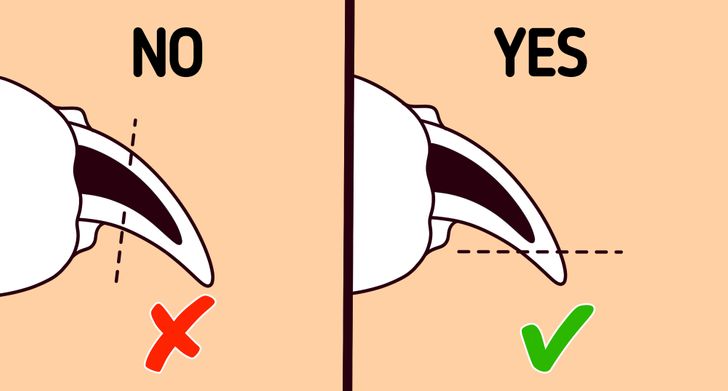
You should never even come close to the living tissue part of the claw, as cutting it will cause an extremely painful injury to your dog. You’ll see bleeding and a wound that could lead to further complications.
You can start by cutting slowly, one millimeter at a time. When you notice that a pink or gray oval begins to appear on the surface of the nail, that’s where you should stop: this is a sign that you’re getting close to the living tissue.
If your dog’s nails are dark and this prevents you from seeing where the living tissue starts and the nail ends, it’s better to go to a professional and let them do the work for you. You can cut slowly until you see a black spot in the middle of the nail, but this is a risky practice. A veterinarian or dog groomer will be more effective in this case.
Step 5: Check for injuries.
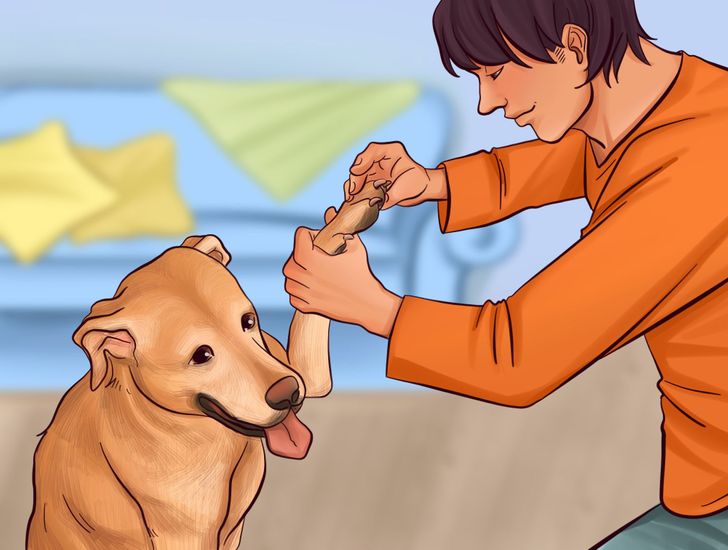
After trimming your dog’s nails, you should always check that nothing went wrong. Be on the lookout for small bleeds, especially when touching the clipped nails. Your dog shouldn’t feel any pain when they’re touched. If you notice that your pet’s paw hurts or if it starts to bleed, it’s best to go to the veterinarian. If everything is all right, you can cut the other nails.
Step 6: Reward your dog.
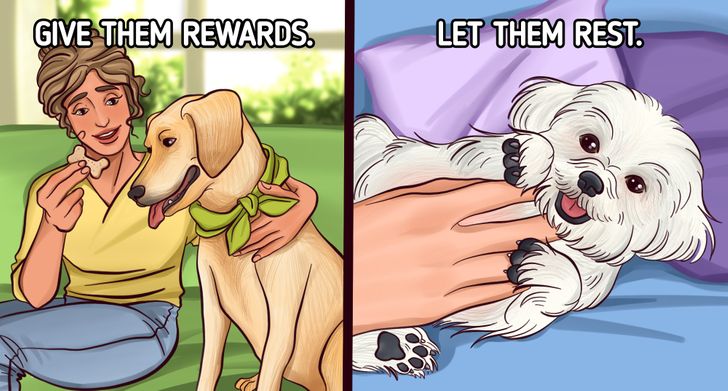
In addition to showing your dog constant affection, it’s also important to make sure they feel rewarded every time you finish cutting one nail. That way, they’ll feel motivated and happy. You can pet them and even offer them a treat. They’ll be more than grateful.
If you notice that they start to get uncomfortable or exhausted, it’s better to take a break for a few minutes. Otherwise, the dog may associate nail trimming with a tedious task and become upset or fearful upon looking at the nail trimmer. The most important thing in this whole process is that the dog feels good and comfortable, as this will ensure their safety and well-being.
Tips:
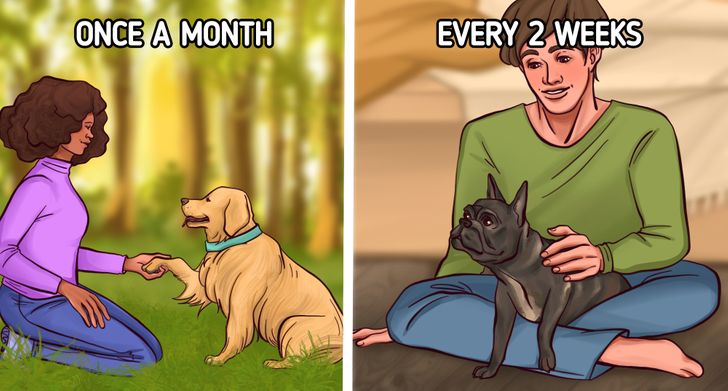
How often you should cut your dog’s nails depends on many factors. There isn’t a specific time frame for that. Some of the things you should take into account are:
- How much your dog exercises: the more you run and go for walks, the more your dog’s nails will naturally wear down, which can delay trimming.
- Breed: Generally, nails grow much slower in medium and large breeds, while they grow faster in smaller dogs.
However, in general, trimming should be done, more or less, once a month if the dog belongs to a large breed and every 2 to 3 weeks if we’re talking about a smaller breed.
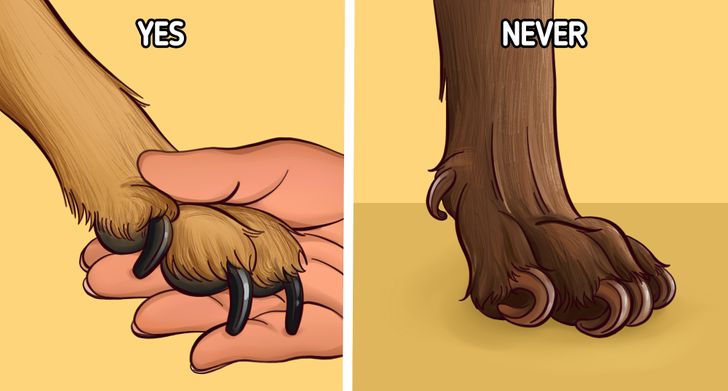
✔️ A good way to know when to trim a dog’s nails is to check them every week. If you notice the nails make a clicking sound on the ground when the dog walks, if they start to curl, or if the dog has changed the way it moves, it’s time to trim them.
✔️ It’s important to get the dog used to nail trimming during puppyhood. This way, they’ll be able to familiarize themselves with the process and understand that it’s something normal that won’t hurt them as long as they’re relaxed.
🚫 The nail should never reach the point of curling. If this happens, consult a veterinarian or professional about how to proceed.
Note: Always check with a professional about the best way to trim dogs’ nails and the most appropriate tools to do so. This article can’t replace professional advice, and its content is merely introductory.