How to Be Able to Run Mobile Apps on Your Computer
Mobile apps have become the primary source of information and entertainment for most of us — the number of mobile apps people use has already surpassed their desktop counterparts. Additionally, there are also apps that are limited in their browser counterpart, as is the case of Snapchat, which recently became available on PC, but with a limited feature set. This makes mobile apps a necessary commodity of the modern world.
However, you may find yourself in a situation where you have no app-friendly devices on hand. Luckily, you can use tools on your personal computer to run these apps without the need for a tablet or a phone.
❗ Important: The mobile apps that will be available on your computer will depend on whether you’re running Windows 11 or macOS, as well as the country you’re in, like in the case of Windows 11.
System requirements
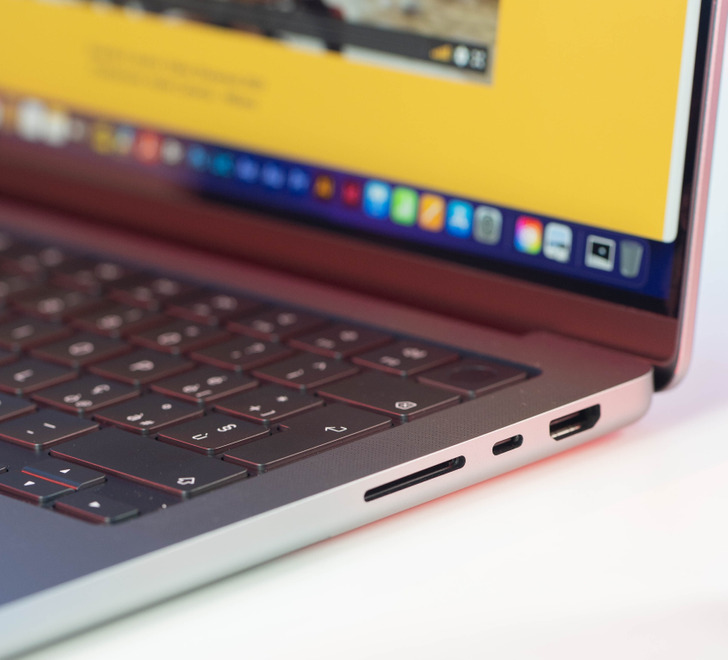
Determining whether your computer can run Android apps is a different process for Windows and macOS machines. If you have a Windows computer, you will need to be running Windows 11, have at least 8 GB of RAM, and have a somewhat capable processor. If you have a Mac, you will need a device that is powered by the M1 chip, which was released in late 2020, to be able to natively run iPhone or iPad apps. In fact, any Macbook that is labeled with the Apple Silicon processor architecture will work.
Please note that using a Windows 11 computer will give you access to Android apps, specifically the ones available in the Amazon Appstore, though its availability as a service will depend on your country. Using an M1-powered Mac will let you get apps from the App Store, but app developers may choose not to make them available for Macs.
1. How to run Android apps natively from your Windows computer
Windows can run Android apps thanks to its very own Windows Subsystem for Android, which is installed automatically when you install either the Amazon Appstore or any Android app from the Microsoft Store.
In order for this process to take place, it is necessary to have virtualization enabled in your device. It is likely that this feature is already enabled in your system, but you may have to turn it on manually by going into Windows Features.
Installing and using the Amazon Appstore
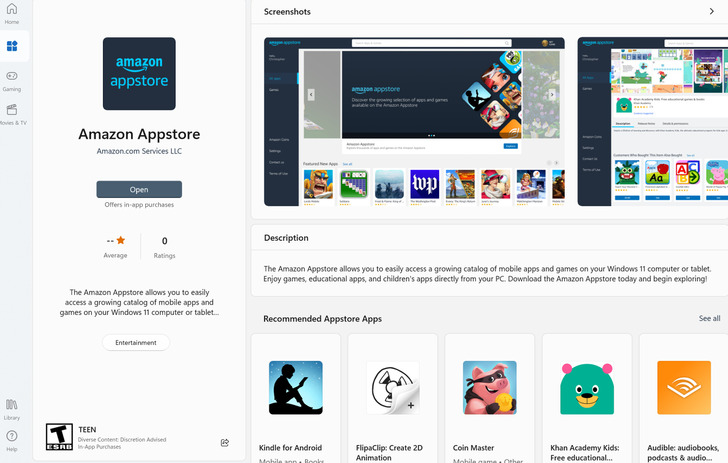
To install the Amazon Appstore, simply open the Microsoft Store app on your computer and look it up. If your system complies with all the requirements, you can press “Get” to install the app and “Open” after the installation process is done.
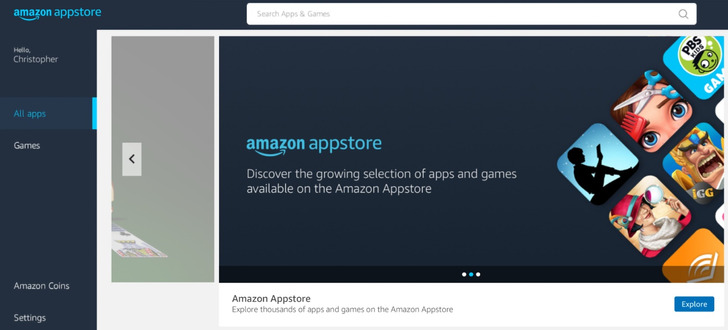
When you open the Amazon Appstore app on your Windows computer, you will be prompted to enter your Amazon log-in credentials, which means you will need an Amazon account to download apps to your computer.
The same process must be repeated inside the Amazon Appstore to find apps. Once you’ve found one, just press “Get” to install said app on your computer. Once it has been installed, you will be able to open the app and run it natively from your device.
Since the app will be installed on your computer, you will be able to tinker around with its settings. To access your app’s settings, you must look for it within the Apps & Features tool. Once there, you will find the apps you have installed from the Amazon Appstore, and you will be able to adjust their settings.
2. How to run iOS apps natively from your Macbook
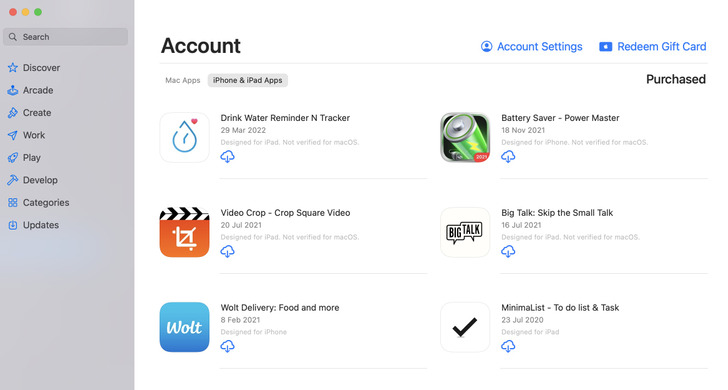
The process for Macbooks is more streamlined, as you will only use your Mac’s App Store. The first option you have is to download apps you have previously purchased or downloaded onto your Macbook. To do so, open the App Store on your Mac, and then click on your name in the bottom-left corner to go into your account’s page. There, you will see all the apps associated to your Apple ID, but if you click on iPhone & iPad Apps, you will see the mobile apps you have downloaded that will work on your Mac.
Alternatively, you can look for new apps this way. Just search for the app you want on the App Store and, once again, click on iPhone & iPad Apps on the results page to see all the apps that can be opened from your Mac that match what you searched for.
Using your iOS apps on your Macbook
If you have previously purchased or downloaded the app you want to use on your Macbook, you will find an iCloud download button under the app’s name. Alternatively, if it’s a new app for your Apple ID, you will find a button that will state the price of the app, or a “Get” button in case the app is free. Clicking on any of these 3 buttons will install the app on your Macbook.
Pay attention to the label under the app’s name. There is a chance that the label will state, “Not verified for macOS,” under its name, which means that there is a possibility for performance-related issues, as the app was not designed to run on a Macbook.
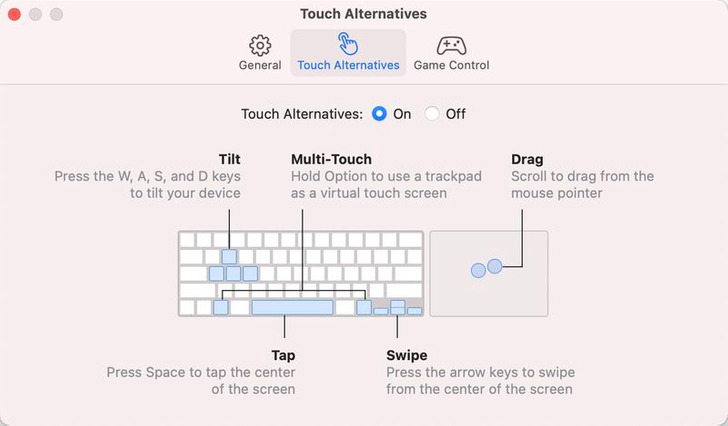
MacOS has a built-in system that will allow you to use and interact with your app just as if you were using it on your phone or tablet. For example, you can hold the Option key down to use your trackpad as a touch screen. These additional options, known as Touch Alternatives, also include other actions, such as multi-touch, swiping, and tilting your device.
To turn on these options, you need to go into the settings of the app you are using. Inside the settings, you will have to find a tab called “Touch Alternatives,” where you will be able to turn them on. You can also set up a third-party controller on this page.
Do you use your computer more than your mobile devices? Is there any app that you wish had a desktop version?
