How to Boot Up Your Computer From a USB Drive
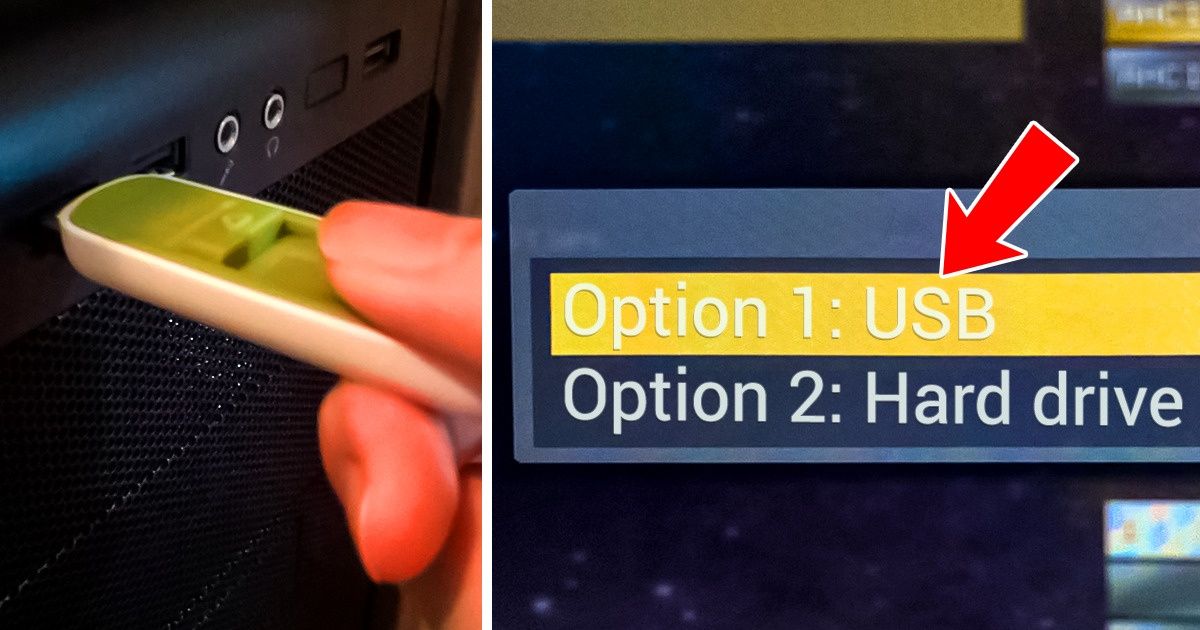
Knowing how to boot up your computer from a USB drive might come in handy when you need to install Windows, and your computer doesn’t come with a CD drive. With that in mind, 5-Minute Crafts has come up with a guide on how you can do this.
On a Mac device
Step 1
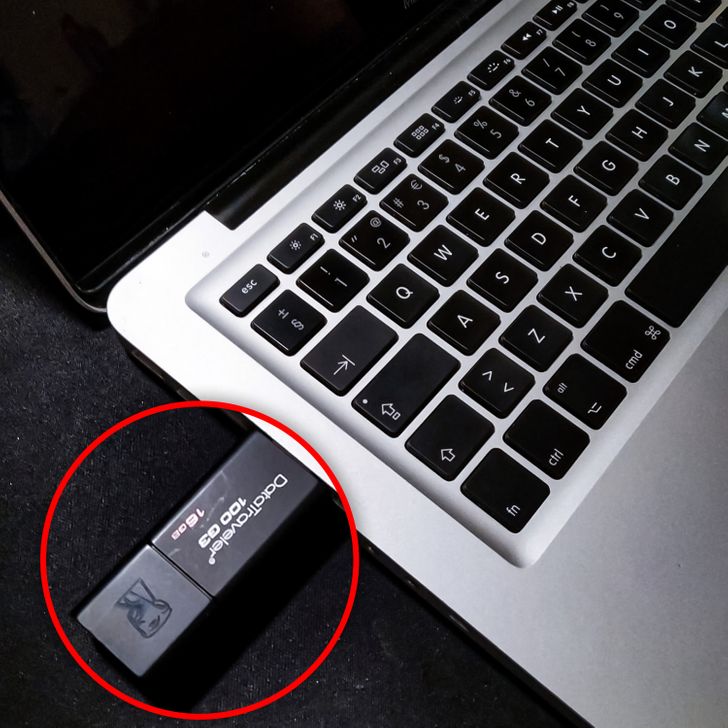
- Insert the USB drive into your computer.
- Turn on or restart your computer.
Step 2
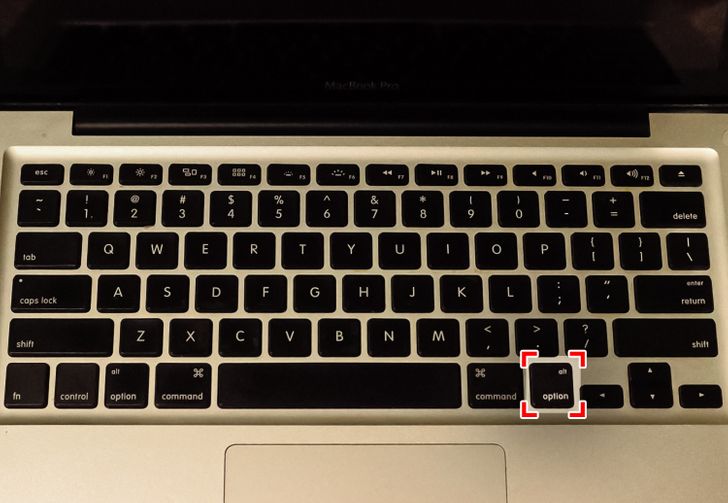
- As soon as you hear the startup sound, press and hold the option key.
- After the Startup Manager screen appears, you can let go of the option key.
Step 3
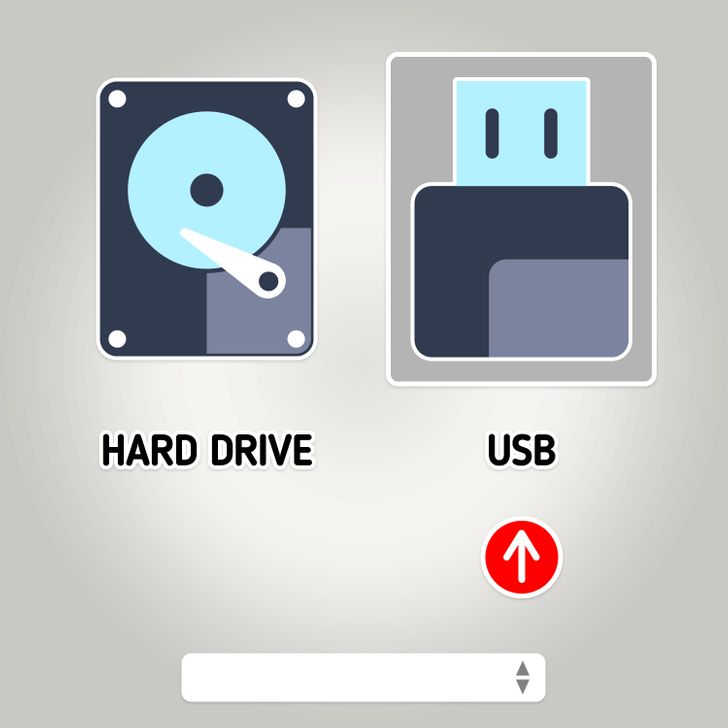
- Select the USB drive you wish to boot from, using your mouse or arrow keys.
Note: Your Mac will only show USB devices that have bootable content in them.
On a Windows device
Step 1
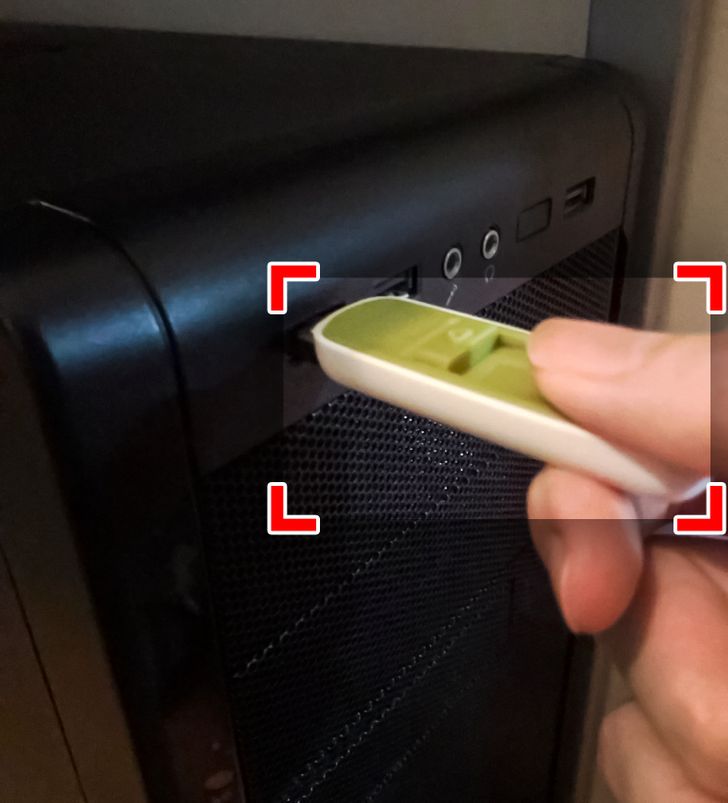
- Insert the USB drive into your computer.
- Turn it on.
Step 2
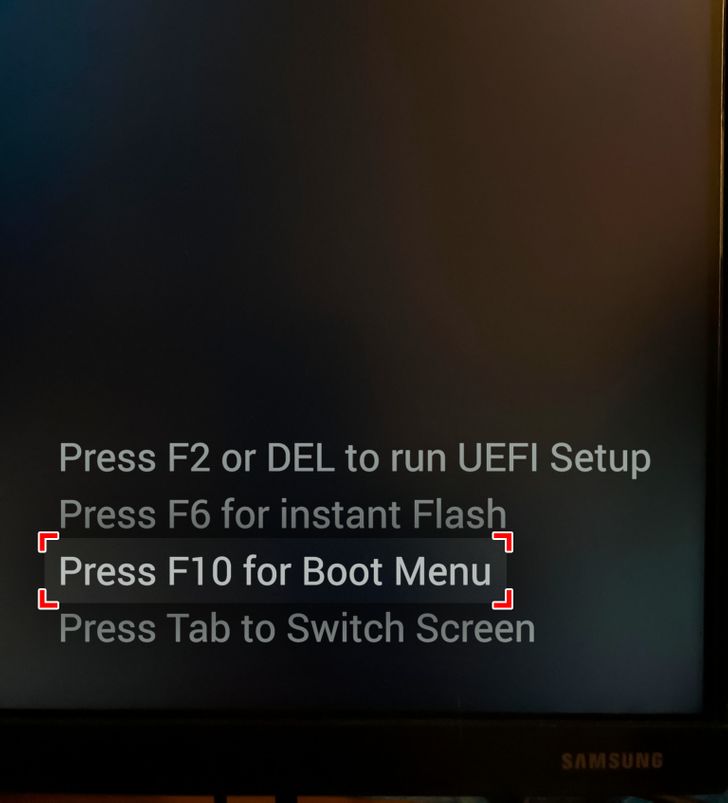
- Now, depending on the BIOS on your computer, you’ll need to press either ESC, F1, F2, F8, or F10. A menu may appear.
- Use the arrow keys on your keyboard to select the BOOT tab. This will show all of the available system services displayed by their boot priority. You’ll need to reorder them.
- Move USB to the first boot sequence.
Tip: If you can’t find USB, or Removable Devices, on the options to choose from, that means your BIOS might be listing it under Hard Drive Devices. You’ll need to:
- Expand to show all hard drive device options.
- Move Hard Drive Devices to the top.
- Then, move USB to the top of the Hard Drive list.
Step 3
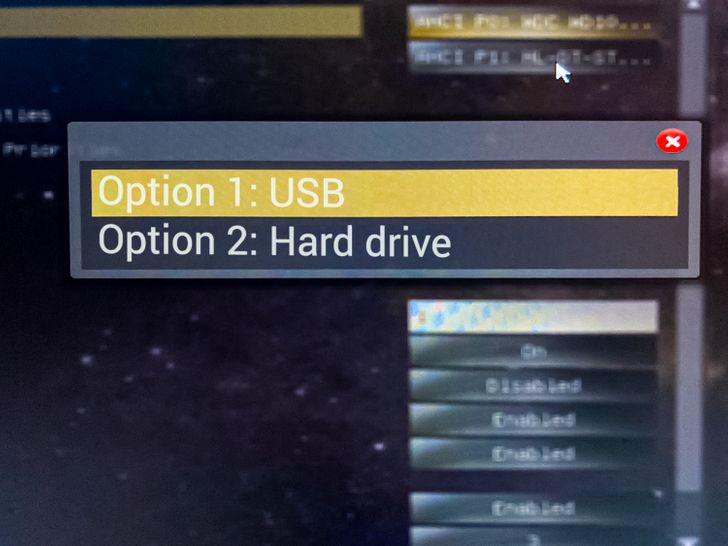
- Save and exit the BIOS. The computer will restart and boot from the USB drive.
Note: Stay alert because you might need to “click any key” if asked by the BIOS. If you don’t “click any key,” the computer will move on to the next booting device on the list (probably your hard drive).
Share This Article