How to Charge a Kindle
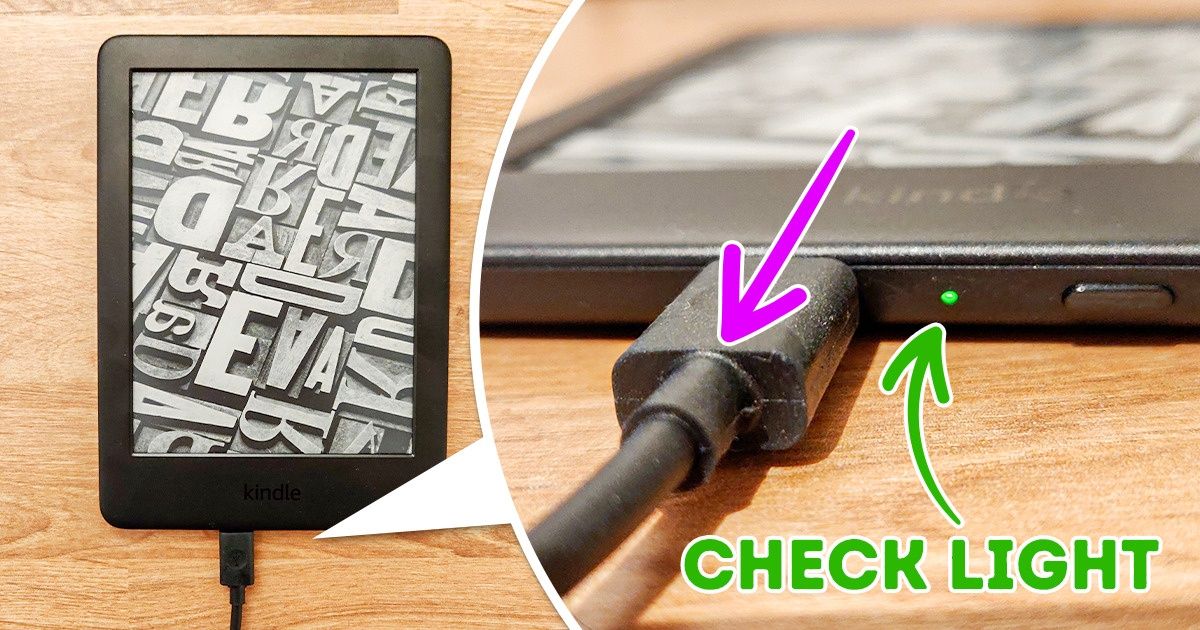
There are several ways to charge your Kindle. No matter what type of reader you have, you can connect it to your computer or laptop, or use it a power outlet. 5-Minute Crafts is ready to show you how to do it the correct way.
Way #1: Use a computer.
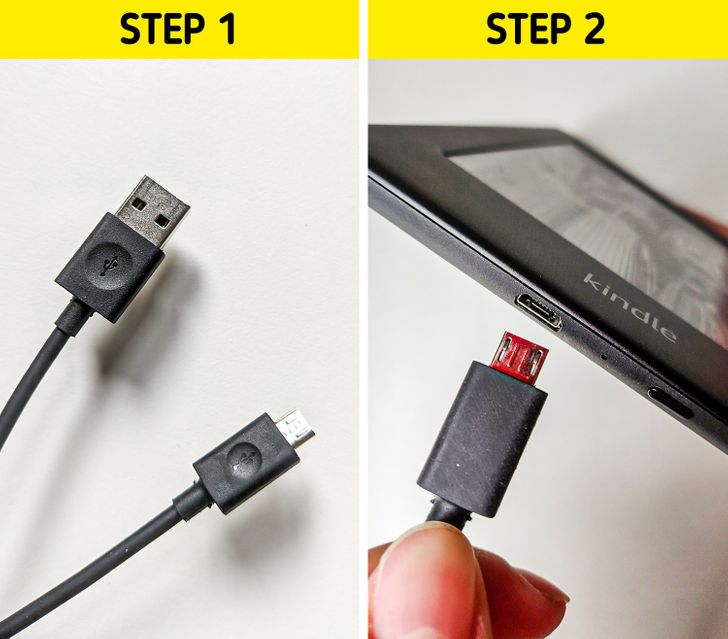
Step 1: Get the proper cable. Your Kindle device comes with a supplied Micro-USB cable. It has a standard USB 2.0 connector on one end and a micro USB connector on the other. You can also use a similar cable if your original one got lost or broken.
Step 2. Plug the smaller end (Micro-USB connector) of the cable into the hole at the bottom of your Kindle device.
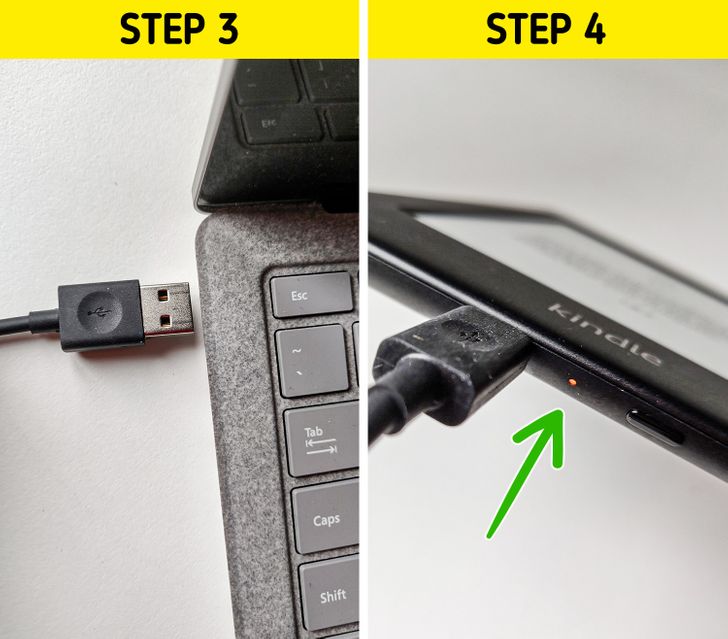
Step 3: Plug the bigger side of the cable (a standard USB 2.0 connector) into the USB port of your computer or laptop.
Step 4: Once you’ve plugged everything in, check the bottom of your Kindle, next to the cable port. There, you will see an amber light, indicating that the device is charging.
Way #2: Use a power outlet.
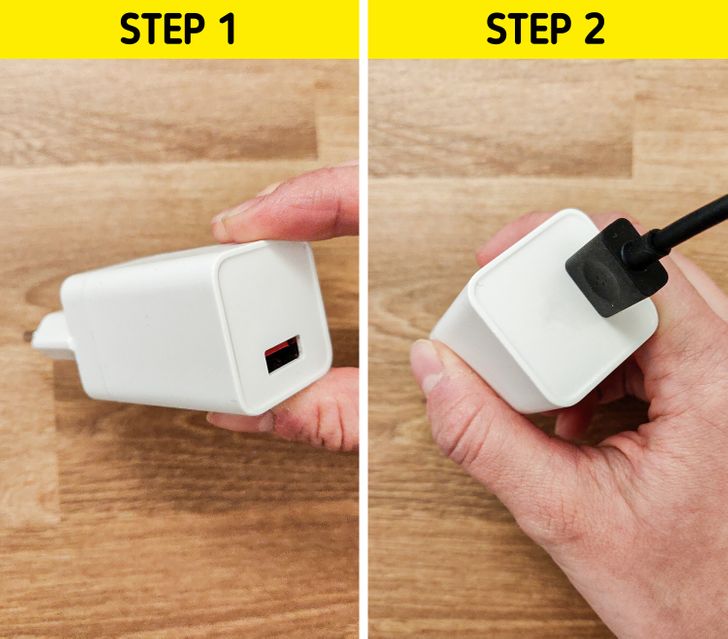
Step 1: Get a suitable 5W or 9W power adapter that has an input voltage range of AC 100-240V, 50/60Hz, and an output of DC 5V-1.8A. The adapter must also have a USB 2.0 port to plug in the cable.
Step 2: Plug the bigger side of the cable (a standard USB 2.0 connector) into the USB port of the adapter.
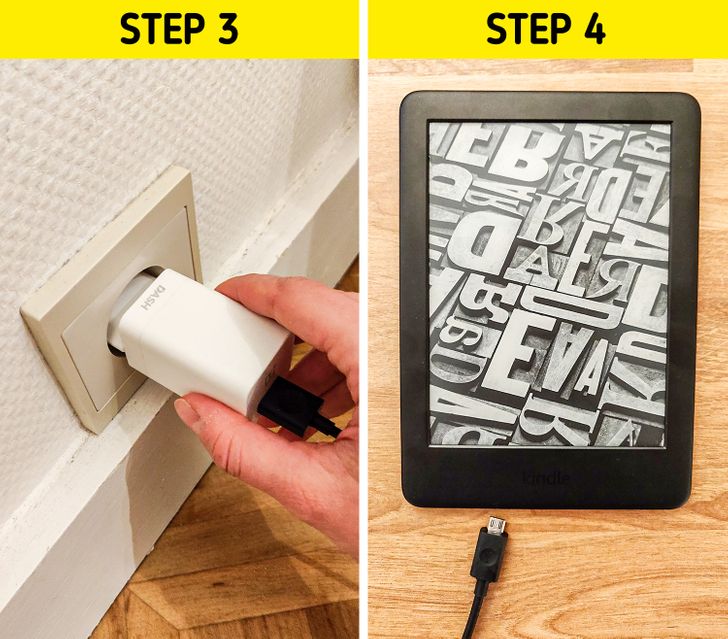
Step 3: Plug the adapter into the power outlet.
Step 4: Plug the smaller end (Micro-USB connector) of the cable into the hole at the bottom of your Kindle device.
How to know if your Kindle is charged
The charging time depends on what type of Kindle device you have:
- Kindle — 2 hours, 50 minutes
- Kindle Paperwhite 4 — 2 hours, 10 minutes
- Kindle Oasis 4 — 65 minutes
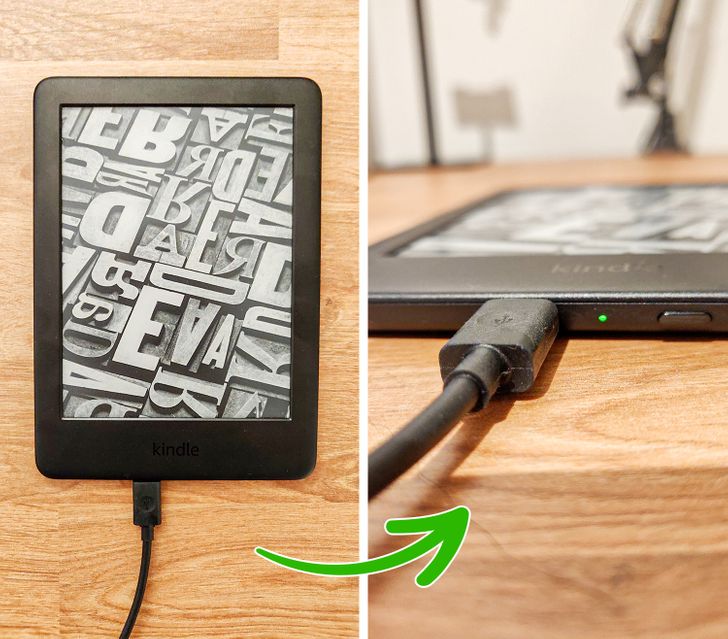
When the device is fully charged, the light next to the cable port will turn green.
Note: If you have problems charging your Kindle, try restarting it or plugging your power adapter into a different power outlet.