How to Charge a Power Bank
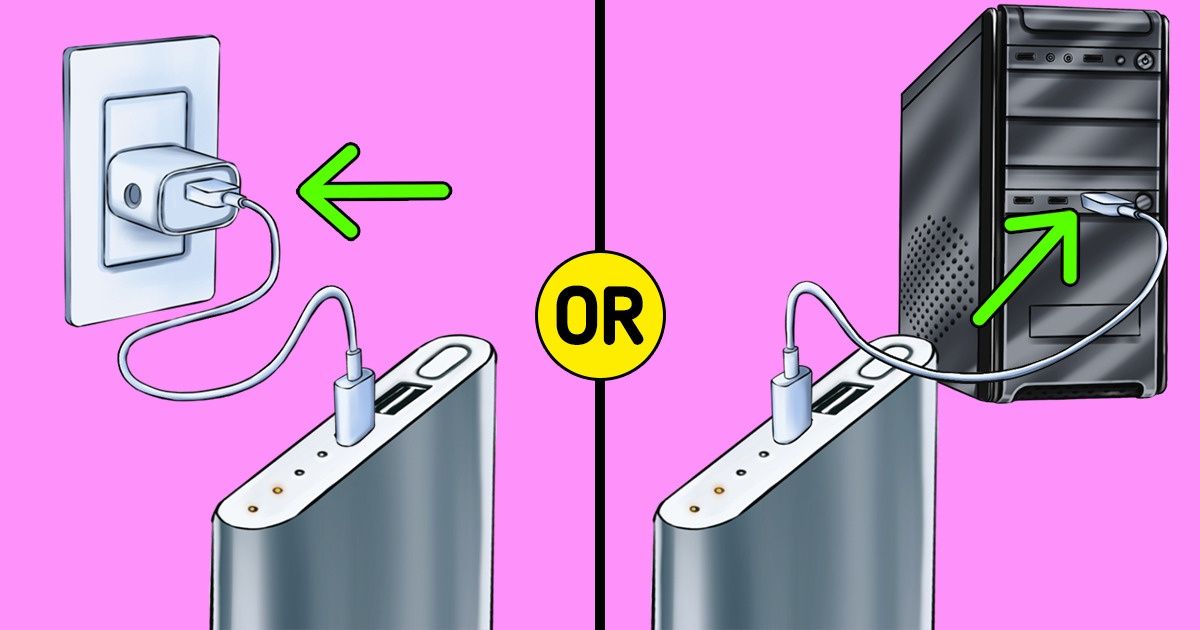
Power banks are a portable battery that can be extremely useful to charge other devices when you don’t have access to a regular charger. They come in several different shapes and sizes and are used to charge cellphones, tablets, cameras, and even laptops. But first, power banks also need to be charged.
5-Minute Crafts created a simple guide on how to properly charge your power bank.
Step 1: Check the LED lights.
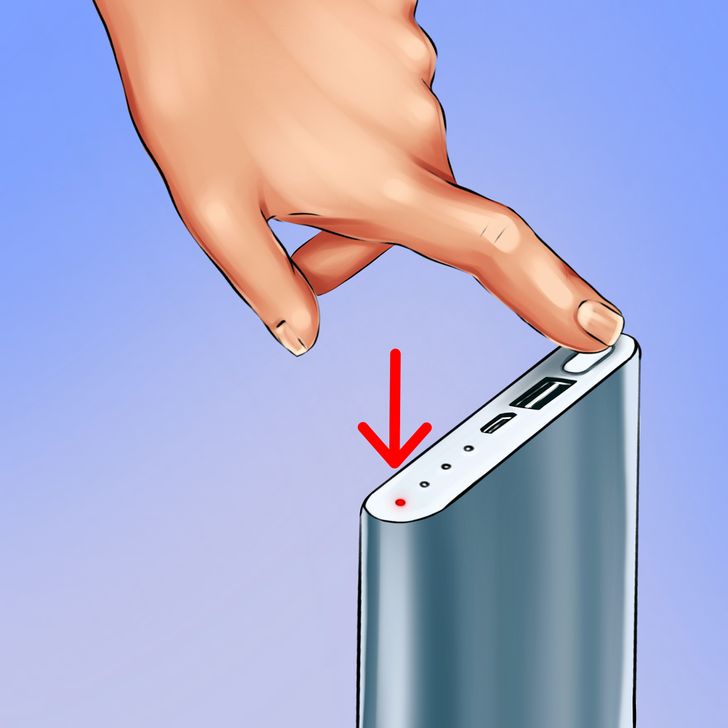
Most power banks have LED lights signaling the amount of battery they have left. To check how much battery your device has, press the check button once. The location of the button depends on the design of the power bank, but it’s usually located on the side. Depending on how much battery the device has, zero to 4 LED lights will turn on.
- If 4 lights turn on, it means the power bank is fully charged and doesn’t need to be charged.
- 3 lights mean the power bank is 75% to 50% charged.
- 2 lights mean the power bank is 50% to 25% charged.
- 1 light means the power bank is 5% to 25% charged.
- If no LED lights turn on, that means the power bank is completely dead.
Step 2: Plug your power bank into a wall outlet or a computer.
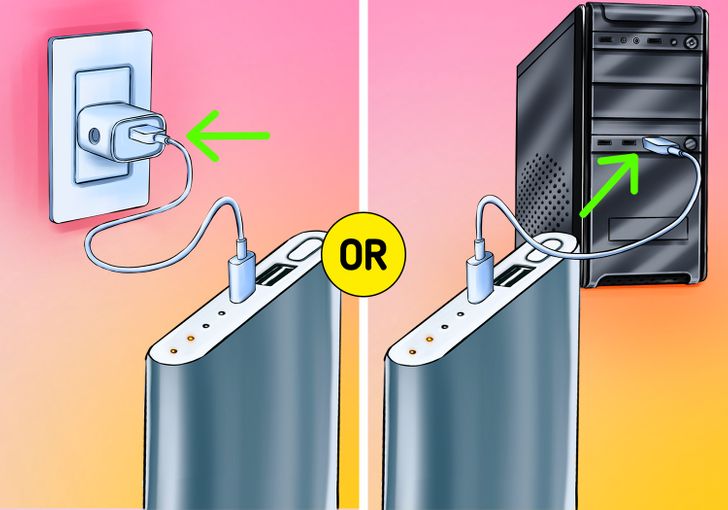
- Connect the cable that came with your power bank to the device itself.
- Plug the other side of the cable into a wall outlet or a computer (usually a USB port).
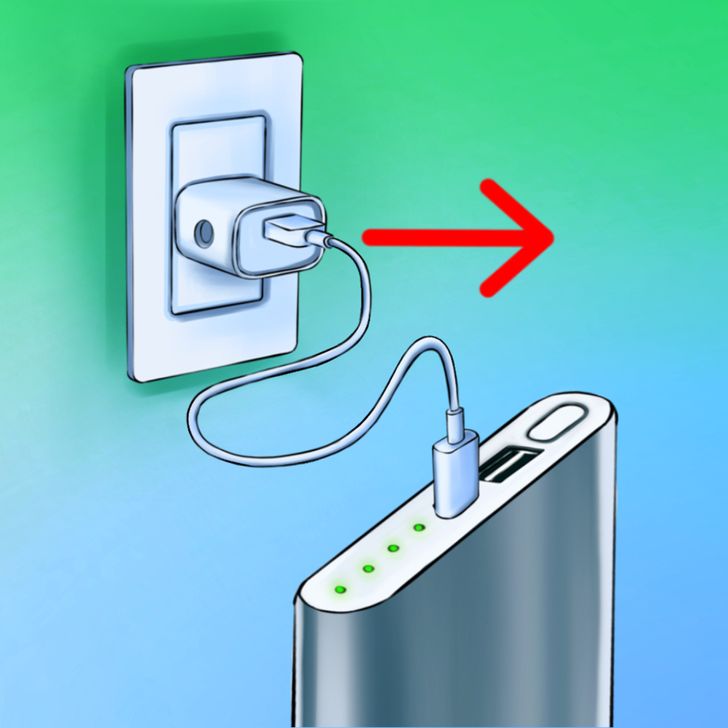
- Depending on the amount of battery your power bank has, 1 to 4 LED lights should start blinking, that means the power bank is charging.
- Once all 4 lights stay steadily lit, the power bank is fully charged. Unplug it from the computer or wall outlet.
Tip: Power banks can be charged whenever, but it’s typically recommended to not overcharge them and also to not leaving them to completely die, as this can lead to issues like battery damage, overheating, and decreasing the lifespan of your power bank.
Step 3: Make sure the power bank is charged properly.
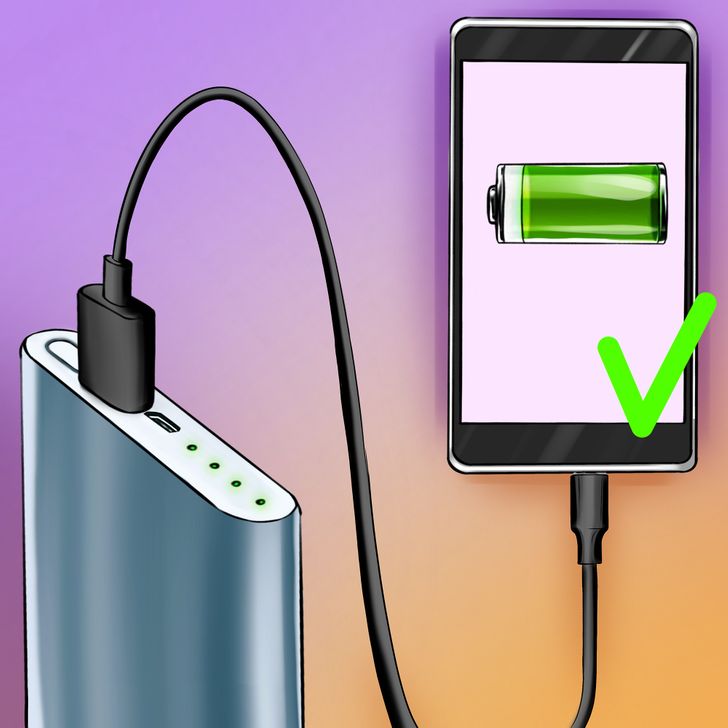
After charging your power bank, connect it to any electronic device that needs to be charged and the device should begin charging.