How to Remove Dust From Your Computer
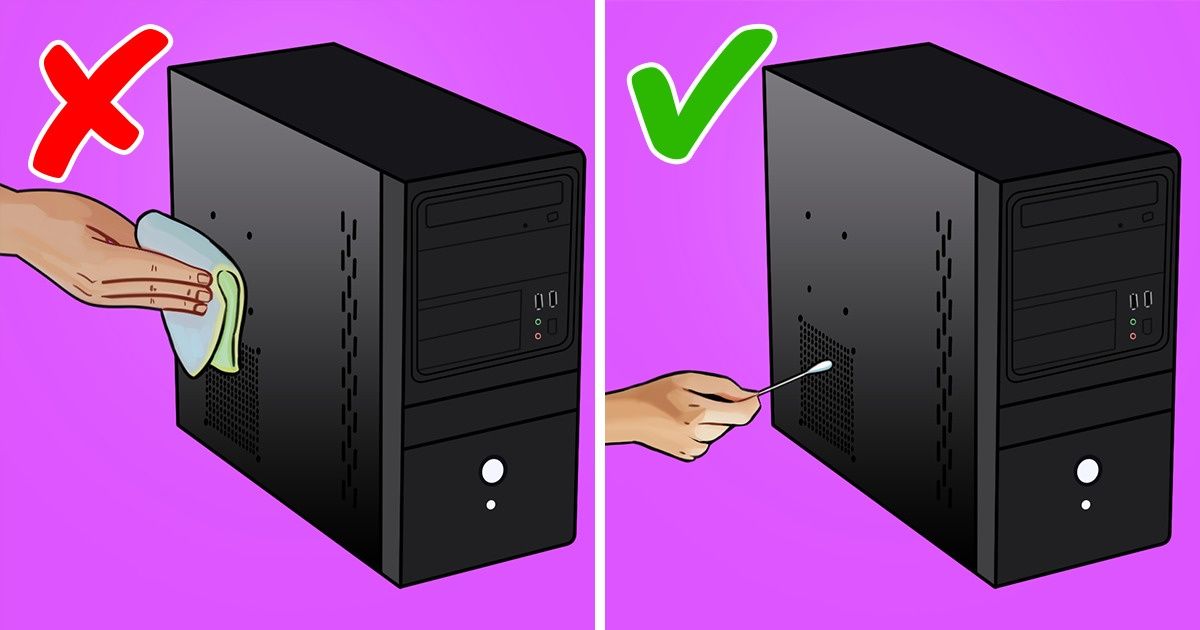
Laptop manufacturers recommend that users contact service centers if they want to remove dust from inside of their computer to not lose their warranty service. That is why, even removing the back panel of the laptop can be impossible without special tools sometimes. However, desktop computers can be cleaned at home, even if you are a novice user.
At 5-Minute Crafts, we recommend using this simple guide if you want to remove the dust that keeps your computer from working properly.
How to clean your PC monitor
You’ll need:
-
clean microfiber cloth
-
compressed air duster
-
distilled water (for stubborn stains)
-
white household vinegar (for stubborn stains)
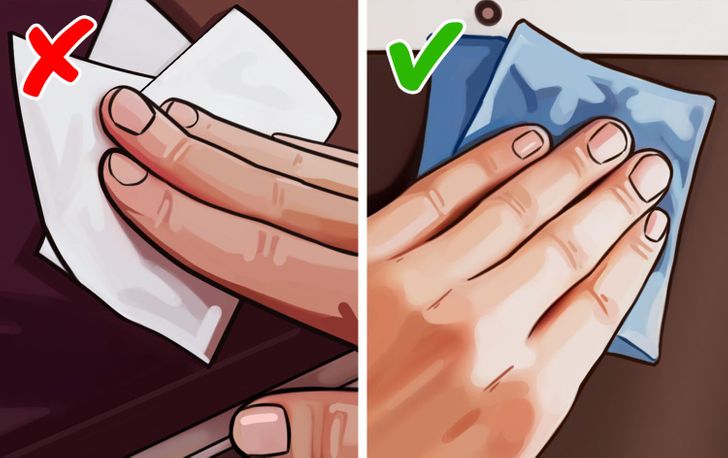
How to clean: Use compressed air to blow away dust while wiping the screen with a dry microfiber cloth. Its material is gentle to the surface, it attracts dust and absorbs oils. If you are dealing with stubborn stains, sprinkle a little water or a mixture of water and vinegar (at a ratio of 1 to 1) on the cloth. The cloth should be relatively dry so that the water or cleaning mixture doesn’t get inside your computer.
Tip: Don’t use paper tissues, they can scratch your monitor.
How to remove dust and dirt from the keyboard
You’ll need:
-
compressed air duster
-
cleaning gel
-
microfiber cloth
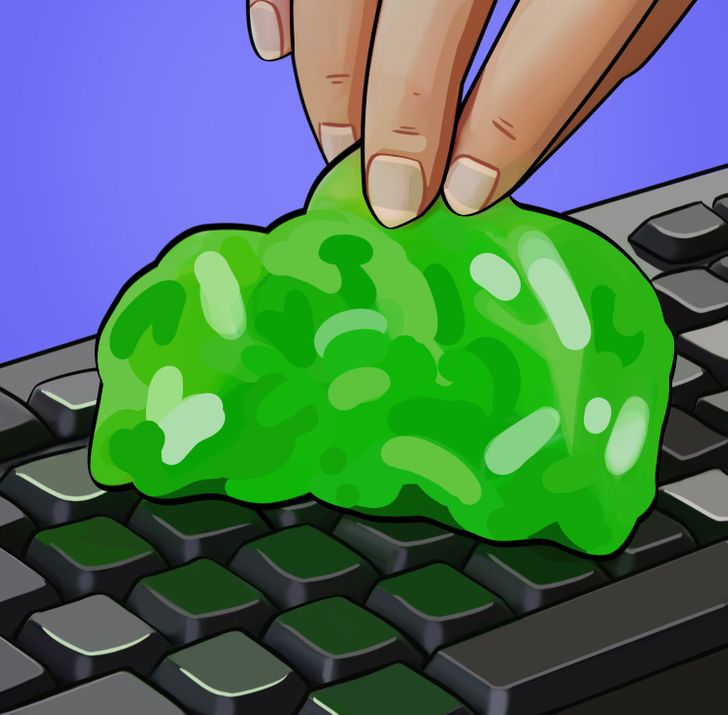
How to clean: Disconnect the keyboard from the computer. Turn it upside down and shake it over the table to get rid of any debris stuck between the keys. If the keys are removable, remove them before shaking. Use the compressed air duster with a straw to blow dirty spots out of the case. The cleaning gel will be helpful too — apply it to the keyboard keys letting it squeeze between the smallest cracks of your keyboard (including between the keys). Then remove it, it will suction up any crumbly bits or dirt it touches. Wipe the keyboard with a dry microfiber cloth.
How to remove dust from inside of the system unit
You’ll need:
-
compressed air duster
-
rubbing alcohol
-
cotton swabs
-
ESD gloves
-
a screwdriver
Step 1. Turn off your computer. Put on ESD gloves to protect certain PC components from potential damage from electrostatic discharge. Power off the system unit by removing the power cable. Take a photo of where all cables and cords are located, and then disconnect them from the system unit. This photo will help you connect them correctly later. It’s also recommended that you take a photo of the correct position of the components and their mountings before removing them. Then remove screws with a screwdriver and take off the system unit cover.
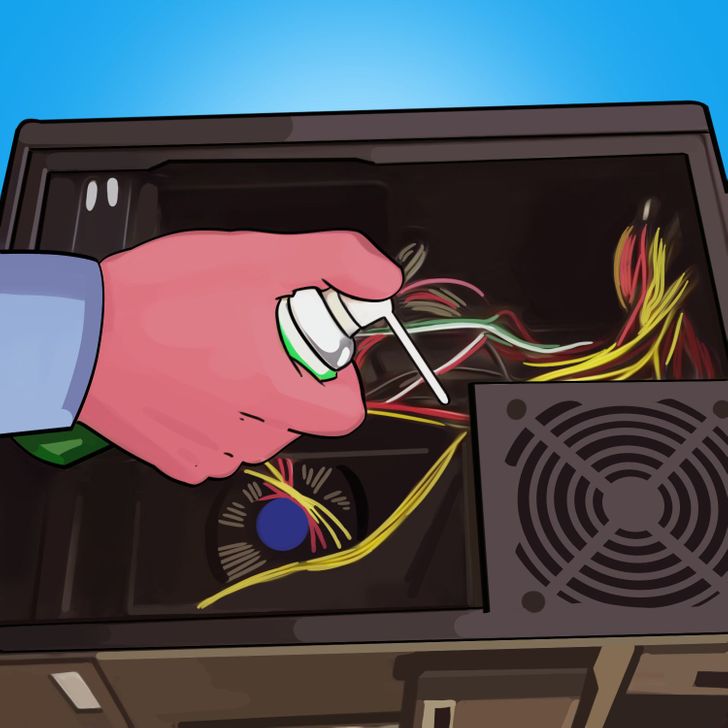
Step 2. Use compressed air to remove dust and debris from the inside of your computer. The duster usually includes a straw, with which you can blow out dust from hard-to-reach places. While working, keep the can at a distance of a couple of inches from the surface of the motherboard, processor, expansion cards, and computer memory. Press the spray button for a short period of time only.
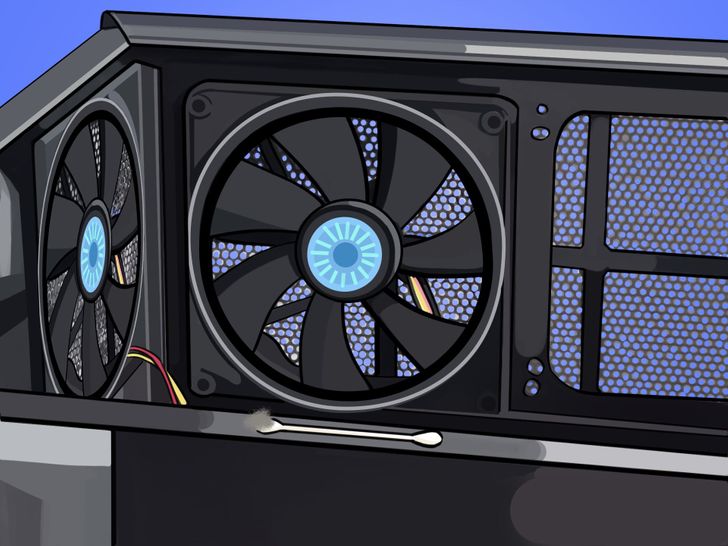
Step 3. Remove the dust buildup on your case fans with a can of compressed air. Hold the fan with your finger to keep it from spinning while you’re blowing the compressed air onto it. Fan blades can be delicate and may crack if spun too quickly. You can use rubbing alcohol and wipe the blades with a cotton swab as a finishing touch.
Tip: If the fans are hard to reach or extremely dirty, feel free to remove them from the case for easier cleaning.
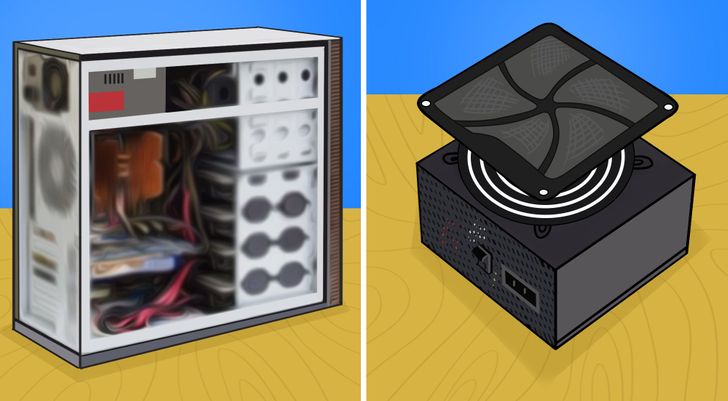
Step 4. Remove the dust buildup from the power supply using a can of compressed air. If your case has a dust filter underneath the power supply, be sure to clean the filter too.
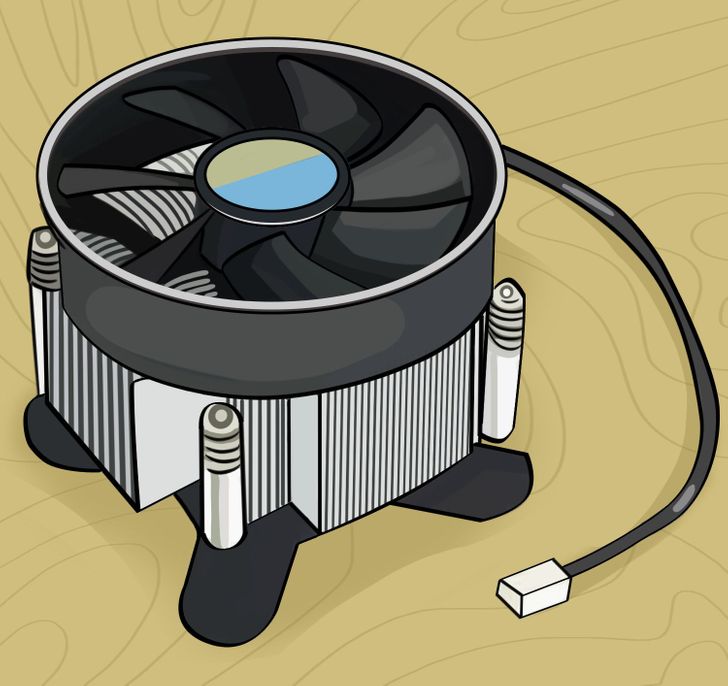
Step 5. The heat sink and fan that’s mounted on your processor should be cleaned as well. If the buildup is too heavy, you may need to remove the heat sink and fan from the processor to get it thoroughly cleaned.
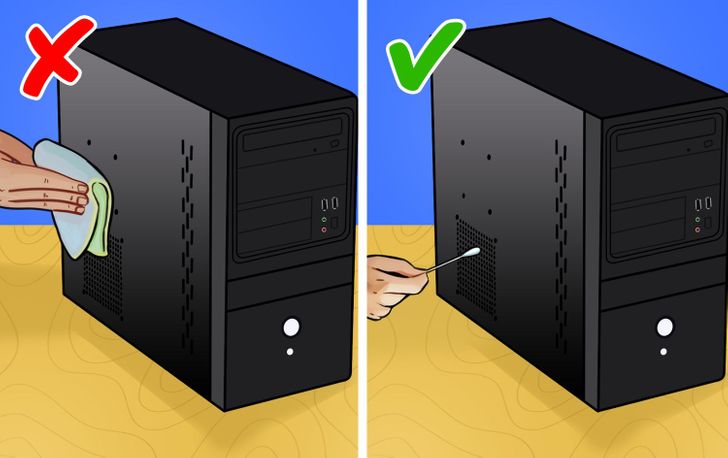
Step 6. Finally, dust off all the ports on the computer with compressed air and clean all the exterior vents with rubbing alcohol and a cotton swab (paper tissues and a microfiber cloth won’t allow you to clean the vents properly). Now assemble the system unit, connect all the wires, and plug in your computer. Done!
Tip: If you keep your computer on the ground or on carpet, try to remember to clean your computer every 6 months or so. If your computer sits on a desk, yearly intervals should be fine.