How to Screenshot on a Mac: 2 Methods
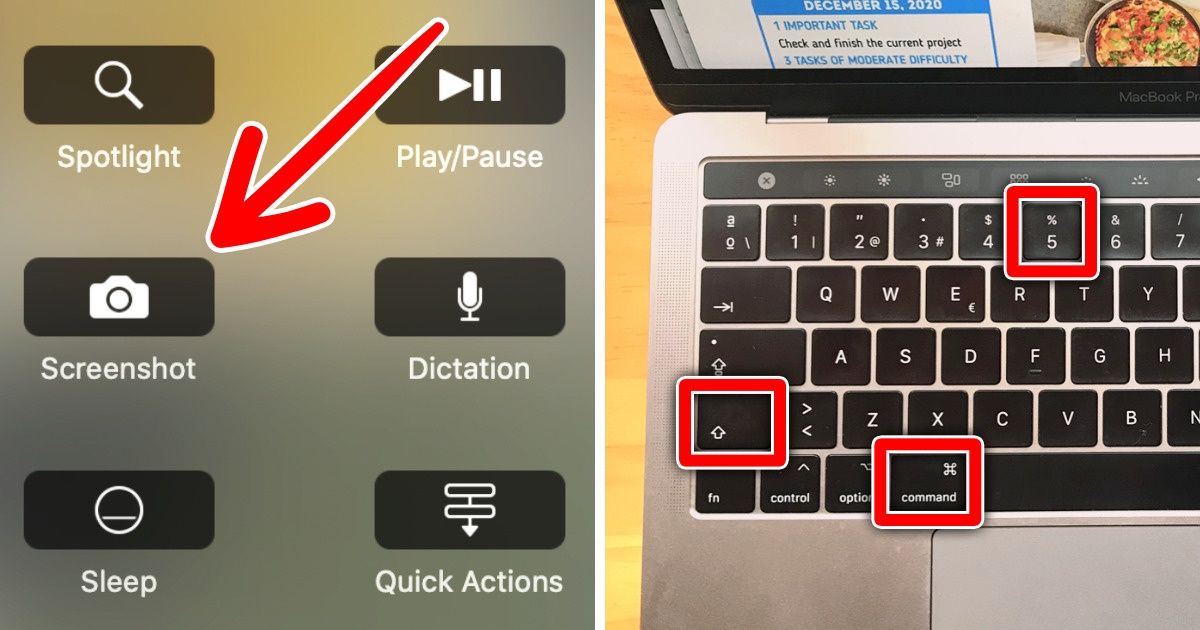
Mac offers multiple options to take a screenshot. 5-Minute Crafts found 2 effective ways to do this. You can either access the Screenshot app, or use keyboard shortcuts. Both of them allow you either take a screenshot of your whole screen, of a window, or of a portion of the screen.
Screenshot app
MacOS Mojave or later allows you to access the Screenshot app where you can easily take screenshots or set up screen recordings. You can even set a timer delay or include the pointer or clicks.
1. Press Shift + Command + 5
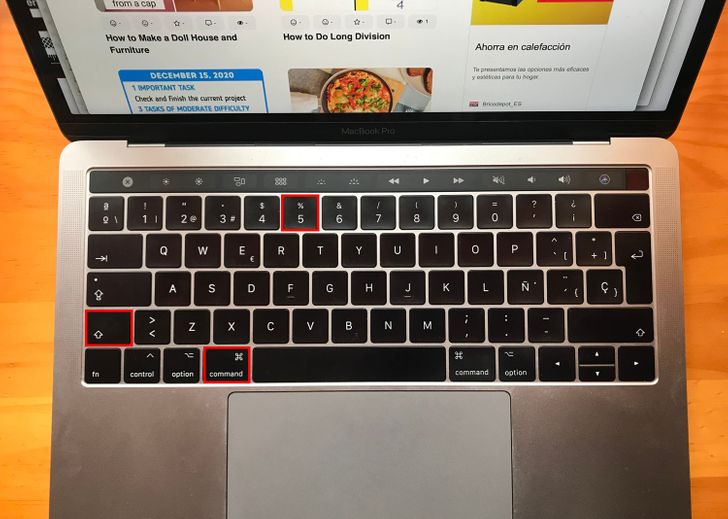
This will take you directly to the Screenshot app.
2. Choose an option
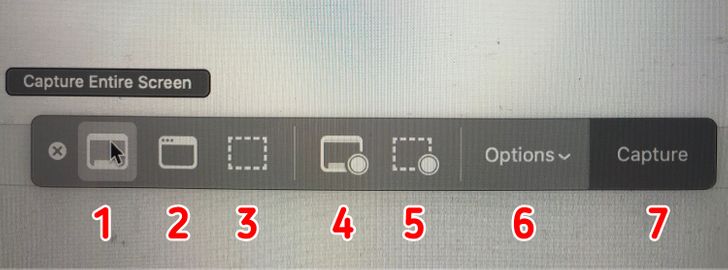
7 options will appear in this order:
- Capture entire screen: Like the name suggests, this option allows you to capture your entire screen, regardless of which window is selected. Click “Capture” to get your screenshot.
- Capture selected window: This option allows you to select a window you’d like to screenshot. Move the cursor to the window and click “Capture” to get your screenshot.
- Capture selected portion: This option allows you to take a screenshot of a portion of the screen that you can select manually. Drag the frame to reposition it or drag its edges to adjust the size of the area you want to capture. Click “Capture” to get your screenshot.
- Record entire screen: Like the name suggests, this option will record your entire screen, regardless of what window is selected. Click on “Record” to start recording. A “Stop” button will appear on the menu bar.
- Record selected portion: This option allows you to record only a portion of the screen that you can select manually. Drag the frame to reposition it or drag its edges to adjust the size of the area you want to record. Click on “Record” to start recording. A “Stop” button will appear on the menu bar.
- Options: If you click here, a toggle menu will appear that allows you to choose where to save your screenshots and recordings, set a timer, and choose a microphone for recordings.
- Capture: Used to capture.
Tips:
- Hover your mouse over the menu that appeared to see what they correspond to.
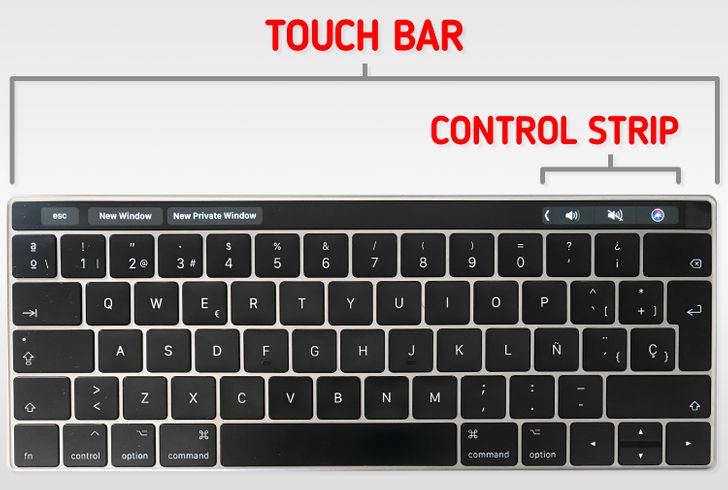
- If you have a Mac with a Touch Bar, you can create a shortcut by adding the Screenshot app to your Control Strip.
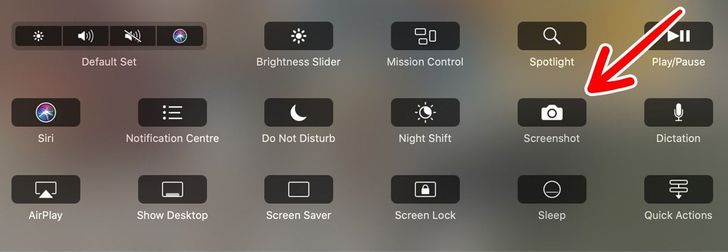
You just have to go to System Preferences. You will find the option Keyboard there, where you can click on Customize Control Strip. A menu will appear with different options you can add to your control strip. Drag the Screenshot app icon to the Control Strip and then press Done.
Keyboard shortcuts
If you don’t want to start up the Screenshot app you can use hot keys to take screenshots directly. However, you won’t be able to set a timer or choose where to save the screenshot. Note that you can customize the key combinations by going to System Preferences, then Keyboard, and then click on Shortcuts.
1. Capture entire screen
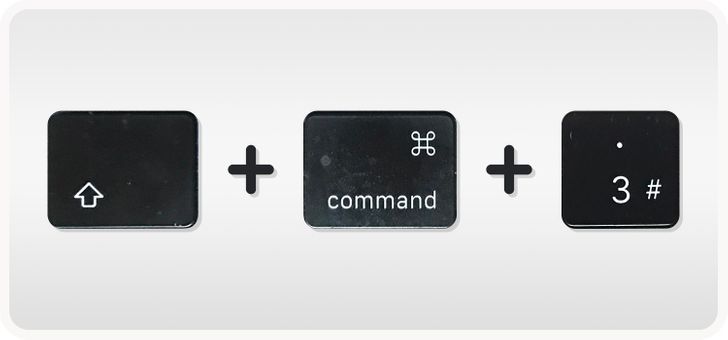
Press the key combination Shift + Command + 3 to get a screenshot of your screen.
2. Capture selected window
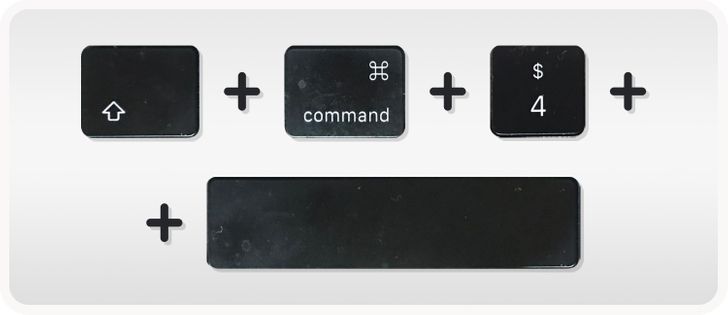
- Open the menu or window you want to screenshot.
- Press the key combination Shift + Command + 4 + Space Bar. Your pointer will change into a camera icon.
- Click to take the screenshot.
3. Capture selected portion
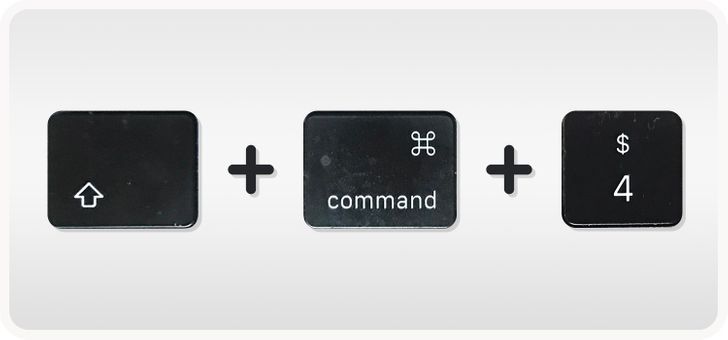
- Open the window you want to screenshot.
- Press the key combination Shift + Command + 4. Your pointer will change into a crosshair.
- Use the crosshair to select the area of your screen you want to capture. To move the selection, press and hold Space bar while dragging.
- Release your mouse or trackpad button to take the screenshot.
4. Capture the touch bar
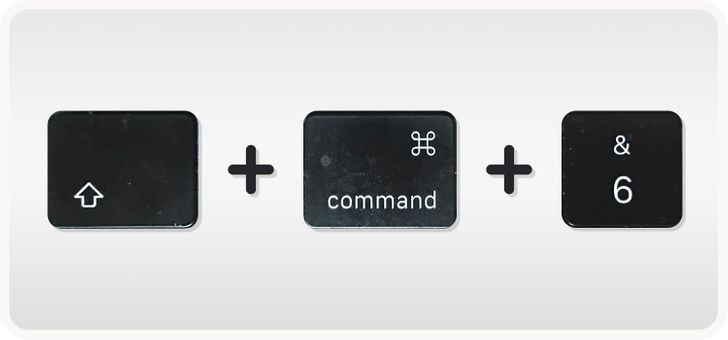
Press the key combination Shift + Command + 6 to get a screenshot of your Touch Bar.