How to Start Using a Telescope
A telescope is a tool that allows you to observe the wonders of the universe through the use of curved mirrors, which capture and focus light with greater precision than the naked eye. The good thing is that you don’t have to be a professional to start using it.
5-Minute Crafts shows you the basic steps, the terms you should learn as a beginner, and finally, how to start observing the sky.
1. Get to know your telescope.
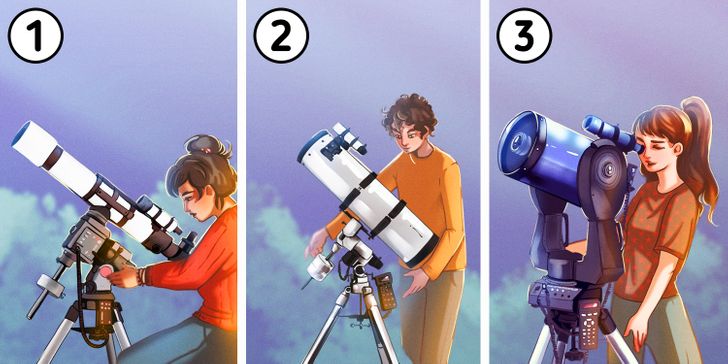
1. Choose the right type of telescope. When you’re going to use a telescope for the first time, it’s important that you know what you want to use it for, as every type has a specific scope that will allow you to see different things.
- Refractors: They form the image through the deflection to which the light rays are subjected when passing through the lenses, and they’re the ones that provide greater sharpness and contrast in the images. Because of their sharpness, you can use them to see the moon and planets.
- Reflectors: The eyepiece is placed on the side of the tube to receive the light from the secondary mirror. They are recommended for deep sky observation.
- Catadioptrics: They work by passing the light through a corrector plate; the light is reflected from a primary mirror to a secondary mirror, which sends it back to the eyepiece. The advantage is that since catadioptrics can be in a closed tube, no dirt gets into it and less maintenance is required.
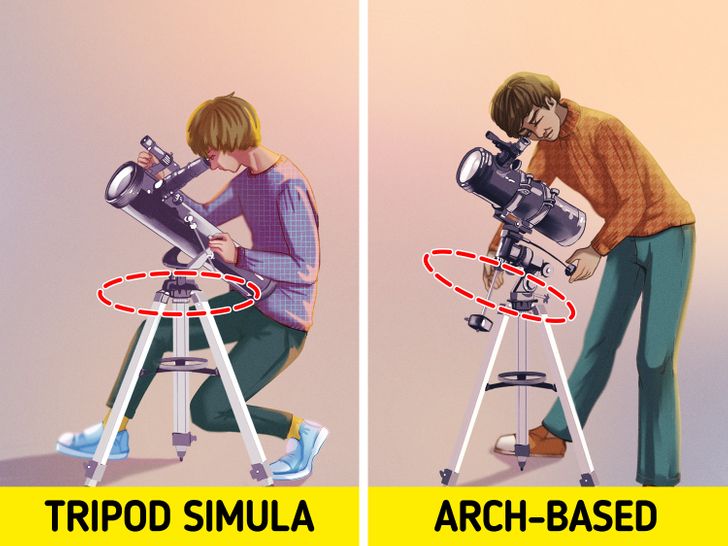
2. Understand the different parts of a telescope. As a beginner, you should know the parts that make up your telescope, as this will help you to handle it correctly.
- Tripod: It will help you to keep the images sharp by keeping the telescope stable.
- Altazimuth mount: It is the easiest to handle since it simulates the tripod of a camera, where the vertical axis is the height and the horizontal axis is the right and left.
- Equatorial mount: It is more complex to use. Its movement depends on latitude and is based on an arc that fixes the inclination with respect to the latitude, where the telescope is located.
- Eyepieces: Their job is to take the light that’s gathered in the telescope through the lens and display the final image. You can start using a 25-millimeter lens. There are several sizes and focal lengths; just keep in mind that the higher the number, the lower the magnification will be.
- Barlow lens: You can use this to increase the focal length of your telescope, and it’s placed between the telescope and the eyepiece; if you use a 2x, then you double the eyepiece distance.
- Red dot finders: They are recommended for beginners since they have no magnification and you can still observe a wide range of things that you can also see with the naked eye. They look like a red dot on the glass or plastic screen.
- Optical finders: They allow you to observe the sky broadly, with low magnification. Align them by observing the cross inside, where you will see the inverted image; then move the knobs in the opposite direction of the one you want to approach.
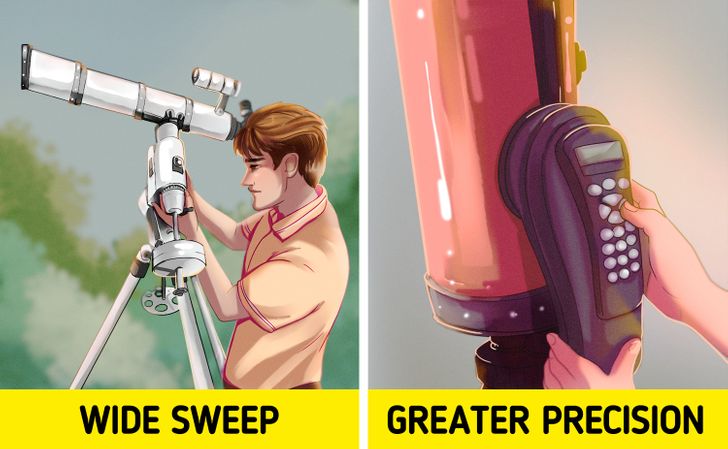
3. Know the movements of your telescope.
- Manual telescopes: In this case, you’ll control movement, both in the altazimuth and equatorial mount models. Just release the knobs on the axes to perform a wide sweep; after you get the place of your attention, tighten the knobs and move using the knob.
- GoTo motorized and computerized telescopes: This mount is more advanced, the telescope can be motorized on 1 or 2 axes of movement, and the GoTo system allows you to move more accurately. There is a type of GoTo in which you can locate stars electronically, but you must still move the lens yourself.
2. Use the telescope.
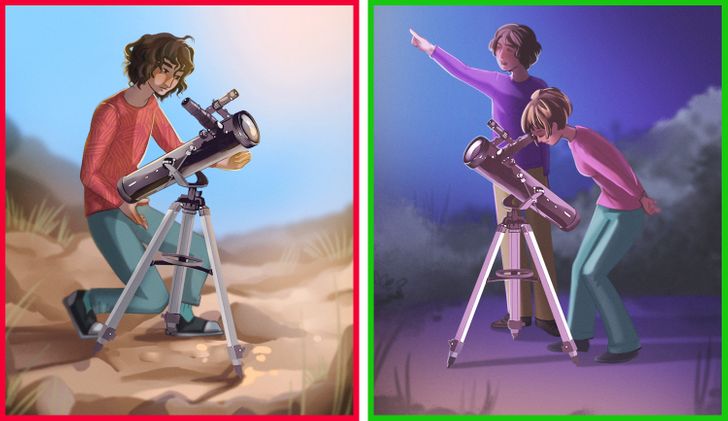
1. Choose the right conditions.
- Locate dark places and dates when the moon shines as little as possible, preferably during the new moon. If you want to observe during the day, be careful not to look directly at the sun, as this may damage your eyes.
- If you want to observe the moon, make sure it’s a few days after the first quarter since half of it is illuminated.
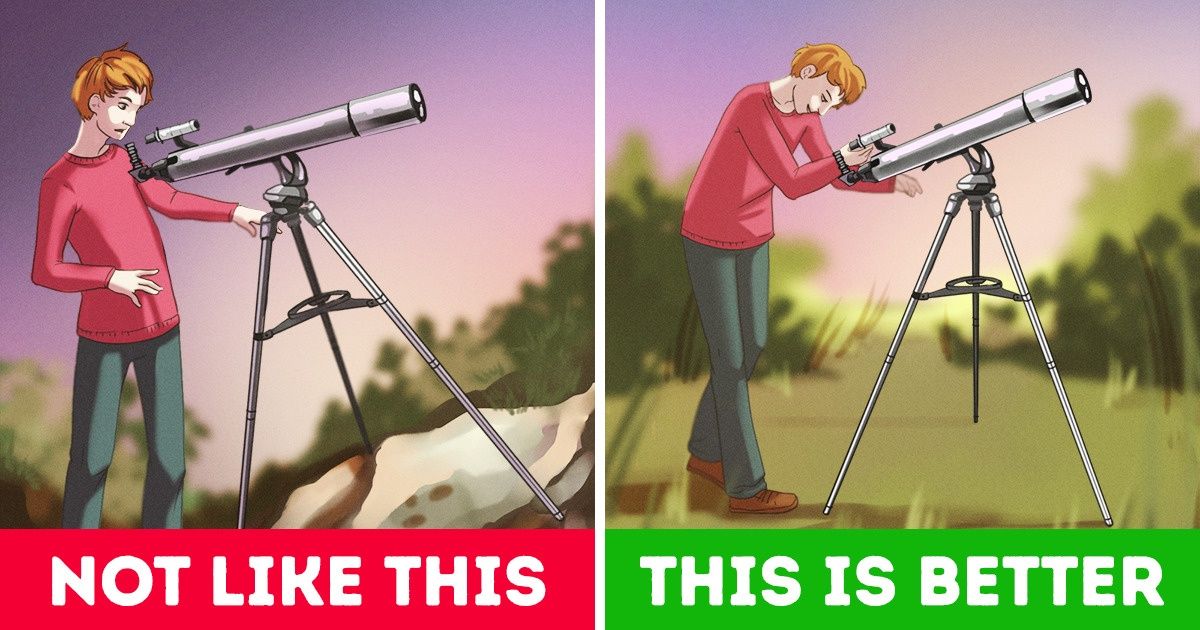
- Find a location that is as level as possible to prevent your telescope from moving.
- Choose a location that provides you with a wide view of the sky. It could be somewhere in the mountains, a large wilderness area, or near a big body of water.
- Check the weather forecast, as this will help you select a day when there is not much cloud cover or bad weather. Slightly cloudy weather still allows you to see the moon, but the experience will not be fully satisfactory.
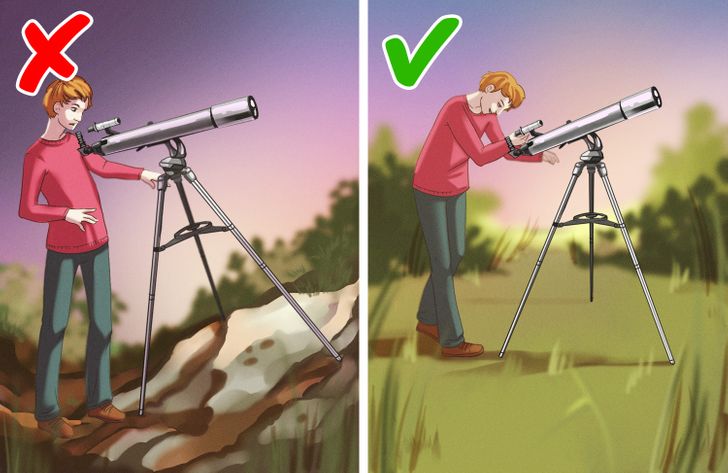
2. Level the tripod. Place it on the flattest spot in the space where you will be located and adjust the legs so that the telescope is as level as possible.
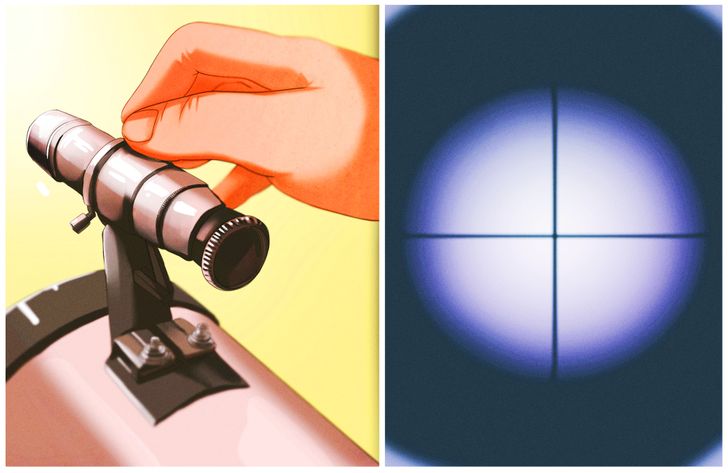
3. Align the lens. This part of the process is what will allow you to point and look through your telescope.
- Align the finder so that it’s parallel to the optical tube.
- Manually point your telescope on a distant object, move the knobs until it’s within your field of view, focus a point, place it in the center of the eyepiece, and tighten the knobs so that they are fixed.
- Center the selected object inside the crosshead. This is accomplished by moving the clamping screws on the bracket. Then verify that the object is centered in the eyepiece and crosshead.
Bonus: general tips
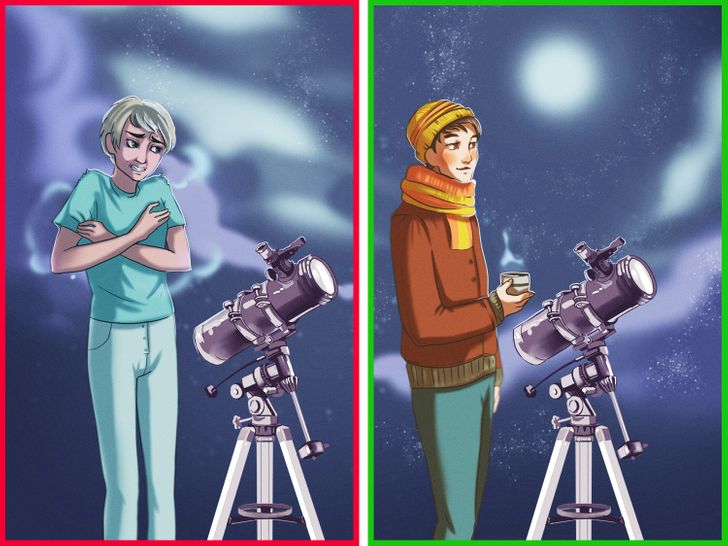
- Set up your telescope in daylight so that you have enough time to interact with it.
- Place yourself in a wide place, as this will allow you to have mobility in the assembly.
- Look for star maps, which are useful for orientation throughout the year, to find the different celestial bodies.
- Get a celestial planisphere, which has a map with stars drawn on it. If you align the date and time, it shows you the sky corresponding to that latitude, which will help you recognize stars and constellations.
- Have a red light flashlight with you, which allows the eye to adapt to the dark. Eyesight takes some time to adapt to darkness, during which your eyes will become more sensitive to light and you will be able to see better through your telescope.
- Bring a hat, gloves, and a coat since the temperature could drop. This could be a drawback to your night of observation.