How to Zip Files
Zipped folders may come in handy when you need to make files smaller or speed up the transfer time between other computers or flash drives. If you work on Windows, you don’t need to install any additional software to zip your files. Today, 5-Minute Crafts will show you 2 ways to create a new zip folder in a matter of seconds.
Step 1
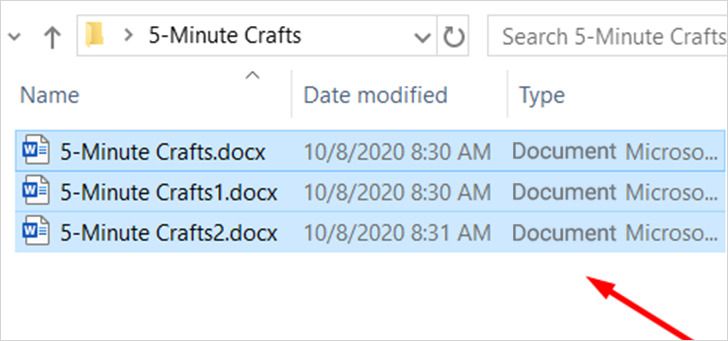
Select the files you want to zip. You can do it using one of the following methods:
- Hold the Ctrl key if you need to select individual files from a list of files.
- Hold the Shift key, click on the first item on the list, and then click on the last item on the list. This way, all the files between the first and the last files, including these files themselves, will be selected.
Note: If you need to zip just one file, you can skip this step.
Step 2
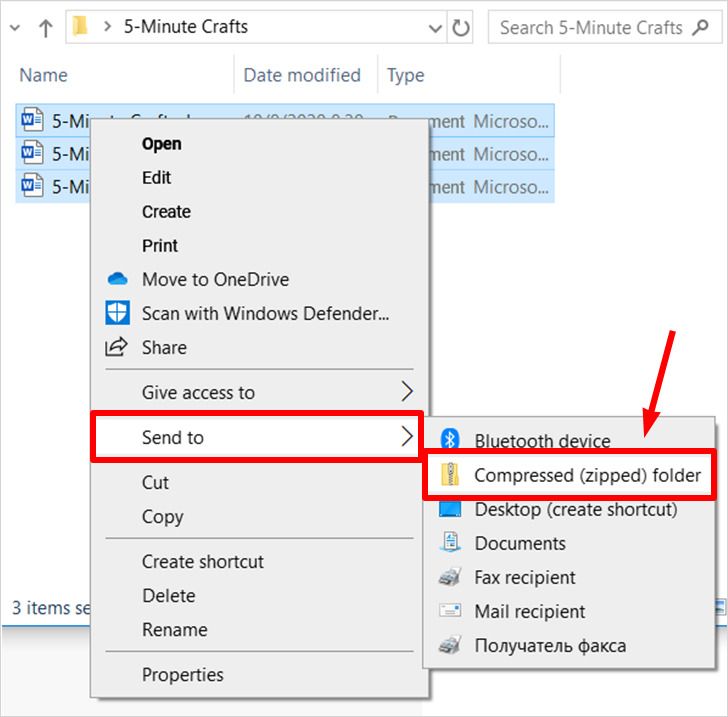
Right-click on the file or a group of files, point to Send to, and select Compressed (zipped) folder.
Step 3
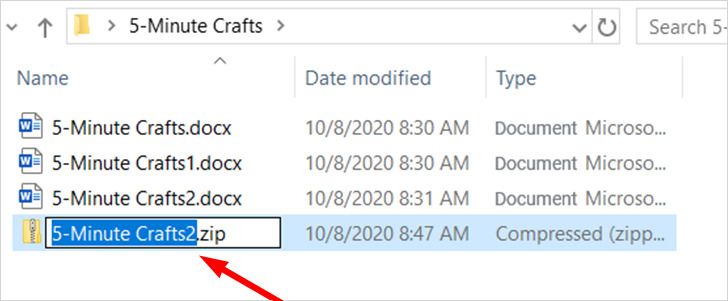
Name the zip folder or accept the name suggested by default.
Note: Windows automatically suggests the name of the file on which you right-clicked in the previous step. So if you want your zip file to have the name of one of the files, right-click on it when creating a zip folder.
Step 4
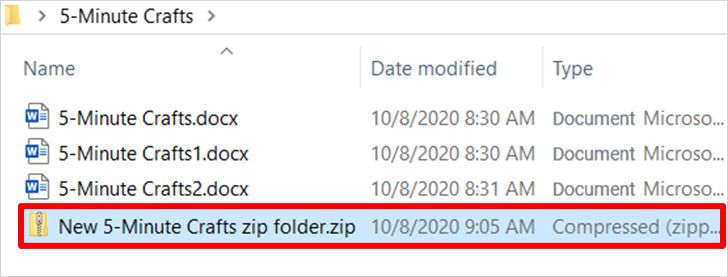
Hit Enter and the zip folder is ready.
Step 1
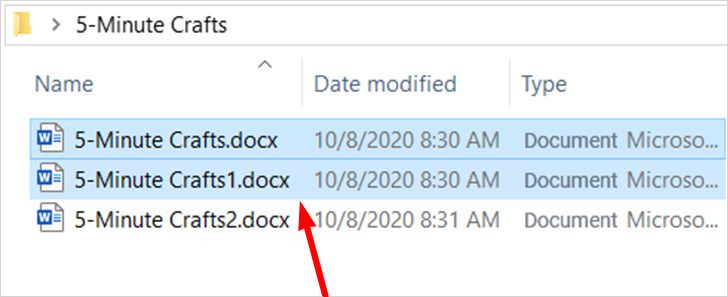
Select the files you’d like to zip as was described in Step 1 above.
Step 2
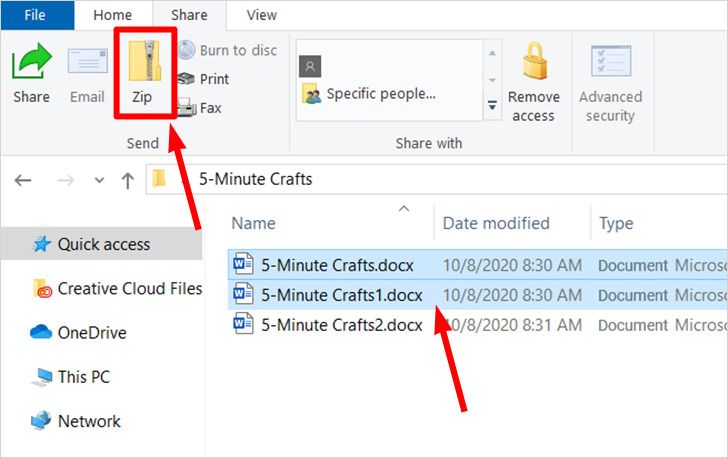
Open the Share tab in the File Explorer and press Zip.
Step 3
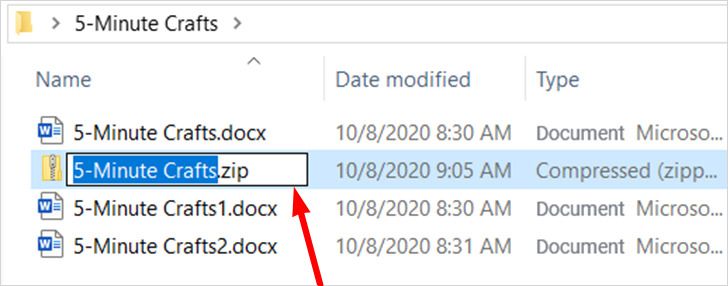
Name the zip folder or accept the name suggested by default.
Note: Windows automatically suggests the name of the file that was on top of the list of the selected files.
Step 4

Hit Enter and the zip folder is ready.
Step 1

Select the files you want to zip. You can do it using one of the following methods:
- Hold the Command key if you need to select individual files from a list of files.
-
Hold the Shift key, click on the first item on the list, and then click on the last item on the list. This way, all the files between the first and the last files, including these files themselves, will be selected.
Note: If you need to zip just one file, you can skip this step.
Step 2
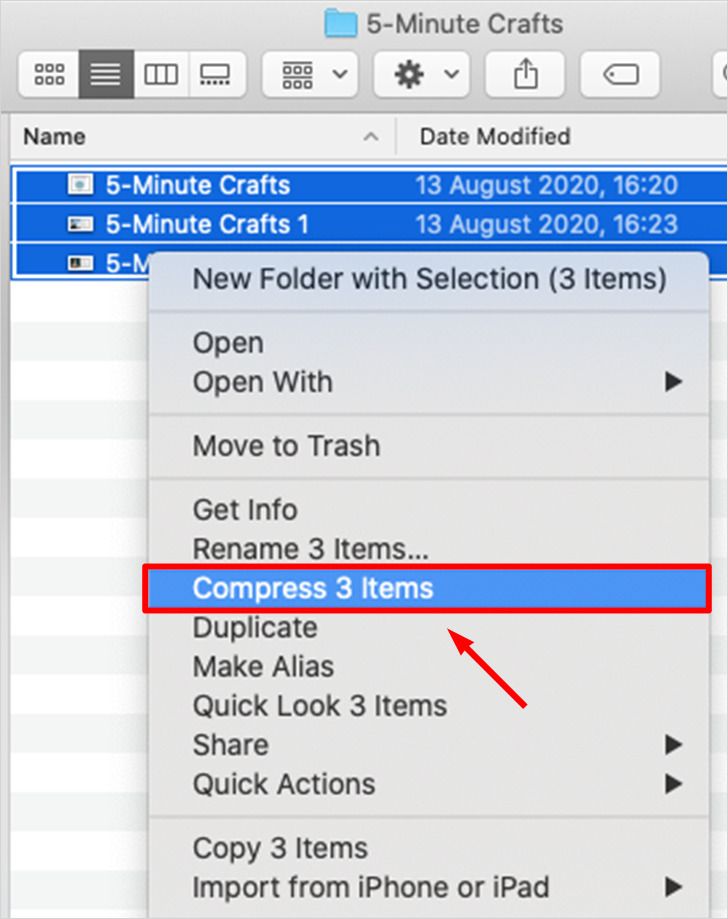
Right-click on the file or a group of files and select Compress.
Step 3
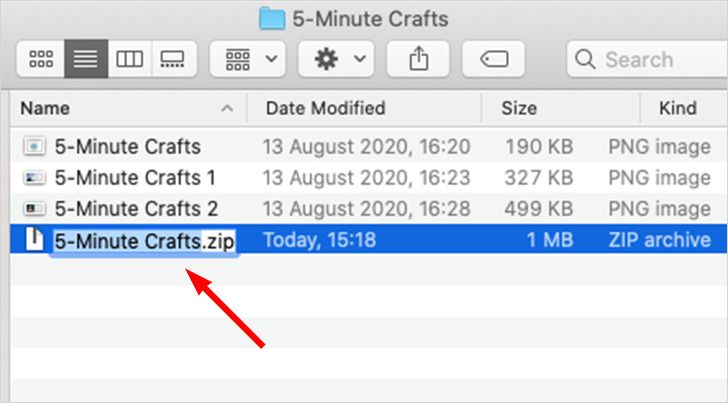
Name the zip folder or accept the name suggested by default.
Note: The name of the folder you’ve compressed will be suggested to you by default.
Step 4
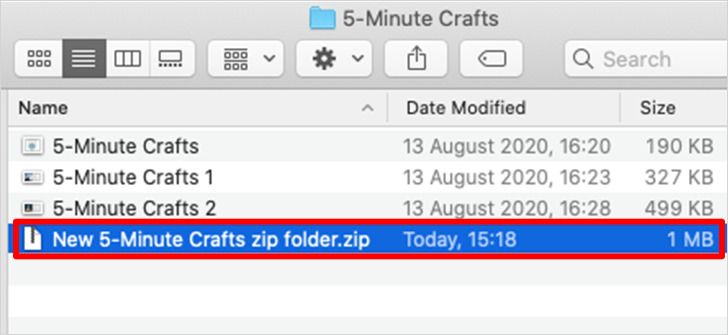
Hit Enter and the zip folder is ready.
Note 1. Adding a file to the zip folder
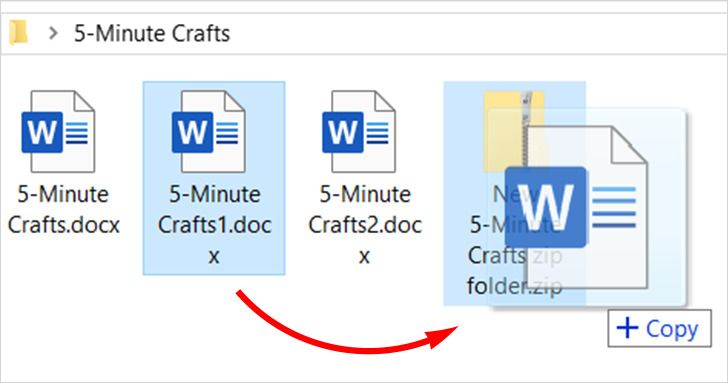
If you want to add a file to an existing zip folder, just drag it over the top of the desired zip folder, holding the left key on your mouse.
This trick works for both Windows and Mac.
Note 2. Working with folders
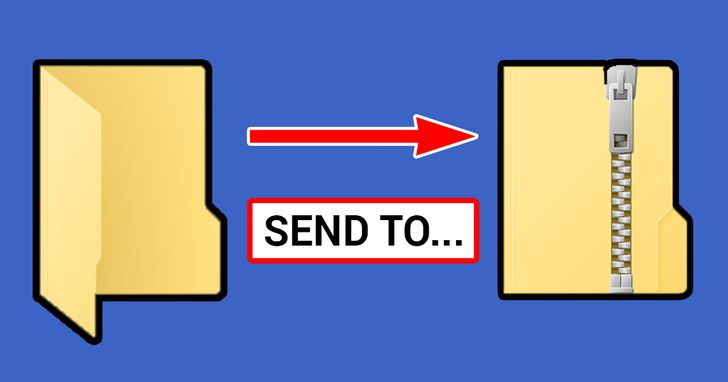
If you need to zip a folder or a group of folders, the process will be the same as it was for the files.
This trick works for both Windows and Mac.