6 Ideas to Help Keep Your Cables Organized
We use several electronic devices on a daily basis for entertainment, studying, or working. Each of these gadgets comes with its respective connector cable. Usually, we keep them on a table or in a work area, in no specific order, and they get tangled with each other. Or worse, we sometimes even lose them.
5-Minute Crafts is offering you some alternative methods to help keep your cables organized and prevent them from getting tangled up. This way, you won’t lose sight of them and can find them easily when you need them.
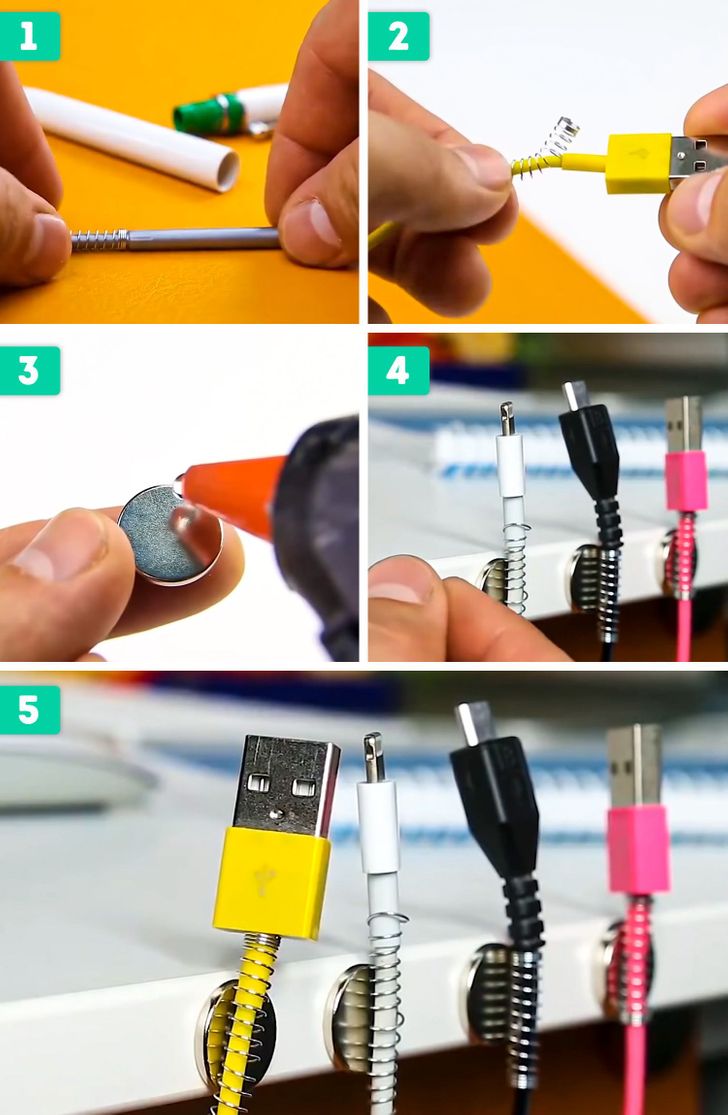
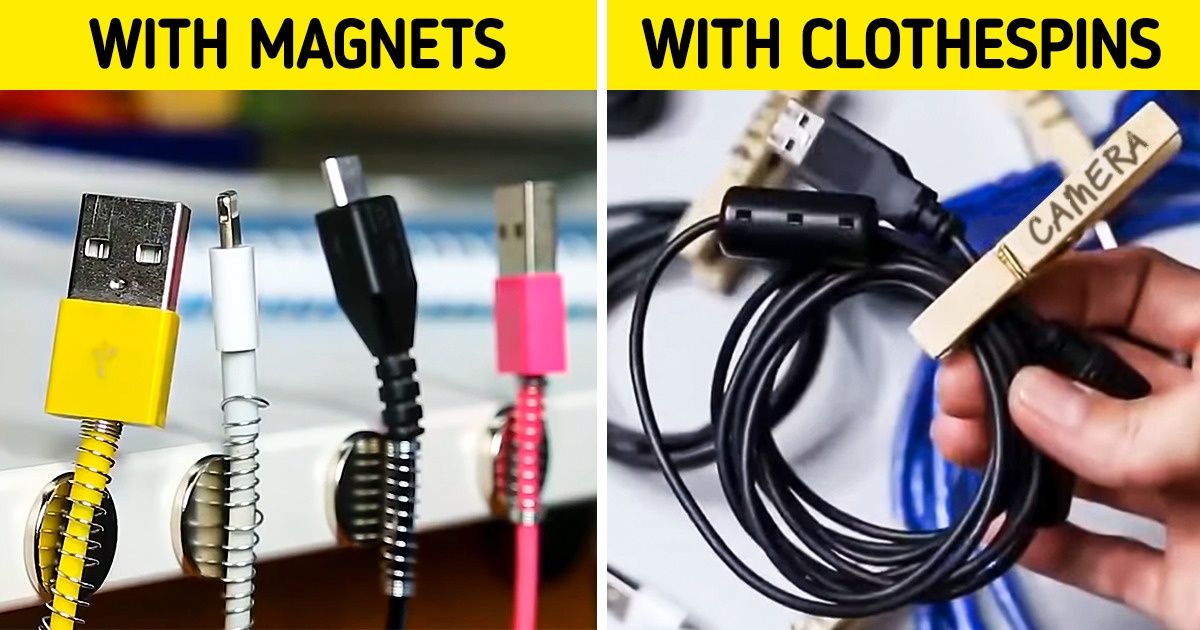
1. Arrange them with wires and magnets.
- Detach the springs from the pens that you’re not using.
- Screw the wire into the connecting end of the cable.
- Put liquid glue on one or more magnets.
- Stick them to the side of your desk or work table.
- Arrange the wires by attracting them to the magnets.
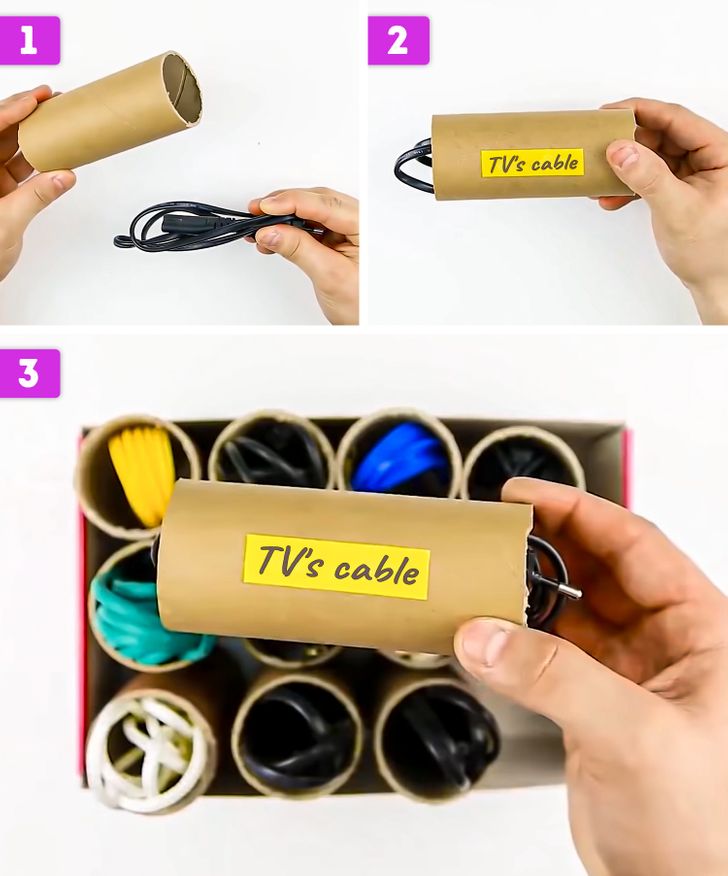
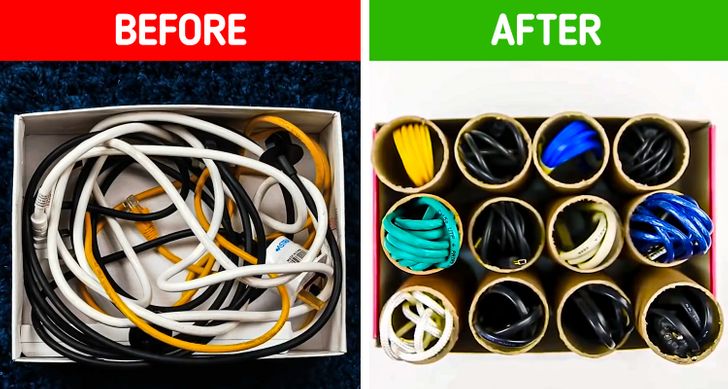
2. Use toilet paper tubes.
- Bend the cable.
- Put it in the empty tube.
- Label the tubes according to their use.
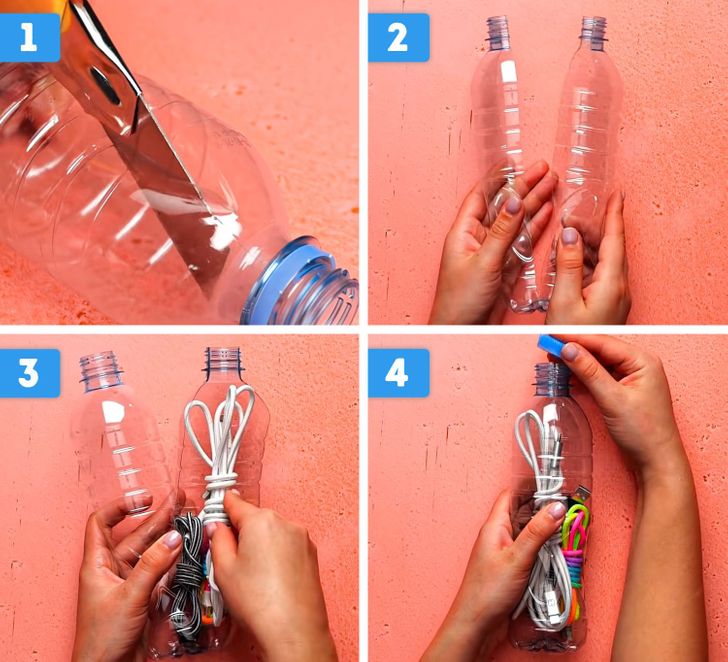
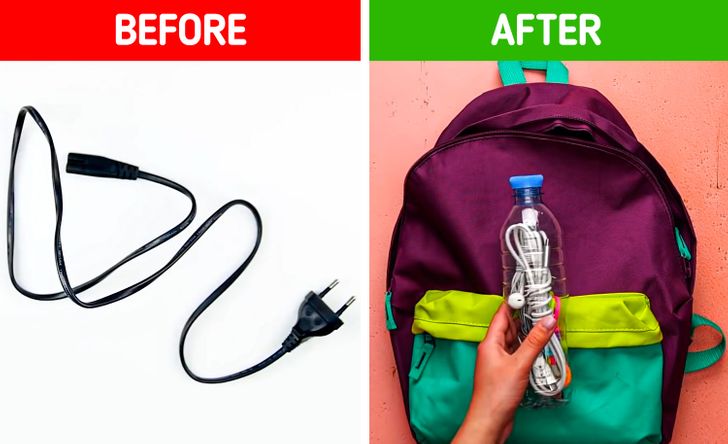
3. Store them in a plastic bottle.
- With the help of a utility knife, cut a plastic bottle in half, all the way to the bottom.
- Open the bottle.
- Insert one or more previously wound cables.
- Close and screw the cap on the bottle.
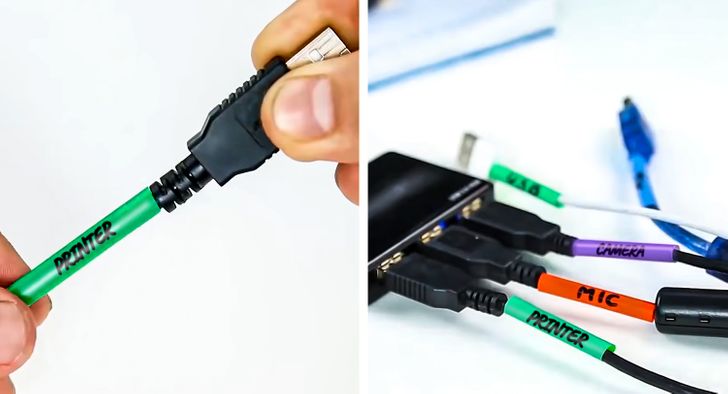
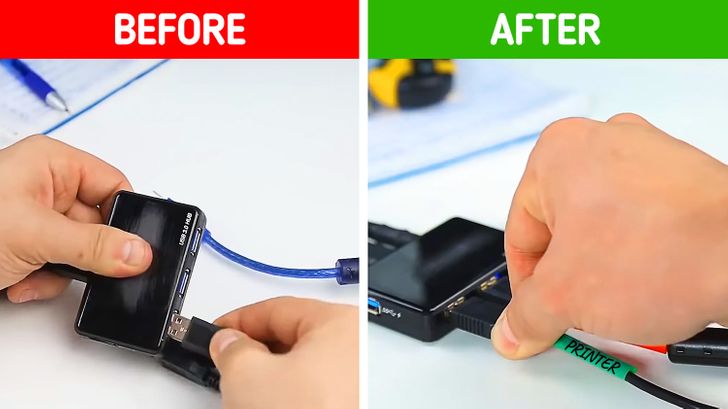
4. Label them with colored tape.
-
Use tape in different colors and label the wires’ ends.
-
When you need to connect them, you can quickly check each one according to the color and name you have previously assigned to them.
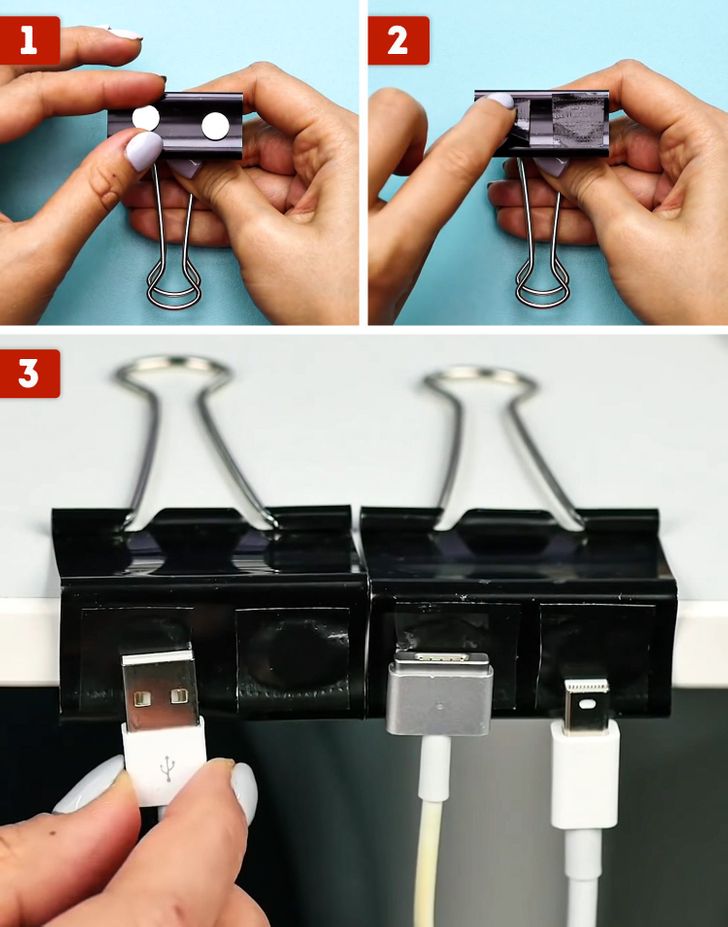
5. Use metallic binder clips.
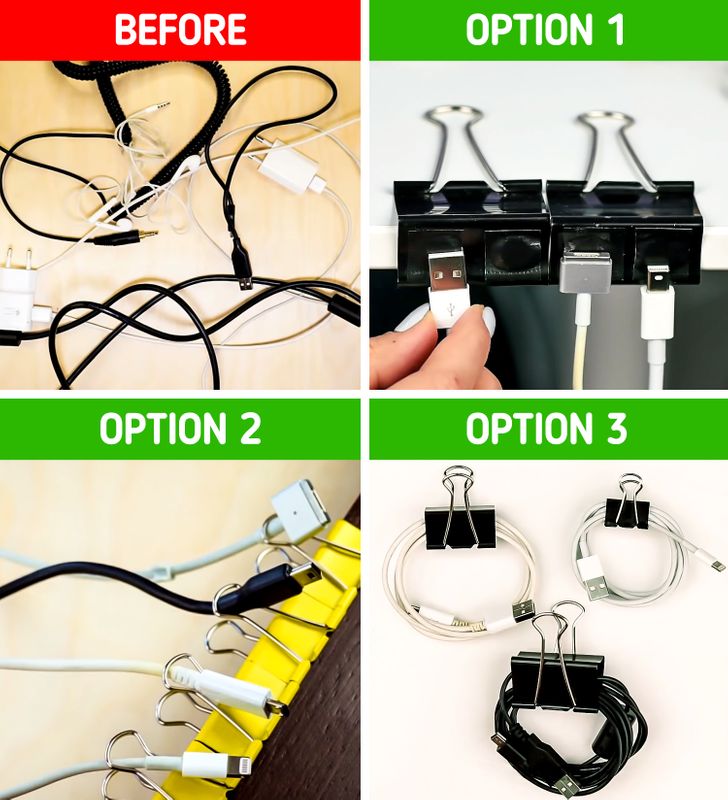
Option 1
- Place a pair of small magnets on the end of the binder clip.
- Cover the magnets with insulating tape or duct tape.
- Attach them to the side of your desk or table and arrange your cables on each magnet.
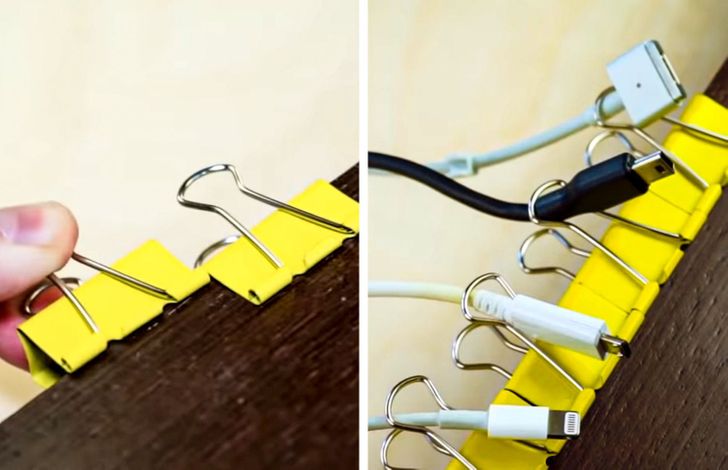
Option 2
-
Place the binder clips on the desired surface.
-
Insert the end of your cables into each one. This will prevent them from getting tangled on the floor or from moving around while you’re using them.
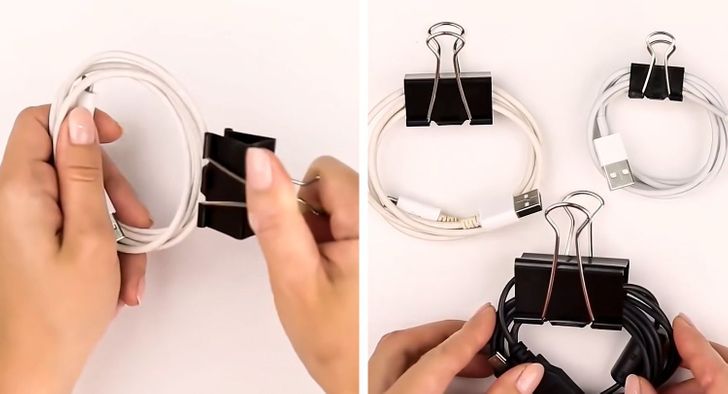
Option 3
-
Coil the desired wires separately.
-
Place each wire in the opening of a metal binder clip.
6. Hold them with clothespins.
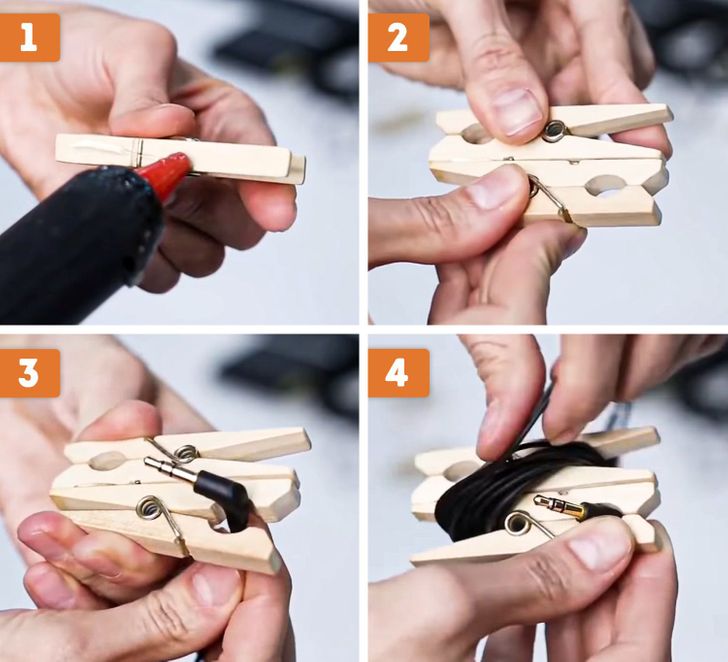
Option 1
- Place some liquid glue on the side surface of one clothespin.
- Glue 2 clothespins, each in the opposite direction.
- With the “mouth” of one clothespin, hold one end of the wire.
- Wrap the wire diagonally over both clothespins. Clamp the other end of the wire in the other clothespin’s mouth.
Option 2
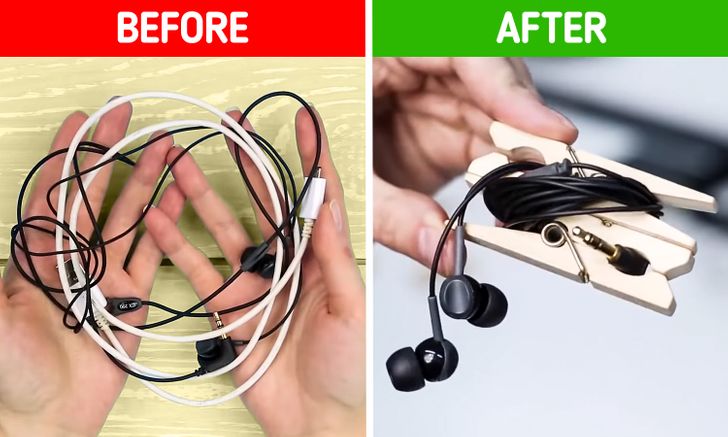
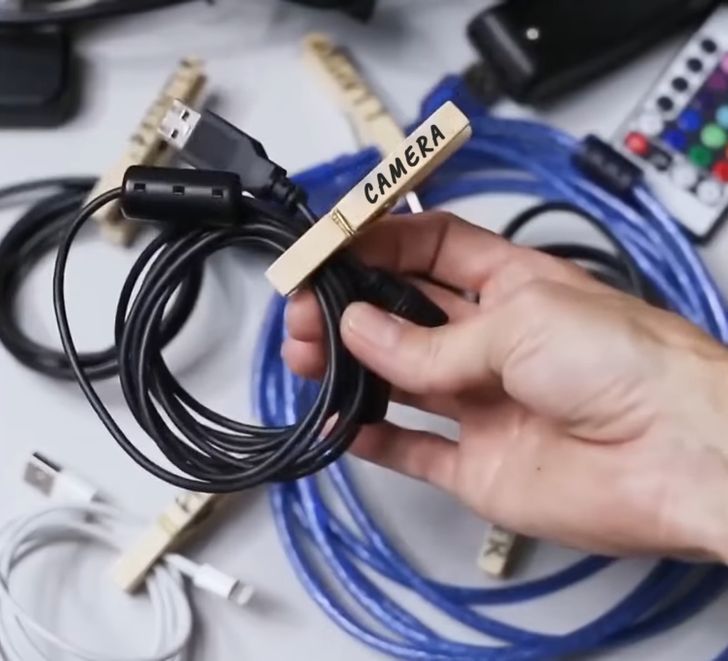
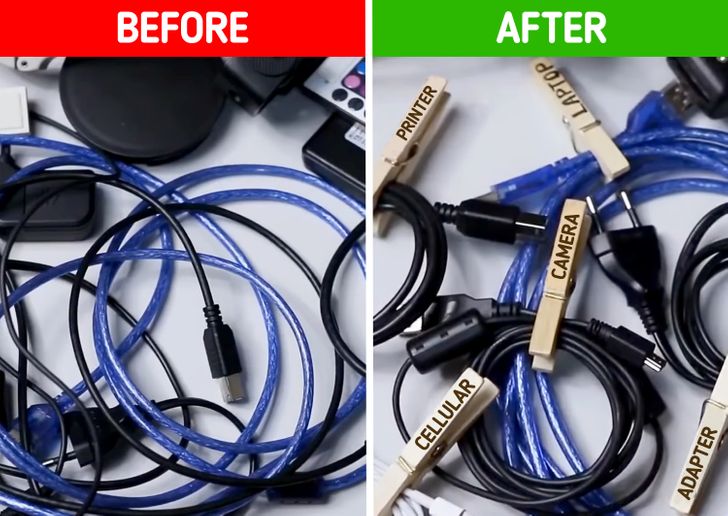
- Coil each wire and secure it with a clothespin.
- Name each clothespin according to the use of each wire. This way, you can keep them all in a box or drawer, organized according to their names.
