How to Check Your Car’s Oil Level
It’s important to make sure your car always has enough oil in its engine, as it keeps the car from crashing and helps it run smoothly. To get a feel for how quickly your engine runs out of oil, you can start off by checking it once every week, then just once a month from then on.
5-Minute Crafts has come up with a quick 4-step guide on how to check your car’s oil level.
Step 1: Start by preparing the car.
- Have your vehicle parked at ground level with the engine off.
- Put the transmission in park (manual transmission should be in lower gear).
- Put the parking brake on.
- Lift up the hood.
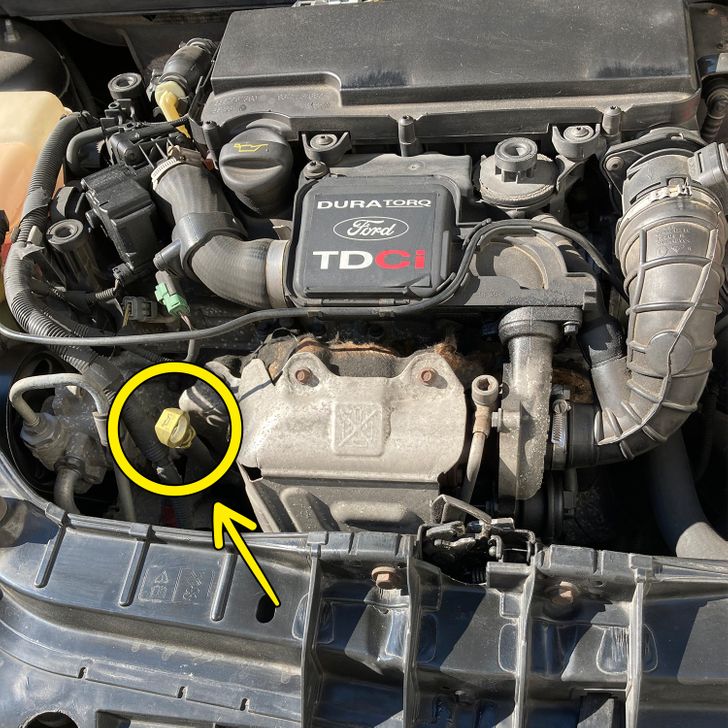
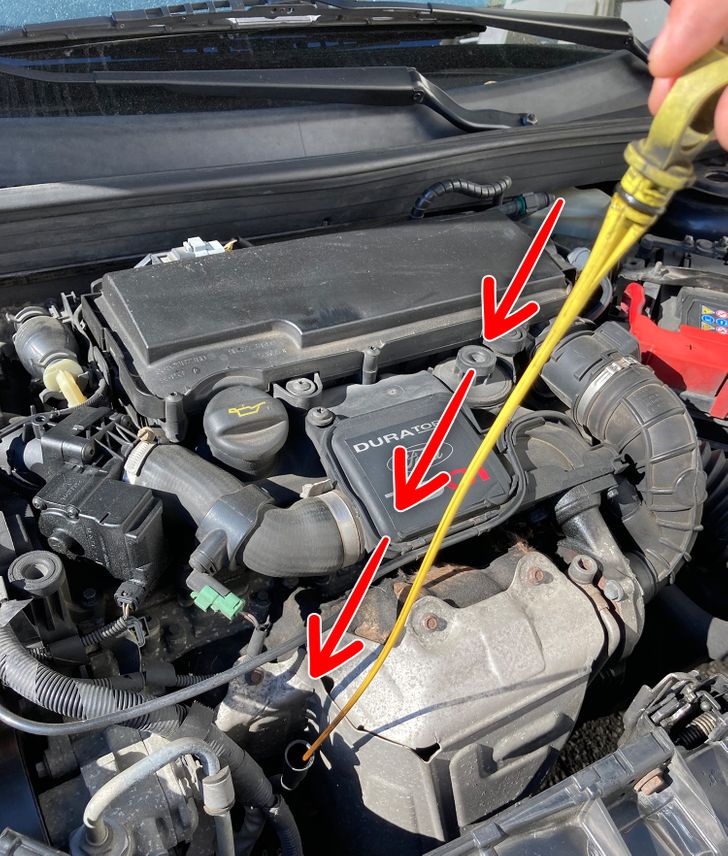
- Locate the dipstick (a yellow or orange handle with an oil-can symbol).
Step 2: Pull the dipstick fully out.
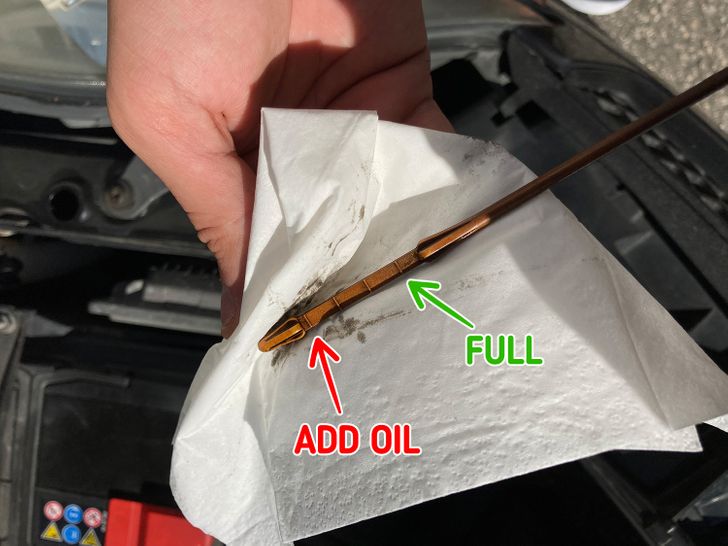
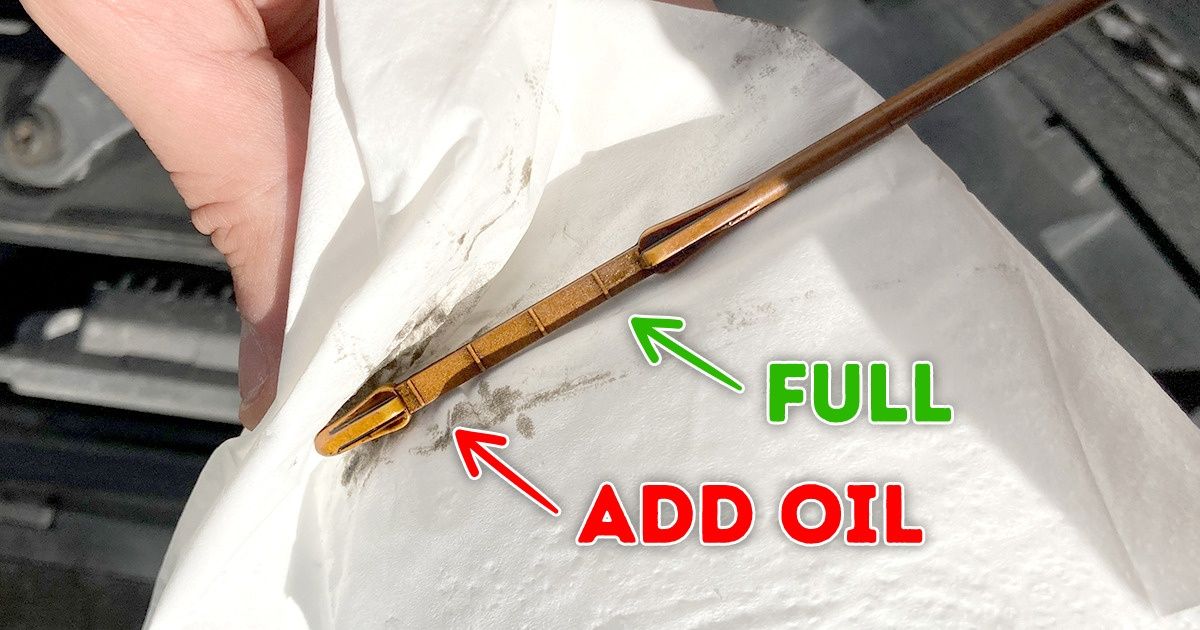
- There will be 2 lines at the tip of the dipstick.
- The lower line means the oil level is 1 quart low.
- The upper line means the oil level is full.
Note: Have a rag or a paper towel on hand to wipe the extra oil that might come with the dipstick.
Step 3: Check the oil level.
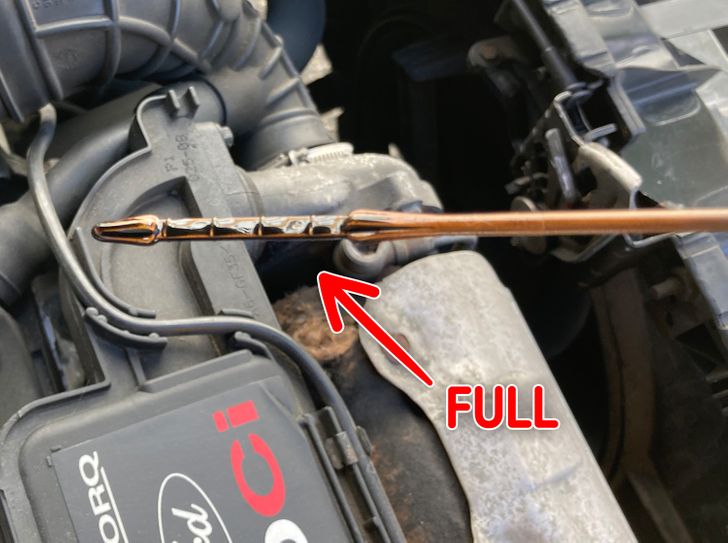
- Insert the dipstick into the tube, slowly.
- Push it all the way down.
- Withdraw it back.
- Check the oil on the dipstick.
- If it’s between the 2 lines, your car has enough oil.
- If it’s at the low mark or even below that, you’ll need to add a quart of oil.
Step 4: Let the oil settle, and re-check the level again.
- After you’ve added a quart of oil, let the oil settle again for several minutes.
- Make sure the oil level is at least between the high and low marks.
Note: Your car doesn’t need to have a high oil level in order to run safely.
Share This Article