How to Clean a Coffee Maker
Studies show that about 50% of all coffee makers used in households have traces of mold and mildew. And if you find out how often coffee makers are usually cleaned, this fact won’t sound that surprising to you anymore.
5-Minute Crafts would like to tell you about how to clean a coffee maker correctly and how often this should be done.
How often a coffee maker should be cleaned
It’s important to clean all removable parts of the coffee maker after each use. This will help remove coffee particles and coffee oils that clog the filter. Cleaning can be done with warm soapy water or in a dishwasher.
❗ Read your coffee maker’s instruction manual for details regarding which parts can be washed in a dishwasher.
To prevent mold from forming in your coffee maker, leave the reservoir lid open and dry the internal parts after use.
Decalcify your coffee maker once a month. Over time, scale can accumulate in the coffee maker, which will impair the functioning of internal mechanisms and negatively affect the taste of the coffee. To help your coffee maker work properly, it’s worth deep cleaning it once a month.
Regular cleaning of a coffee maker
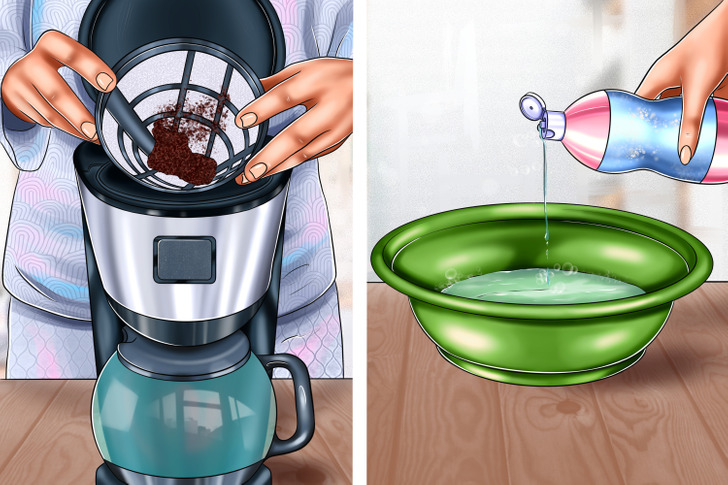
Step 1: Open the coffee maker and remove the brew basket and coffee filter. Shake any remaining coffee grounds out of the filter before rinsing the parts.
Step 2: Fill a bowl with water and add a few drops of dish soap.
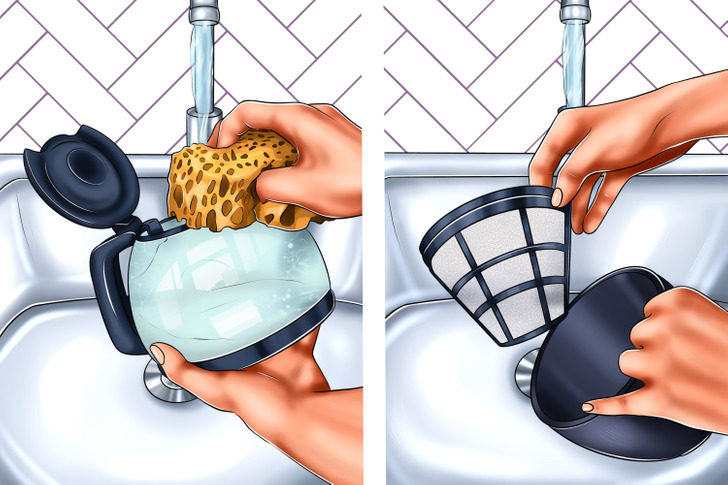
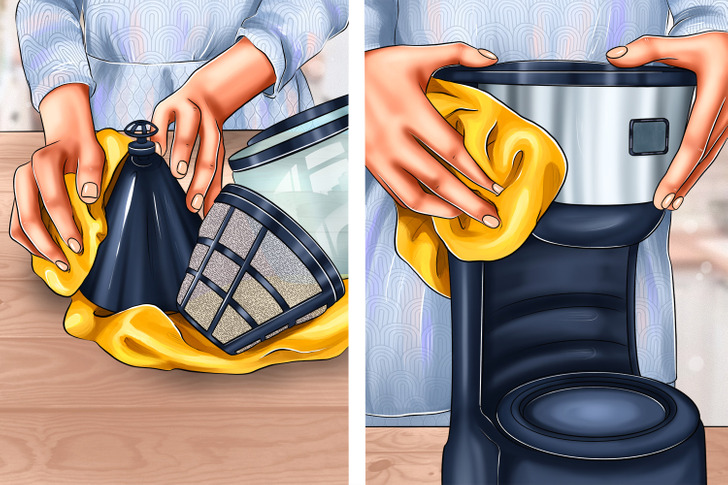
Step 5: Drain the soapy water and rinse all parts of the coffee maker with clean water. Wipe them with a soft cloth and let them dry.
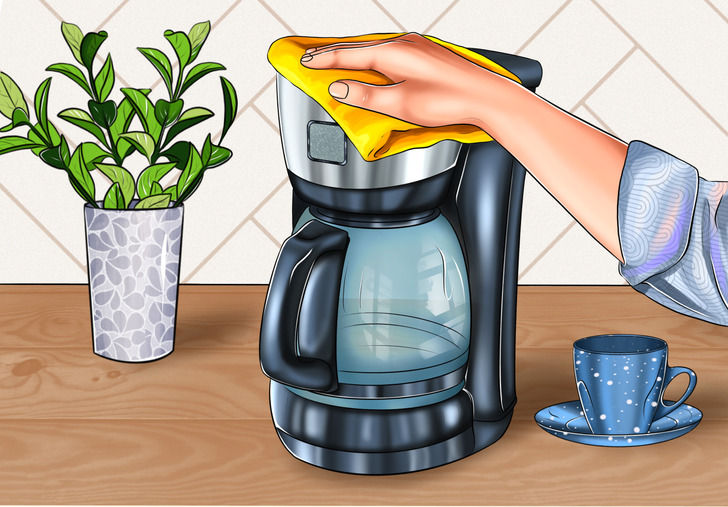
Step 6: Clean the outside of the coffee maker. Dip a soft cloth into soapy water and wipe the non-removable parts of the coffee maker to remove any dirt. Rinse the cloth in tap water and wipe the same parts with it. Let the coffee maker dry.
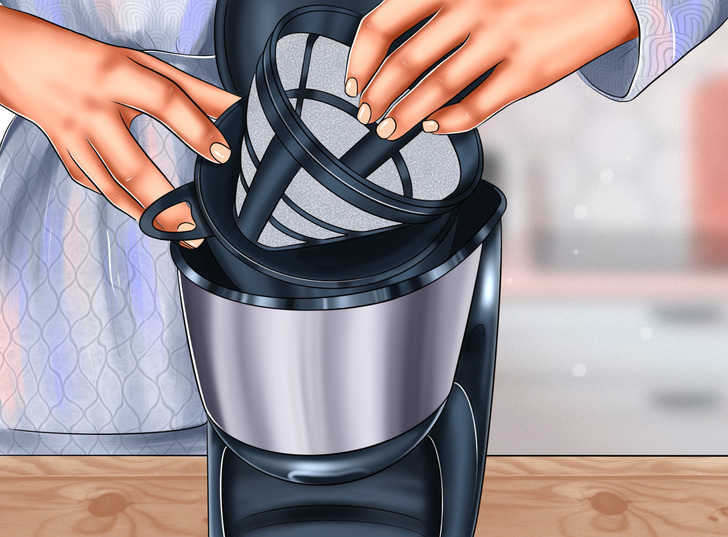
Step 7: When all the parts are dry, reassemble the coffee maker.
Decalcifying the coffee maker
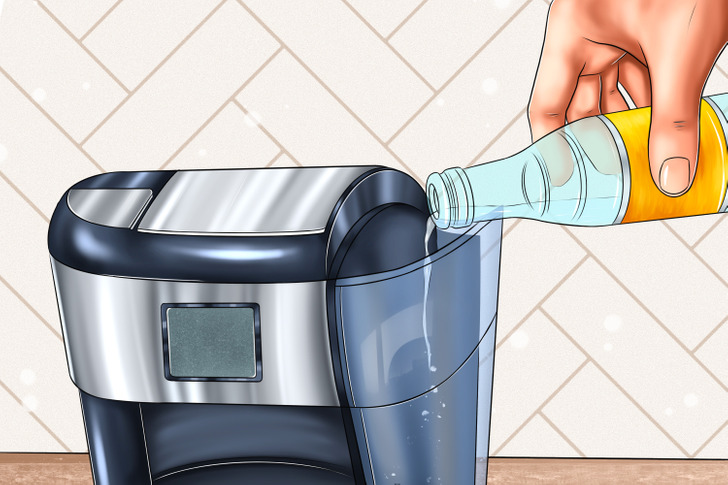
Step 1: Prepare everything you need for cleaning: water, vinegar, soft cloth, and coffee filters (if you use disposable coffee filters).
Step 2: Empty the coffee maker of any coffee residue, then rinse all the parts the same way you do for regular cleaning of the coffee maker.
Step 3: Fill the reservoir with a 1:1 mixture of vinegar and water.
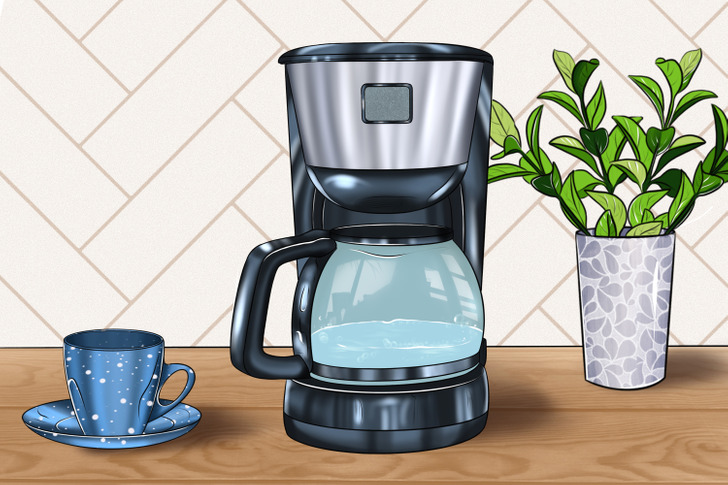
Step 4: Place the filter in the basket and turn on the coffee maker. About halfway through the cycle, turn off the coffee maker and leave the heated vinegar mixture inside for about 30 to 60 minutes.
Step 5: Without draining the mixture, turn the coffee maker on again and let it complete the brewing cycle. Throw away the paper filter if you used one. If you used a reusable filter, rinse it with water.
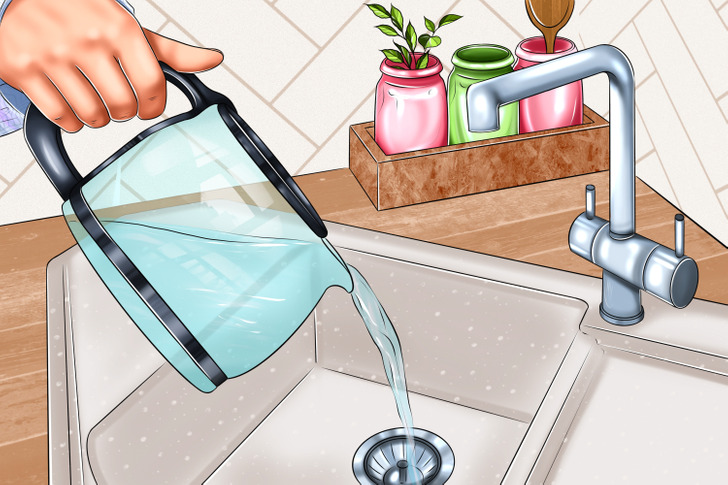
Step 6: Fill the reservoir with clean water, place the filter in the basket, and start the coffee maker. Remove the filter, pour out the water, and repeat the process with a new portion of water.
Step 7: Drain the water and wipe the coffee pot with a soft, dry cloth.
How to clean a coffee maker without using vinegar
If you don’t want to use vinegar, you can try other cleaning methods.
- Lemon juice: Replace vinegar with lemon juice and clean the coffee maker in the same way as described above.
- Baking soda: Add 1/4 cup of baking soda to the coffee maker reservoir and fill it with hot water. Carry out the cleaning in the same way as described above, running several brewing cycles.
- Hydrogen peroxide: Use the mixture of 1 cup of hydrogen peroxide and hot water instead of the mixture of water and vinegar. Carry out the cleaning according to the method described above.