How to Cover a Tattoo
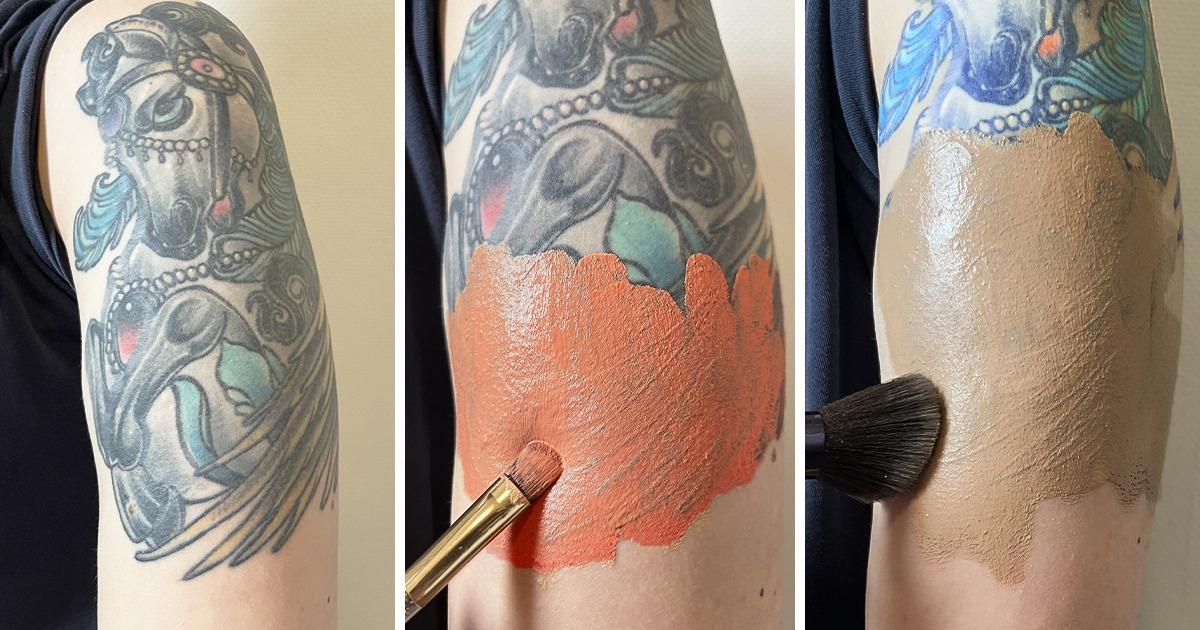
Tattoos have become incredibly popular in recent years as they can be a great way of expressing yourself through art. But sometimes, you may not want them on full display. Whether you have a formal event coming up, a job restriction, or you just want to temporarily cover your tattoo, 5-Minute Crafts has your back.
What you’ll need:
- Moisturizer
- Primer
- Color corrector
- Concealer
- Foundation
- Powder
Step 1
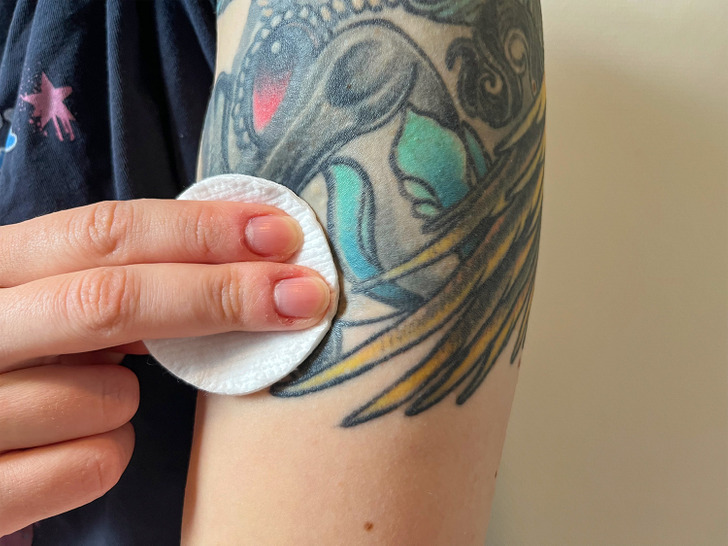
First, cleanse the skin. Make sure your tattoo and the area around it are clean and dry before starting. Ensuring the skin is clean with something like a gentle cleanser or a cleansing wipe before applying products can yield better results.
Step 2
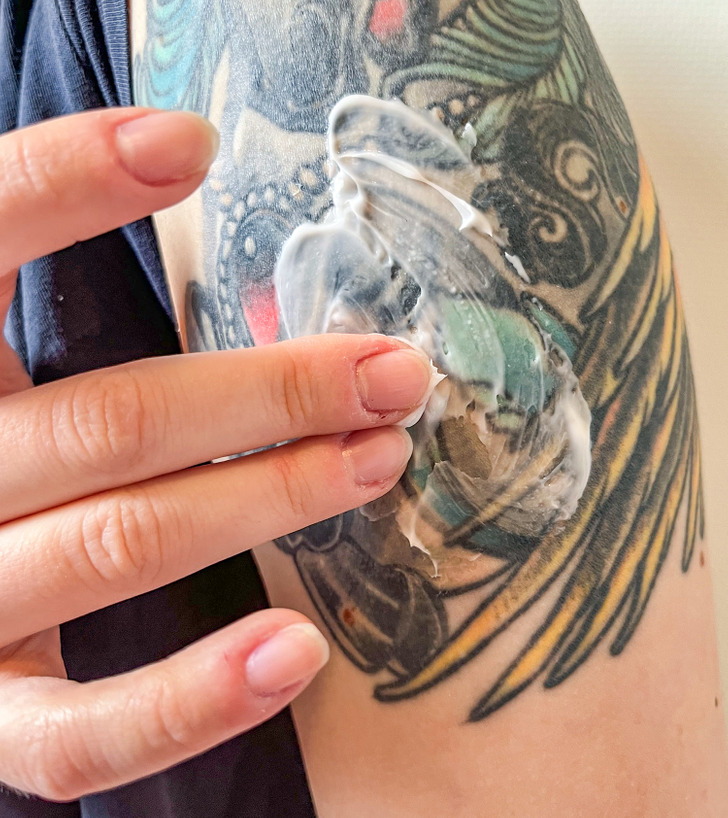
Next, get your favorite hydrating oil-free moisturizer and apply a generous amount on the skin. Allow it to dry.
Step 3
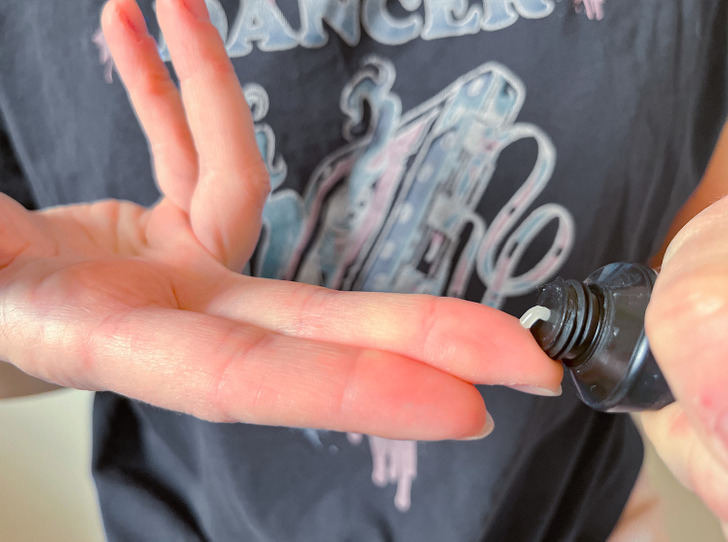
Apply a pea-sized amount of pore-minimizing primer all over the tattoo and the area around it. Primers can make the skin look smoother, and ensure the products your use on top can last all day.
Step 4
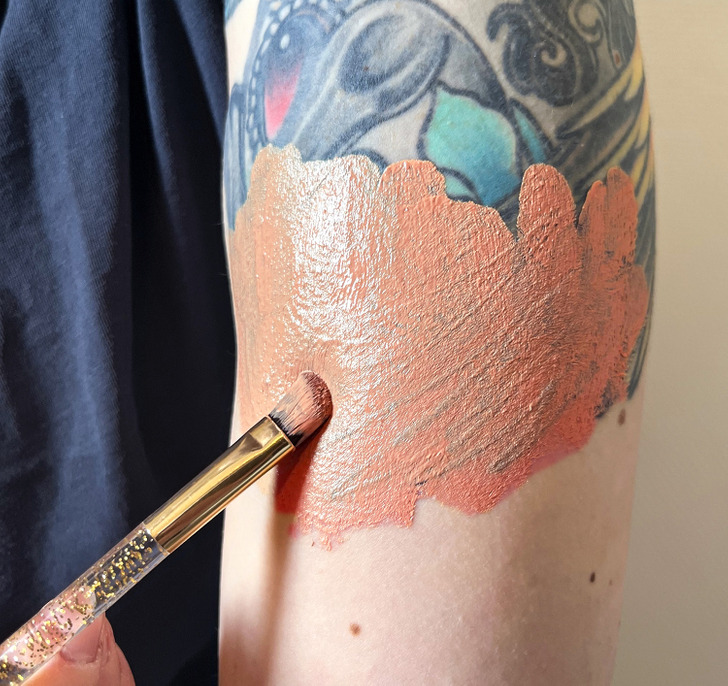
Before applying the foundation and concealer, dab some color corrector to cancel out the ink on your tattoo. Start with a small amount of product and build as necessary. Make sure to blend the edges so it looks seamless.
Note: Depending on the color(s) of your tattoo, the color of the corrector you need may vary. Take a look at the color wheel, check what colors neutralize each other, and proceed accordingly.
Step 5
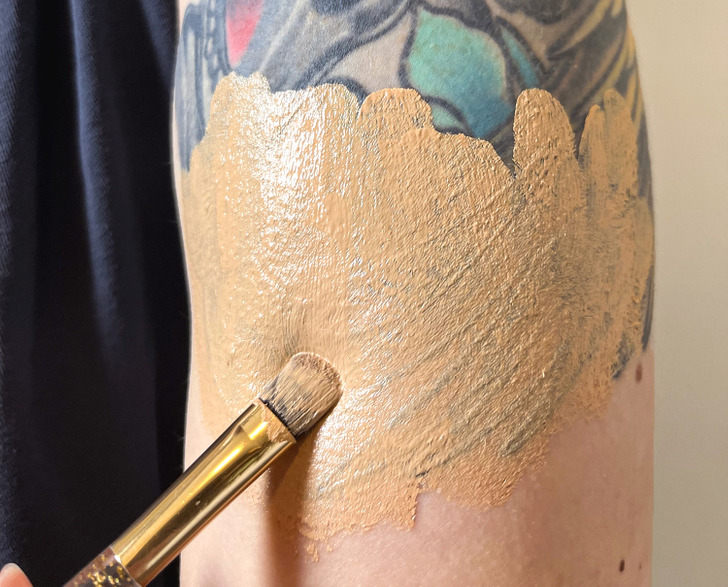
Now, apply a high coverage concealer that matches your skin tone over the color corrector. Don’t forget to blend the edges for a more natural finish.
Step 6
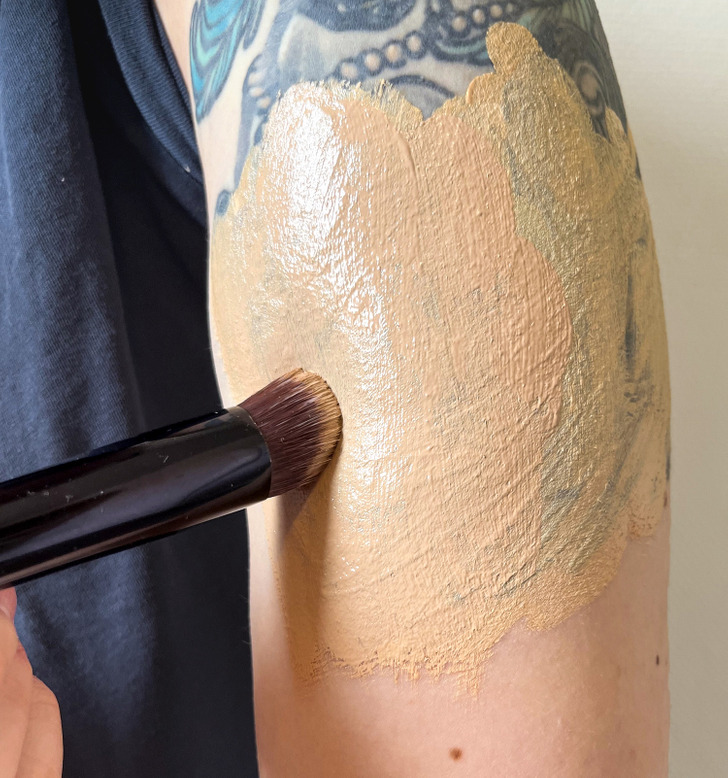
Over the concealer, apply a layer of a full-coverage matte foundation using a stippling technique. Make sure the foundation matches your skin tone and, again, don’t forget to blend the edges to avoid any harsh lines.
Step 7
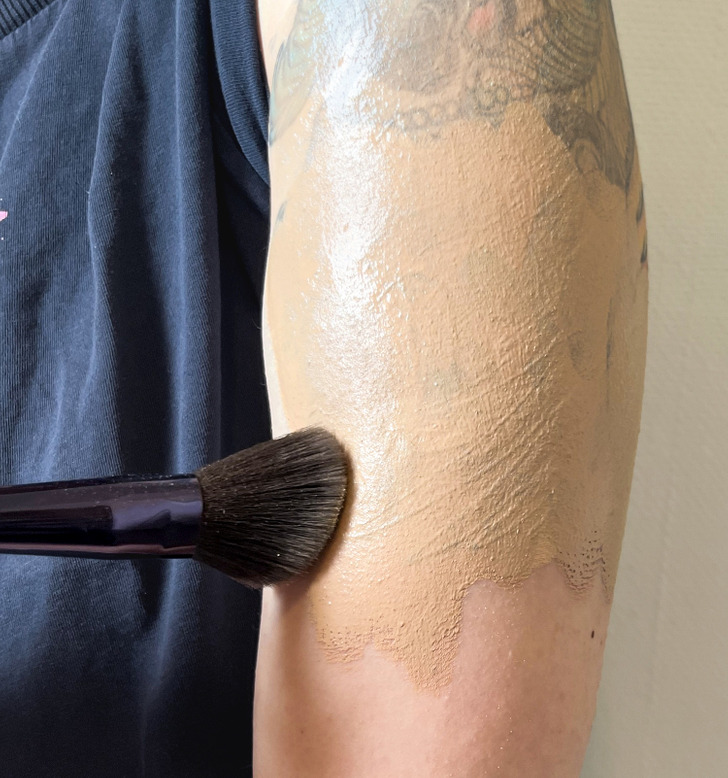
Apply some translucent powder to set everything in place and make sure it lasts all day and doesn’t budge.
Note: If your foundation is still peeking through and you need more coverage, try adding a layer of powder foundation.