How to Fly a Kite
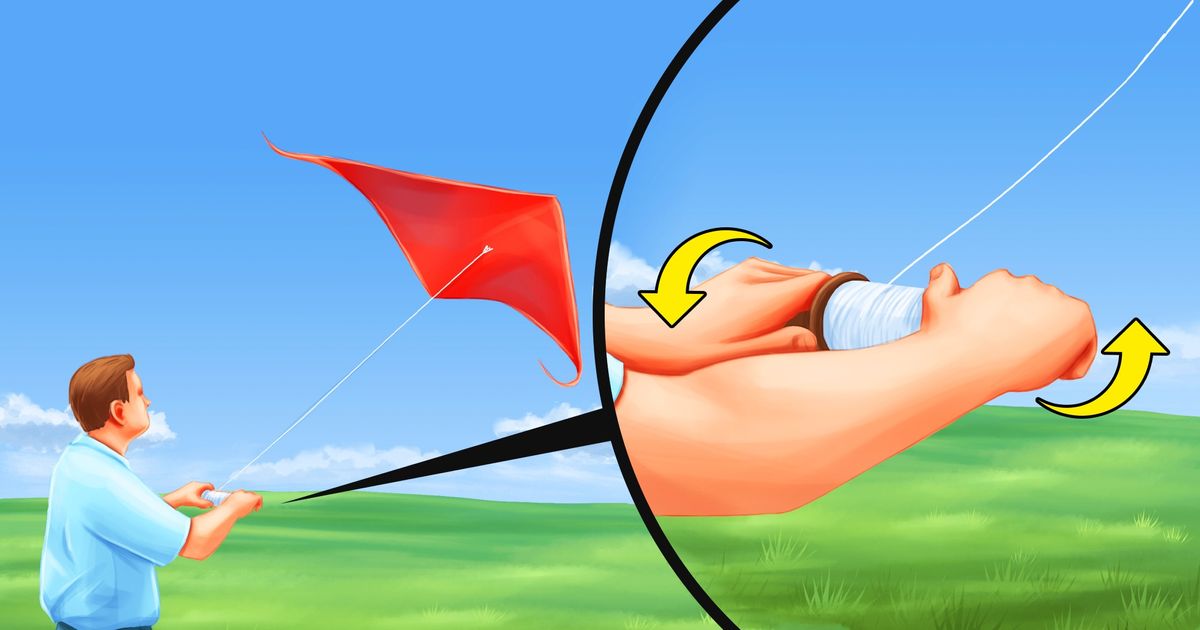
To enjoy flying a kite, you need to do a few things first — check the space and weather conditions and learn how to launch and control your kite. Doing so can be a lot of fun, which is why 5-Minute Crafts will help you understand how to fly a kite.
Step 1: Find the right flying space.
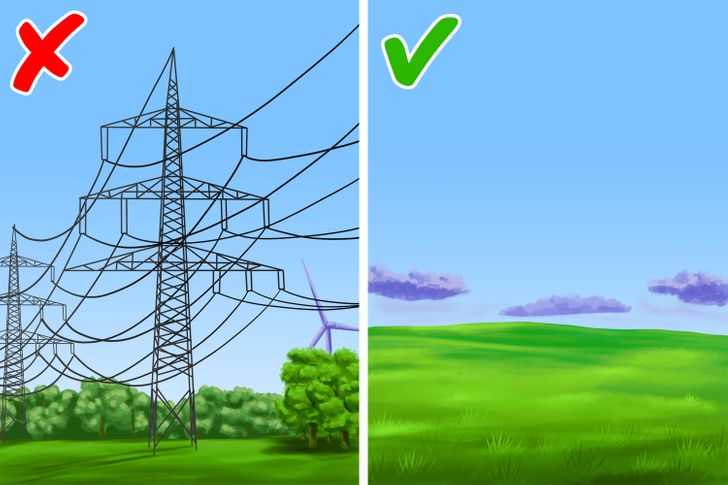
The flying space for your kite should be open without any obstacles. Structures, trees, and other surrounding barriers can cause turbulence. Moreover, if your kite gets caught in those, you’d have trouble reclaiming it. Thus, a few good places for flying kites are beaches, open city parks, and open fields. On the other hand, some spaces you should avoid are city streets, tree lanes, and, for personal safety, cliffs.
Step 2: Check the weather and wind conditions.
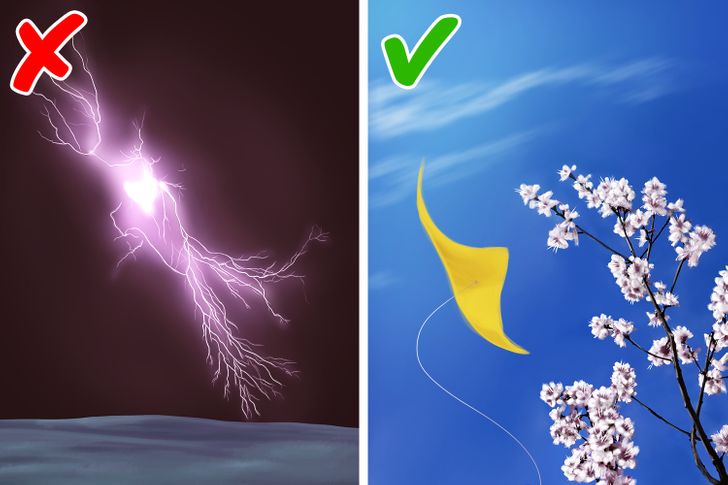
Before considering flying a kite, you should make sure the weather is nice. The recommendation is to not fly a kite in the rain or a storm. Also, you should check to see how windy it is. Winds that are too weak or too strong will not work unless your kite is designed to withstand strong winds. Typically, winds between 4 and 10 miles (6.5 to 16 kilometers) per hour are ideal.
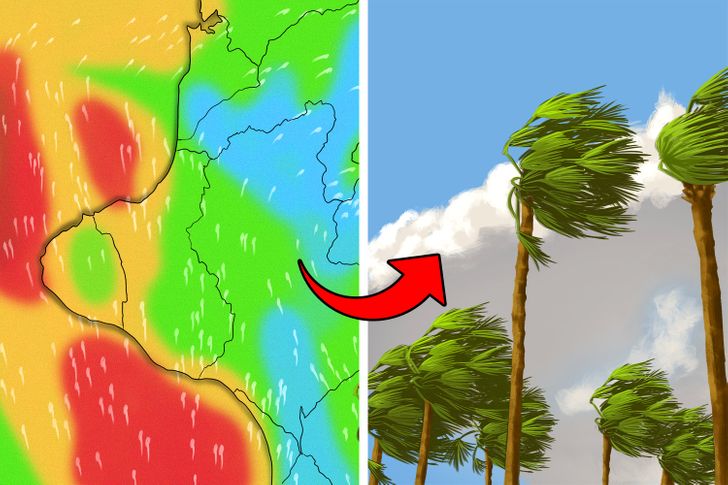
There are 2 convenient ways for you to calculate the speed of the wind:
- You can use an app that gives you insight into the weather changes. It would be ideal if the app had a wind map, wind alert, and wind tracker.
- If you don’t have an app, observe nearby trees. If the leaves aren’t moving much, the wind is too weak. But if the trees are swaying, the wind is likely too strong for you to be in control of your kite.
Step 3: Launch your kite.
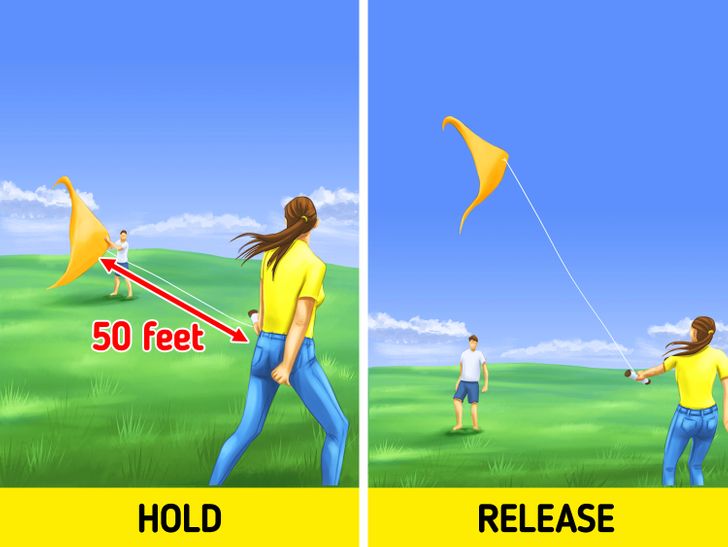
If you are a beginner, you should have an assistant about 50 feet (15 meters) away holding the kite in place when you launch your kite. As you pull on the line with the wind blowing from behind, the assistant should release the kite, which should work its way into becoming airborne.
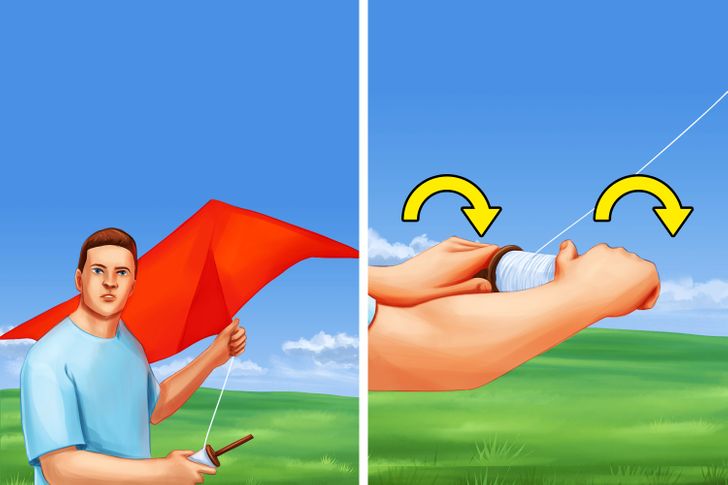
As an experienced kite flyer, you’ll likely hold the kite in one hand and the spool in another. When releasing the kite, you hold the spool with both hands and let the kite catch a draft. Also, launching the kite on your own requires stronger wind than when you have another person helping.
Step 4: Control and bring the kite down.
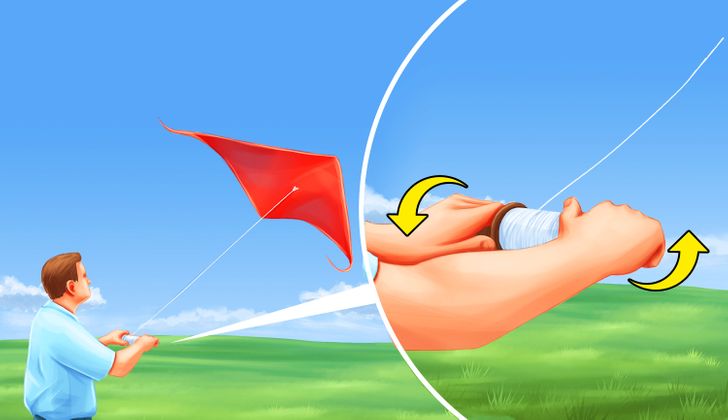
Release the line slowly and don’t rush to get your kite airborne. If you feel that the kite becomes slack, reel it in until it becomes stable. But, if it pulls to take flight, release the line. When the time comes to bring your flier down, do a hand-over-hand roll with your spool in the opposite direction from the one when you were releasing it. Or, drop your spool and pull the kite hand over hand to the ground.