How to Freeze Veggies and Mushrooms for Winter
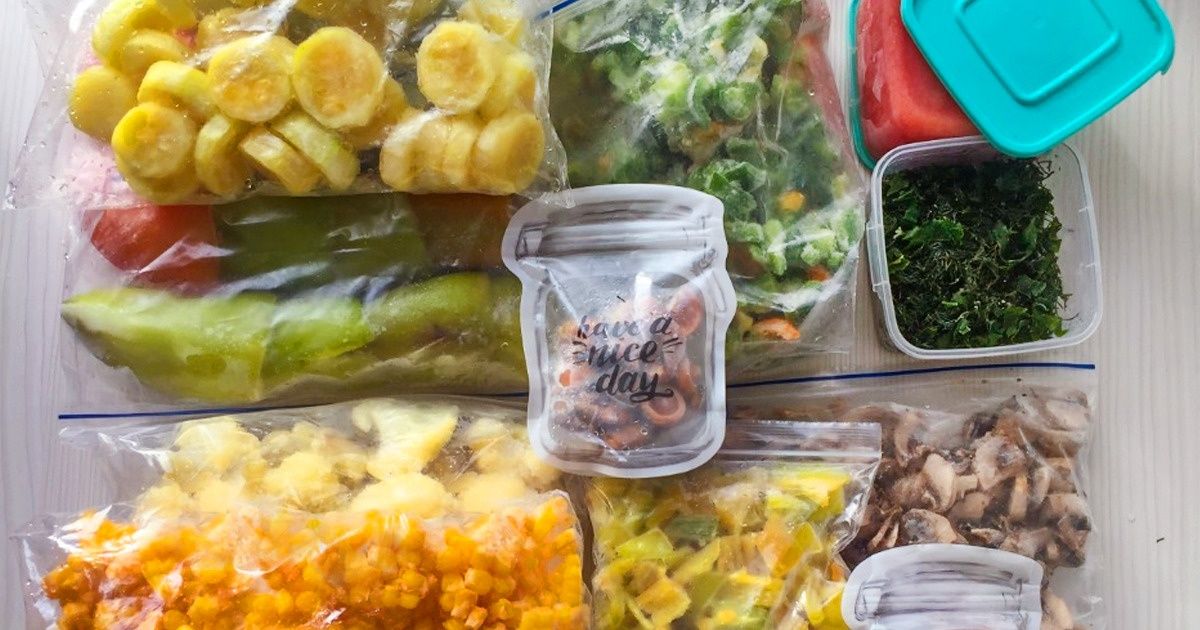
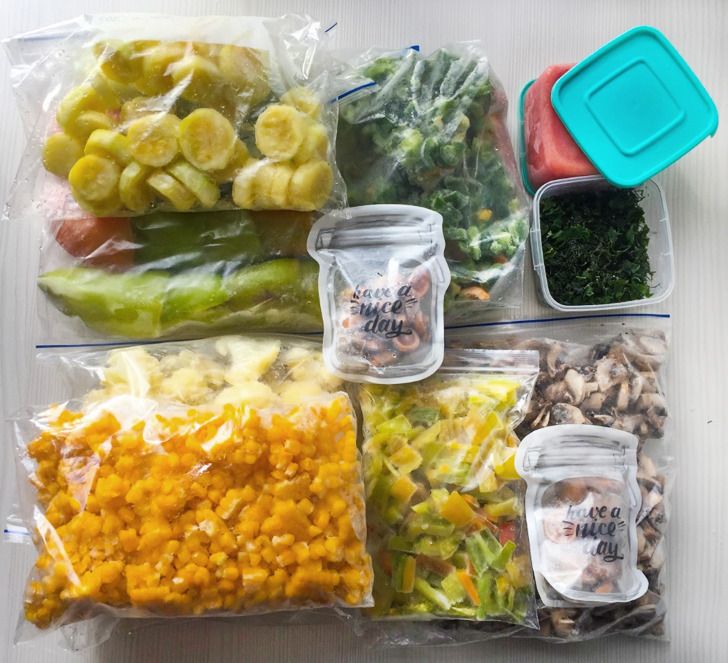
Freezing is one of the quickest and most convenient ways to preserve the freshness of seasonal vegetables. Correctly frozen products don’t take up much space, can be easily cooked and retain useful properties at maximum.
5-Minute Crafts is going to tell you in detail about all the nuances of freezing vegetables and mushrooms for winter.
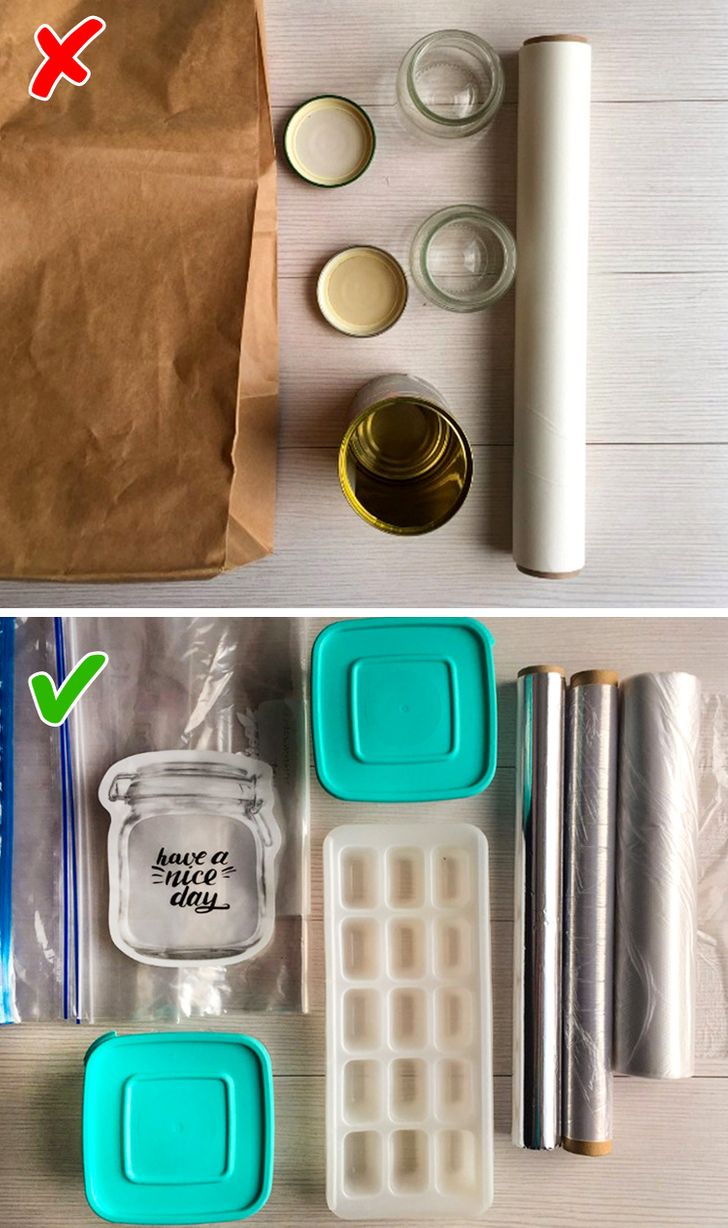
Containers and packaging suitable for freezing
Containers and bags that are not suitable for freezing food:
-
paper bags
-
wax paper
-
glass jars and containers
-
metal containers
Containers and bags that are suitable for freezing food:
-
cellophane food bags
-
Ziploc-bags
-
plastic food containers
-
plastic wrap
-
ice cube trays
-
food grade aluminum foil
Lifehack: If you don’t have an opportunity to buy special food containers or bags, you can easily improvise. Containers left over after cottage cheese, sour cream, milk, and juice, as well as other things suitable for storing food, can be used for freezing veggies.
What products are better off not being frozen
-
Lettuce. It will lose its look and taste after freezing.
-
Cucumbers. This vegetable won’t lose its taste after freezing, but it won’t look attractive after defrosting either. Due to its large amount of moisture, its consistency can change significantly.
-
Radishes. When frozen, this root veggie crystallizes and loses its beneficial properties. When defrosted, it becomes liquid, mushy, and tasteless.
-
Potatoes. When frozen at home (not commercially frozen), potatoes quickly lose their taste and become sweetish in taste.
-
Watermelon. This is better off not being frozen due to the huge amount of moisture in it: you risk getting something liquid and shapeless instead of aromatic pulp when defrosting it.
-
Onion. This veggie will become soft when defrosted, which is why it’s better to freeze it after blanching or not freeze it at all.
-
Garlic. Just like an onion, garlic loses its original look and becomes soft. Moreover, this vegetable loses a part of its special taste and smell when frozen. However, it maintains all of its beneficial properties.
How to freeze mushrooms
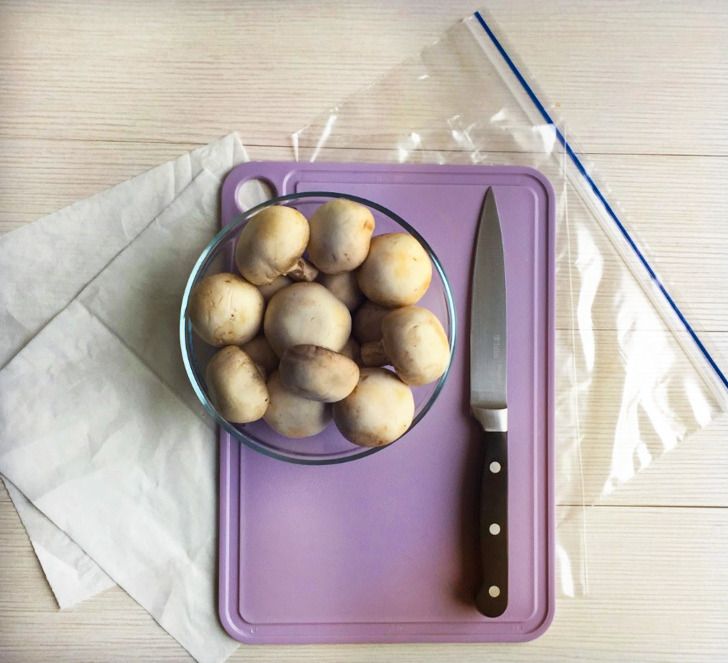
You’ll need:
-
fresh mushrooms
-
a knife
-
a cutting board
-
paper towels
-
containers for freezing
Actions to be taken:
-
Get the mushrooms out of the package and thoroughly wash every mushroom.
-
Remove the darkened places from the stalks and caps.
-
Put washed mushrooms on paper towels and let them dry well. You can rub each mushroom with a paper towel to speed up the process.
-
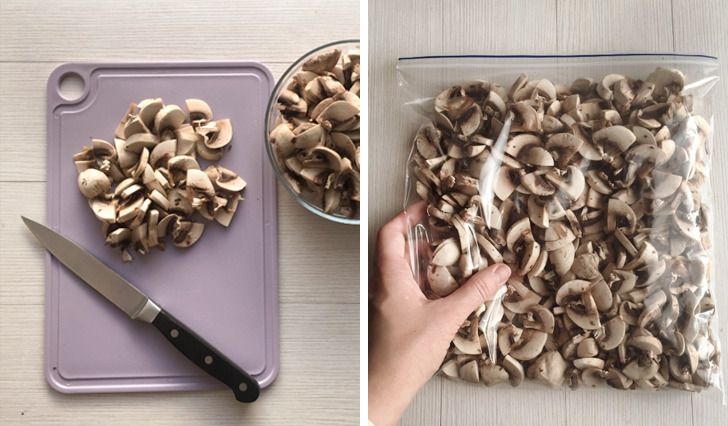
Cut the mushrooms in pieces. You can split them into halves, quarters, or slice them. Small mushrooms can be frozen as a whole.
-
Place the mushrooms into containers for freezing and place them in the freezer.
How to freeze corn
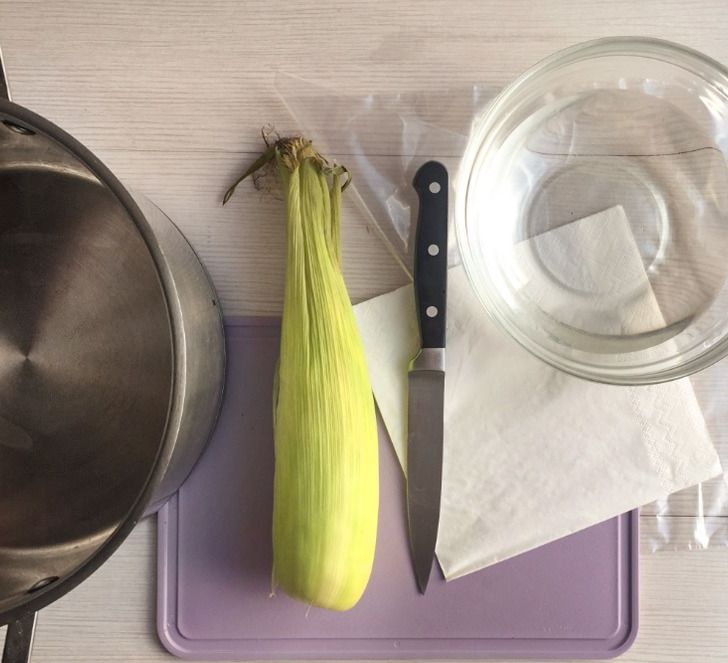
You’ll need:
-
corn on the cob
-
a knife
-
a big saucepan
-
a bowl with cold water
-
paper towels
-
a cutting board
-
containers for freezing
Actions to be taken:
1. Properly cleanse the cob. Remove all the leaves and “hair” from it.
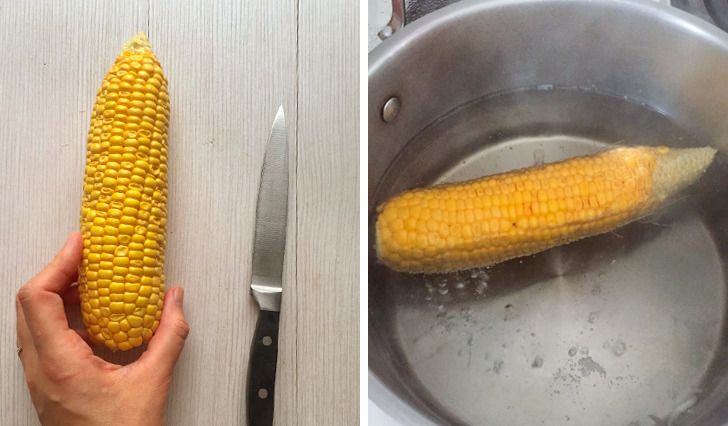
2. In order for the corn to retain its taste and shape, it must be blanched before freezing. To do this, place a large pot of water on the stove and bring the water to a boil.
3. Toss the corn in the water, cover the pan with a lid, and boil it for 5 minutes.
An important note: Don’t use salt while boiling in order to maintain the vegetable’s consistency and taste.
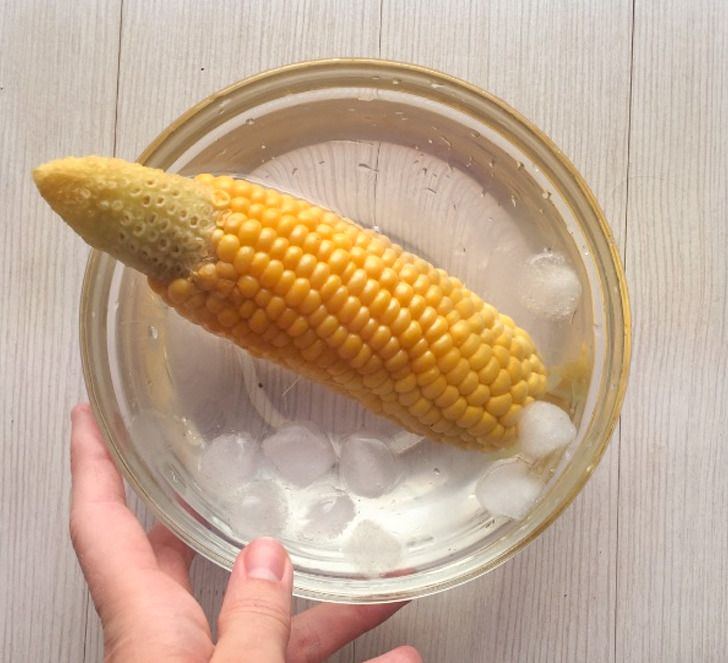
4. Prepare a bowl with cold water before taking the corn out of the saucepan. The water should be icy, not just cool. You can even add ice cubes to it.
5. Scoop the cob out of the pan and put it in the bowl with cold water right away. Cool down the corn for about 5 minutes.
6. Place the cob on a paper towel or a napkin and let the excess water drain.
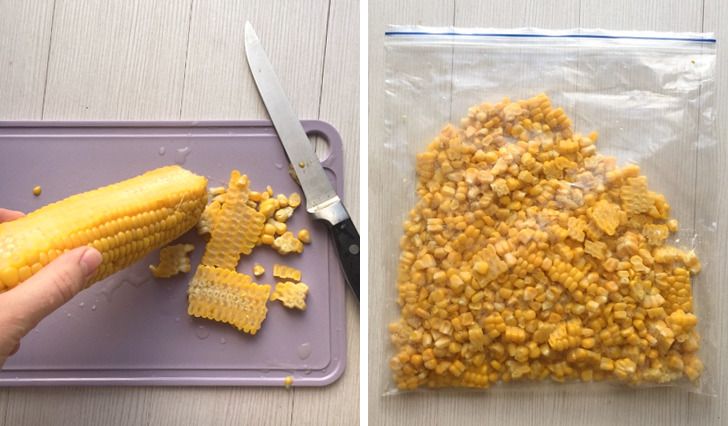
7. When the corn dries a bit, put the cob on a cutting board with its front part down. Carefully cut the kernels from it with the help of a sharp knife.
8. Spread the kernels in a thin layer on the cutting board or on a big plate covered with napkins. It will help the corn cool down evenly and get rid of excess moisture.
9. When the kernels cool down, put them in containers for freezing and place them in the freezer.
How to freeze pumpkin
You’ll need:
-
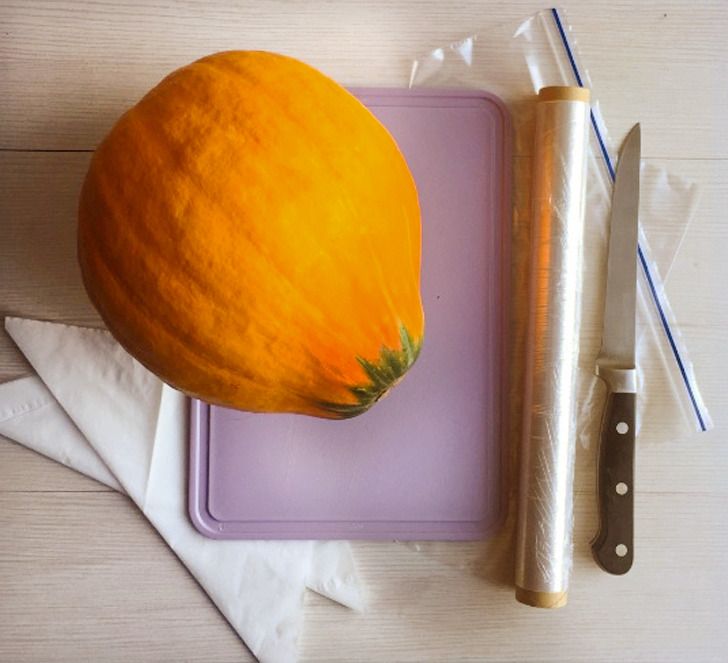
fresh pumpkin
-
a knife
-
a cutting board
-
plastic wrap
-
paper towels
-
containers for freezing
Actions to be taken:
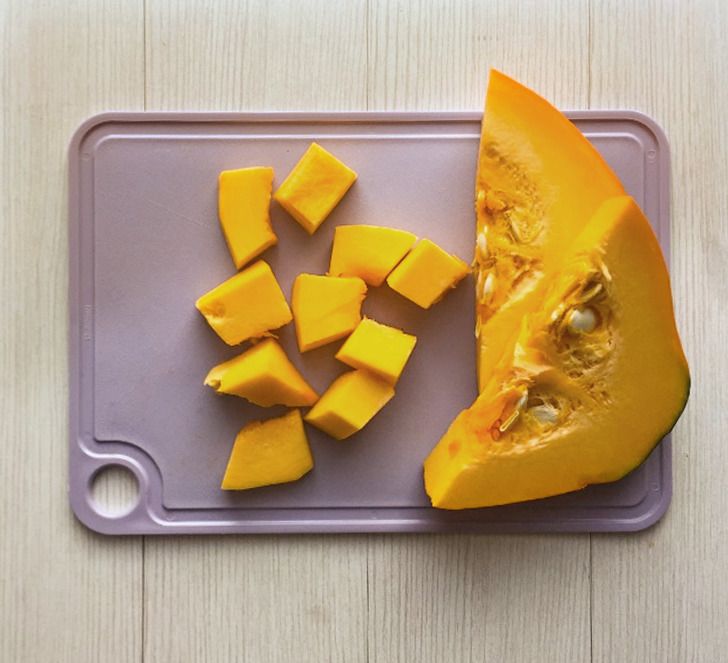
1. Properly wash the pumpkin and peel it. It’ll be easier if you cut it into rings or smaller chunks and peel off each chunk separately.
2. Cut the chunks into small pieces, wash them, and put them on paper towels to dry.
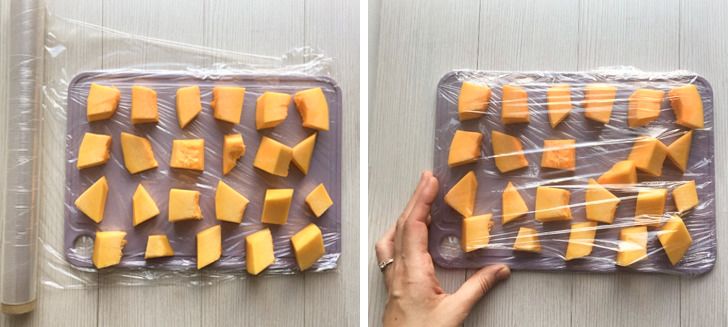
3. Wrap the cutting board with plastic wrap but don’t cut the film off of the roll.
4. Arrange the pumpkin pieces on the board so that they don’t touch each other. Wrap the top with plastic wrap again. Remove the remaining film.
5. Place the pumpkin in the freezer for primary freezing.
6. When the pieces get firm enough, remove them from the board and place them in freezing containers, then put them in the freezer again.
How to freeze bell peppers
You’ll need:
-
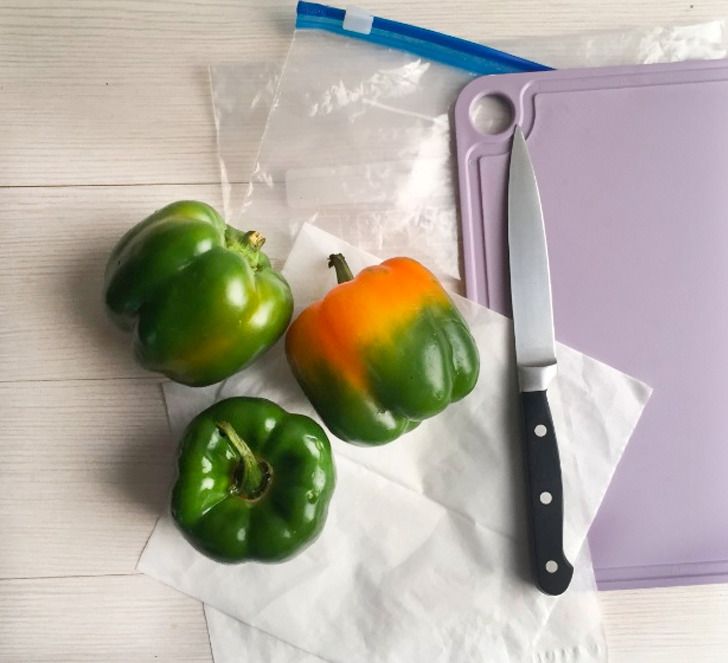
bell peppers
-
a knife
-
a cutting board
-
paper towels
-
containers for freezing
Actions to be taken:
1. Wash and dry the bell peppers with the help of paper towels.
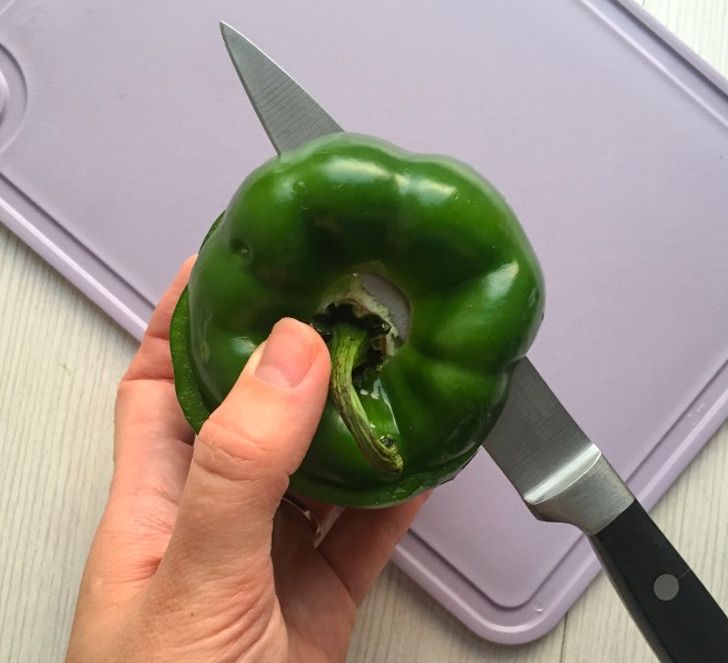
2. Remove the seeds. To do this, you need to cut off the top of each pepper in a circle and remove all of the insides.
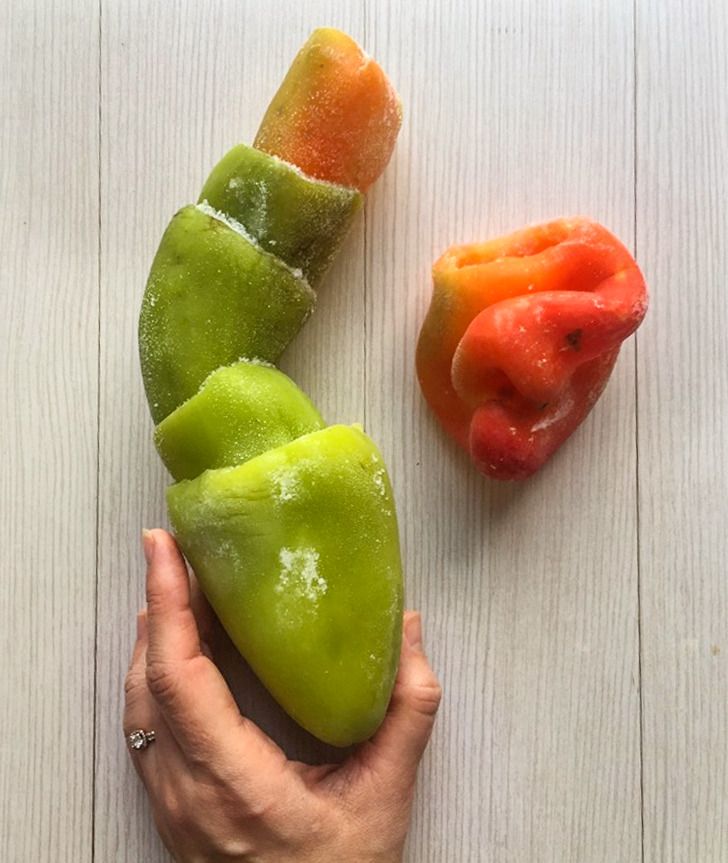
3. If you want to freeze peppers for stuffing, simply put them in a container for freezing and place them in the freezer by folding the caps of the peppers into each other.
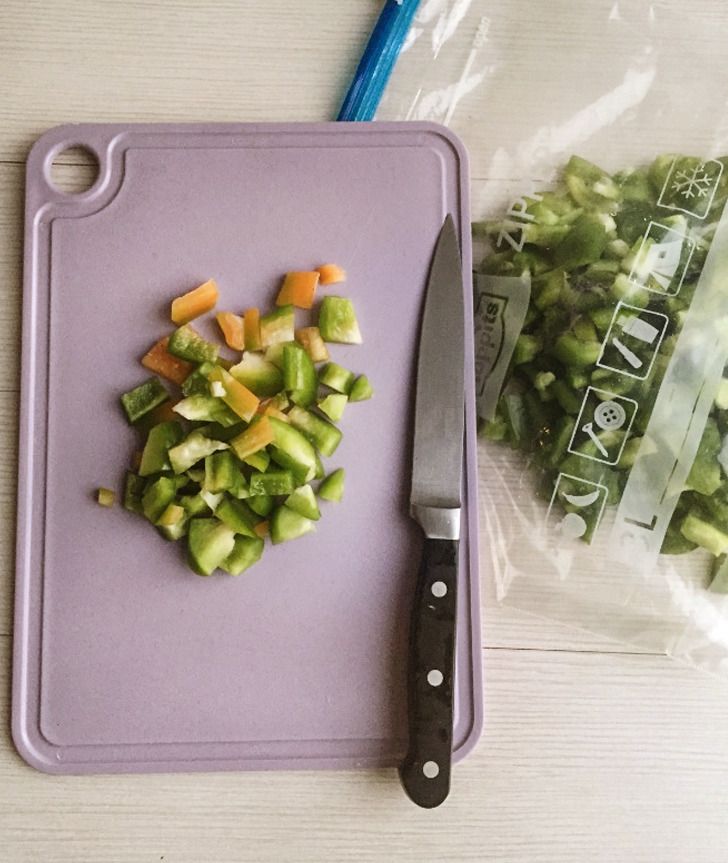
4. If you plan on using the peppers in salads, stews, or soups, you need to chop them before freezing them. Chop each pepper into strips or cubes, and pat dry with a towel.
5. Put the chopped peppers into a container for freezing and place them in the freezer.
How to freeze zucchini
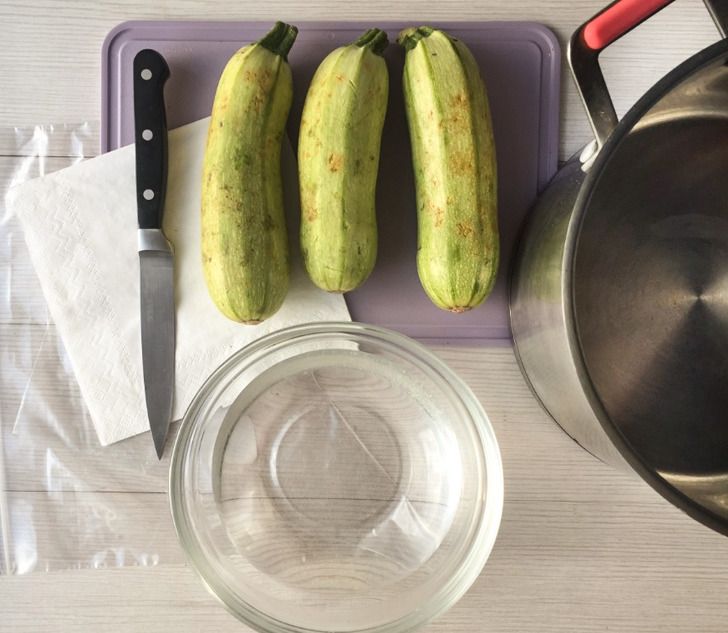
Before freezing this vegetable, pay attention to the fact that each zucchini may not be suitable for this procedure. It is best to use young, thin-skinned zucchini. Older zucchini will have loose and fibrous flesh, which can affect the quality of the frozen product.
You’ll need:
-
young zucchini
-
a knife
-
a cutting board
-
paper towels
-
a saucepan
-
a bowl with cold water
-
containers for freezing
Actions to be taken:
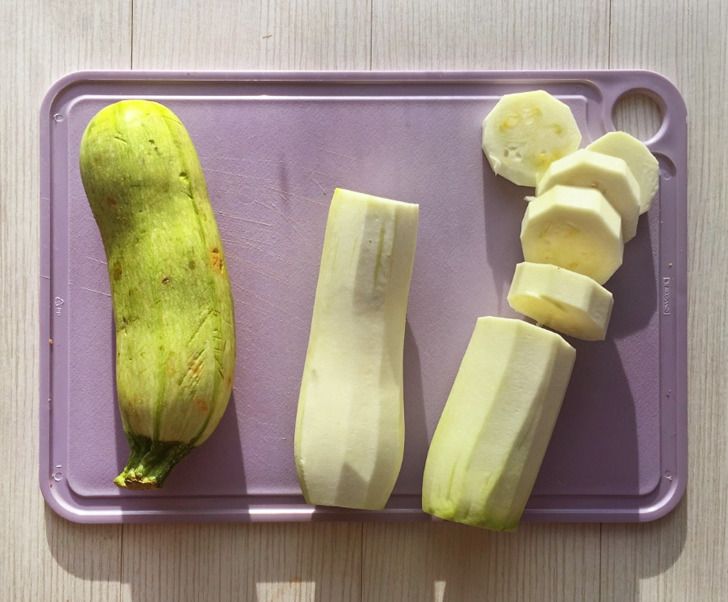
1. Wash the vegetables and peel them.
2. Cut them into circles.
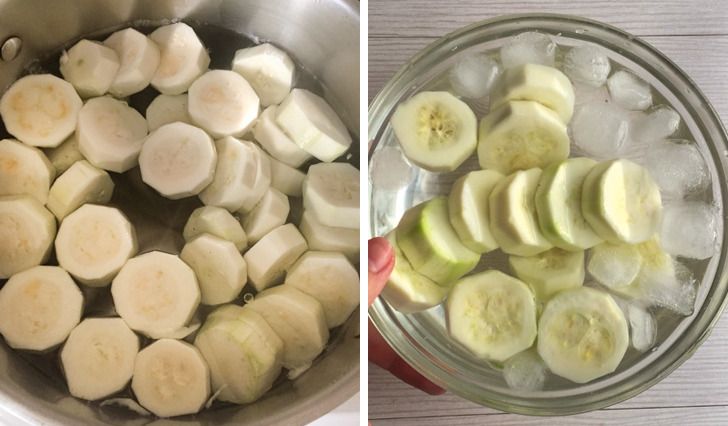
3. Place a pot of water on the stove and, as soon as the water boils, dip the zucchini circles into it.
4. Cover the pot with a lid, reduce the heat, and boil the vegetables for about 2-3 minutes.
5. Get a bowl with icy water ready before taking out the zucchini.
6. Scoop the zucchini circles out of the pot and quickly dip them into cold water. Cool them down for about 2-3 minutes.
An important note: By skipping the blanching stage, you risk getting shapeless mush instead of a firm vegetable after defrosting.
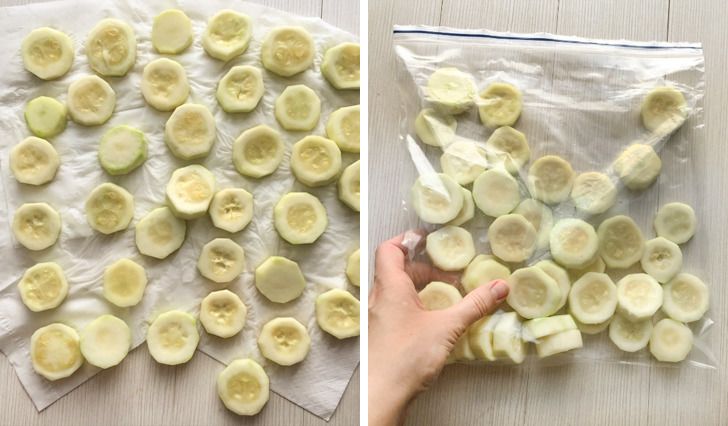
7. Pat dry the circles with a paper towel. When the zucchini dry properly, place them in the container for freezing and put it in the freezer.
How to freeze cauliflower or broccoli
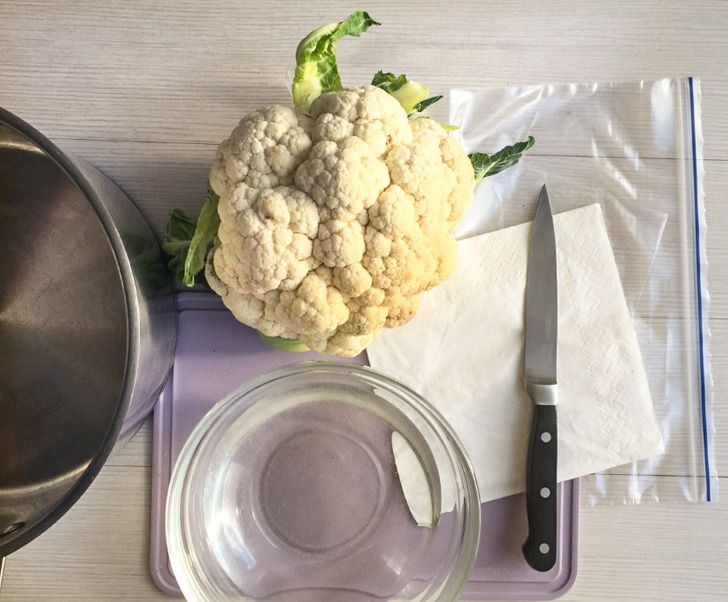
You’ll need:
-
fresh cauliflower or broccoli
-
a knife
-
a cutting board
-
a saucepan
-
a bowl with cold water
-
paper towels
-
containers for freezing
Actions to be taken:
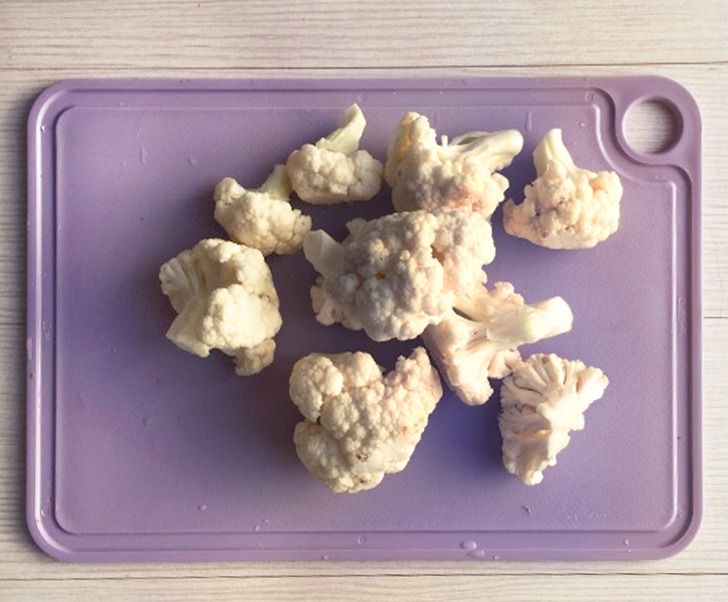
1. Wash the cauliflower, remove the outer leaves, cut off the stalk, and divide it into small-sized florets.
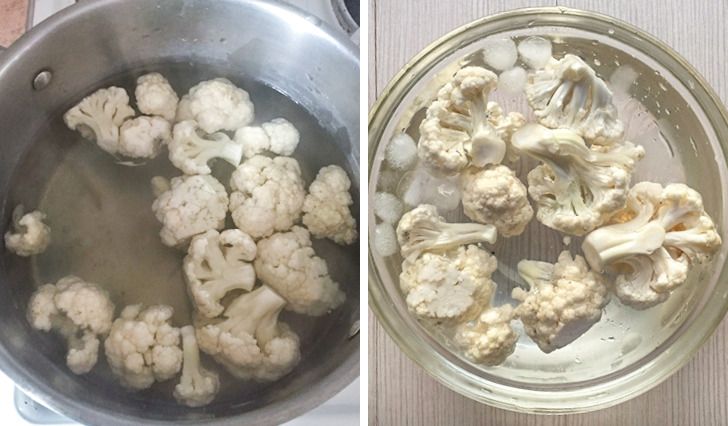
2. Pour water into a saucepan and bring it to a boil. Dip the cauliflower florets in boiling water for 3-5 minutes.
3. Get a bowl with icy water and dip the florets into it, right after boiling. Cool down the veggies for 3-5 minutes.
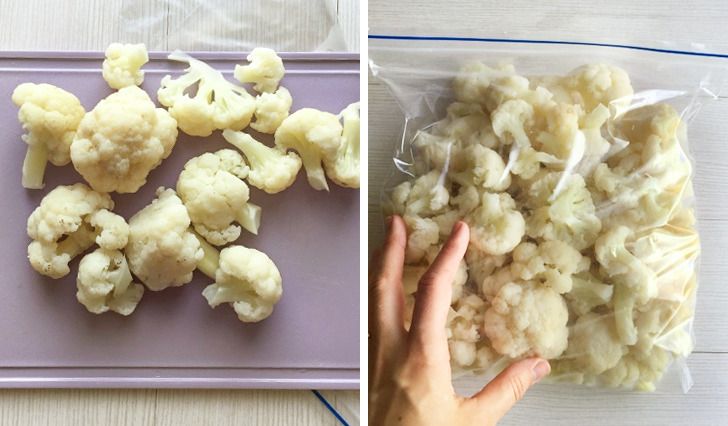
4. Spread the florets on paper towels and dry them well.
5. Put the florets in containers or bags and place them in the freezer.
How to freeze greenery
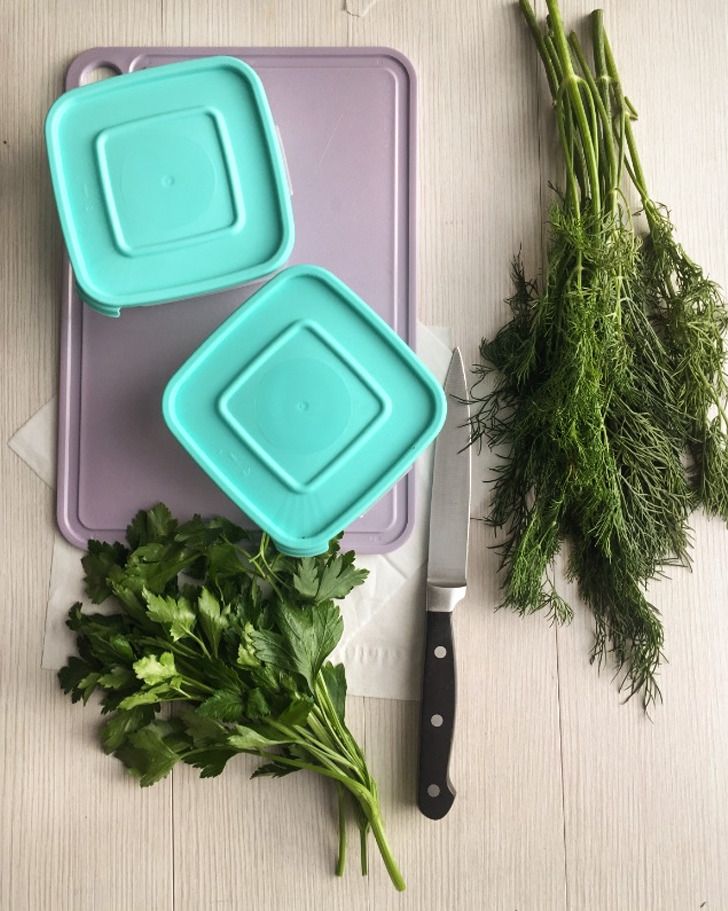
Most of the types of greenery we use regularly can be kept in the freezer. You can store them whole and chopped, or make aromatic oily greenery cubes. We are going to tell you about 2 methods of freezing greenery.
Method #1.
You’ll need:
-
greenery as per your taste (parsley, dill, spinach, sorrel, wild garlic, celery)
-
a knife or sharp scissors
-
a cutting board
-
paper towels
-
containers for freezing
Actions to be taken:
-
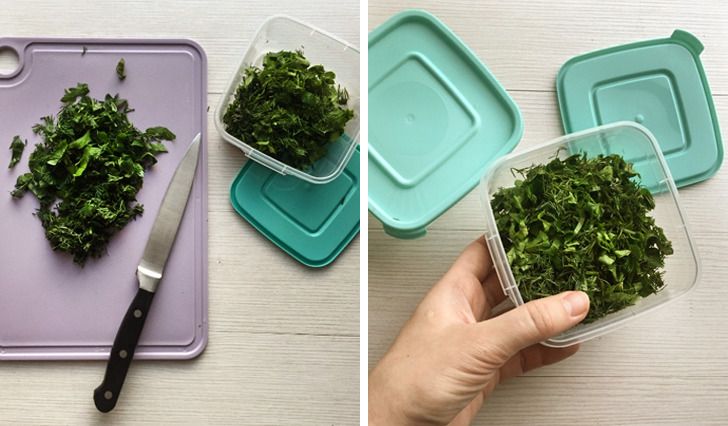
Rinse the greenery and pat dry it with paper towels.
-
Chop it finely.
-
Place it in a bag or a container for freezing and put it in the freezer.
For unusual flavor combinations, you can try freezing several types of greenery in one container.
Method # 2.
You’ll need:
-
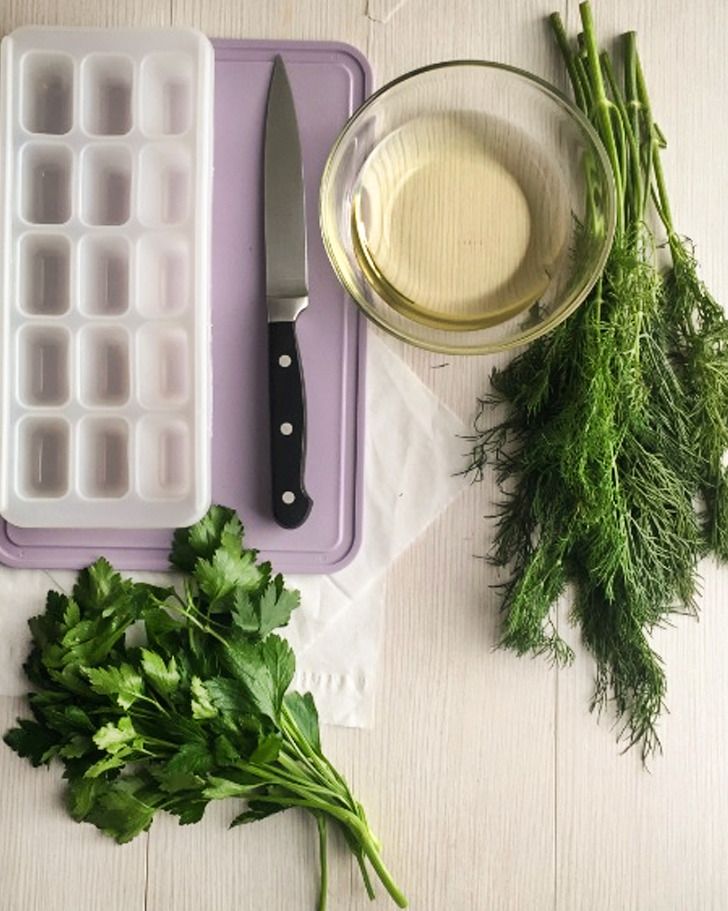
greenery as per your taste (parsley, dill, basil, garlic arrows, thyme, tarragon)
-
sunflower or olive oil
-
a knife or sharp scissors
-
a cutting board
-
paper towels
-
ice cube trays
Actions to be taken:
-
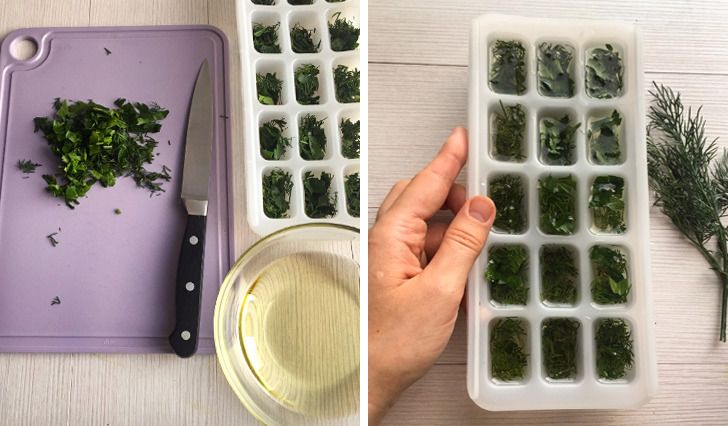
Wash the greens and remove the excess water with paper towels.
-
Chop them finely and place them in ice cube trays that are filled about halfway.
-
Pour sunflower oil into each cube of the tray and place the tray in the freezer.
-
After one day, you can take the frozen cubes out and place them in a different container or a bag for storing.
How to freeze tomatoes
Despite the fact that tomatoes lose their firmness when frozen, it is very convenient to store these vegetables in the freezer. You can freeze them whole or in pieces. Moreover, imperfect tomatoes (the ones with defects) can be used for making tomato paste.
Method #1.
You’ll need:
-
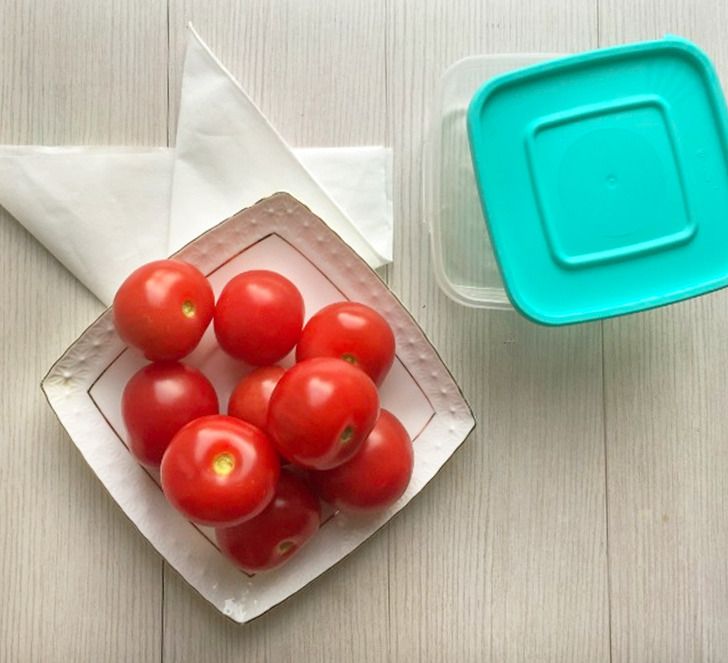
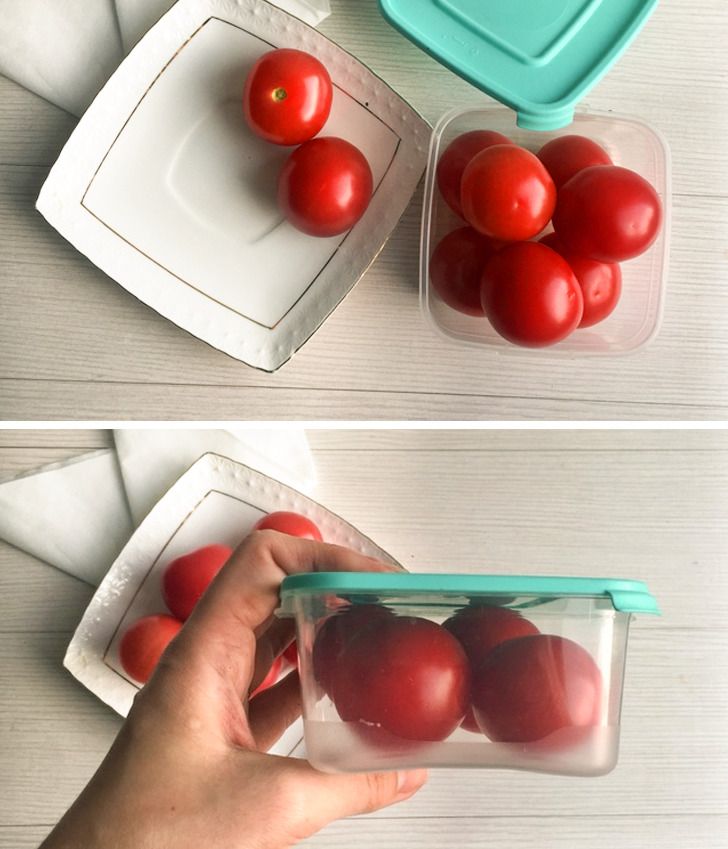
small, firm tomatoes (plum or cherry tomatoes are the best options)
-
paper napkins or towels
-
containers for freezing (bags are not a good option here, it’s better to opt for containers)
Actions to be taken:
-
Wash the tomatoes and pat them dry with paper towels.
-
Place the vegetables in a container so that there is enough free space for them and so that they don’t touch each other too tightly.
-
Place the container in the freezer.
An important note: If you decide to use bags for freezing, first freeze the tomatoes on a flat surface (like a cutting board) before placing them in a storage bag. This will prevent the veggies from sticking to each other while freezing and help them keep their original shape.
Method #2.
You’ll need:
-
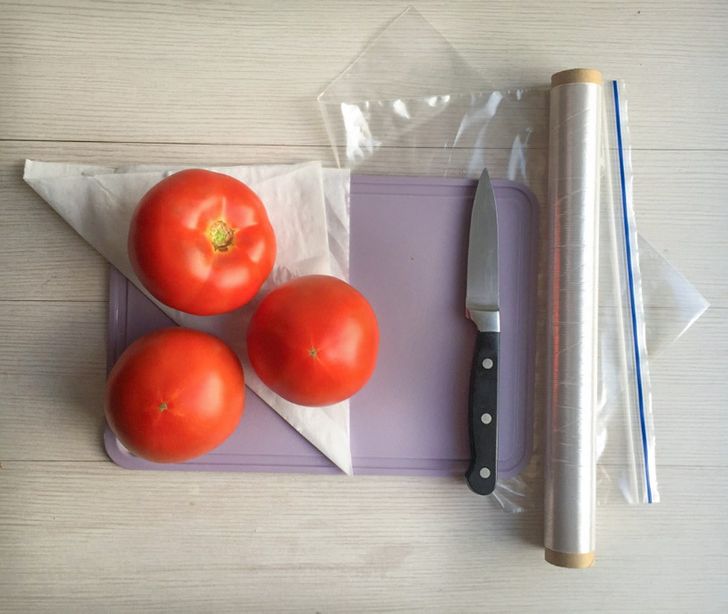
big firm tomatoes
-
paper napkins
-
a sharp knife
-
a cutting board
-
plastic wrap
-
containers for freezing
Actions to be taken:
-
Wash the tomatoes and pat dry them with paper towels.
-
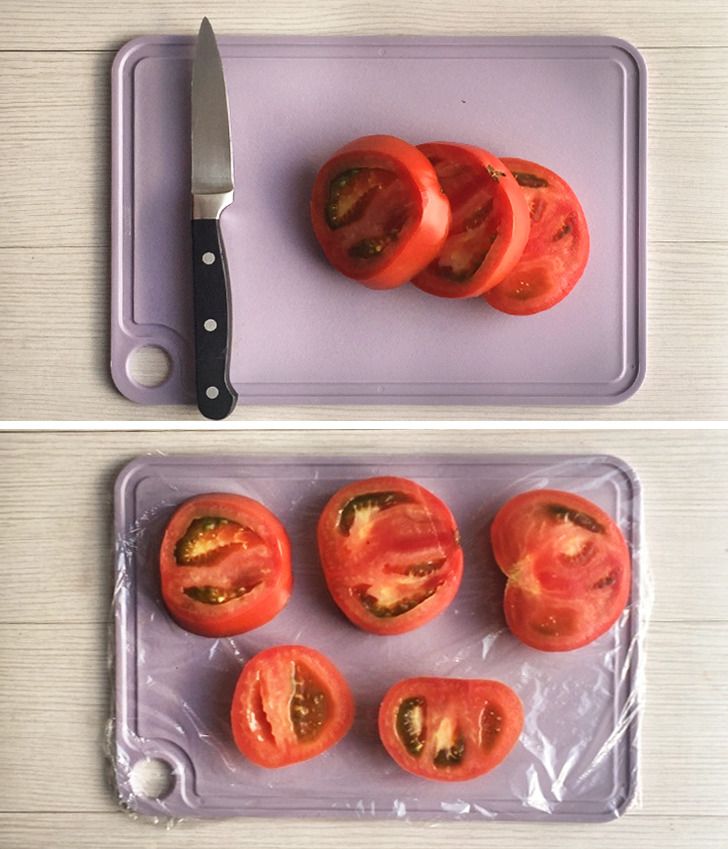
Cut each vegetable in circles as wide as 0.4-0.6 inches.
-
Wrap a dry cutting board with plastic wrap and arrange the tomato pieces on it so that they don’t touch each other.
-
Place the tomato circles in the freezer for primary freezing.
-
Once they freeze a bit, carefully detach them from the board and place them in the bag/container where they will be stored.
-
Place them in the freezer again.
An important note: Use only a sharp knife for cutting so it won’t make your tomatoes mushy.
Method #3.
You’ll need:
-
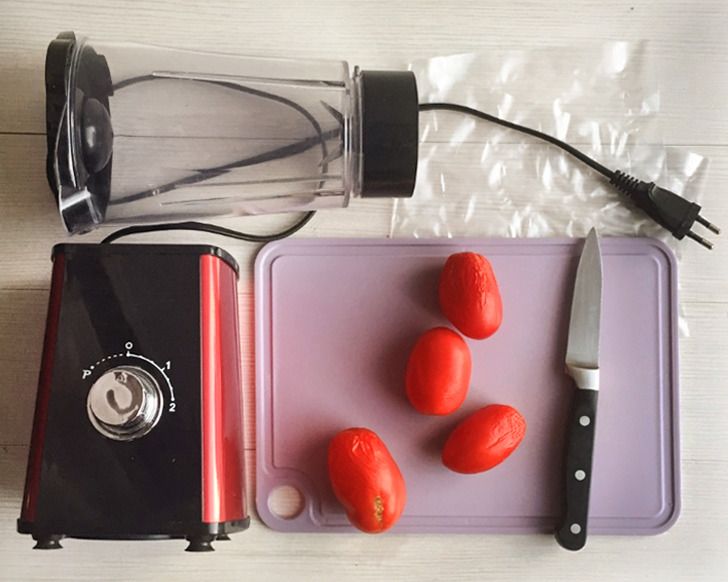
tomatoes (any types are suitable including soft ones and the ones with defects)
-
a knife
-
a cutting board
-
a blender
-
containers for freezing
-
bags for ice (for portion freezing)
Actions to be taken:
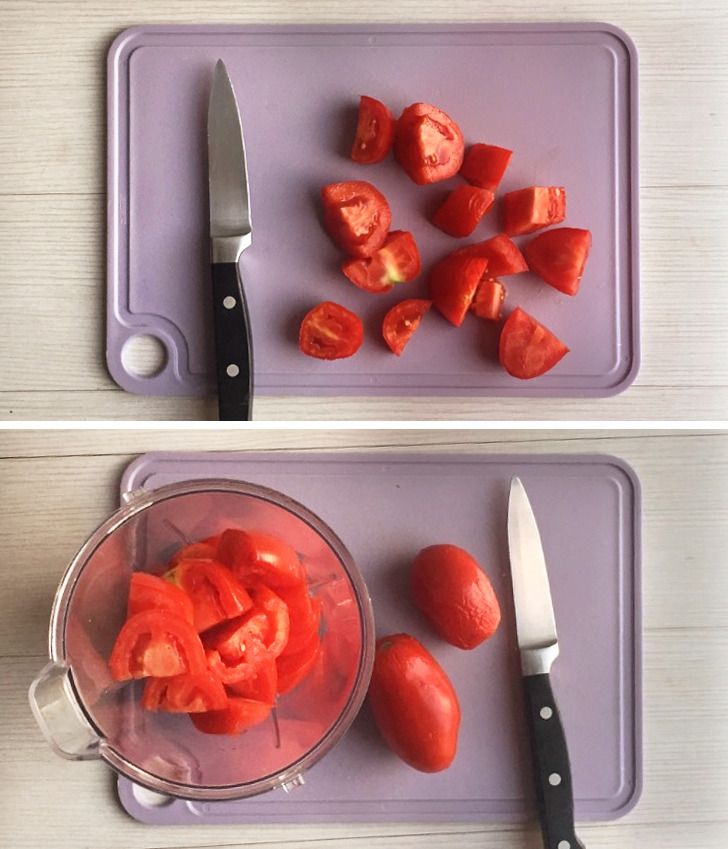
1. Wash the tomatoes thoroughly and cut off any dark or soft parts. Also, remove the stalk attachment points from the tomatoes.
2. Chop them into big chunks and place them in the blender.
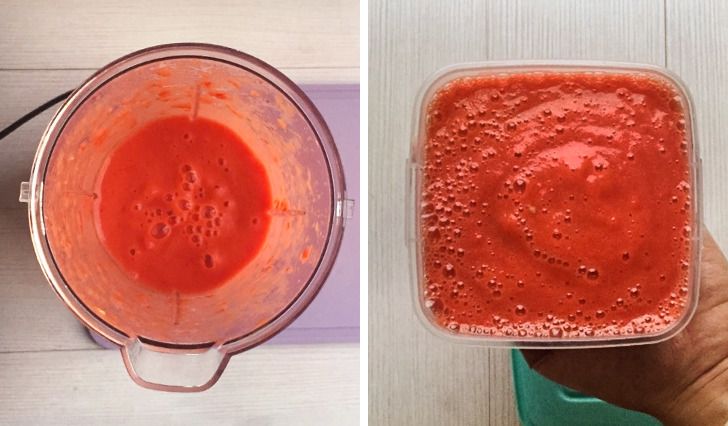
3. Keep blending the tomatoes until they turn into a thick tomato mass.
4. Place the mass in containers or bags for freezing and place them in the freezer.
