How to Learn to Cross-Stitch
Cross-stitching is one of the simplest kinds of handicrafts that even those who have never held a needle in their hands can master. You can draw or print out a draft picture yourself or buy a ready-made set that contains different threads, a needle, a canvas, and a design scheme.
5-Minute Crafts is going to tell you about all the nuances of cross-stitching.
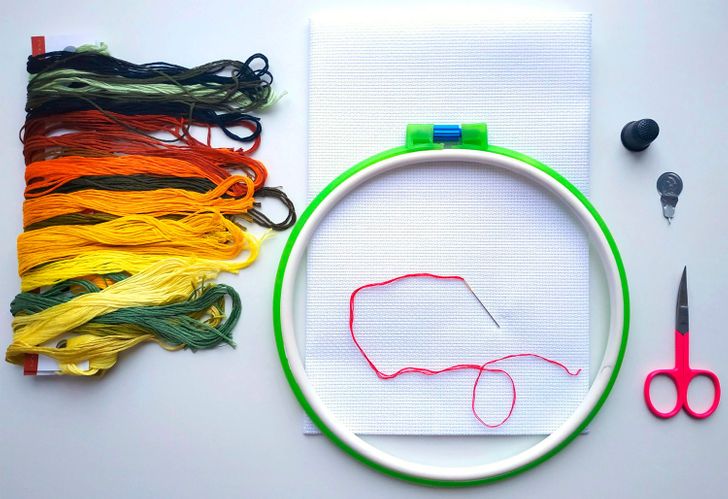
What you’ll need
-
Thread: It’s floss yarn thread that’s used for cross-stitching most often. They lie evenly, don’t get tangled, and never lose their color. One thread contains 6 fibers twisted together. You’ll have to take time to separate the fibers because you’ll only need a 2-fiber thread for cross-stitching. You can easily do it with the help of a needle.
-
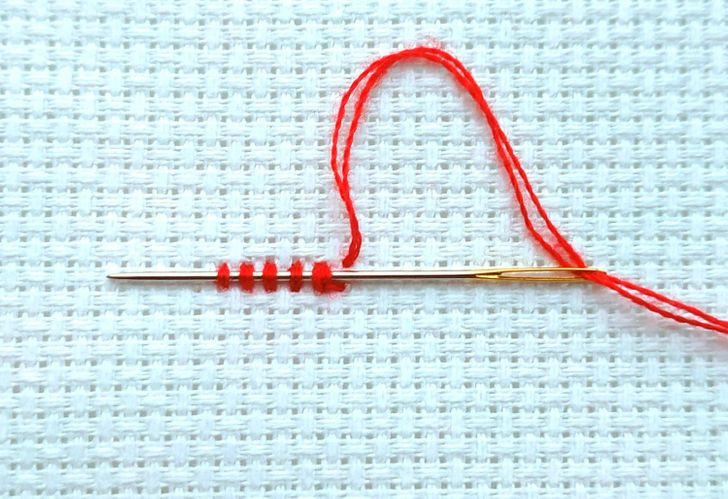
Needle: The rougher the fabric is, the thicker the needle should be. A regular canvas requires a small tapestry needle. It has a wide eye and a rounded point. This shape lets you find a hole in the canvas easier while cross-stitching and get right into its center.
-
Canvas: Aida canvas, which is made of cotton, is believed to be the most popular kind. It is divided into squares, which eases the working process greatly. It can come in different colors, which is why you won’t face many problems when making the choice.
-
Hoop: To ensure that the thread lies evenly and the fabric doesn’t pull together, you’ll need to use a hoop. There are both plastic and wooden ones. The latter is better for delicate fabrics.
-
Scissors: Small nail scissors will allow you to quickly and accurately cut the ends of the thread. If you need to cut the canvas, then you’d better opt for tailor scissors.
-
Thimble: It will help protect your fingers from getting pricked and ease the process of threading the needle through a layer of canvas and thread.
-
Needle threader: It’s an optional but very useful tool. Though the needle has a wide eye, it sometimes might become challenging to get 2 threads through it simultaneously.
Getting ready
-
Find the center of the picture. Fold the canvas in half vertically and horizontally so that you find its center. Start cross-stitching in this spot. This tactic will help you avoid the curvature of the position of the image and its sudden breakage at the edge of the canvas.
-
Fix the hoop. Stretch the canvas so that you feel comfortable working with it (but don’t stretch it too much). Try to place the beginning of stitches on the top central part of the hoop — it will help you easily determine the direction of the image.
Advice: Split the work area into small squares for easier completion, and do the same with the draft image (if it’s not a part of the set and you’ve chosen it yourself). You can do it with the help of a washable marker or a piece of soap.
Stitching techniques
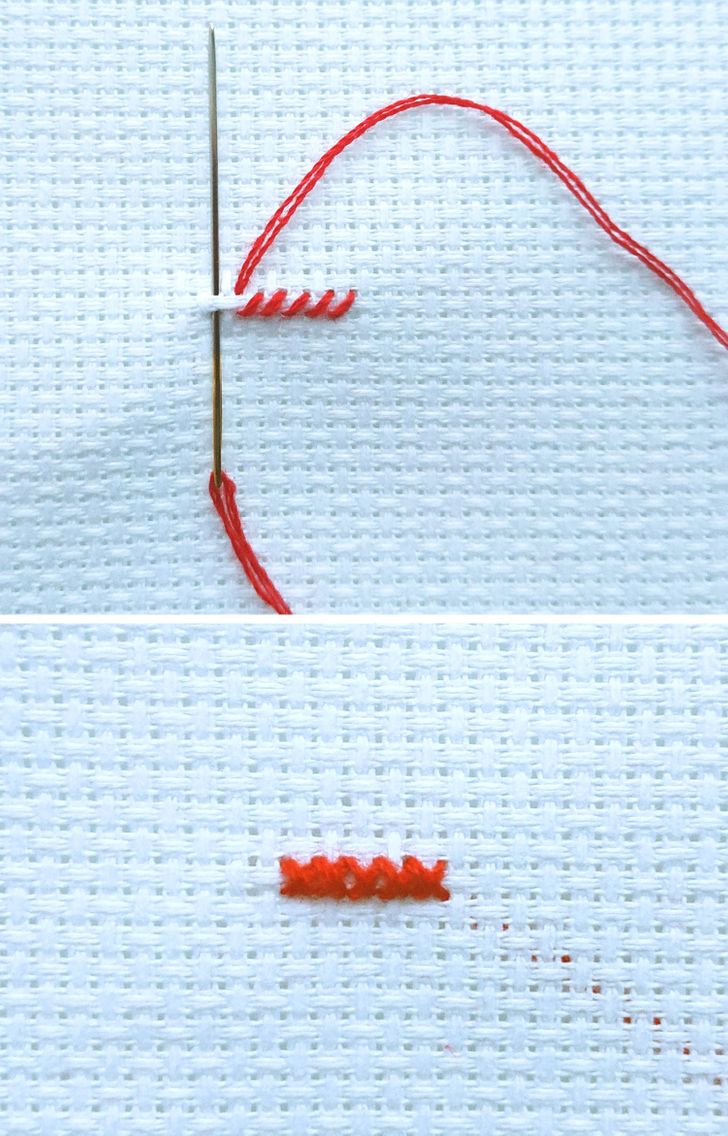
The main rule of any cross-stitching: All top stitches should be slanted to one side and the bottom stitches to the other.
There are 2 techniques of cross-stitching:
-
The English method: It’s a classical variant where every cross is stitched separately. It’s suitable for working over single elements that stand far from the entire composition.
-
The Danish method. At first, you need to stitch a row of half crosses and then stitch the second halves of half-crosses by returning to the beginning of the row. It’s perfect for working in big areas where a lot of space is allocated to one color.
Advice: Don’t make transfers too long between the rows from the wrong side. A transfer of 1 inch between elements is okay. If you make it any bigger, not only will it spoil the back view, but it will also make the work with other parts of the embroidery more difficult.
Securing the thread
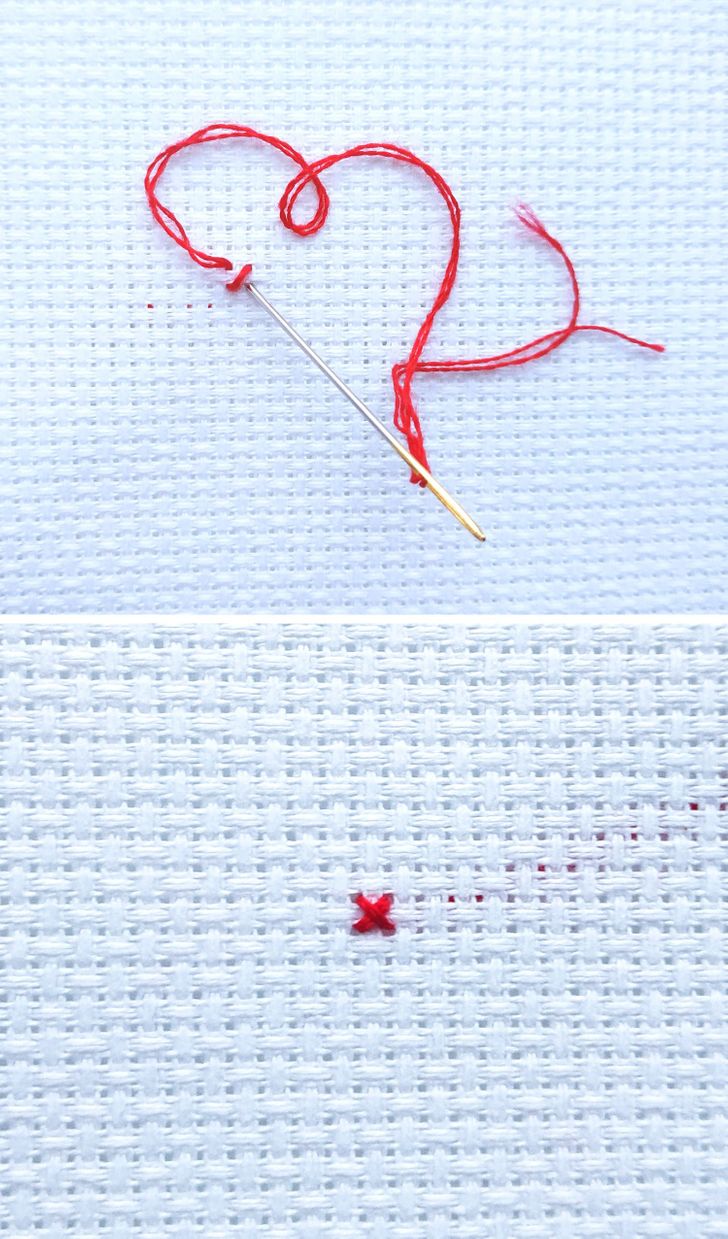
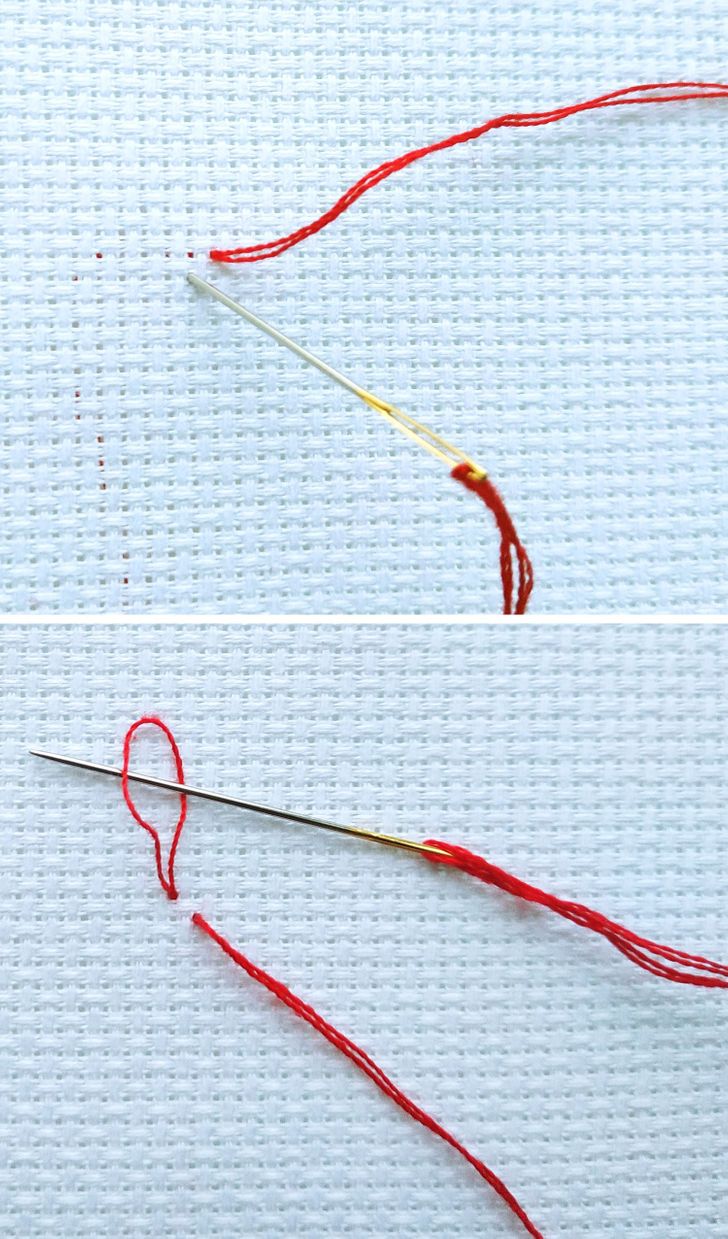
1. At the beginning: If you’re just starting to cross-stitch, then secure the thread with a loop on the wrong side. You’ll need to do the same with individual elements that are far from each other.
-
Fold one thread in half and thread the cut ends into the eyelet.
-
Start making a cross, leaving a loop on the wrong side.
-
When one side of the cross is ready, turn the hoop over and thread the needle through the loop.
-
Tighten it and stitch the second part of the cross.
When there are more embroidered sections, you’ll be able to secure the thread by simply passing it through the other threads from the wrong side, leaving a small tip of the thread when it goes through the entire row.
2. At the end: In order to secure the thread after the end of the working process, do the following.
-
Bring it to the wrong side.
-
Thread the needle through the embroidered crosses.
-
Pull out the thread and cut its end.
After the work is over
-
Add extra elements that will give your embroidery a finished look. These can be straight lines, contour lines, framing, French knots, etc.
-
Wash the embroidery. Rinse the finished work in warm, soapy water with your hands. Dry it on a flat surface. Iron it on the wrong side but don’t press hard to avoid flattening the seams.
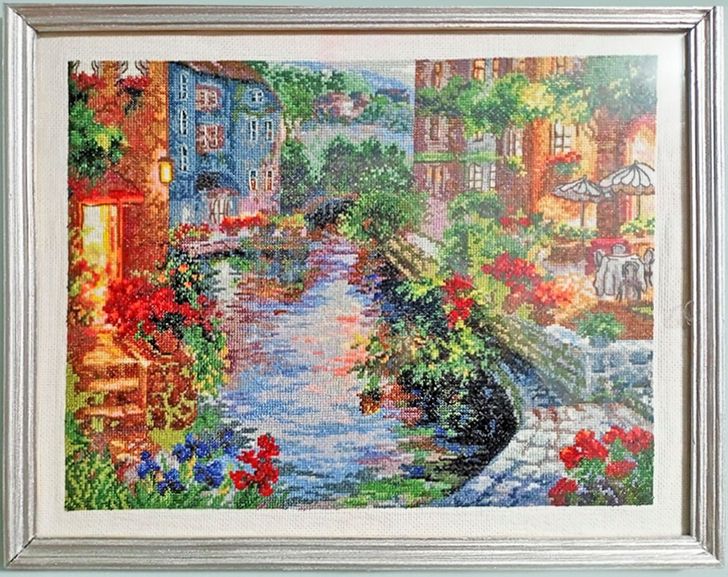
- Place the embroidery into a frame. Decorate it so that it keeps pleasing your eyes and the eyes of your guests for many years to come.
